 |
 |
 |
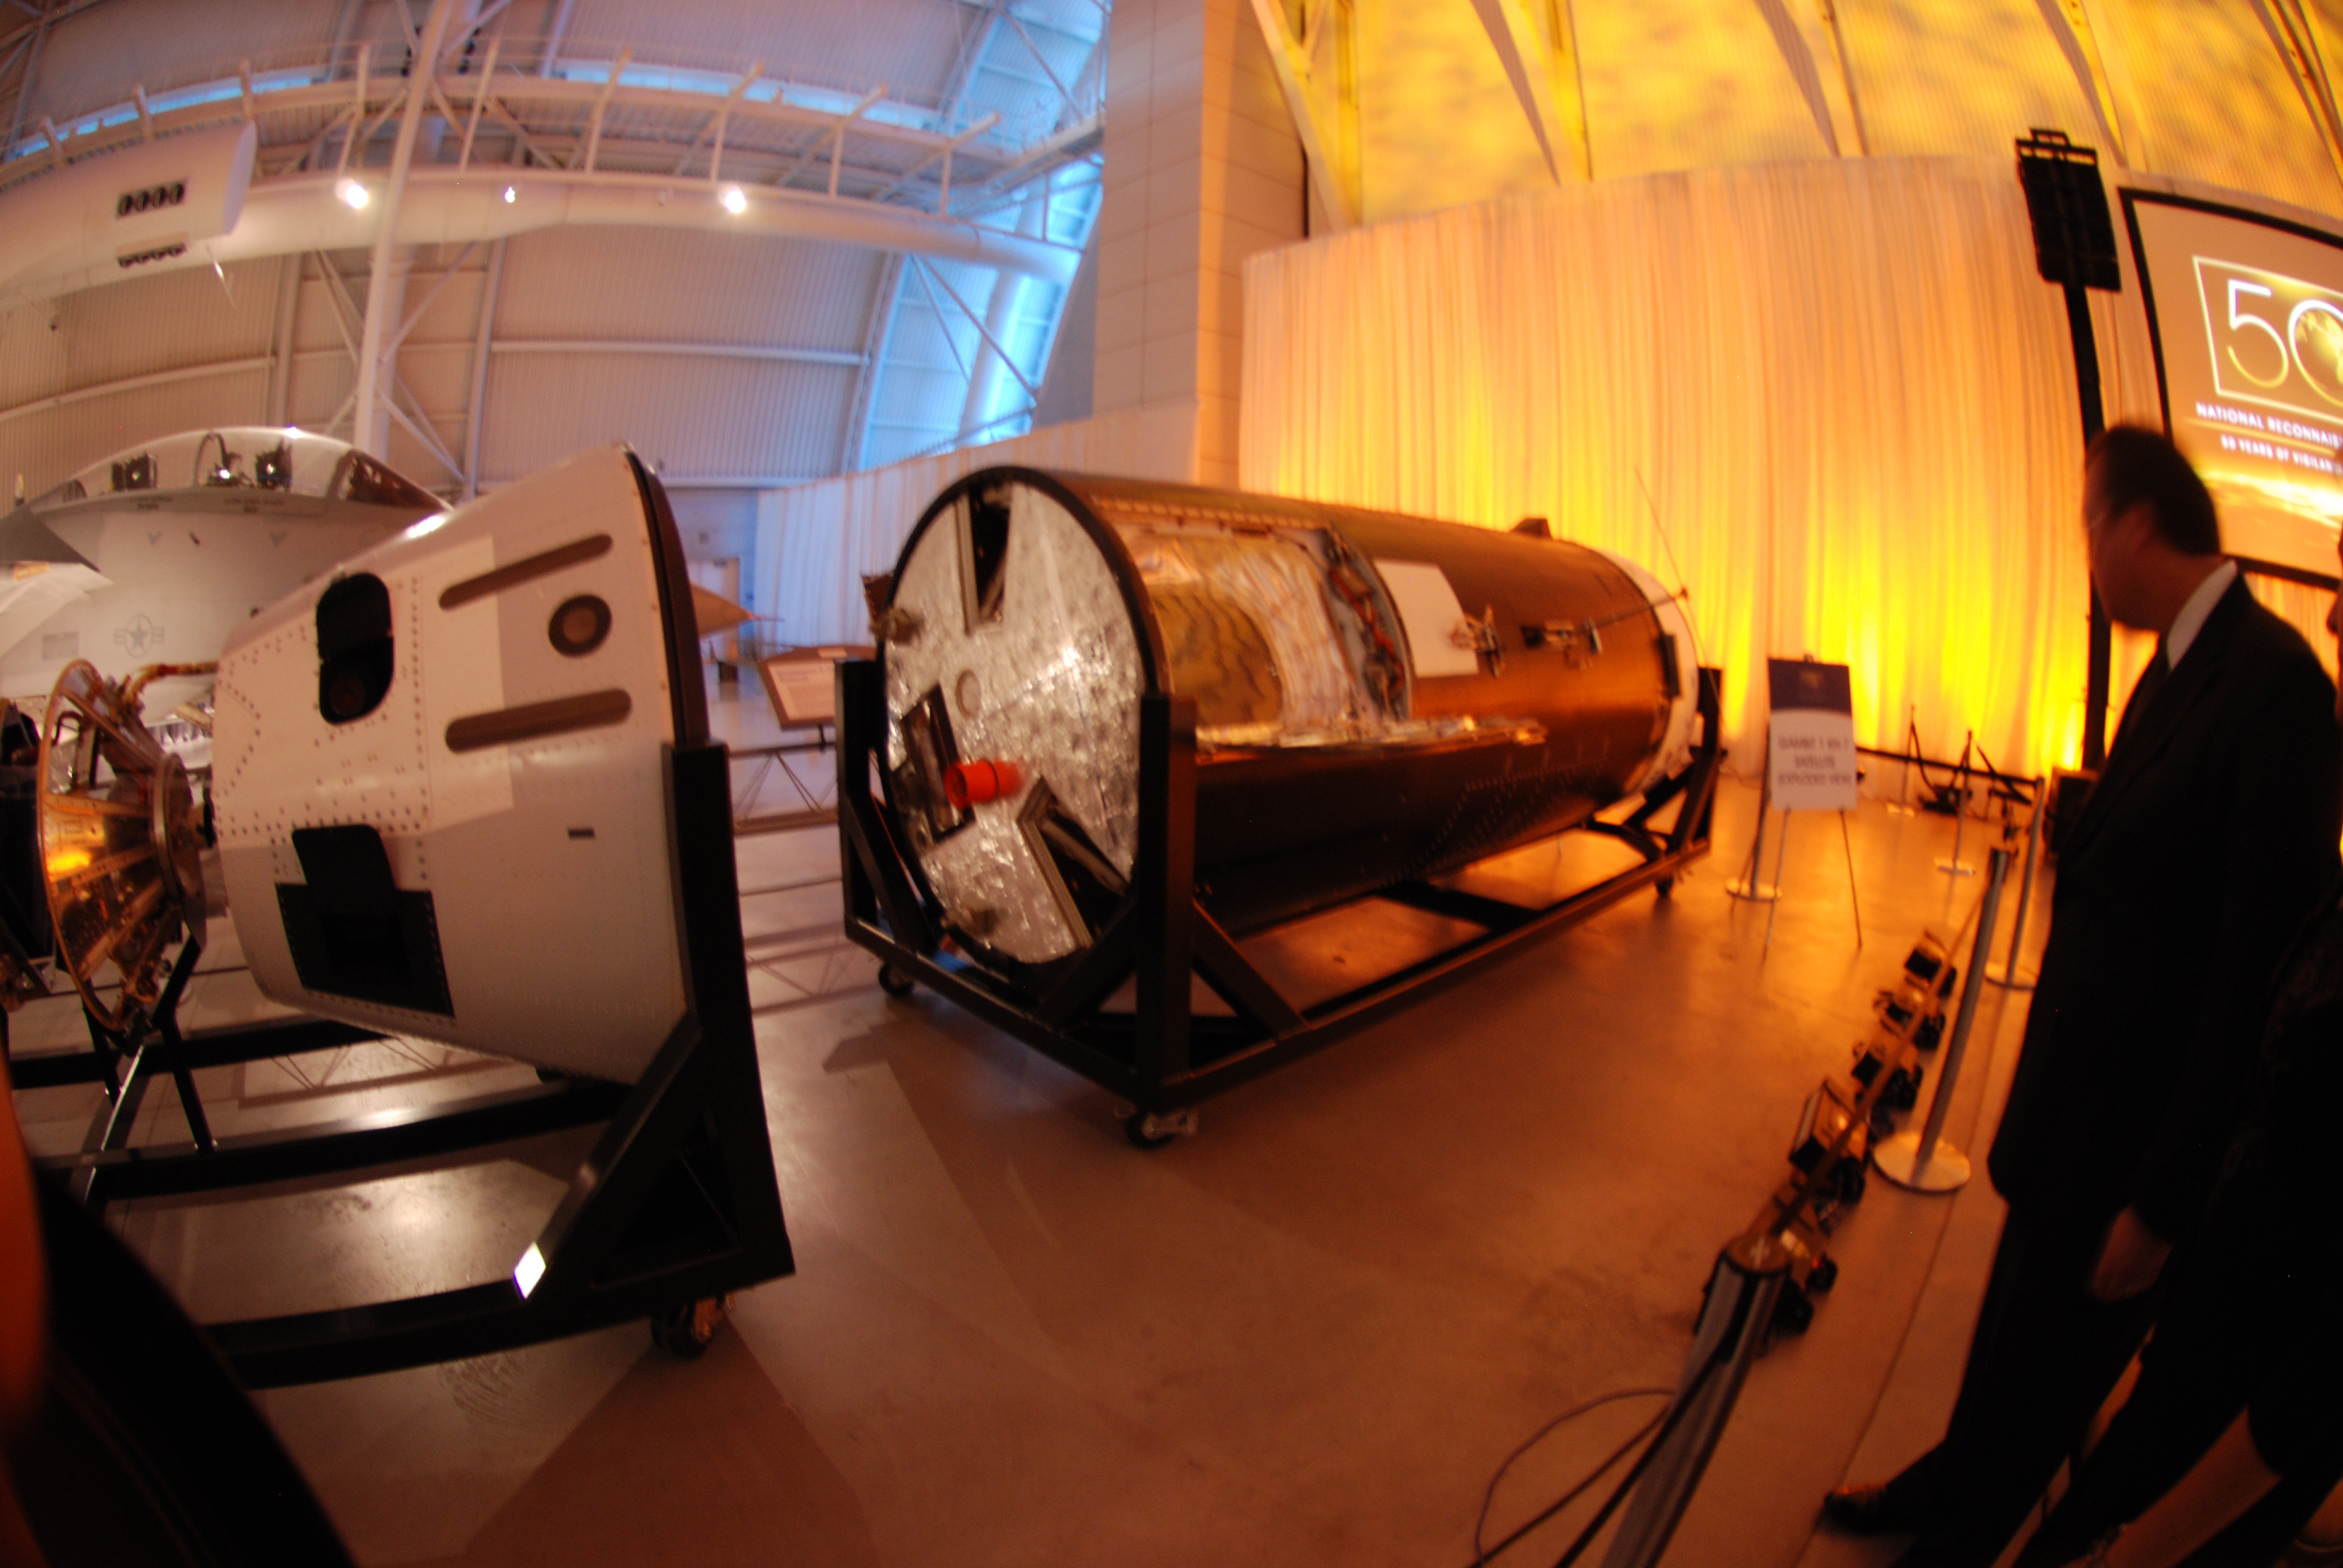
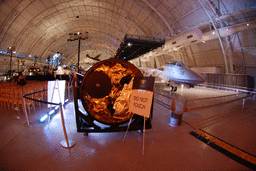
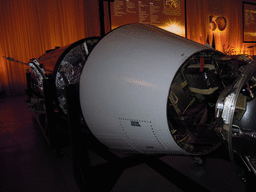
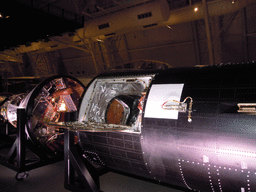
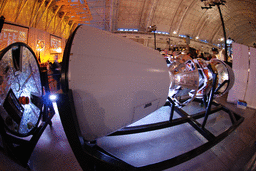
| DSC_2553.JPG KH-7 on display |
DSC_2555.JPG KH-7 payload vehicle |
DSC_2556.JPG Payload vehicle, front |
 |
 |
 |
 |
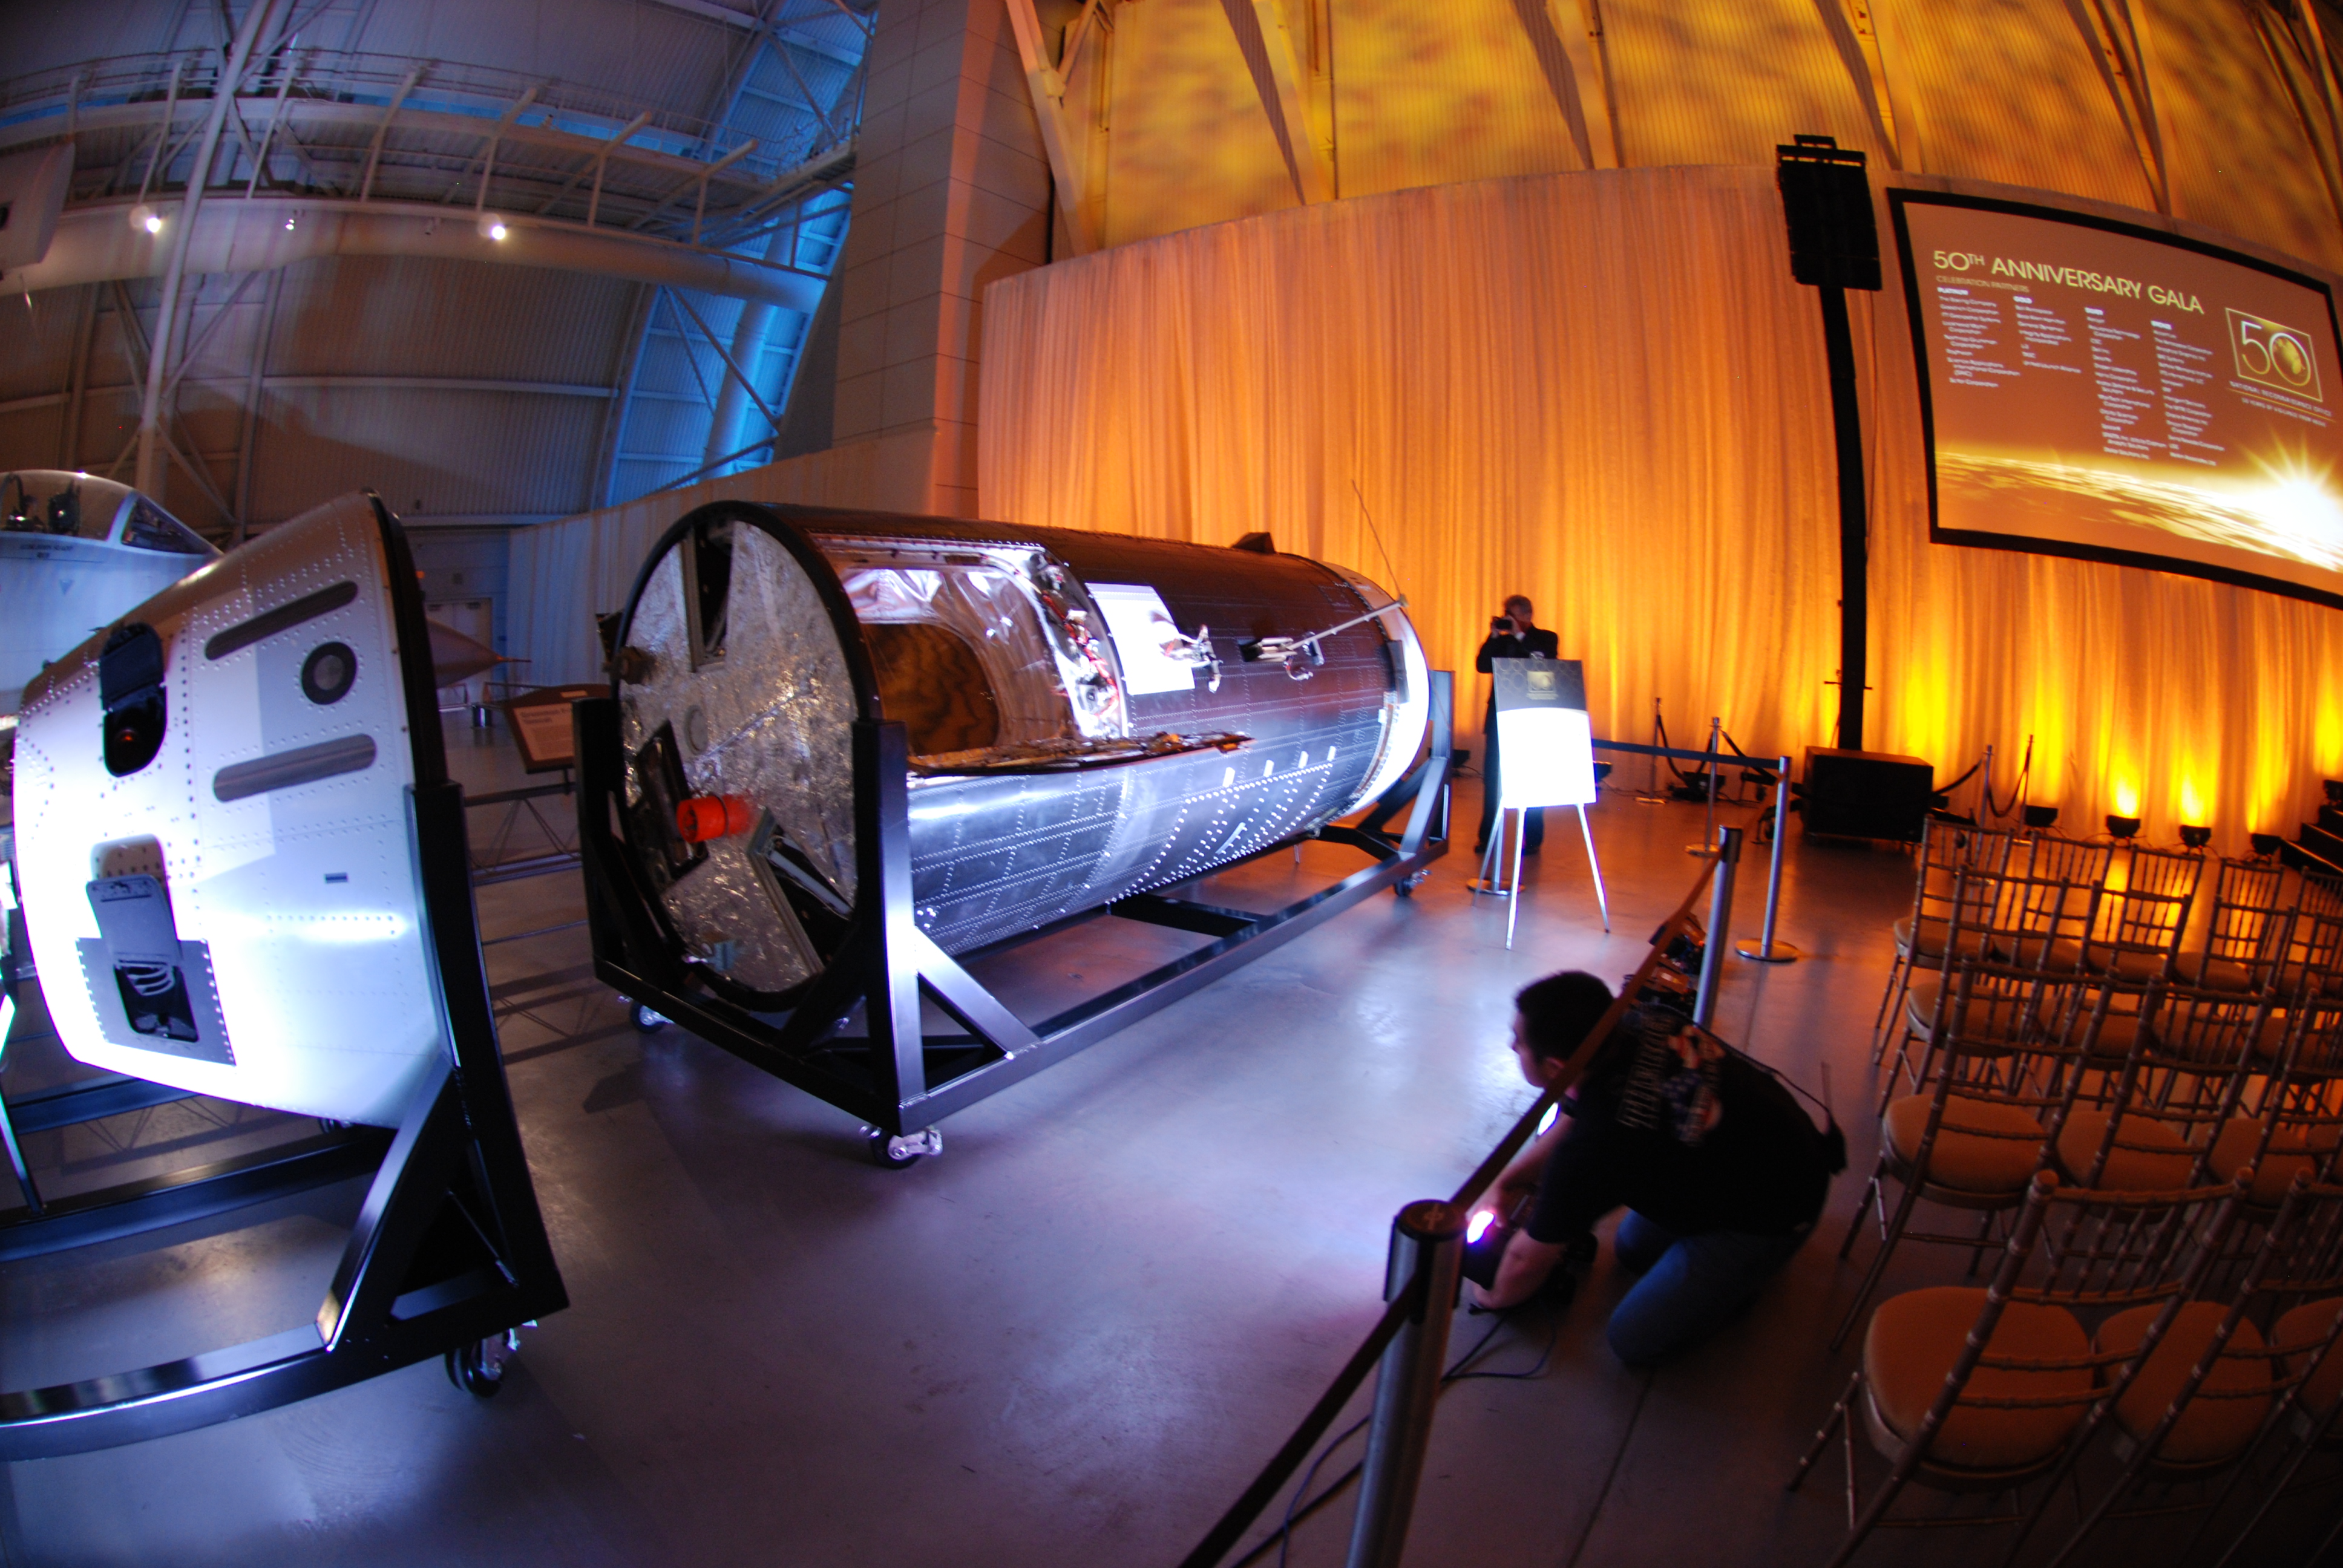
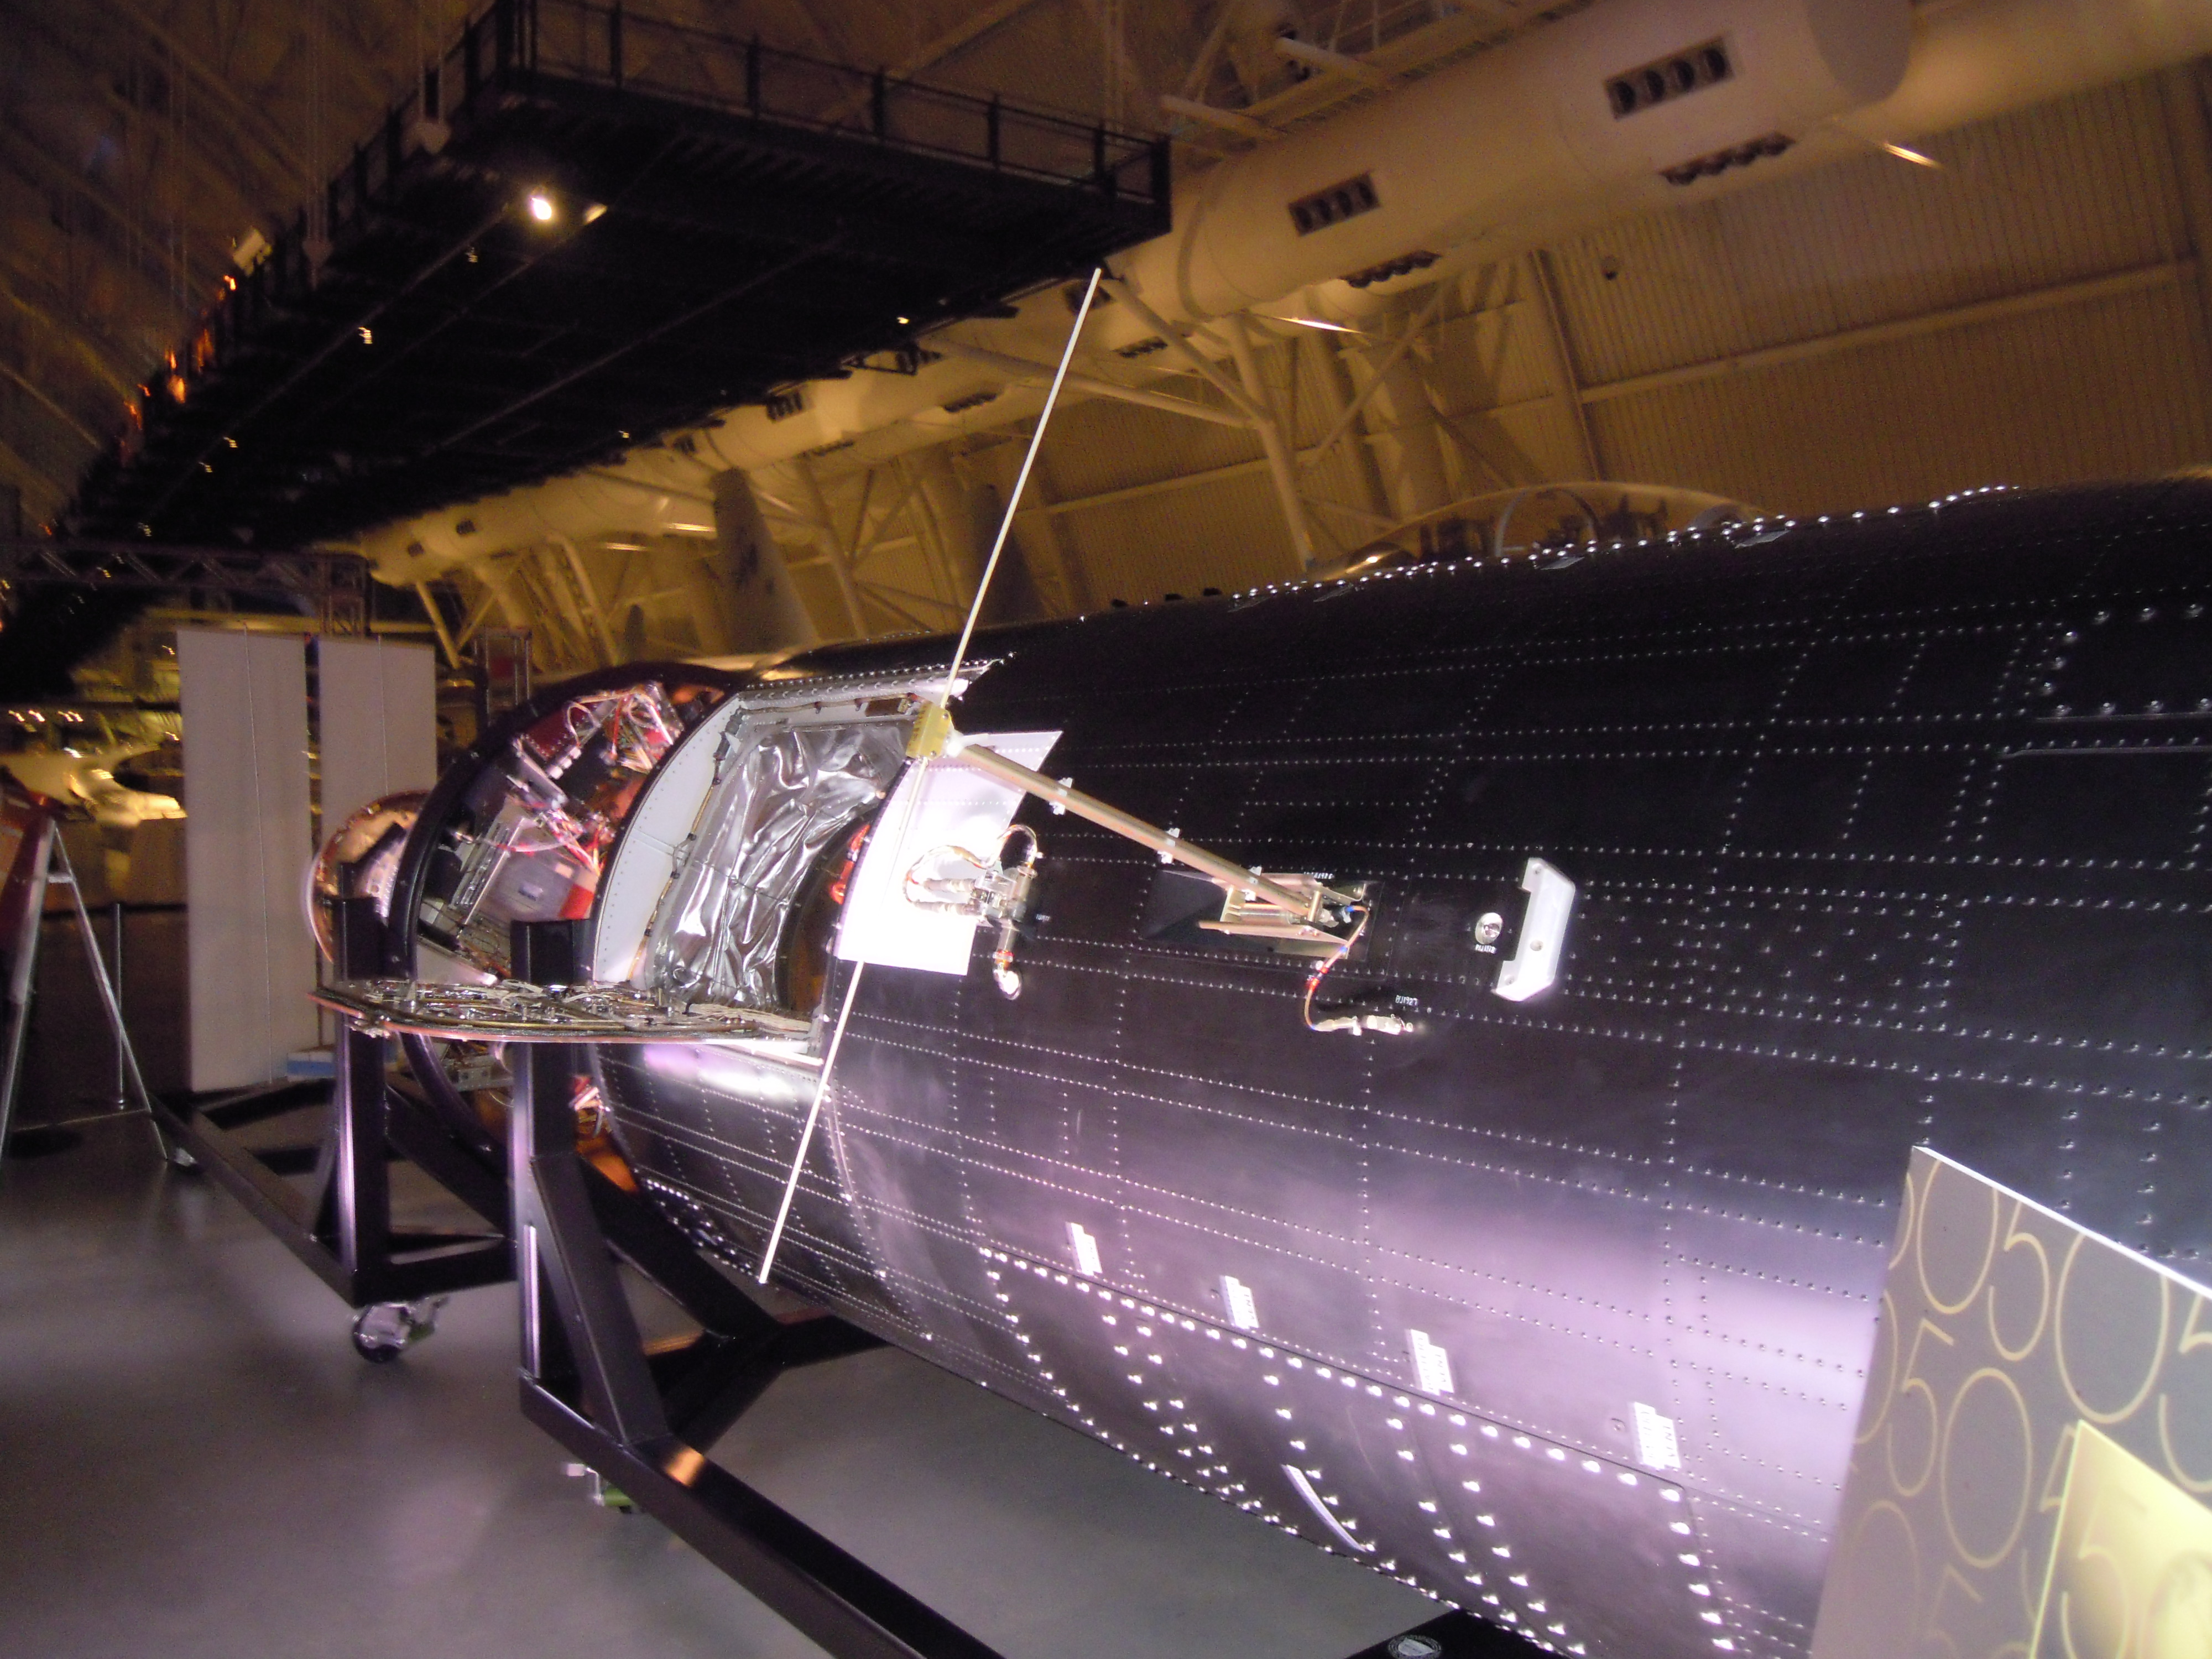
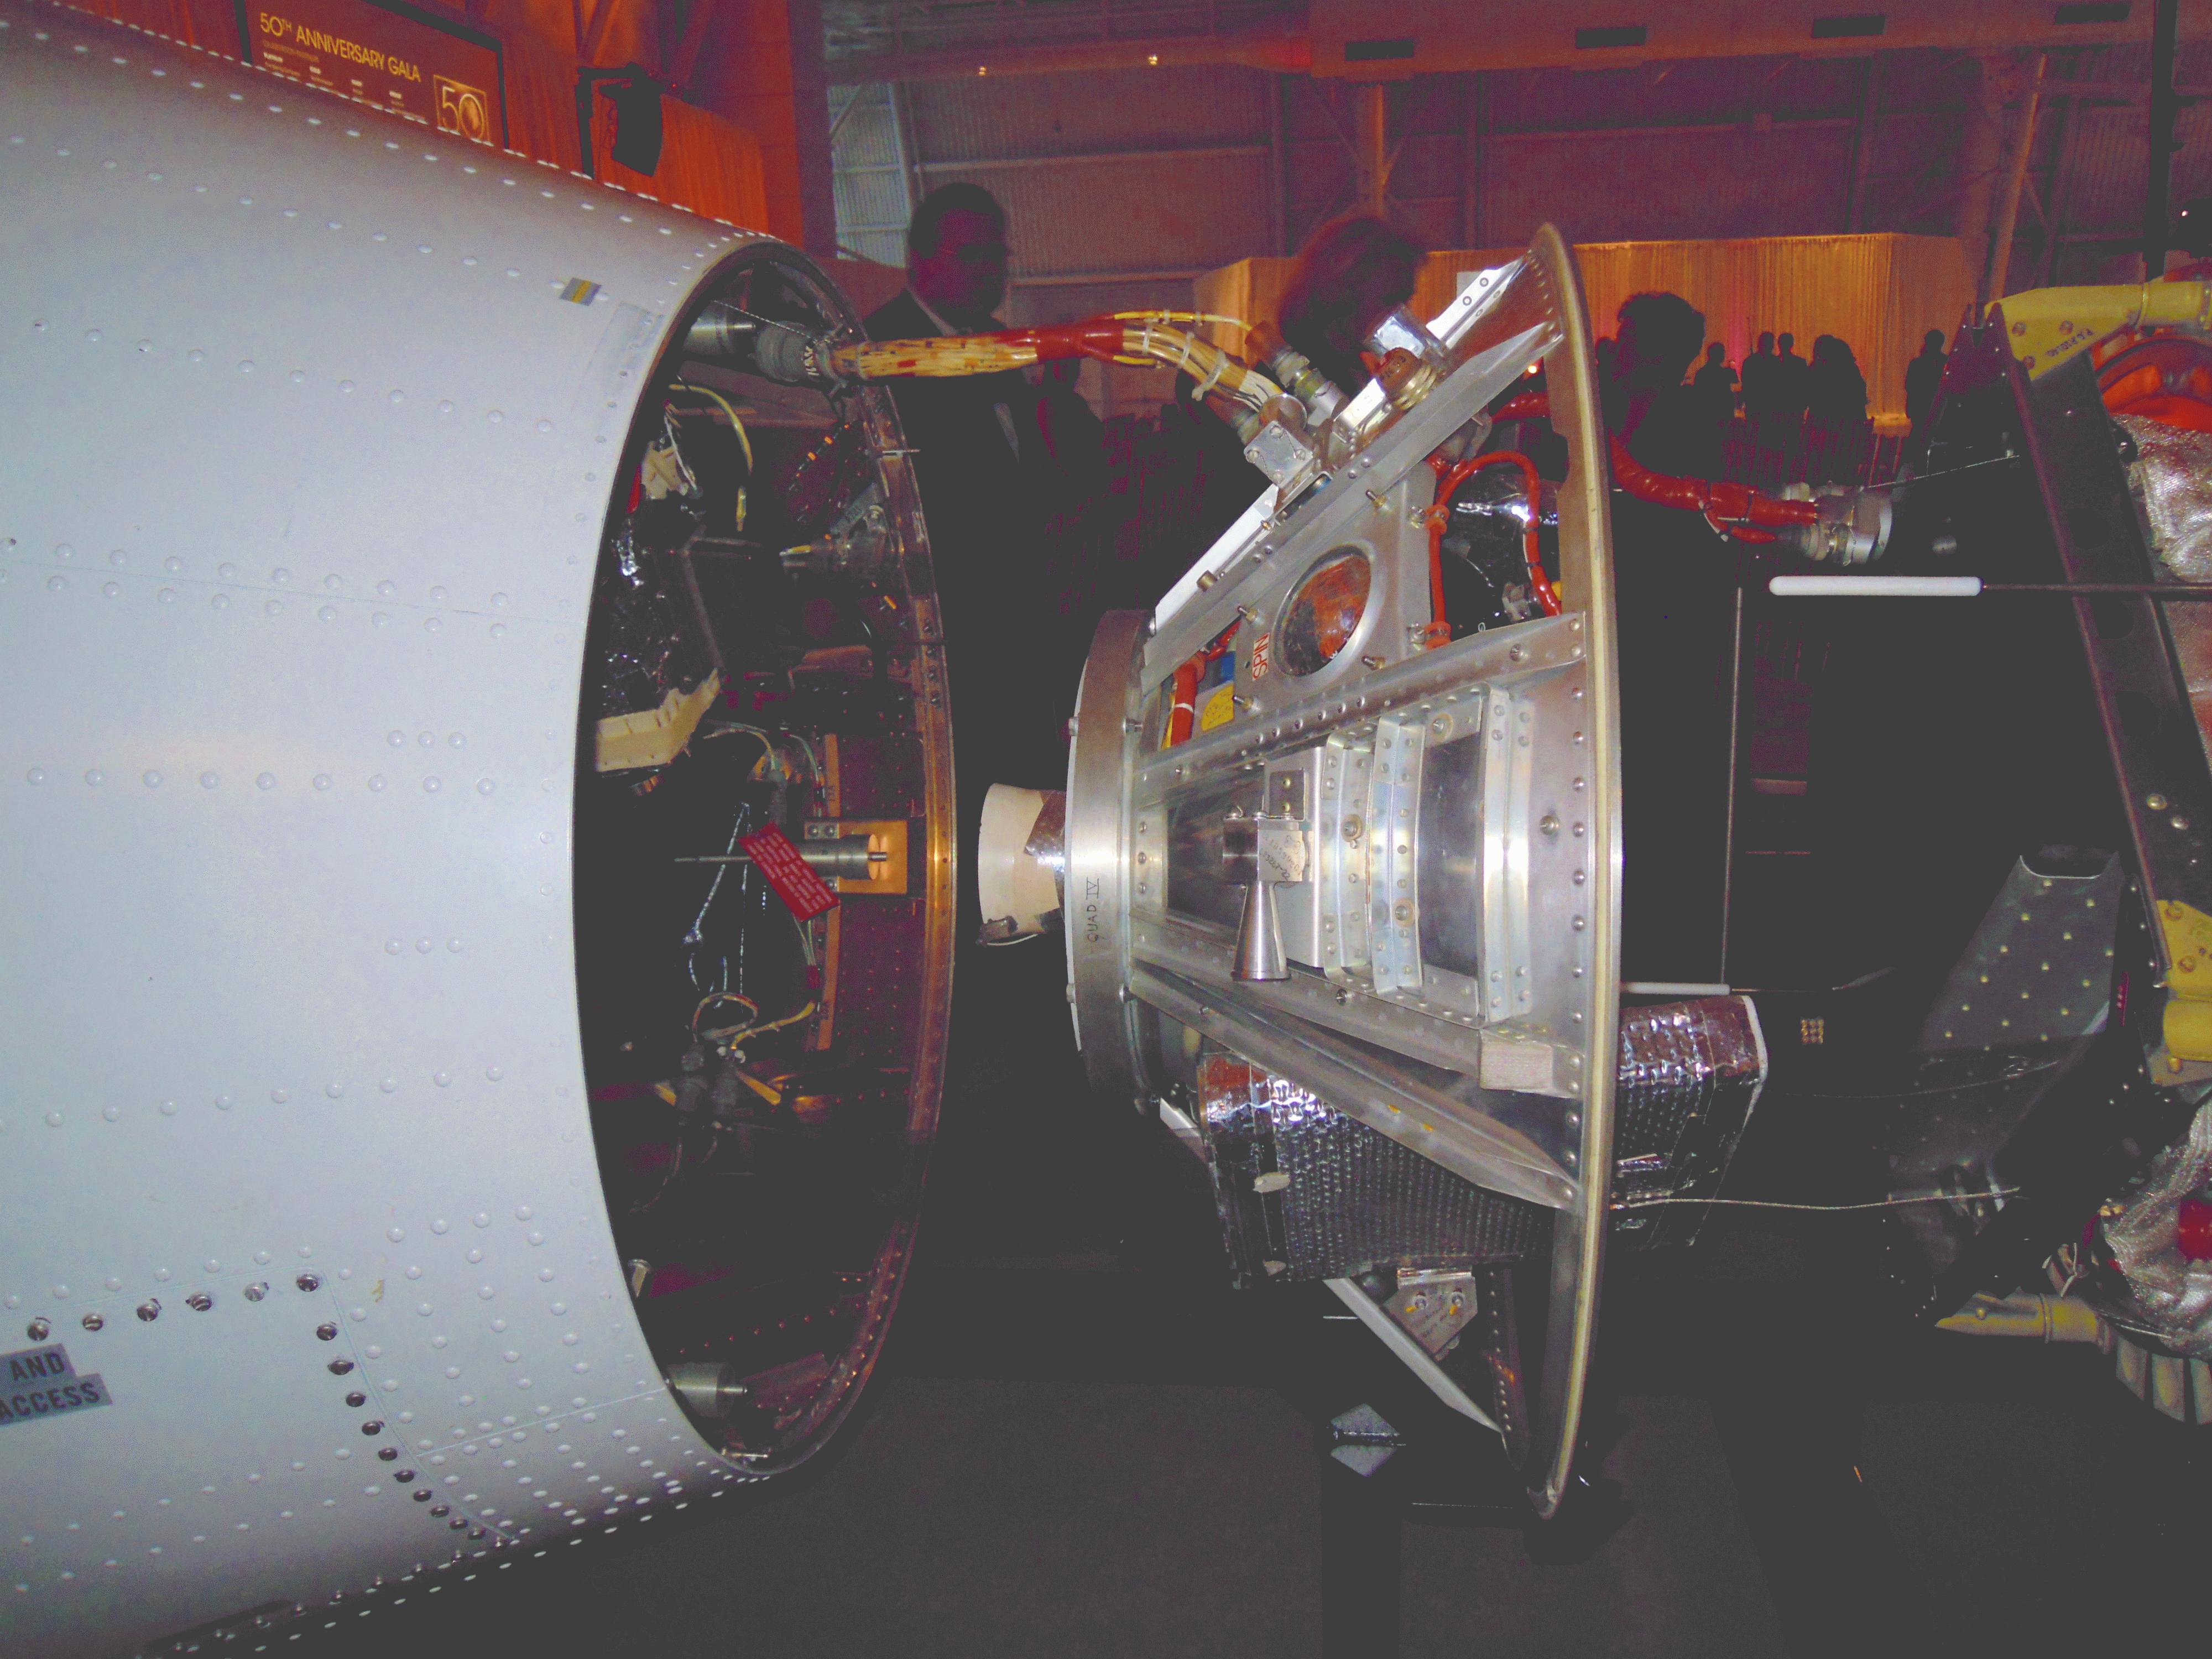
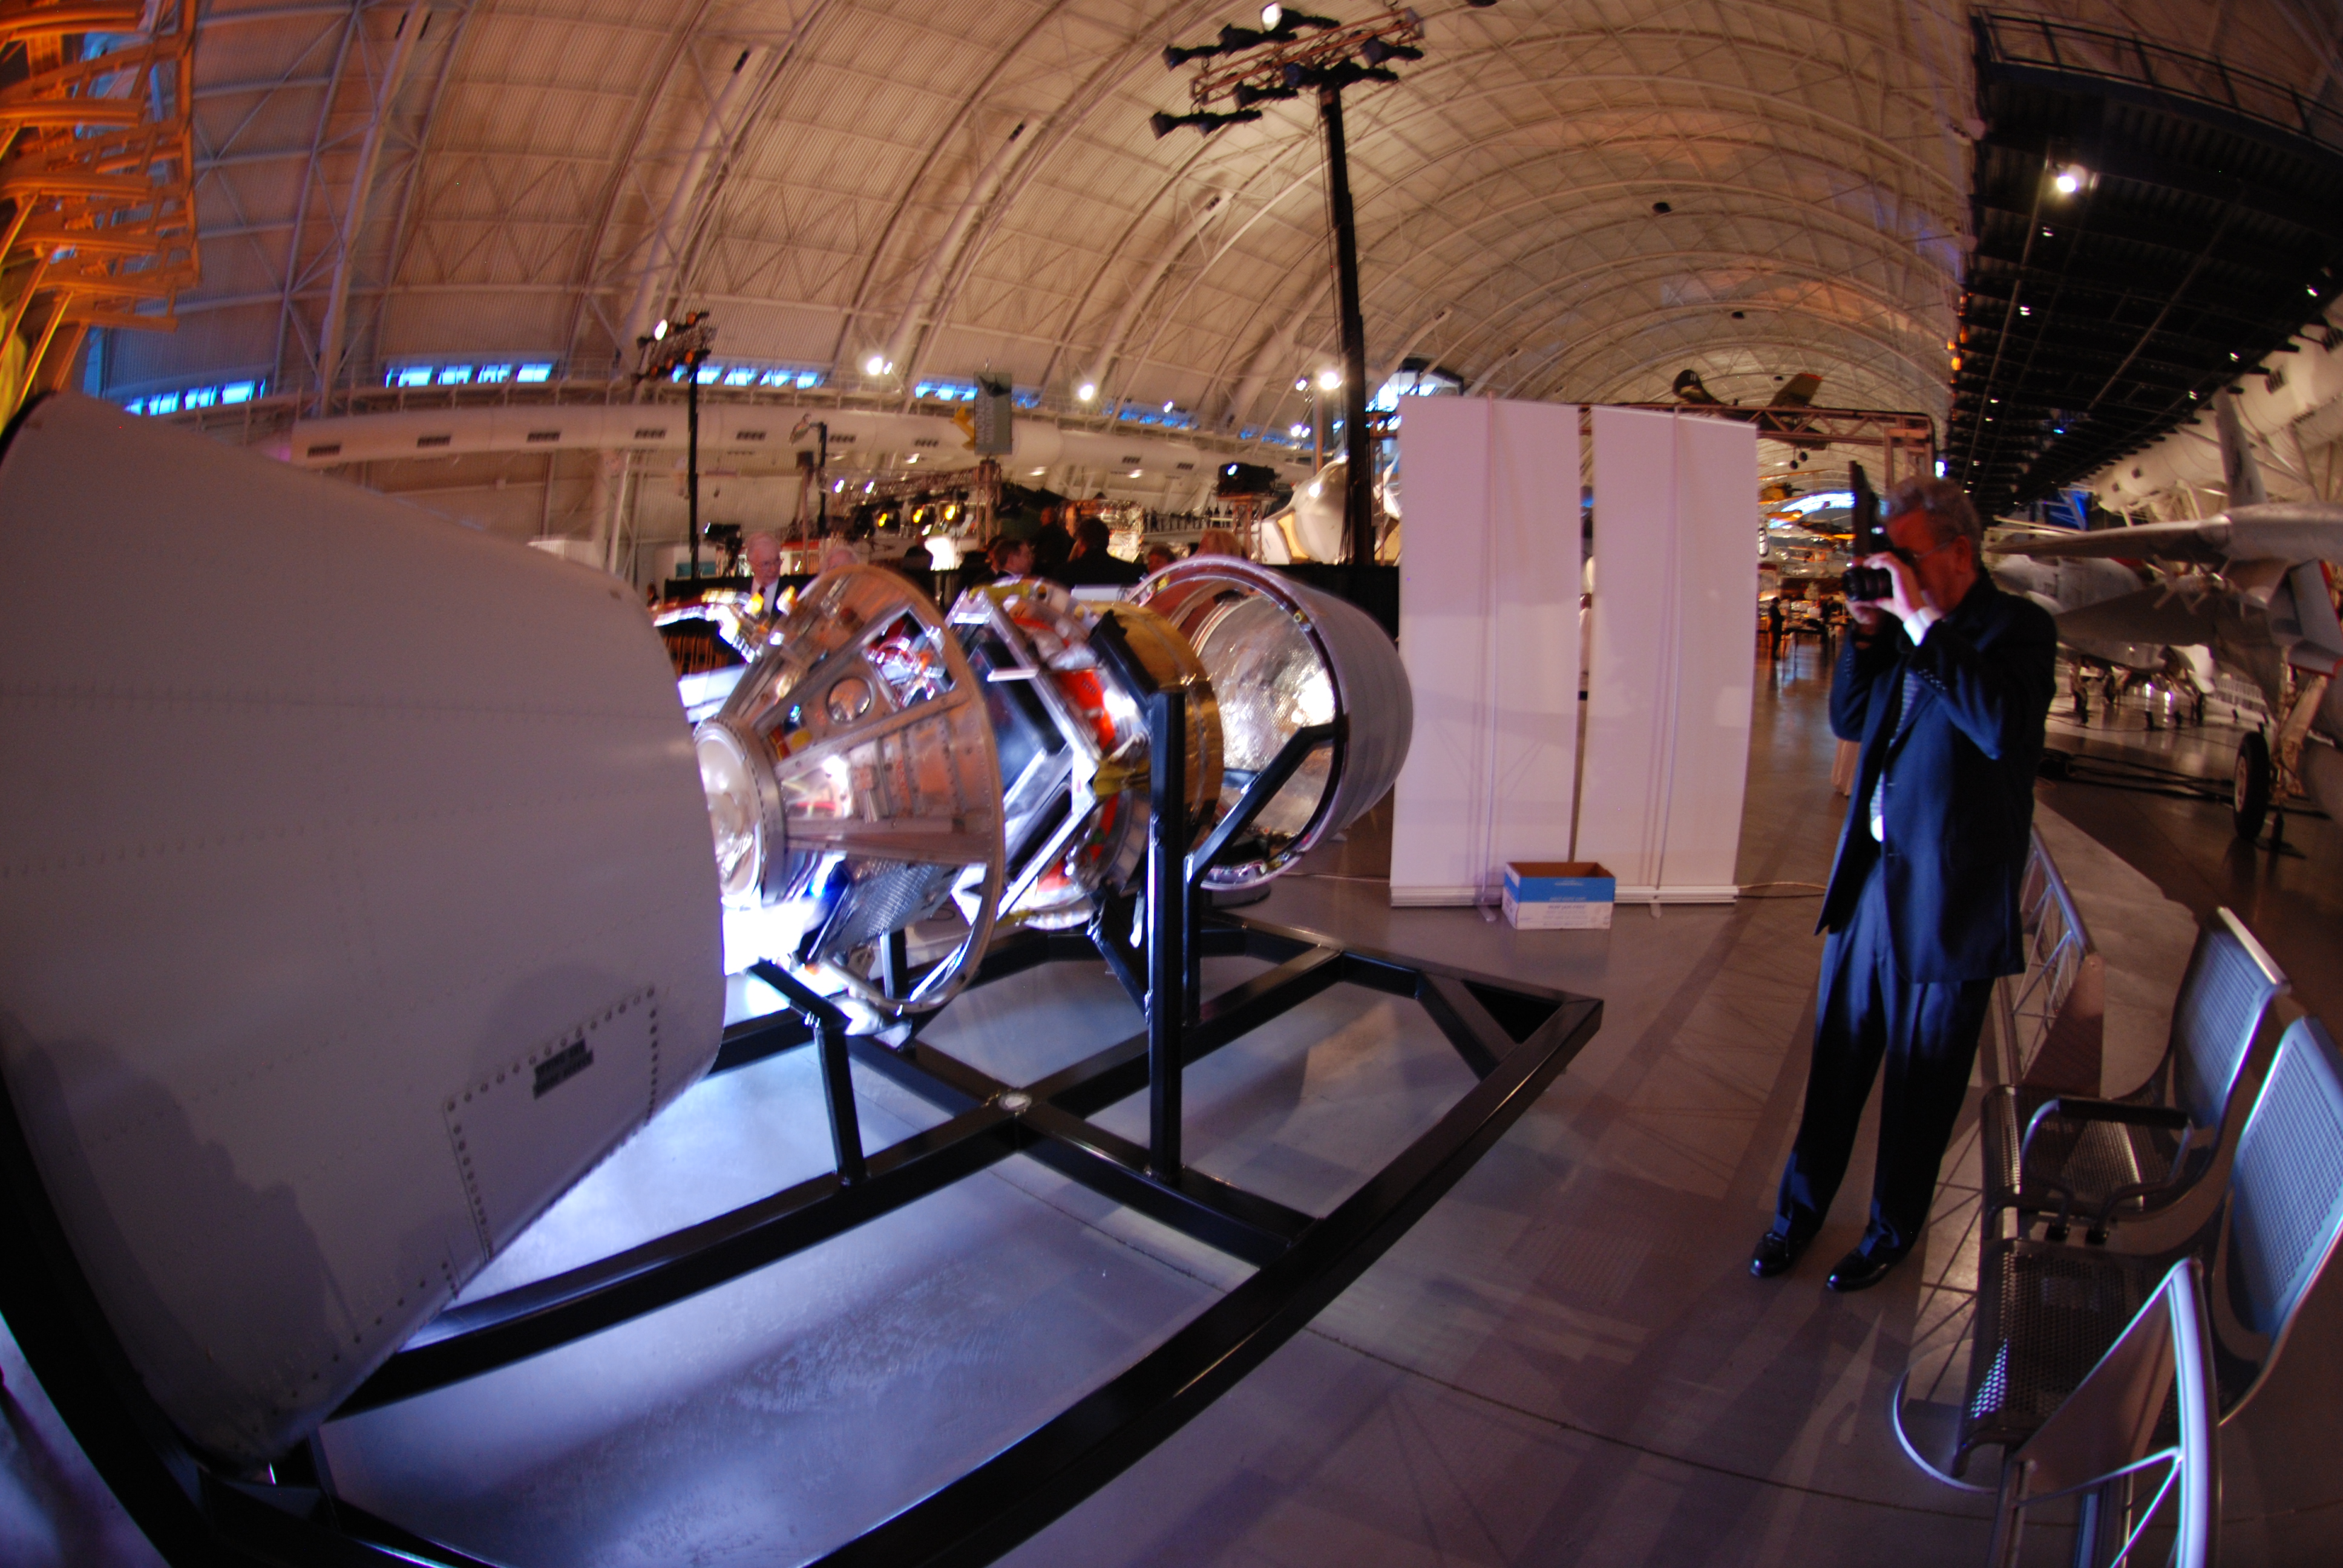
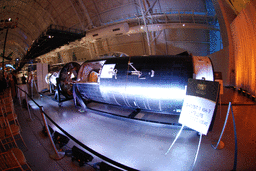
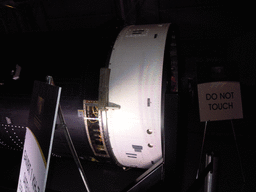
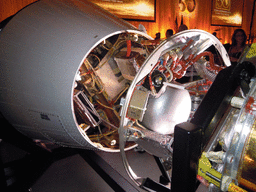
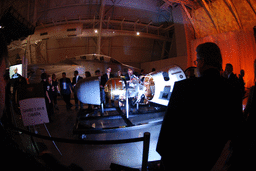
| DSC_2559.JPG KH-7 in the museum |
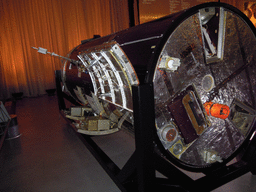
DSC_2560.JPG Payload vehicle |
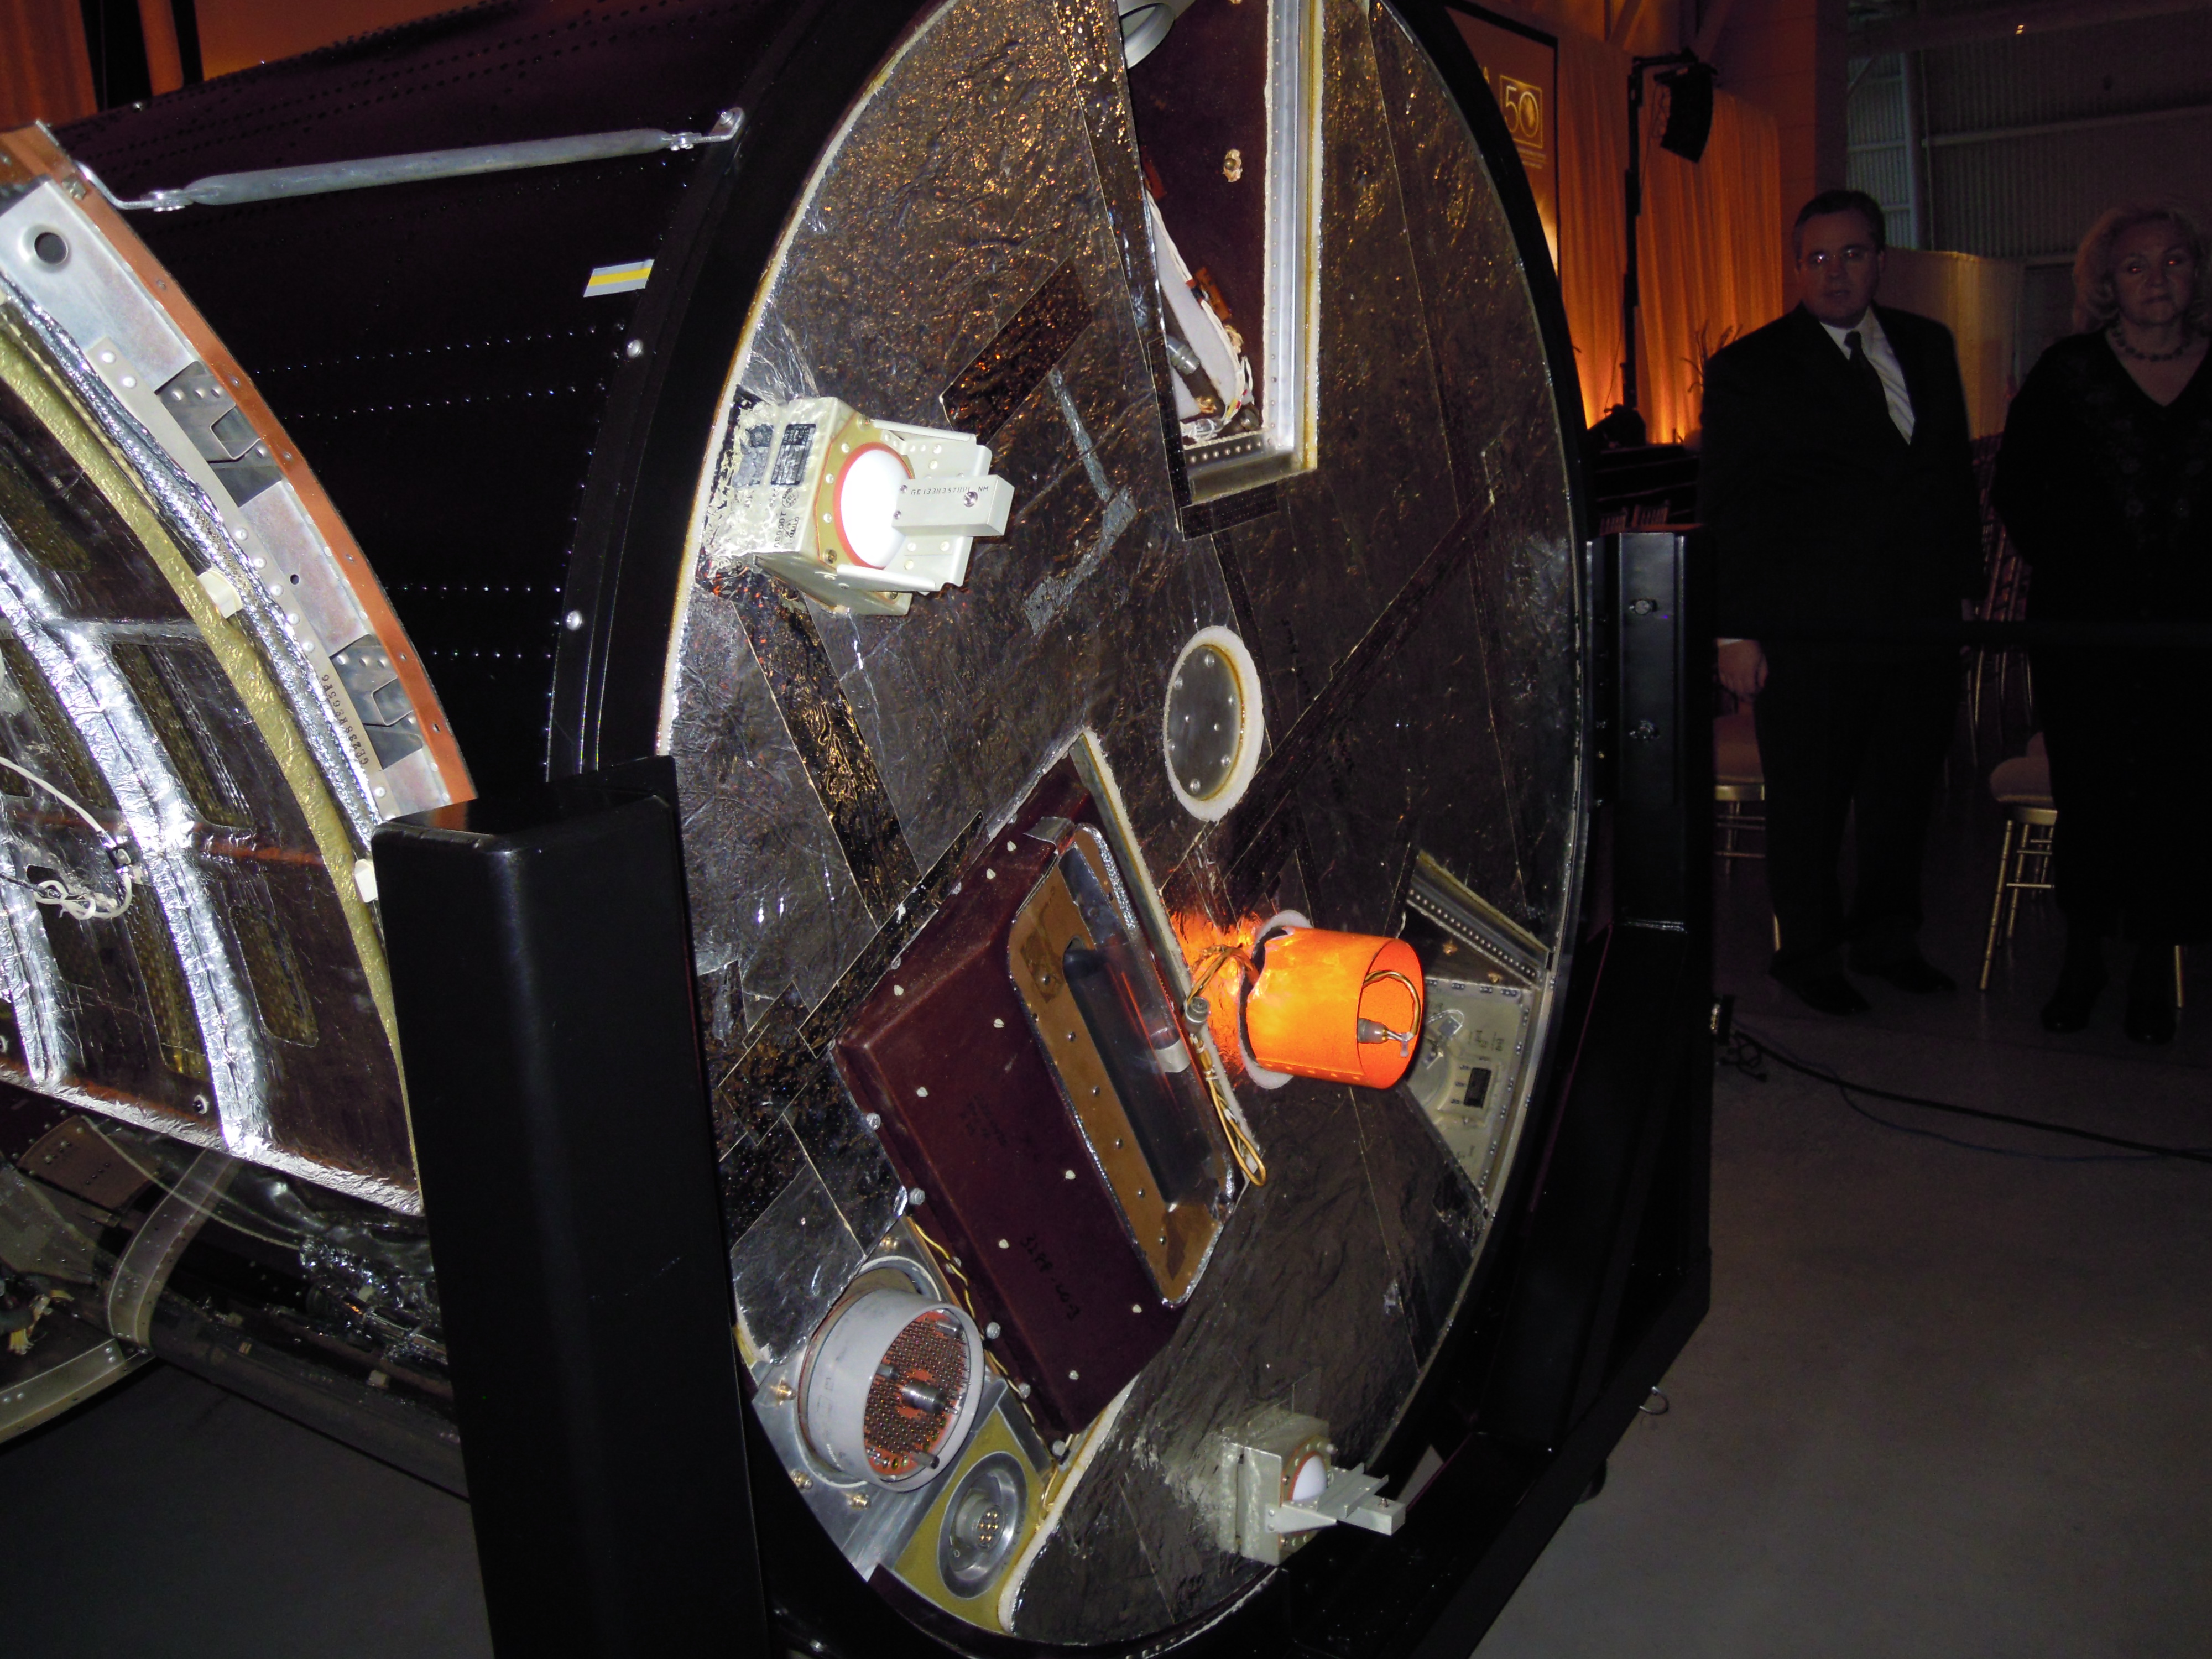
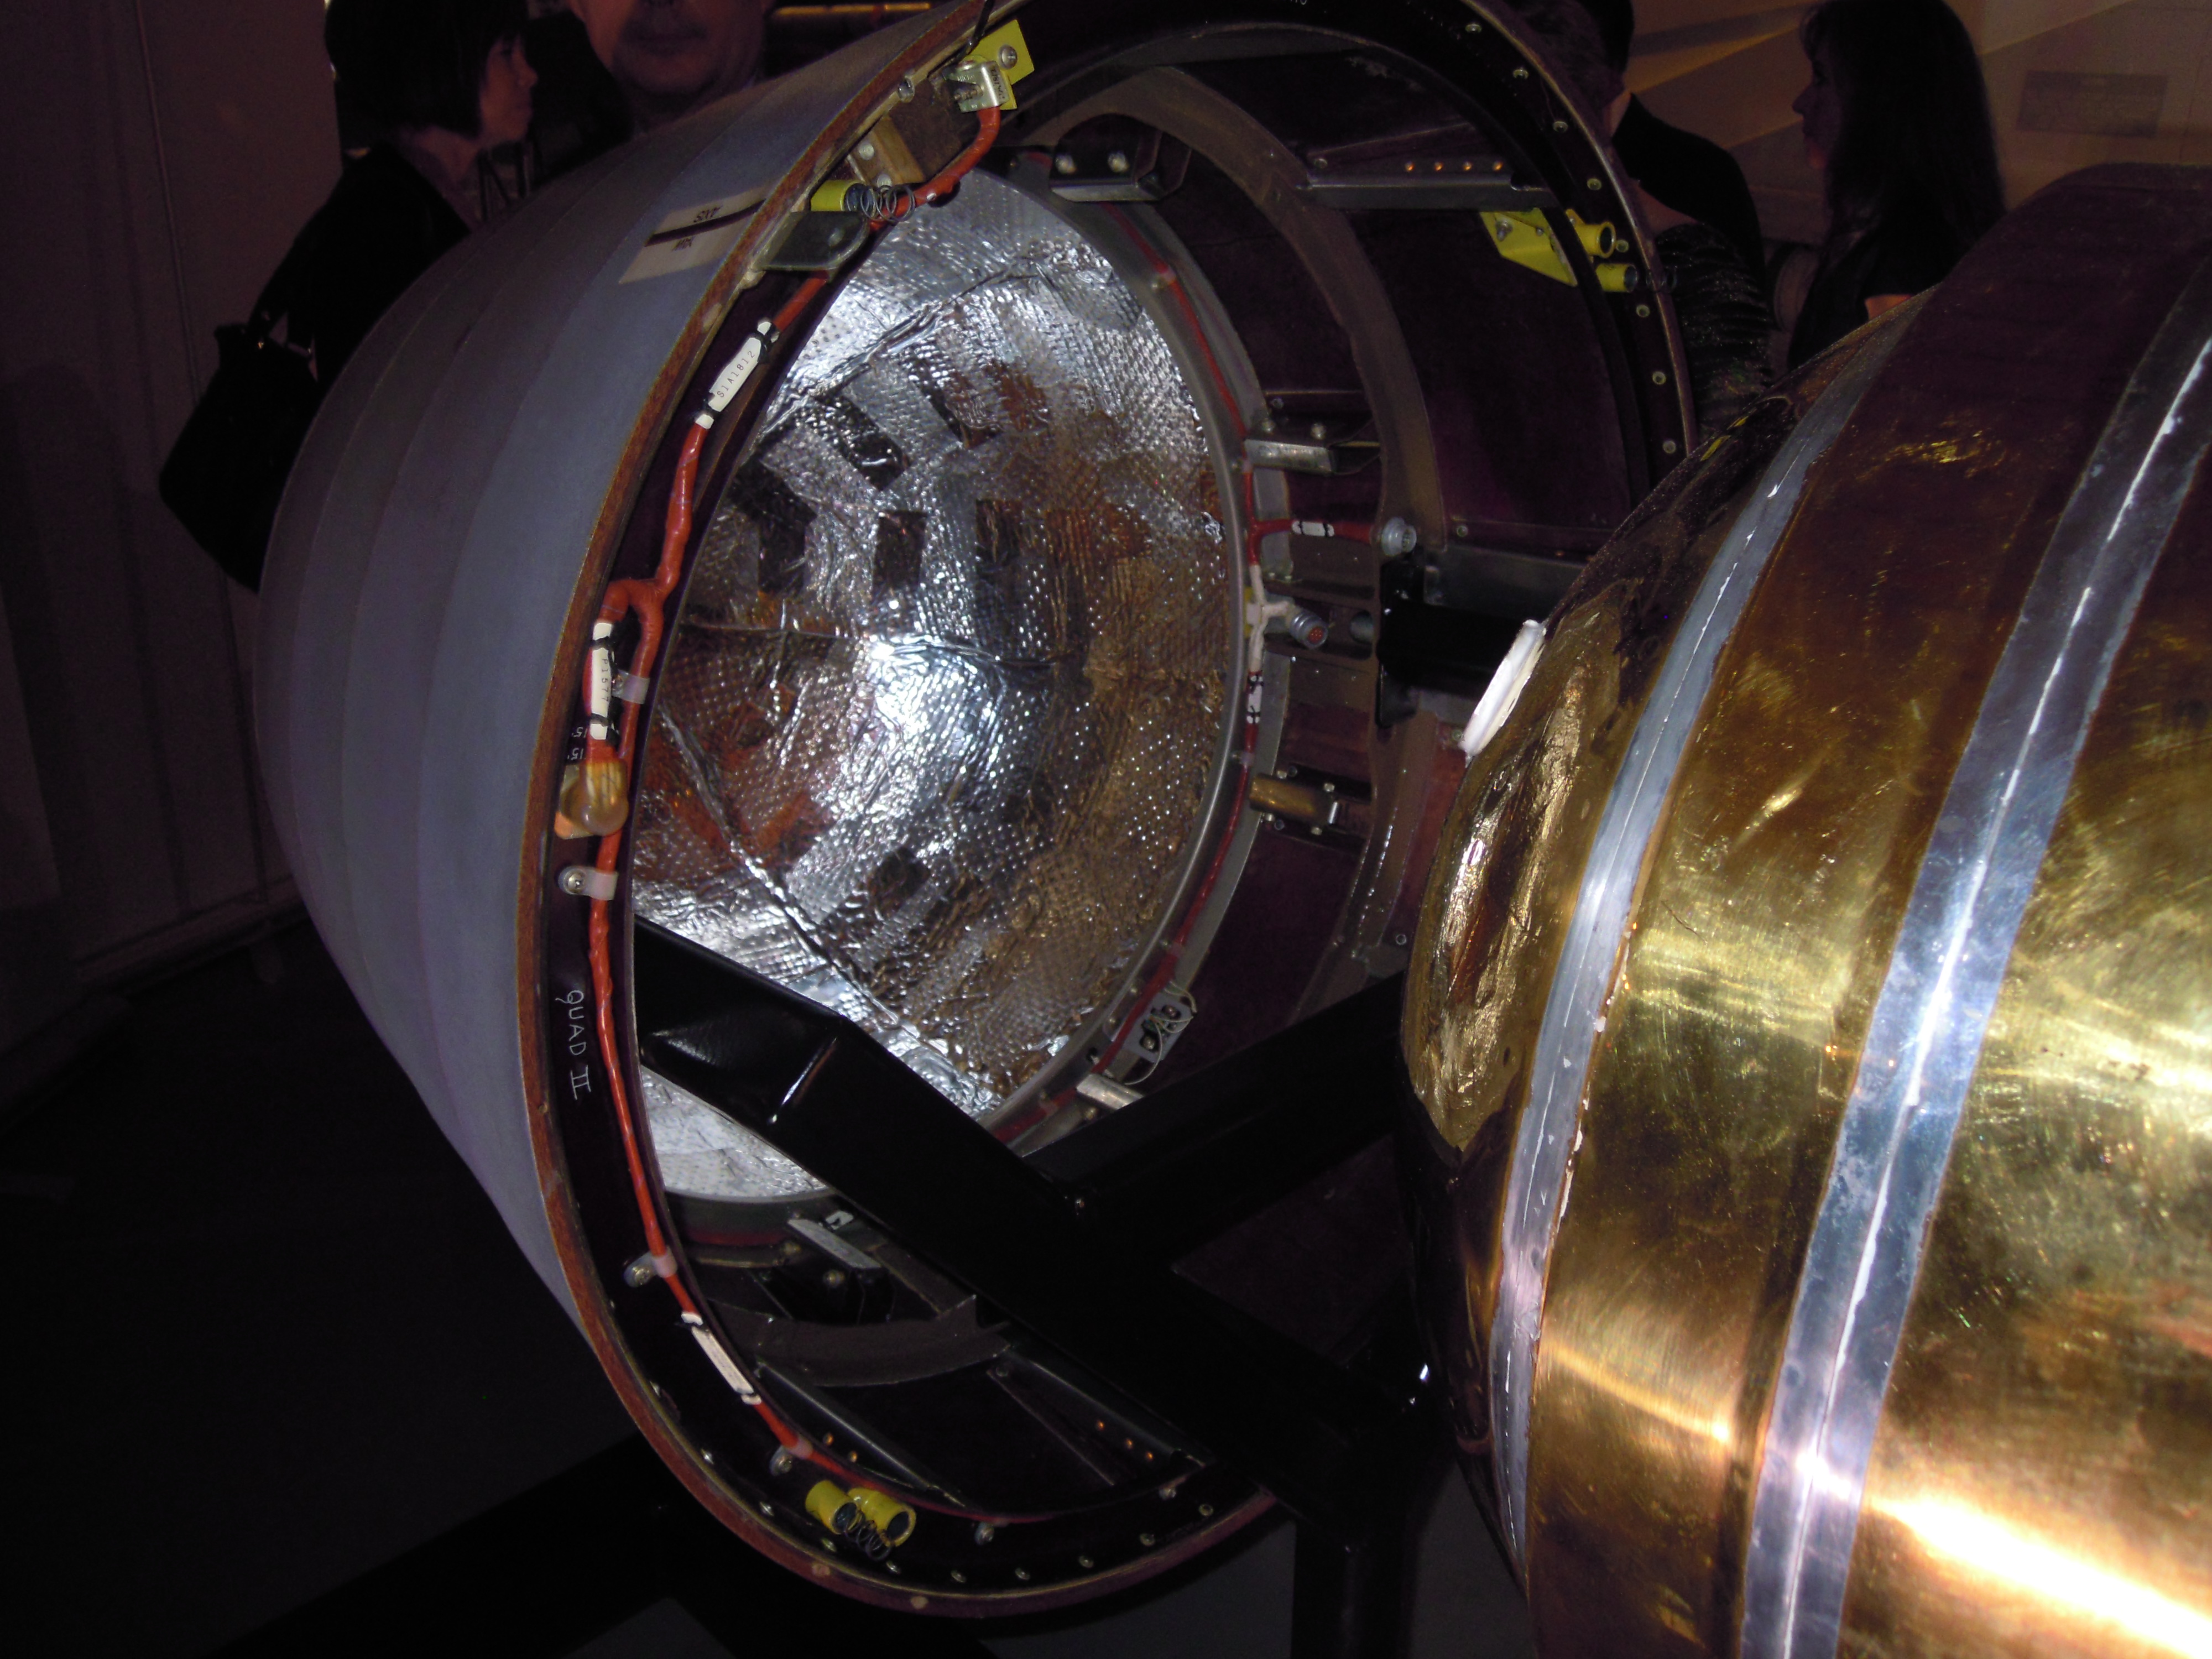
DSC_2561.JPG Payload vehicle with aperture |
DSC_2563.JPG KH-7 |
 |
 |
 |
 |
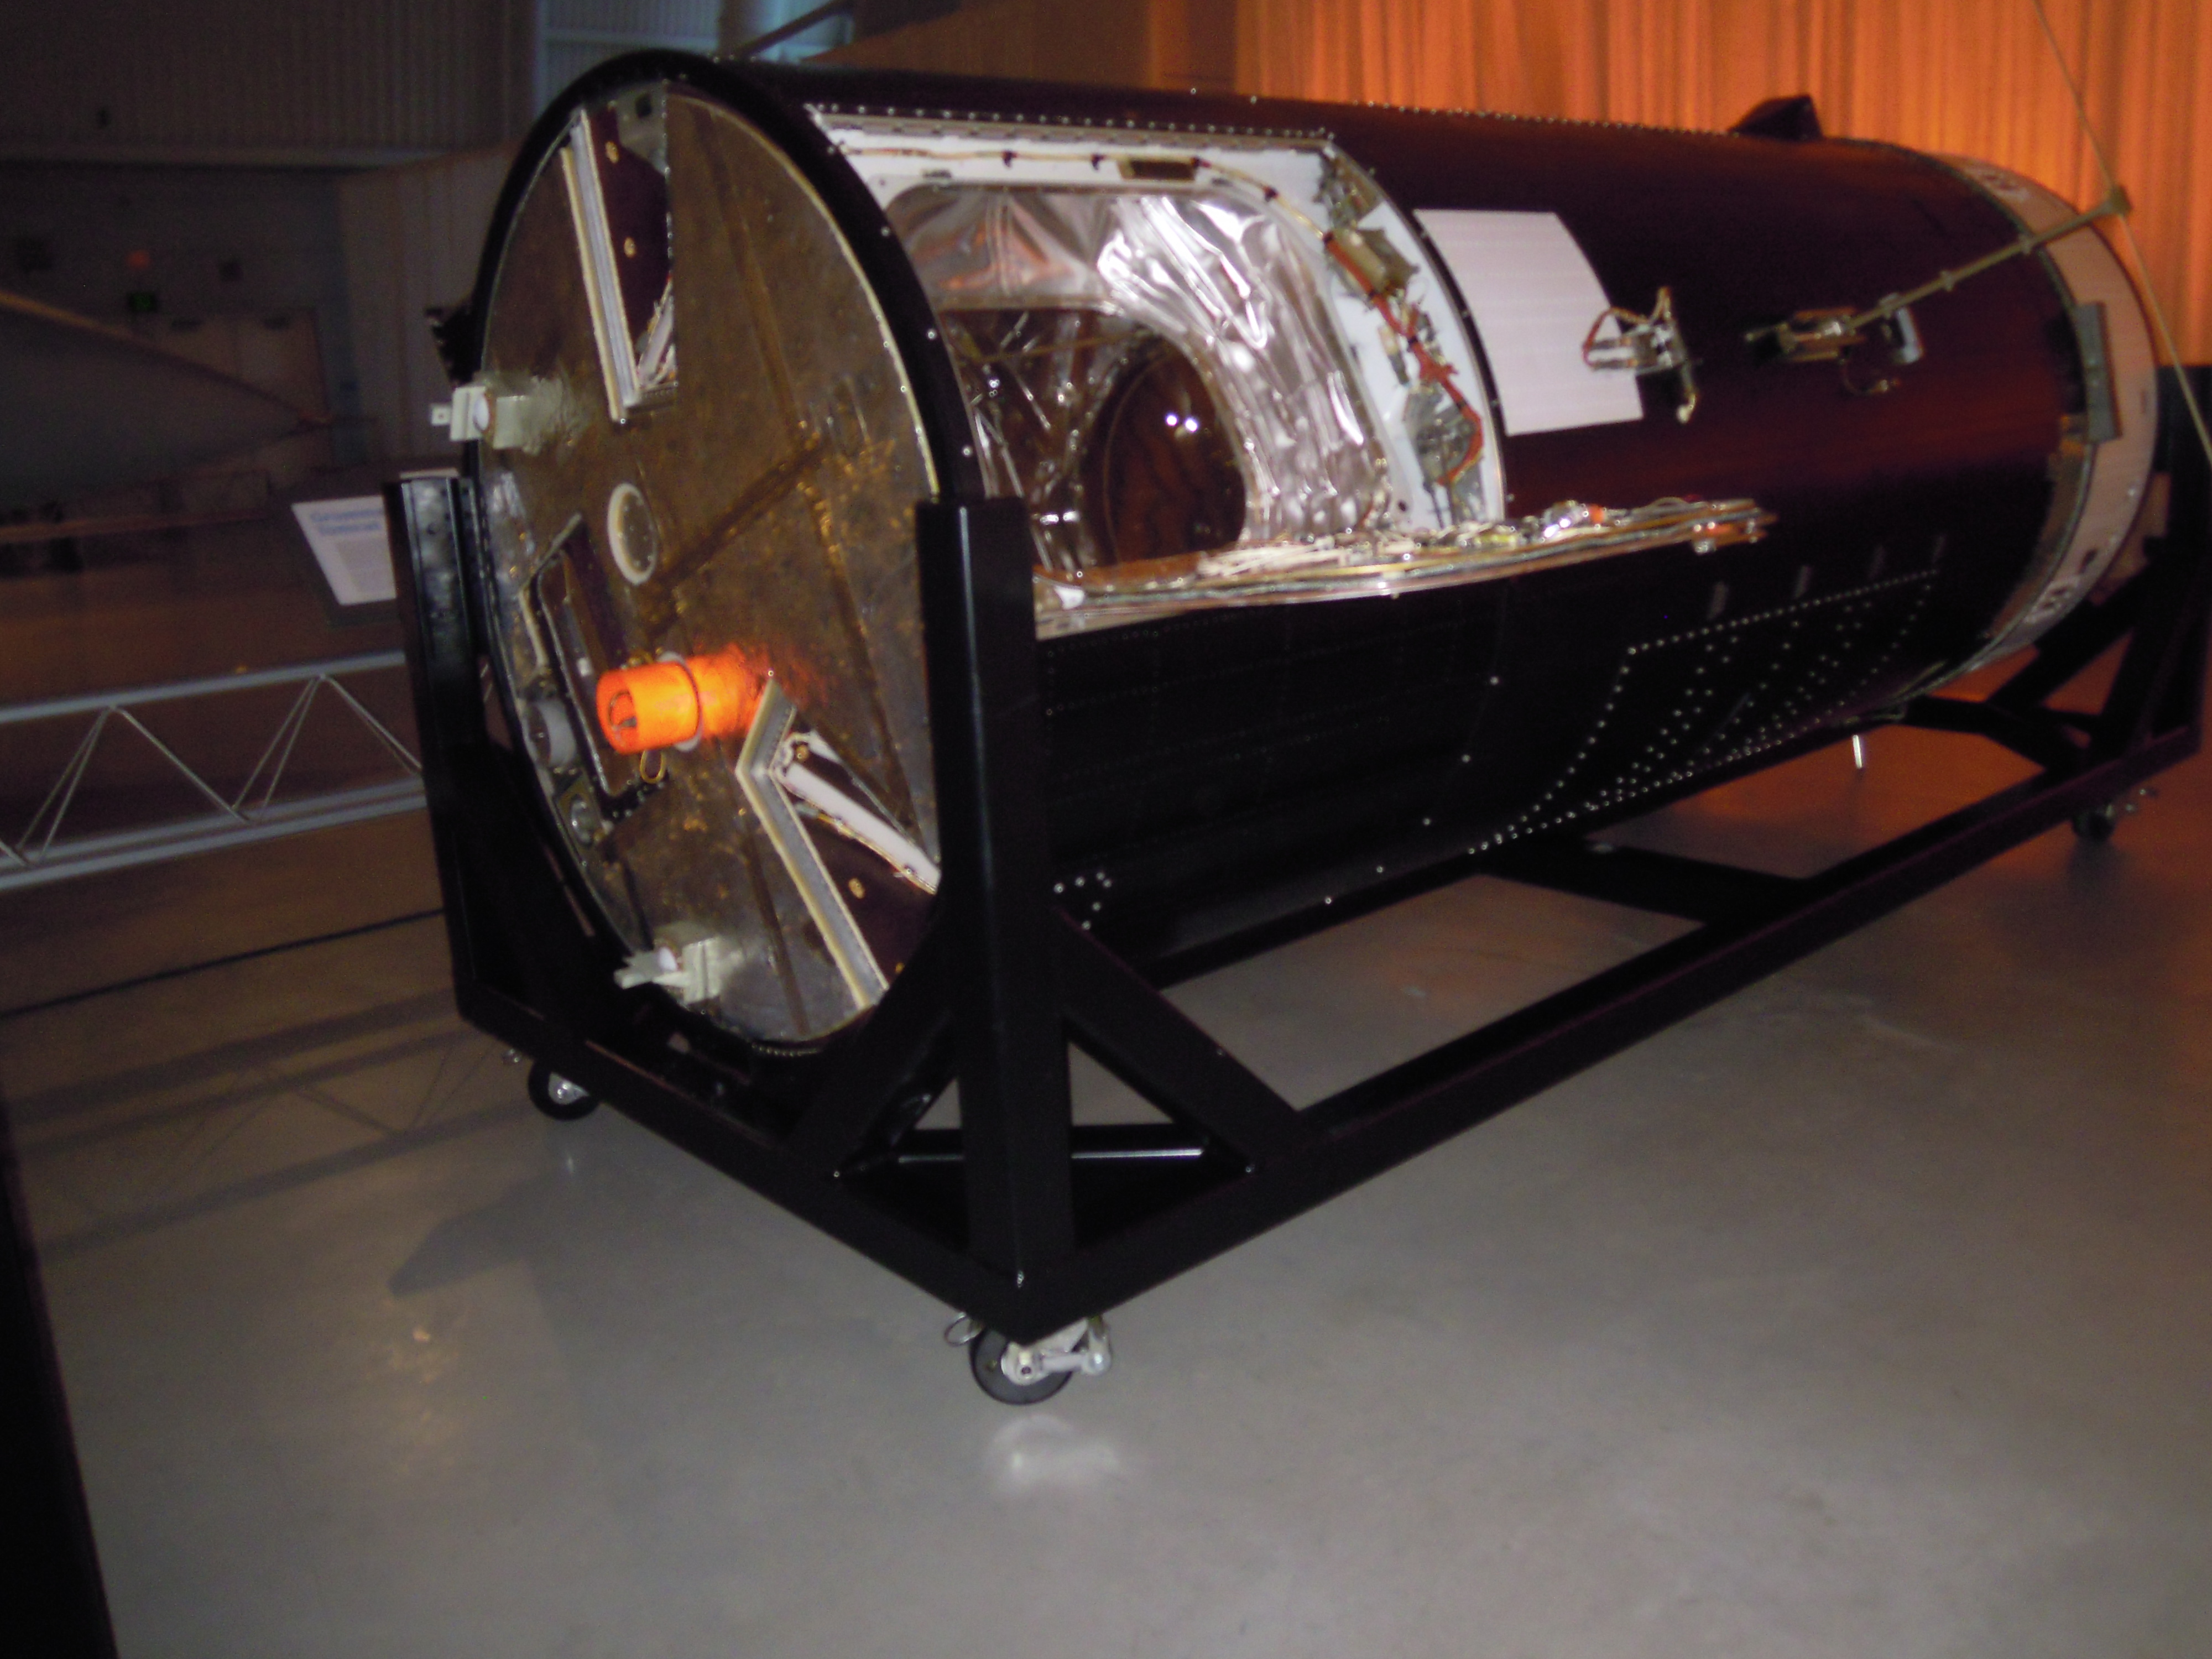
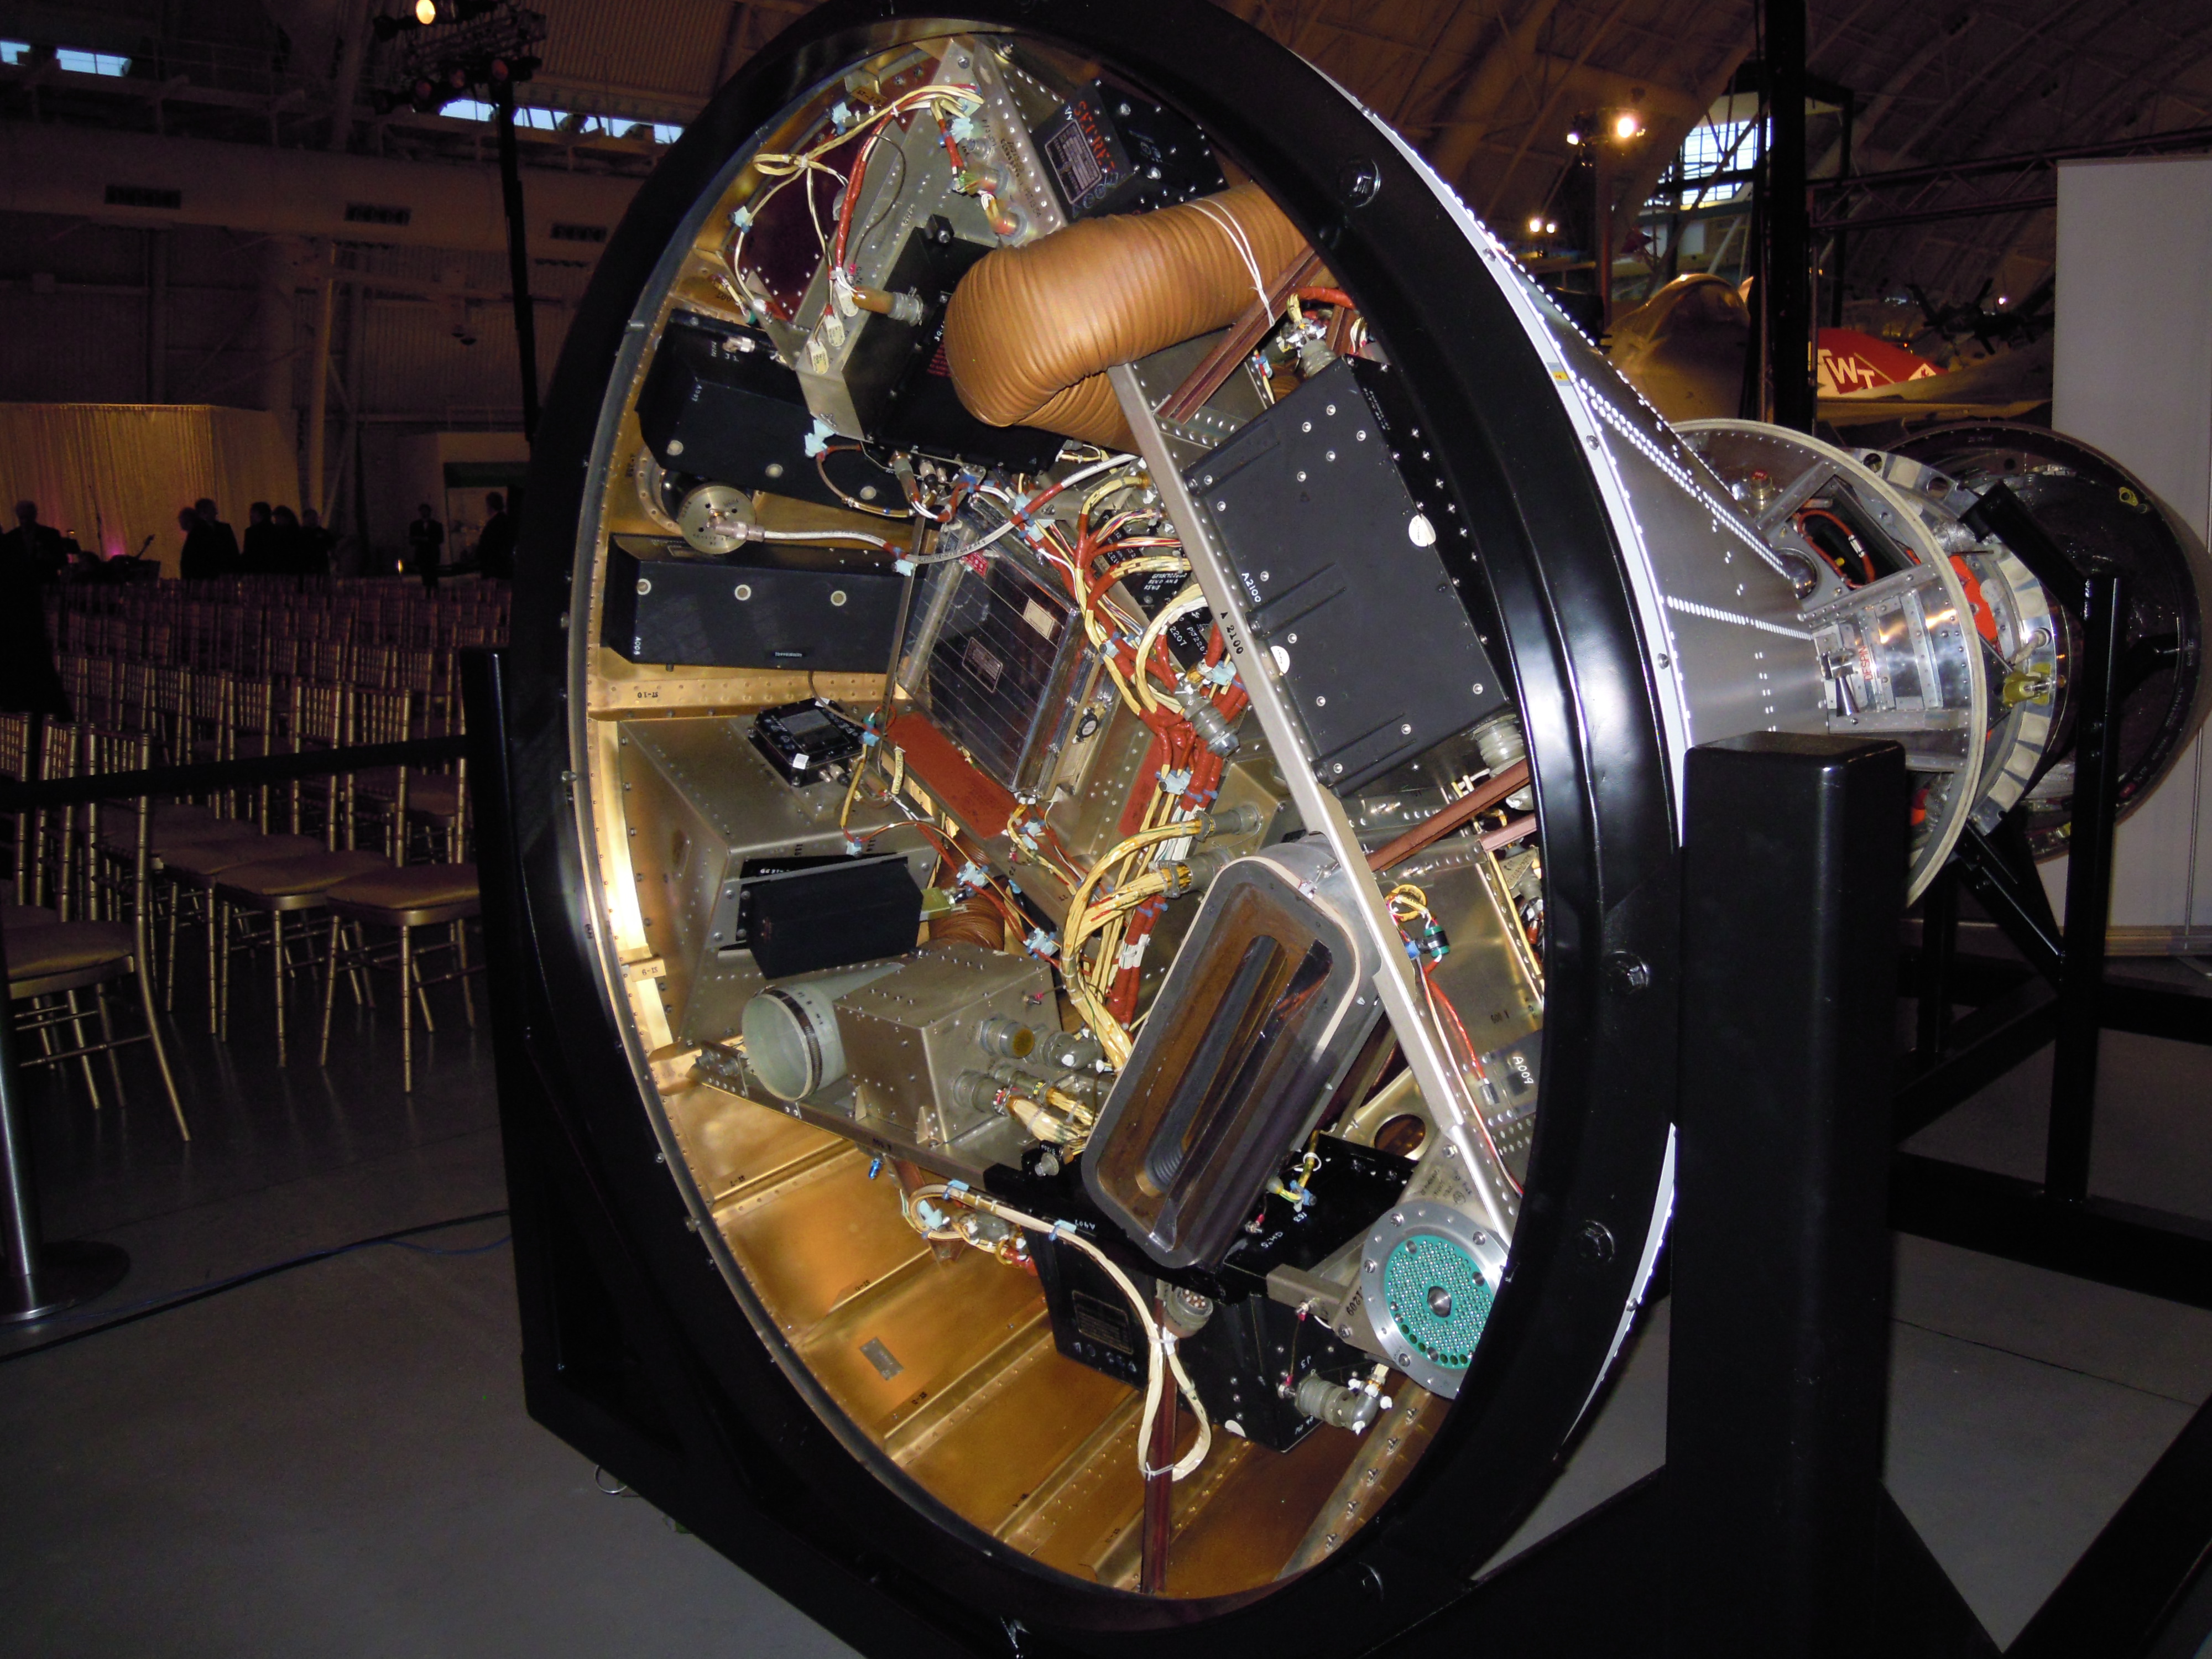
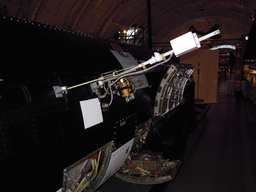
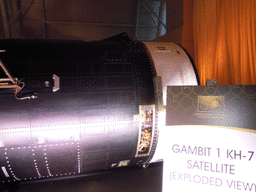
| DSCN0318.JPG KH-7 Payload Vehicle (Kodak) |
DSCN0319.JPG Aft end, KH-7 PV |
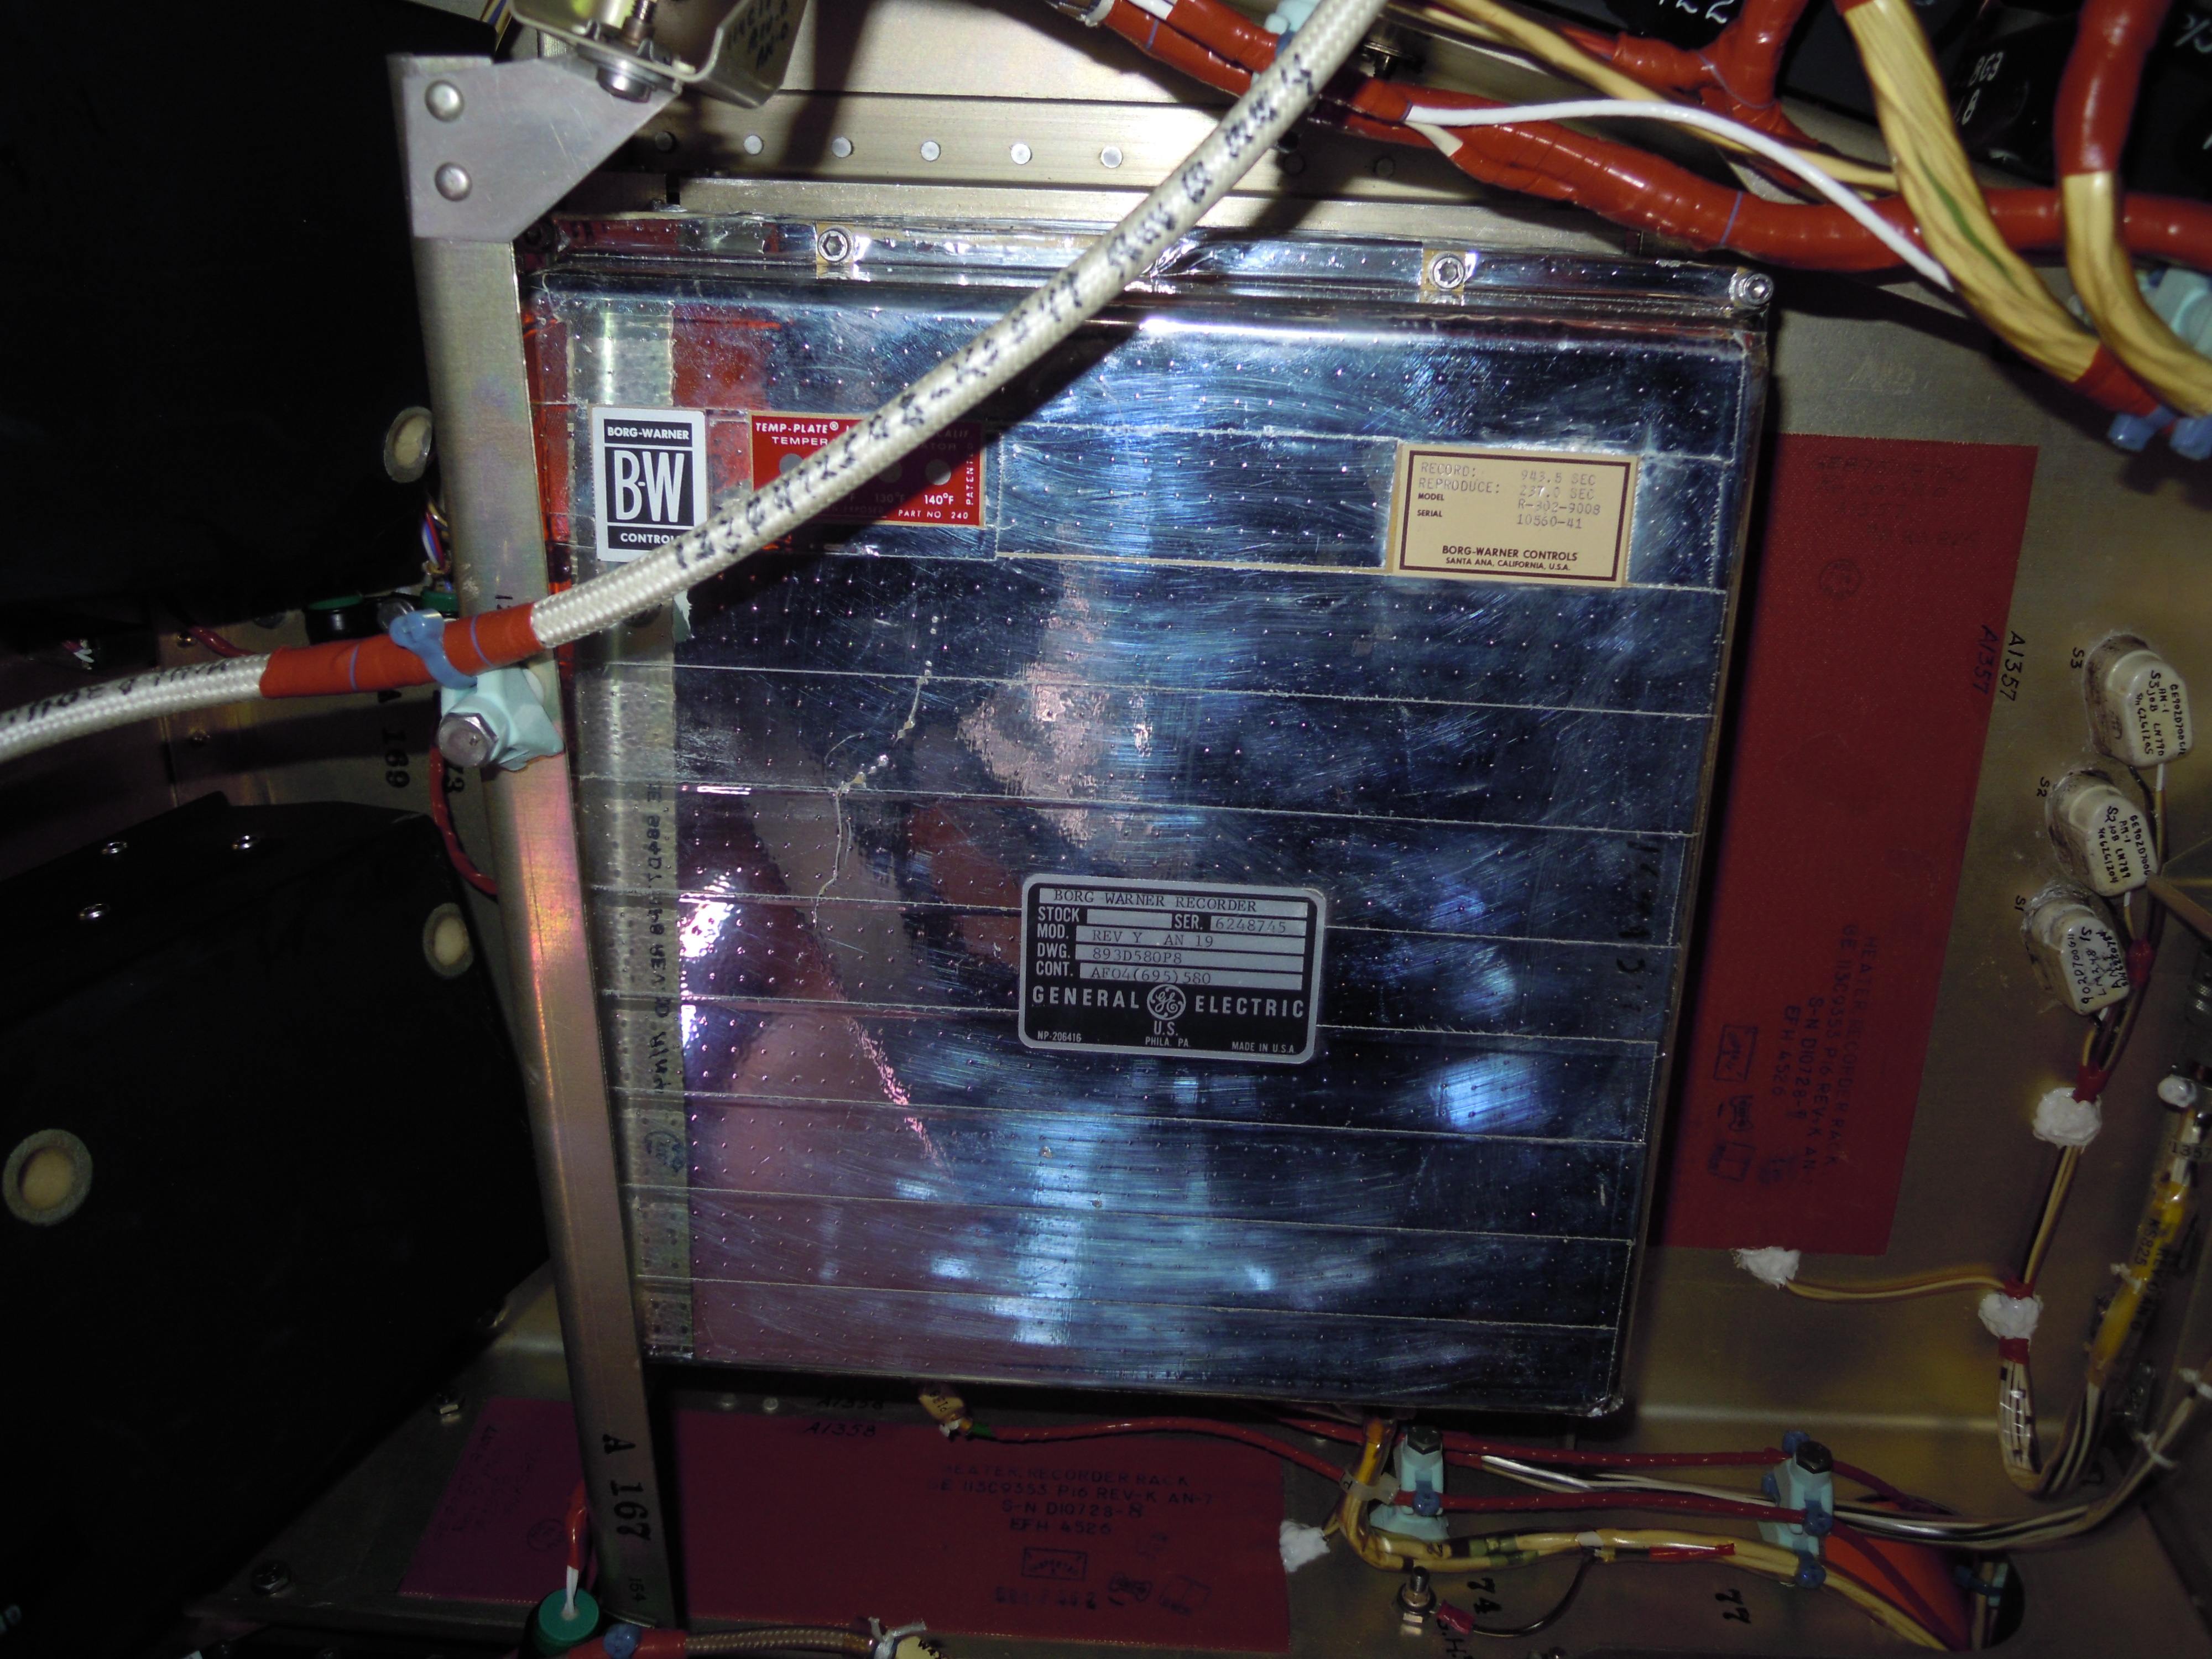
DSCN0320.JPG Site of PV, showing strange antenna |
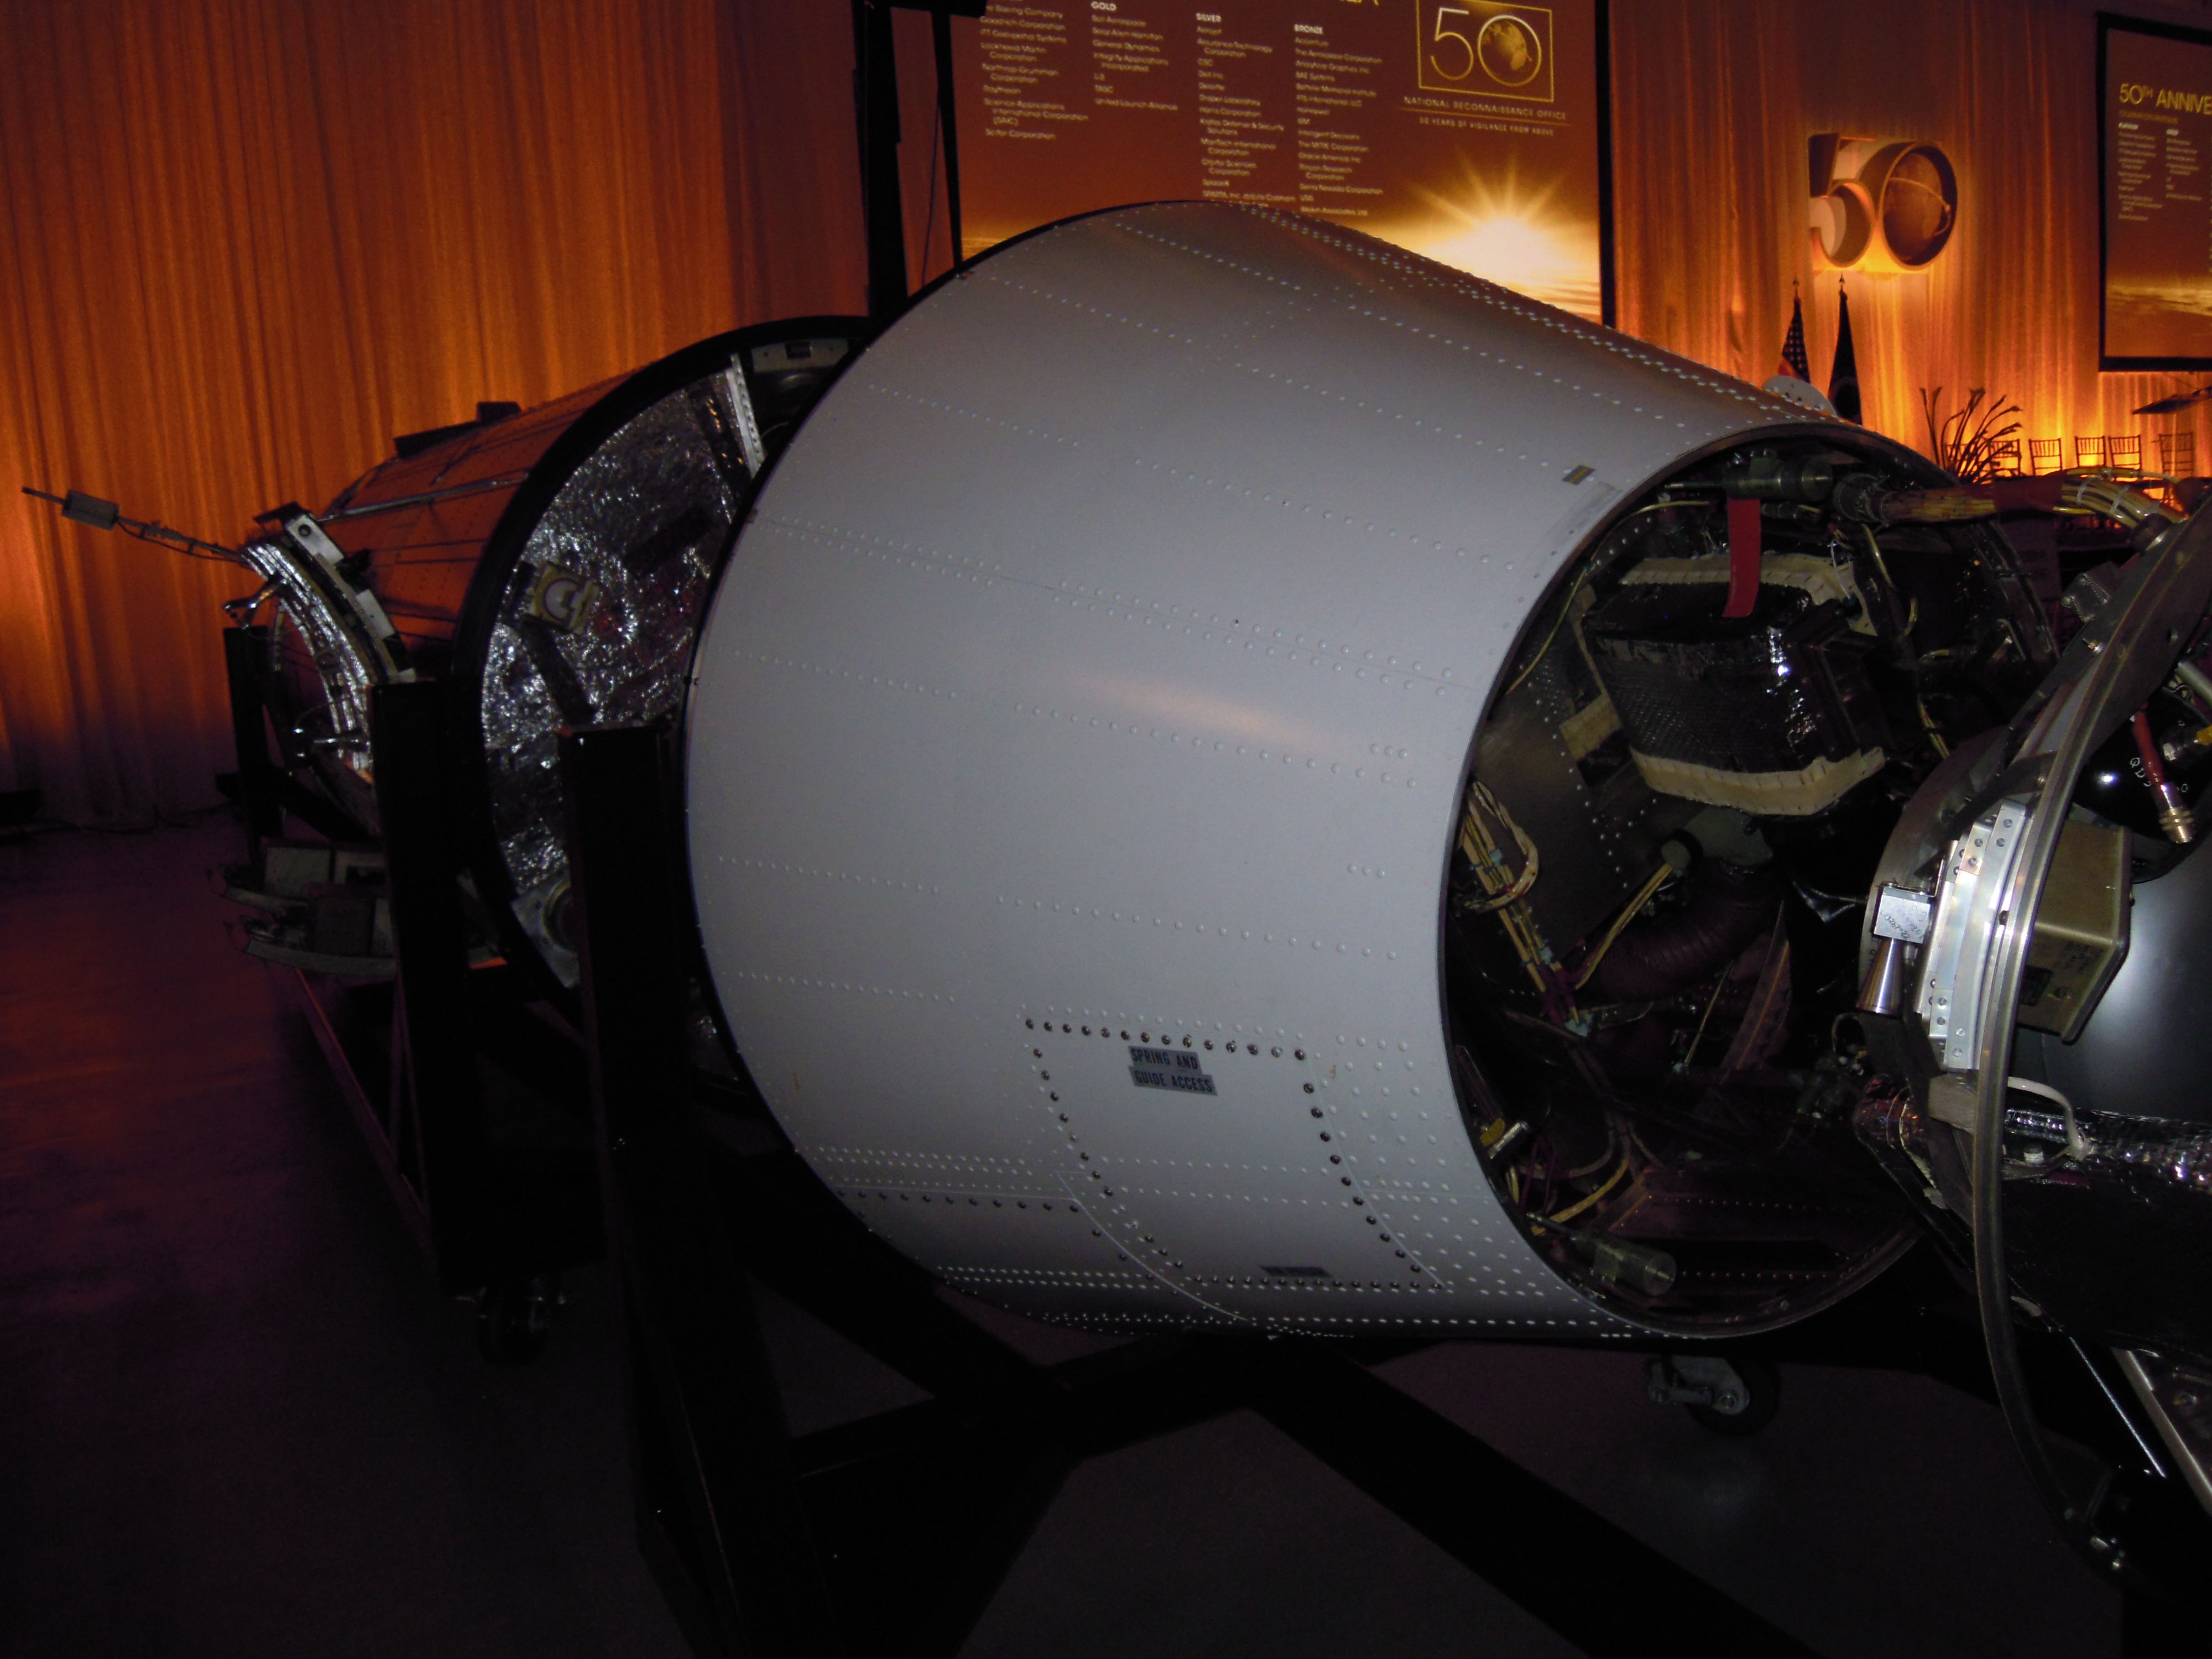
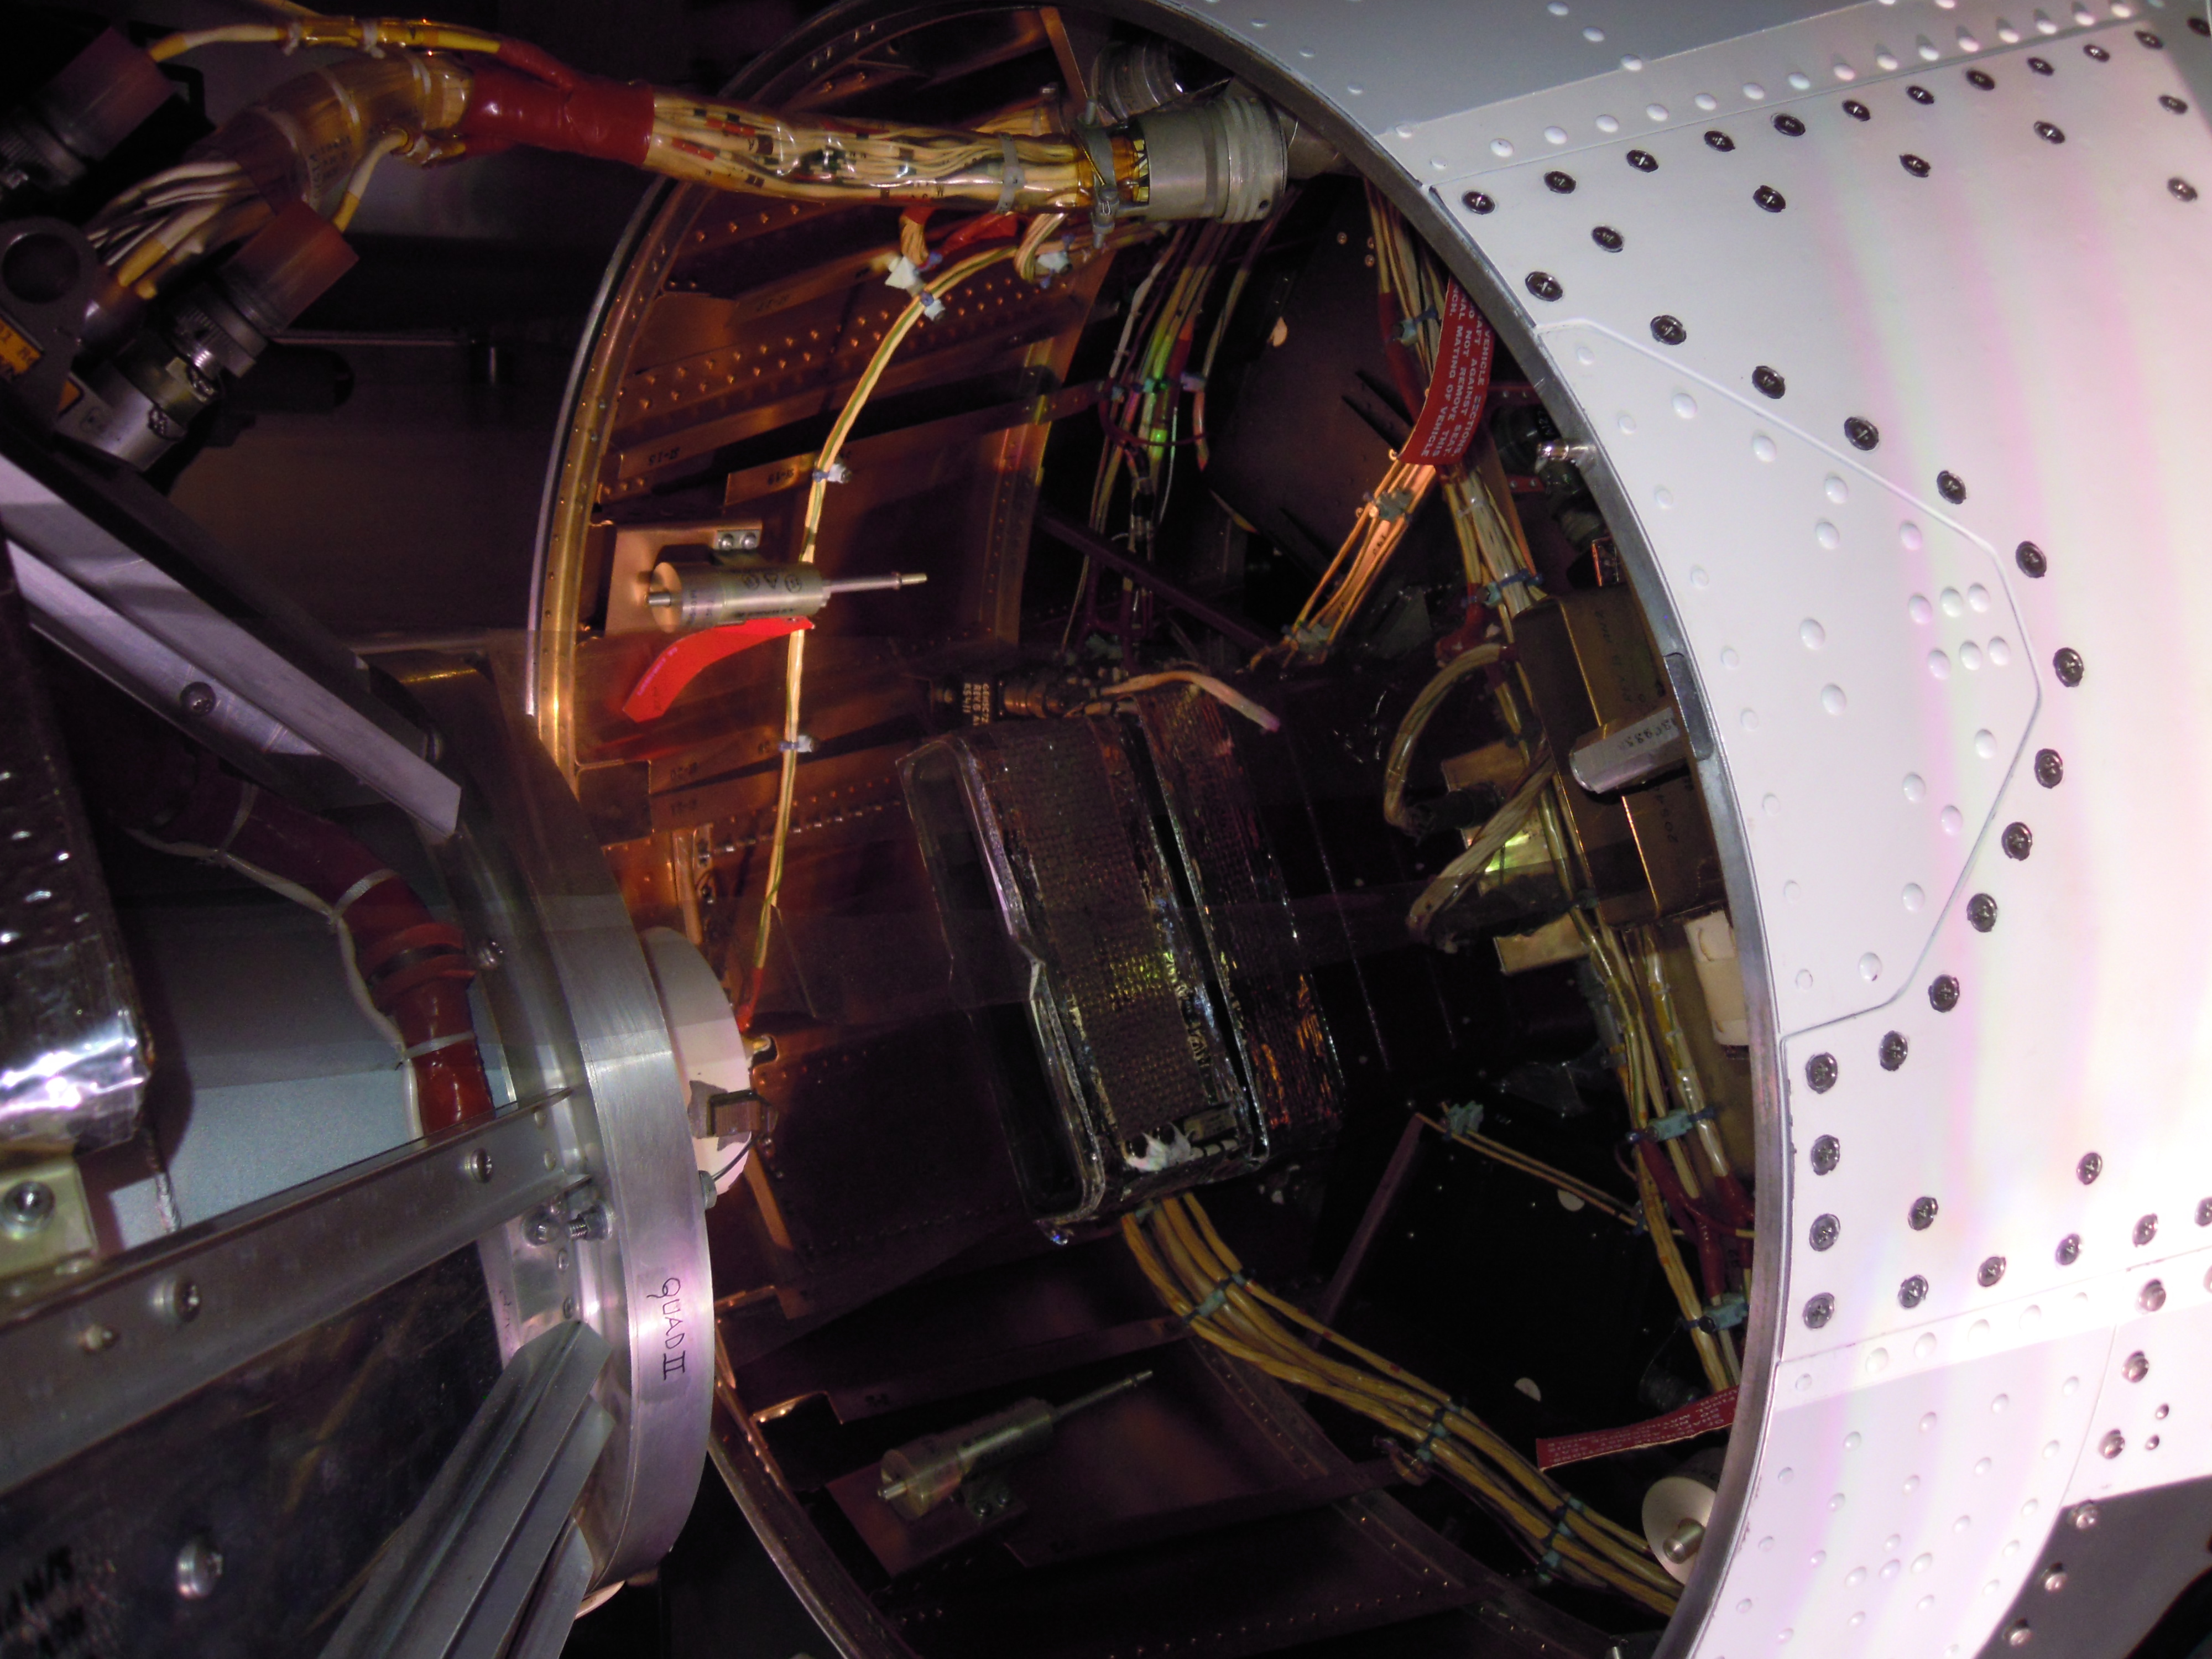
DSCN0321.JPG Forward end of KH-7 where it connects to SRV frustum |
 |
 |
 |
 |
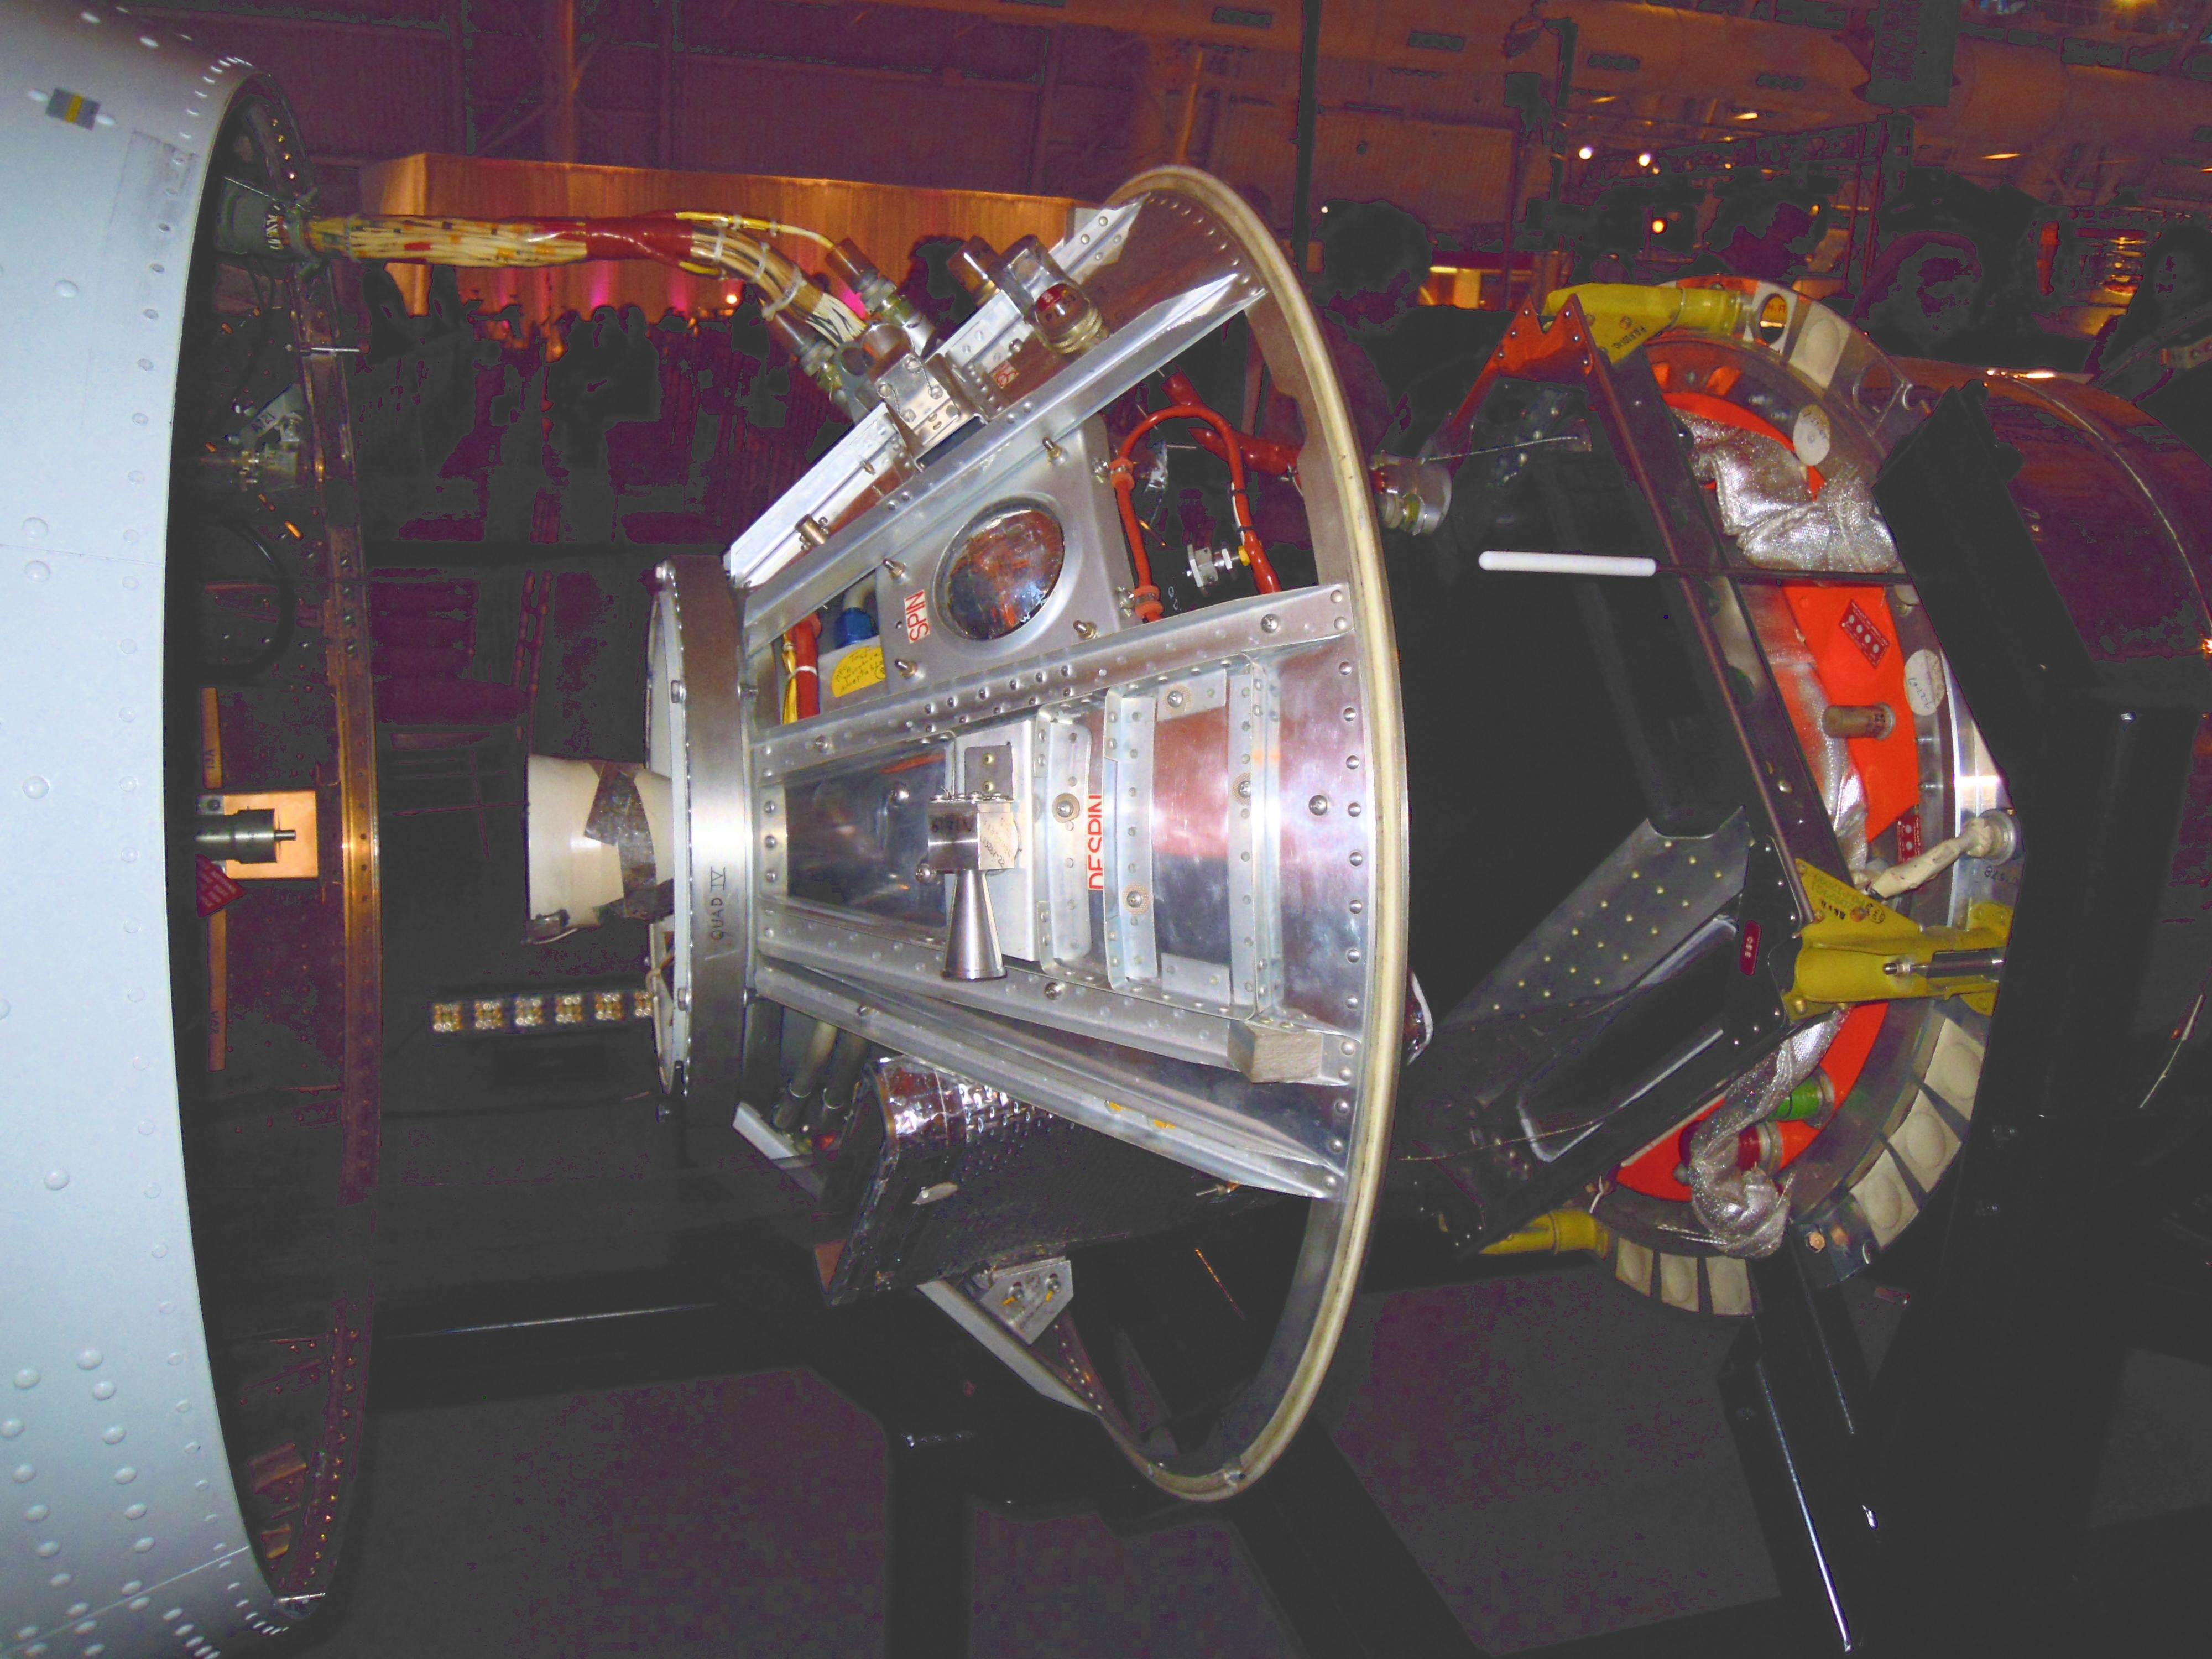
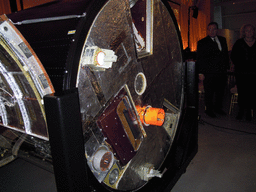
| DSCN0326.JPG KH-7 frustum with PV behind |
DSCN0327.JPG KH-7 PV, other side |
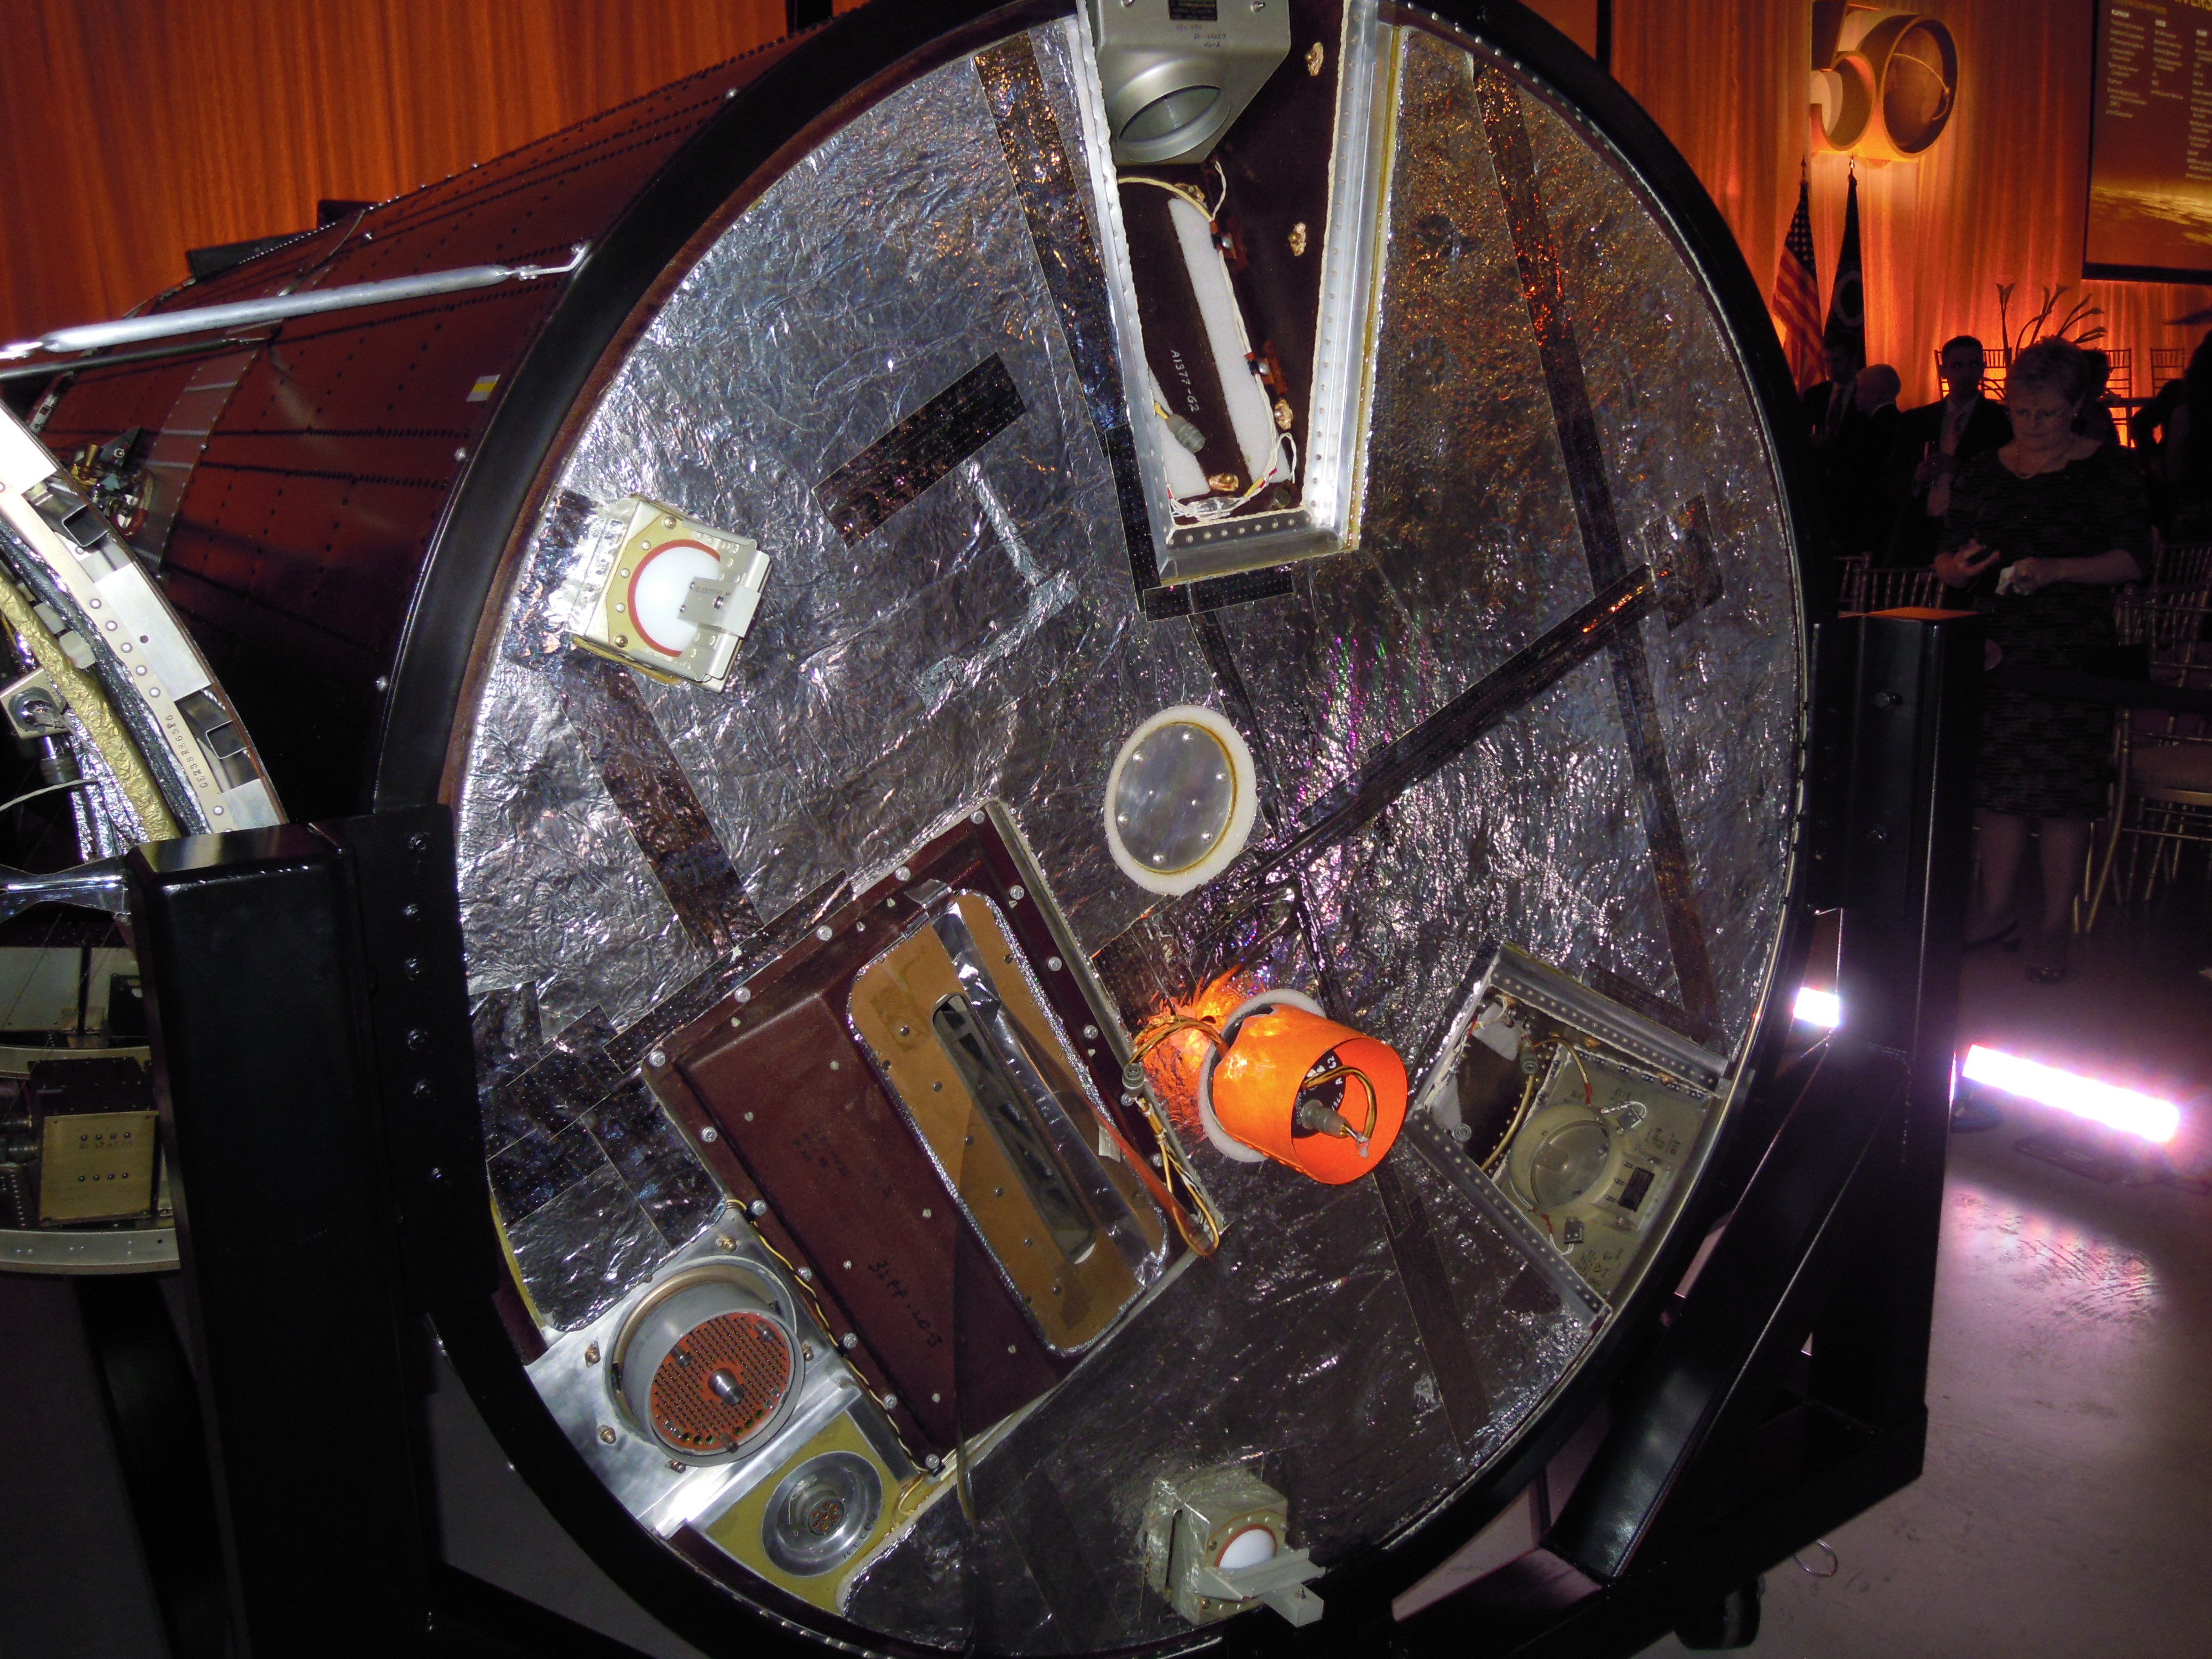
DSCN0328.JPG KH-7 PV aft details |
DSCN0329.JPG KH-7 PV aft end |
 |
 |
 |
 |
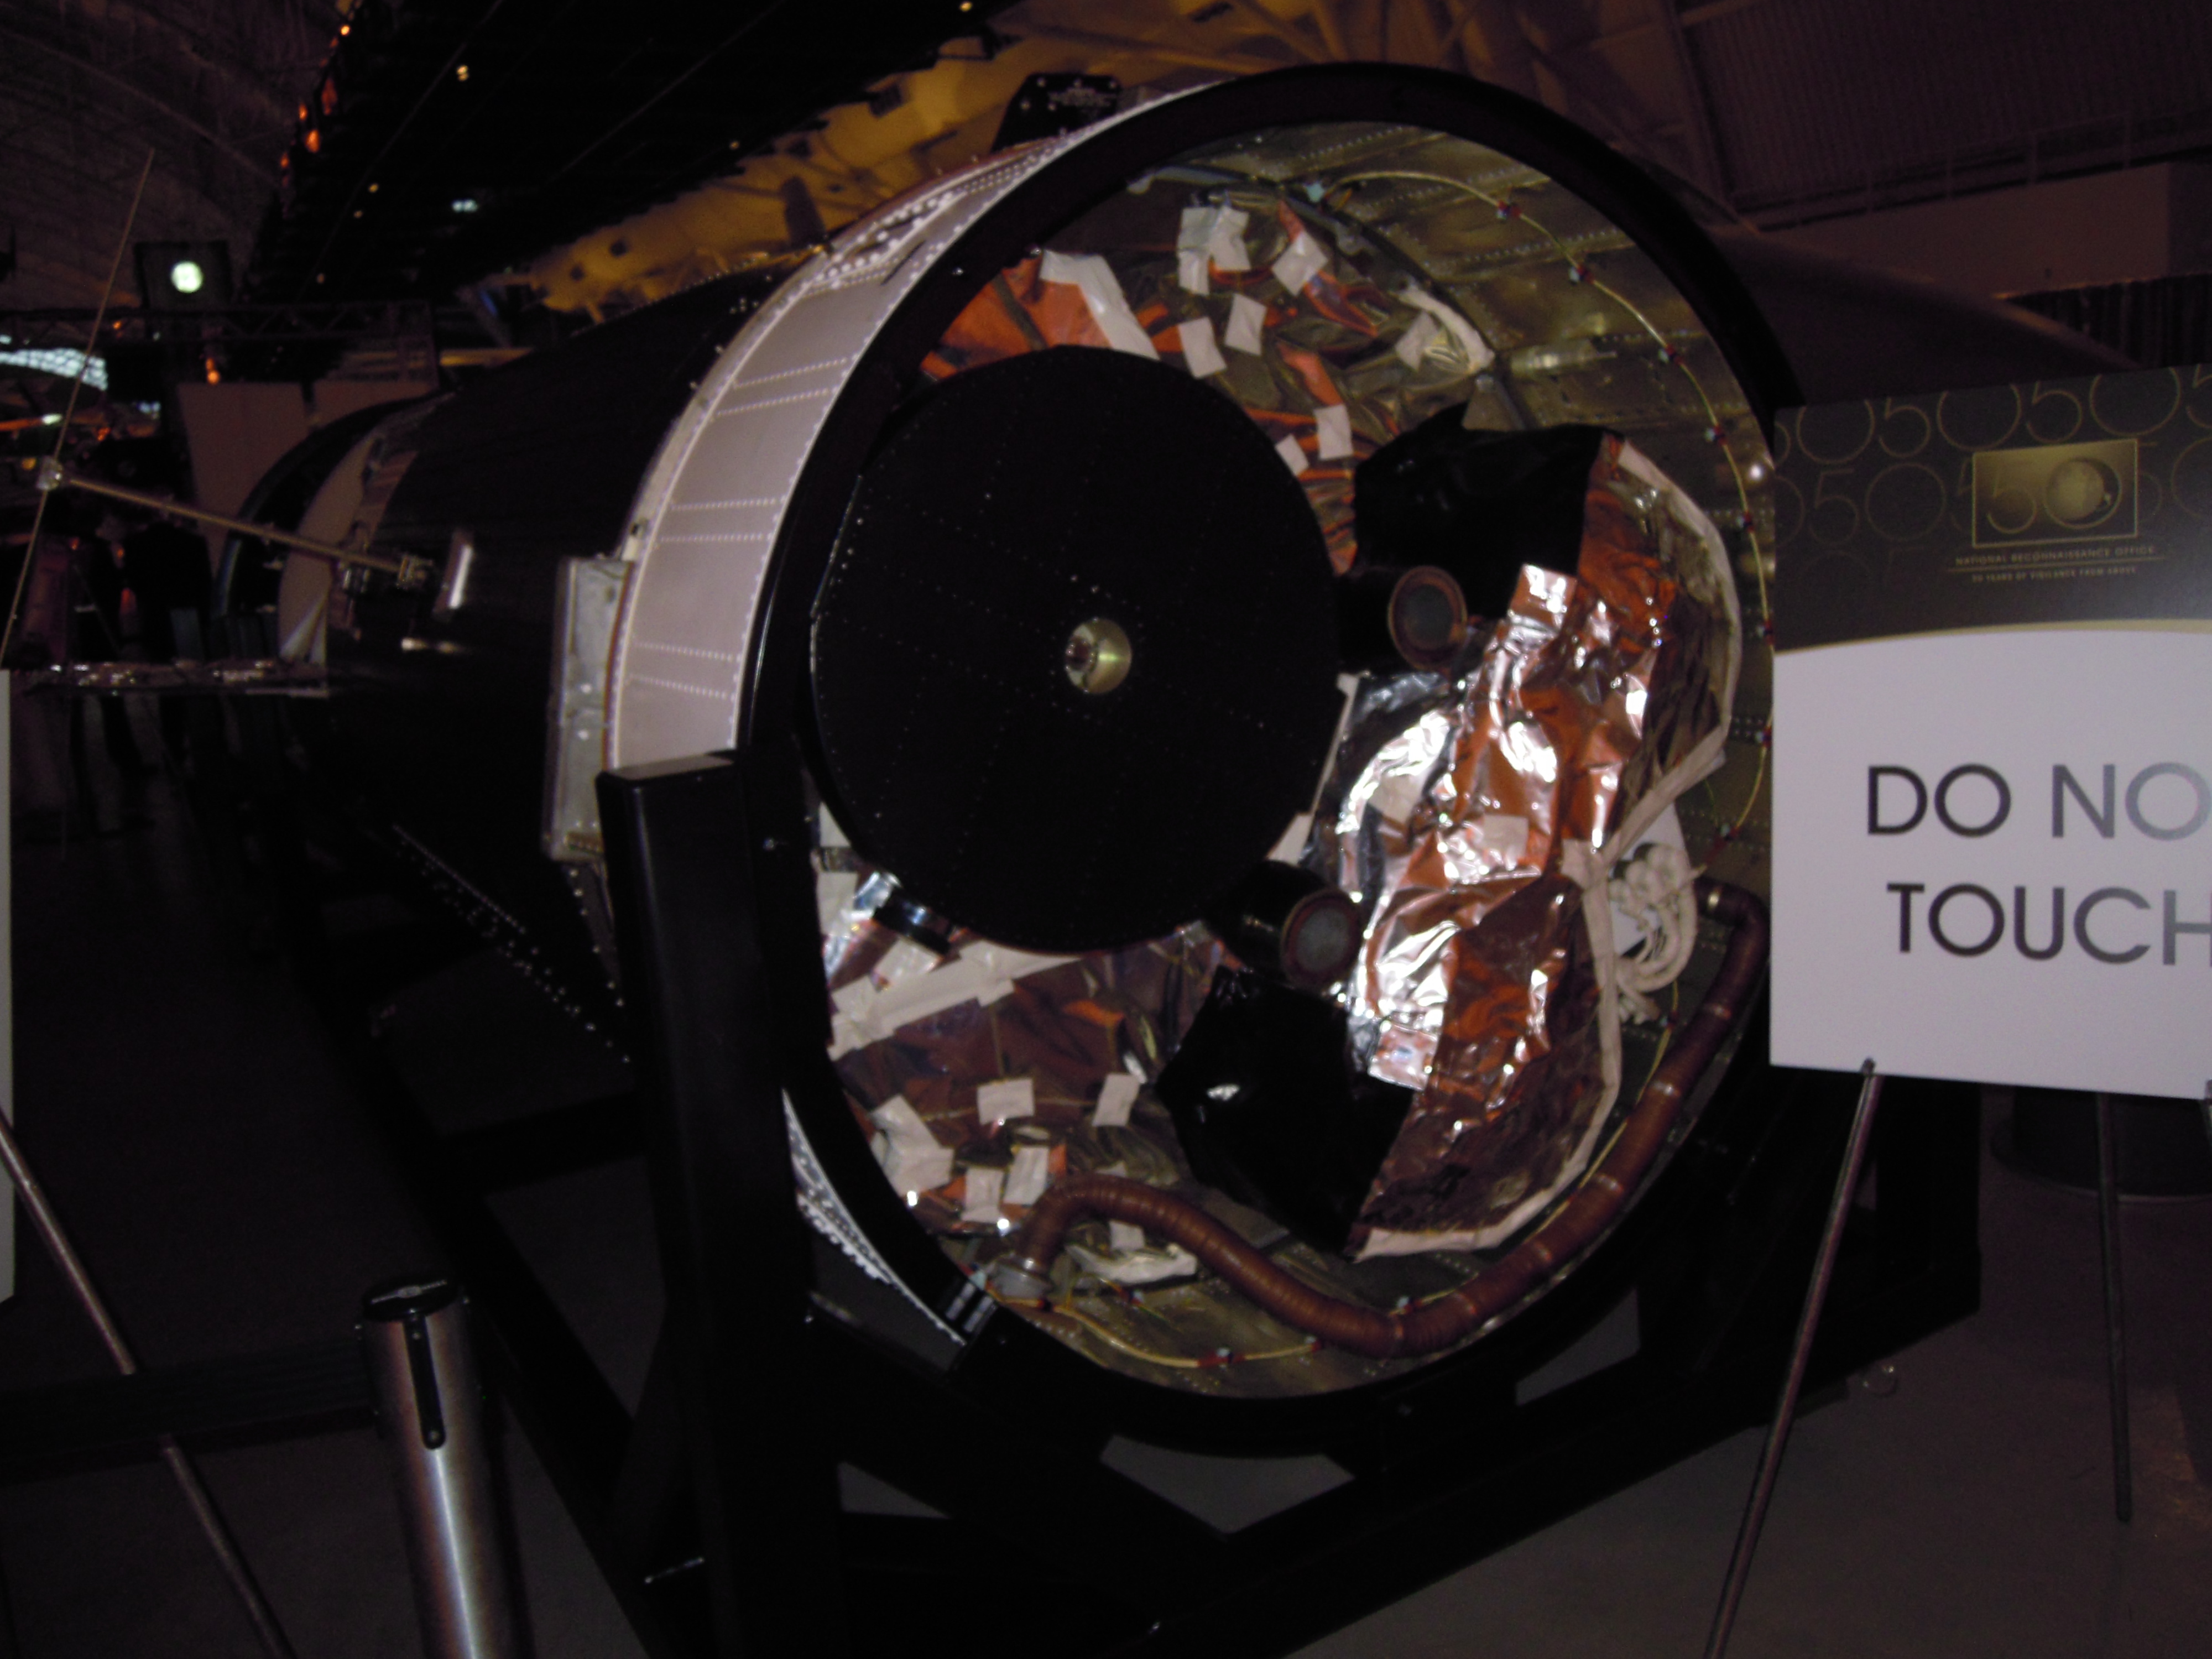
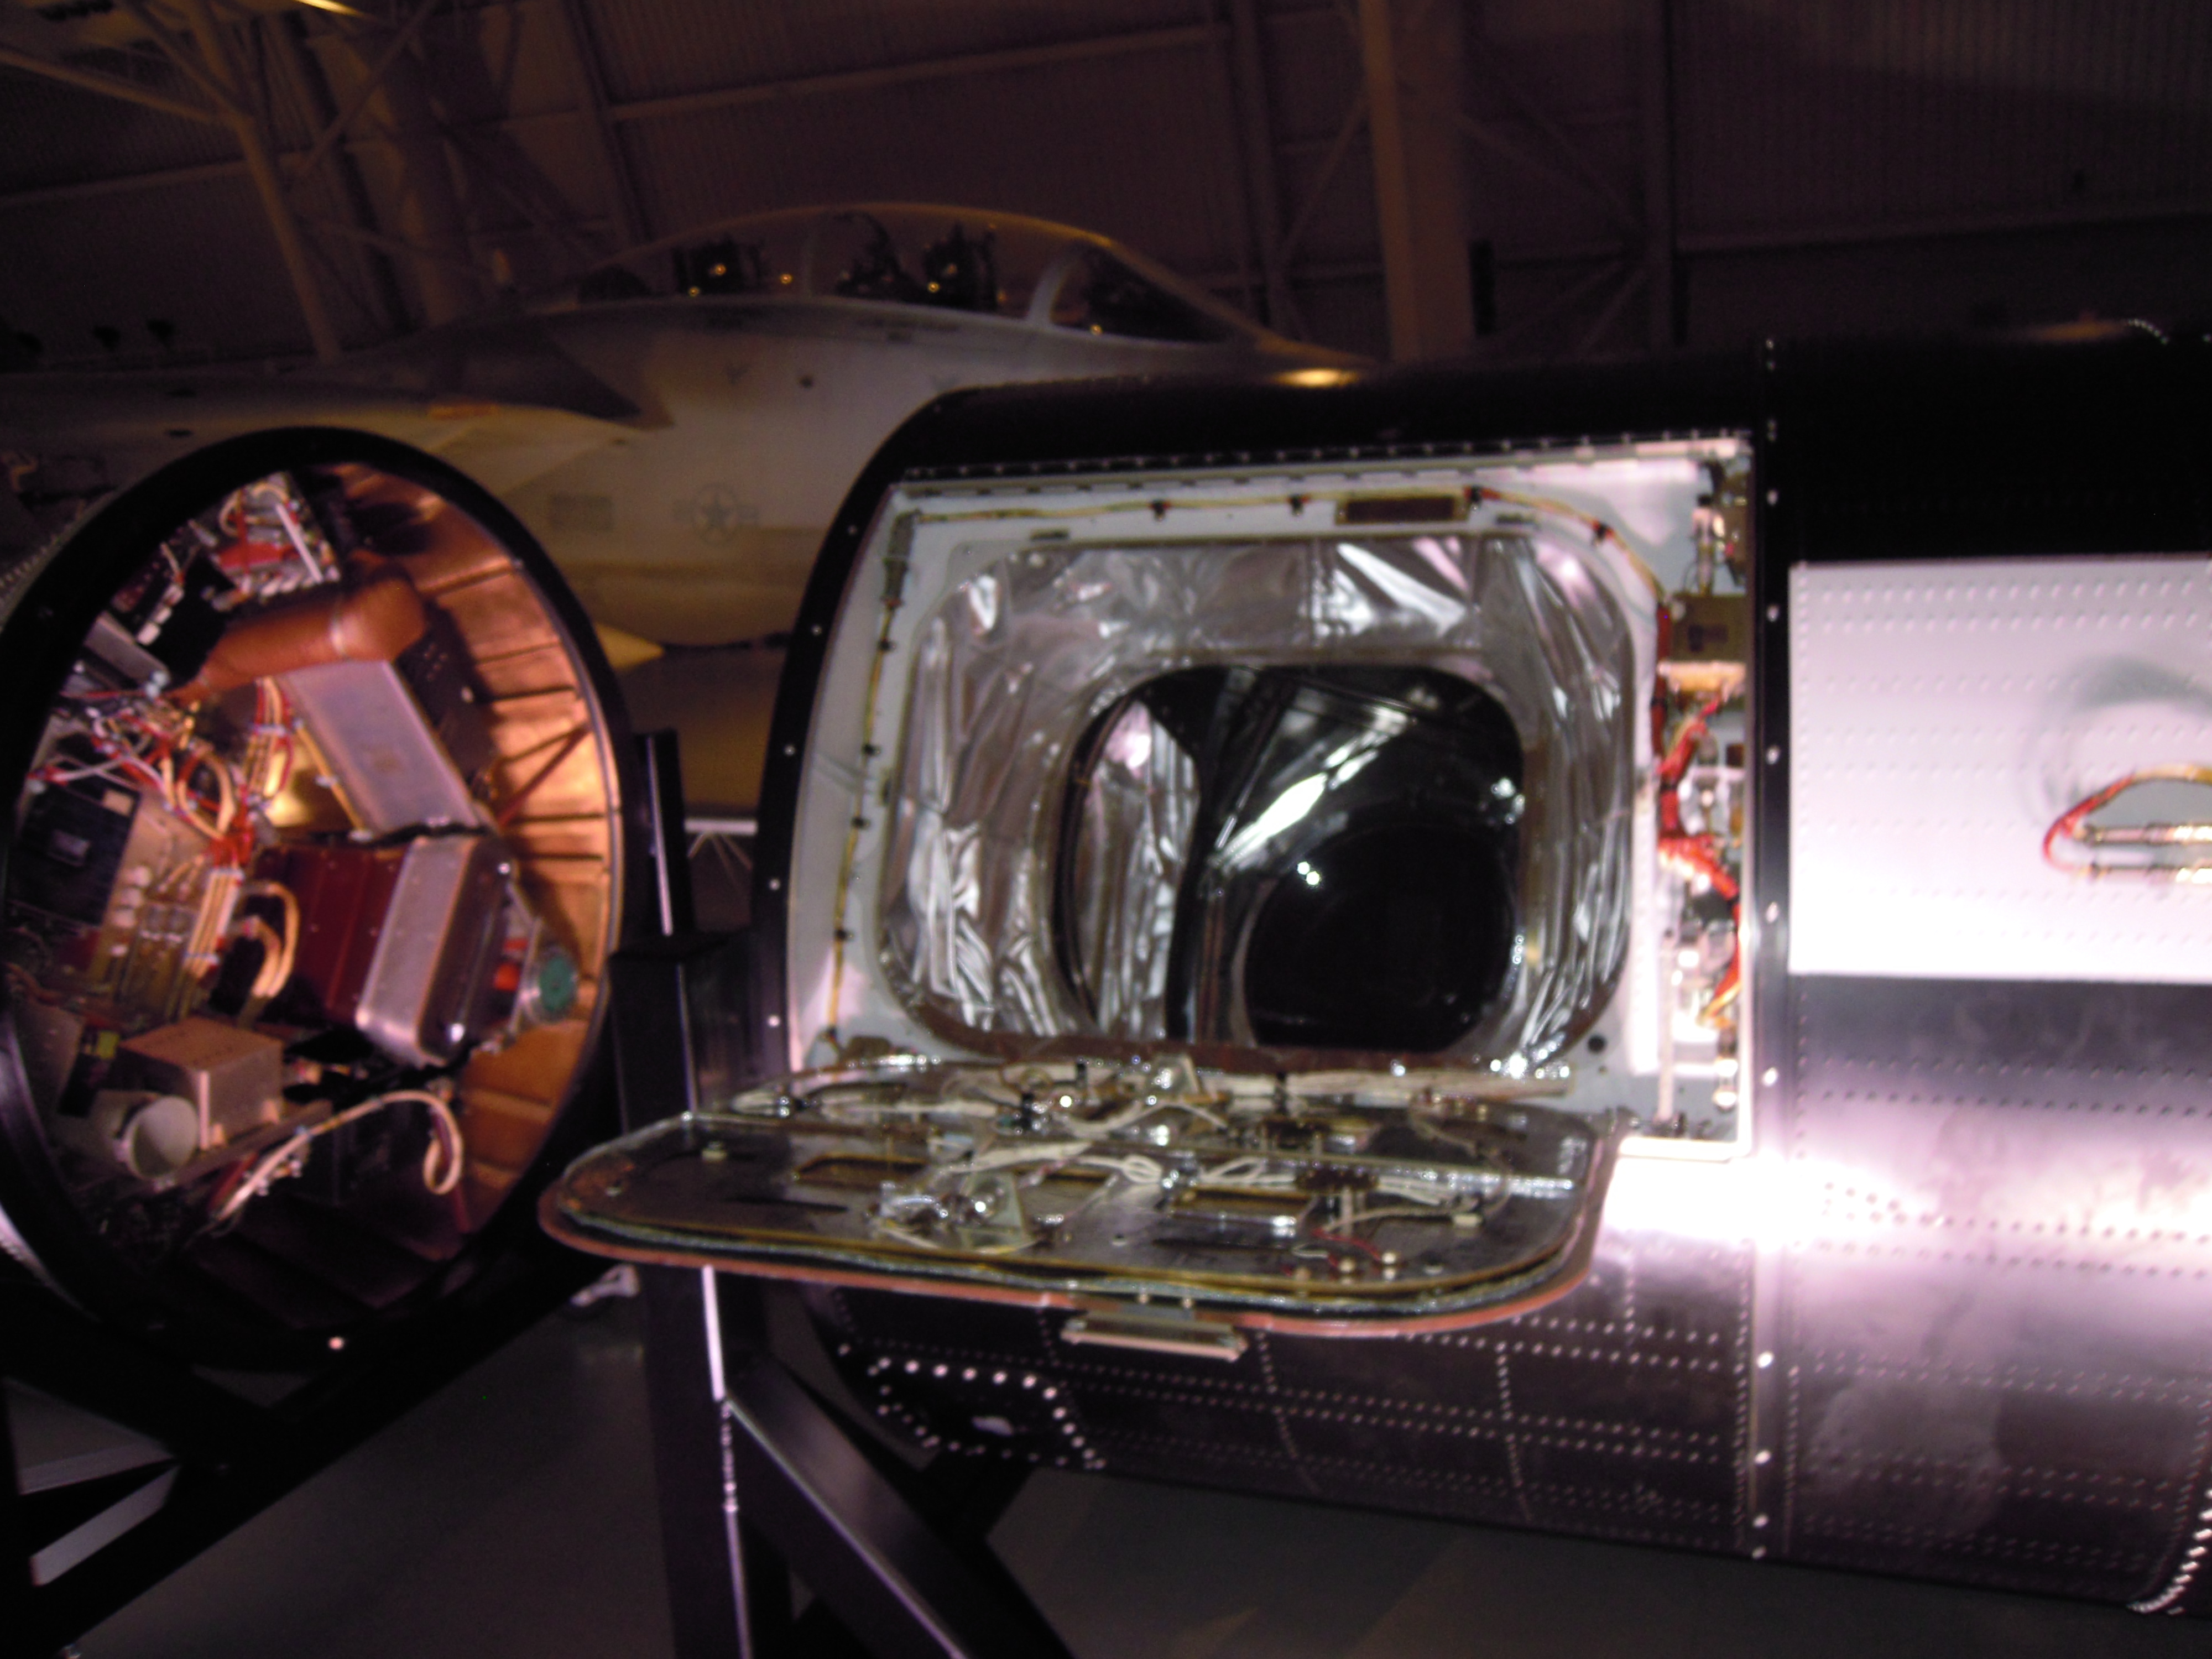
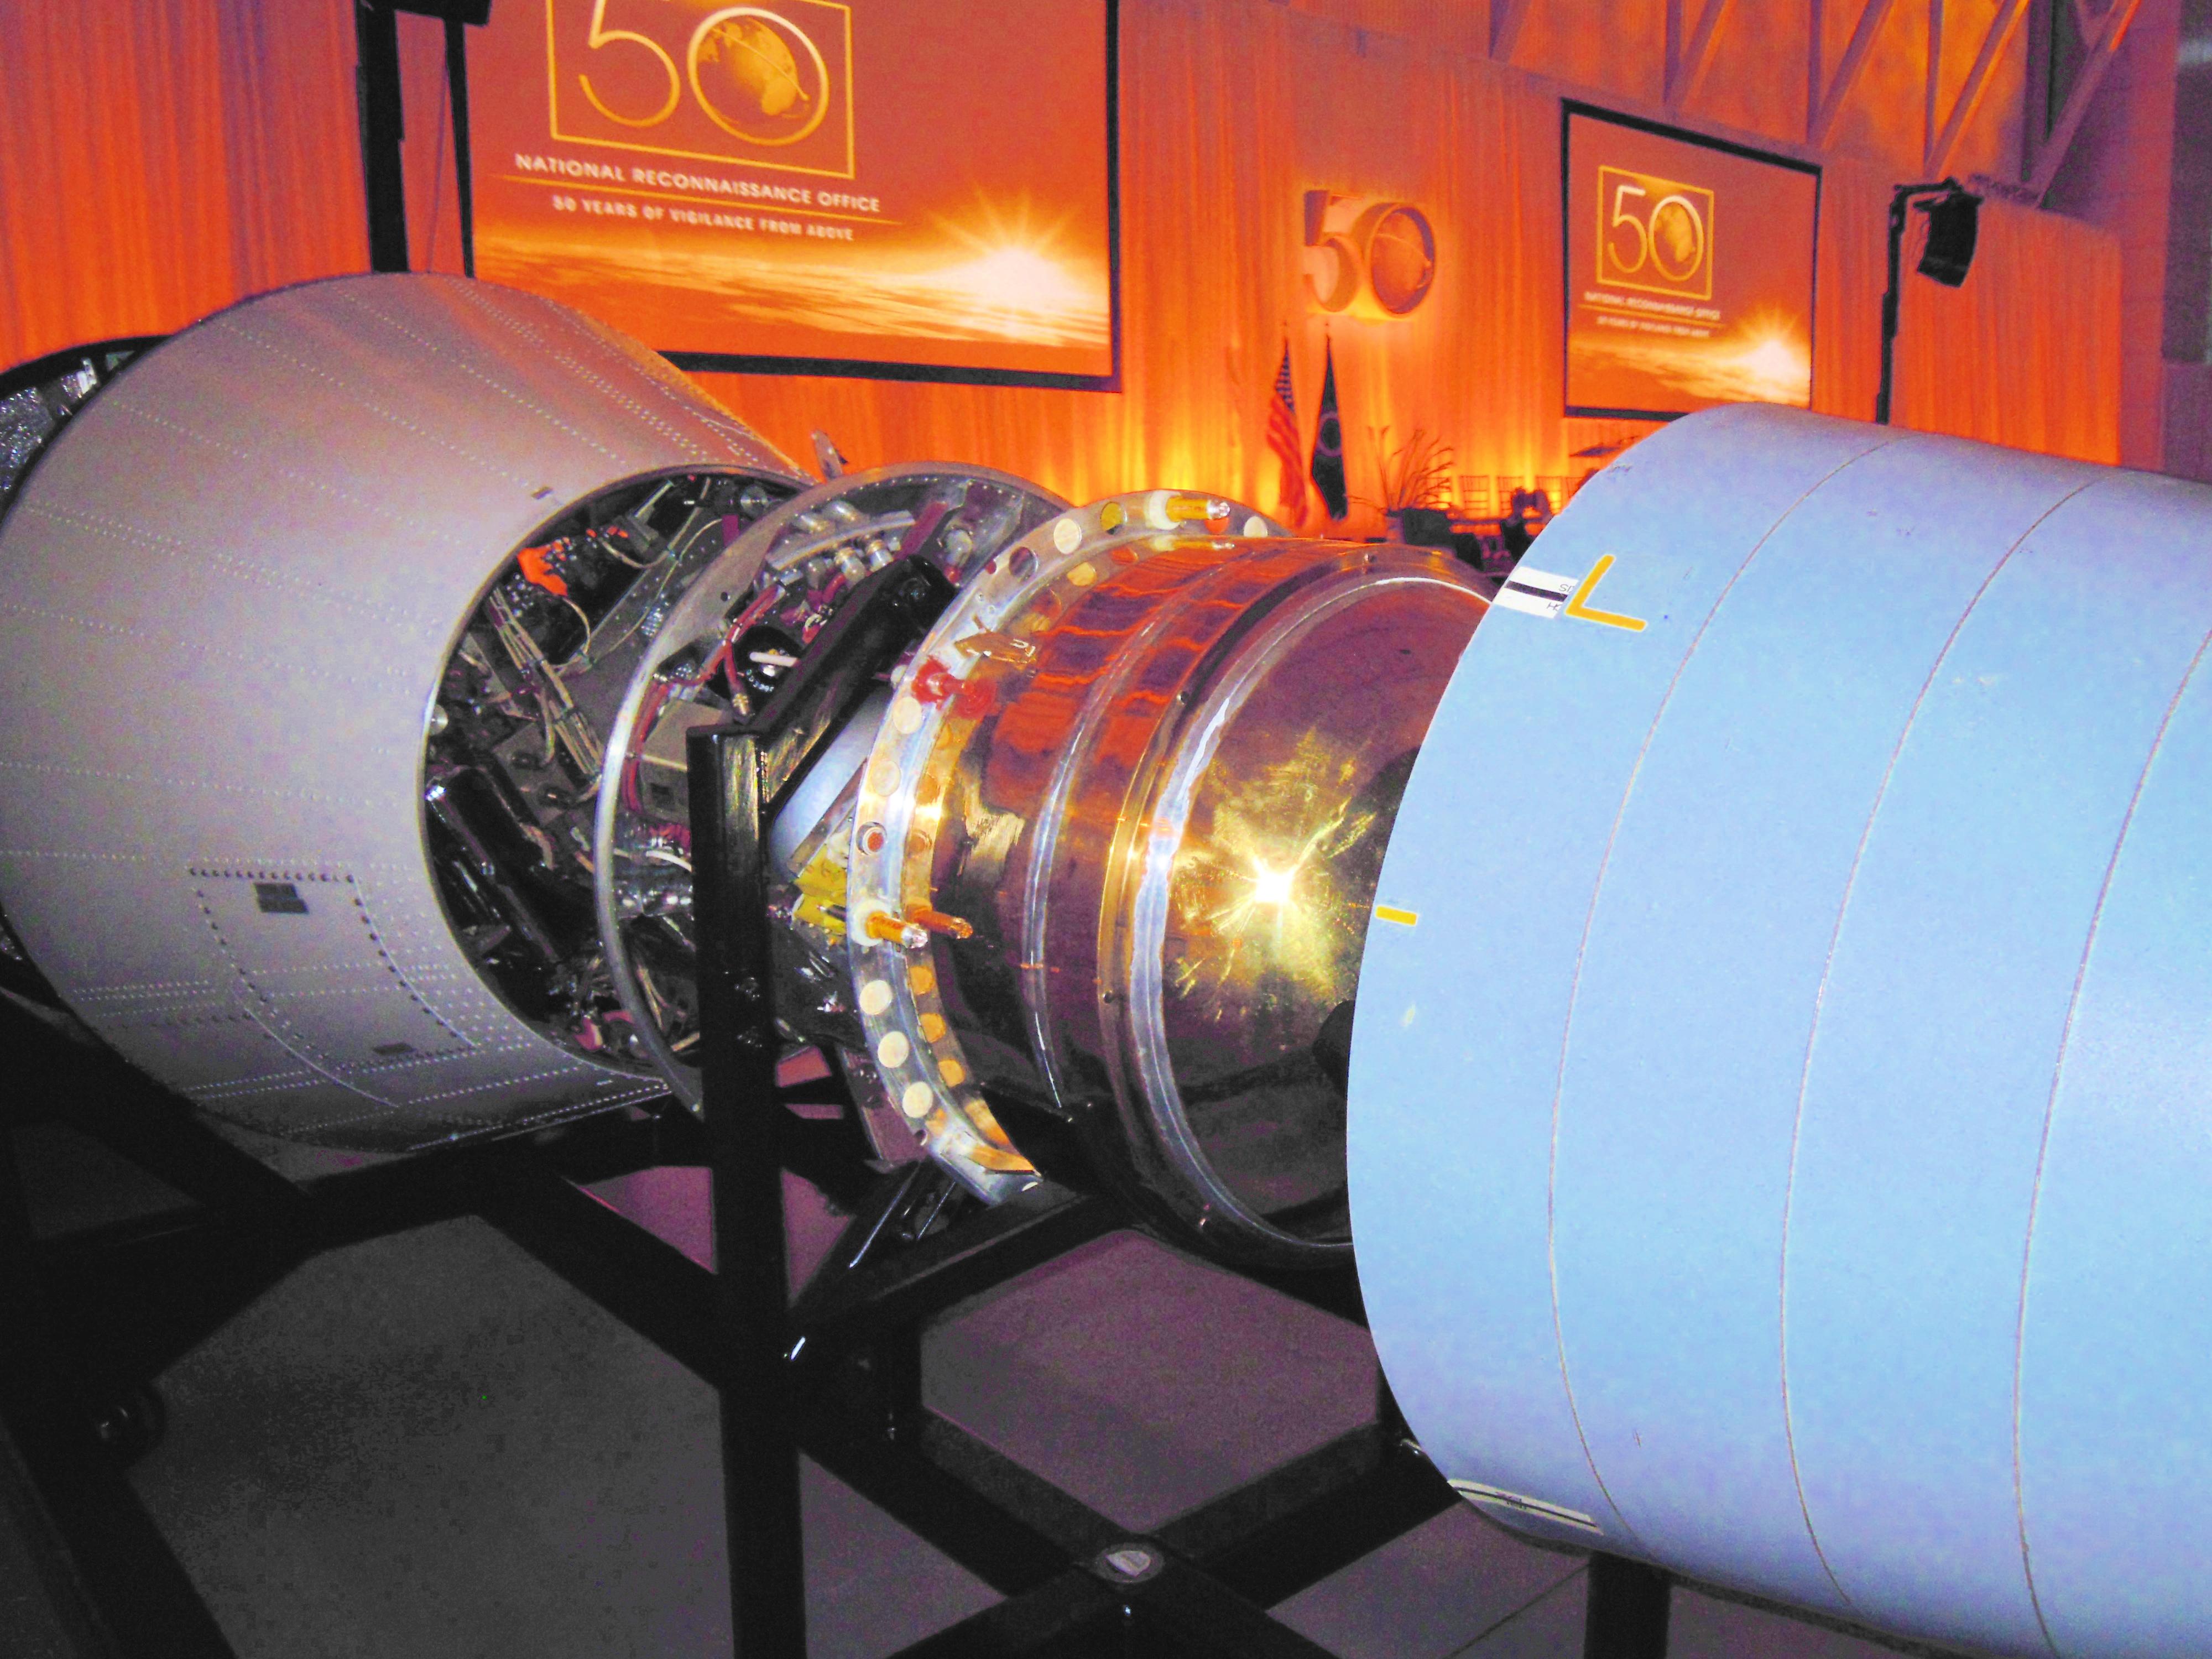
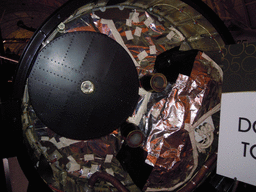
| DSCN0330.JPG KH-7 PV fwd end, with mirror aperture |
DSCN0331.JPG KH-7 wider view |
DSCN0332.JPG KH-7 PV aft end |
DSCN0333.JPG KH-7 aperture |
 |
| DSCN0374.JPG KH7 PV front end |
 |
 |
 |
 |
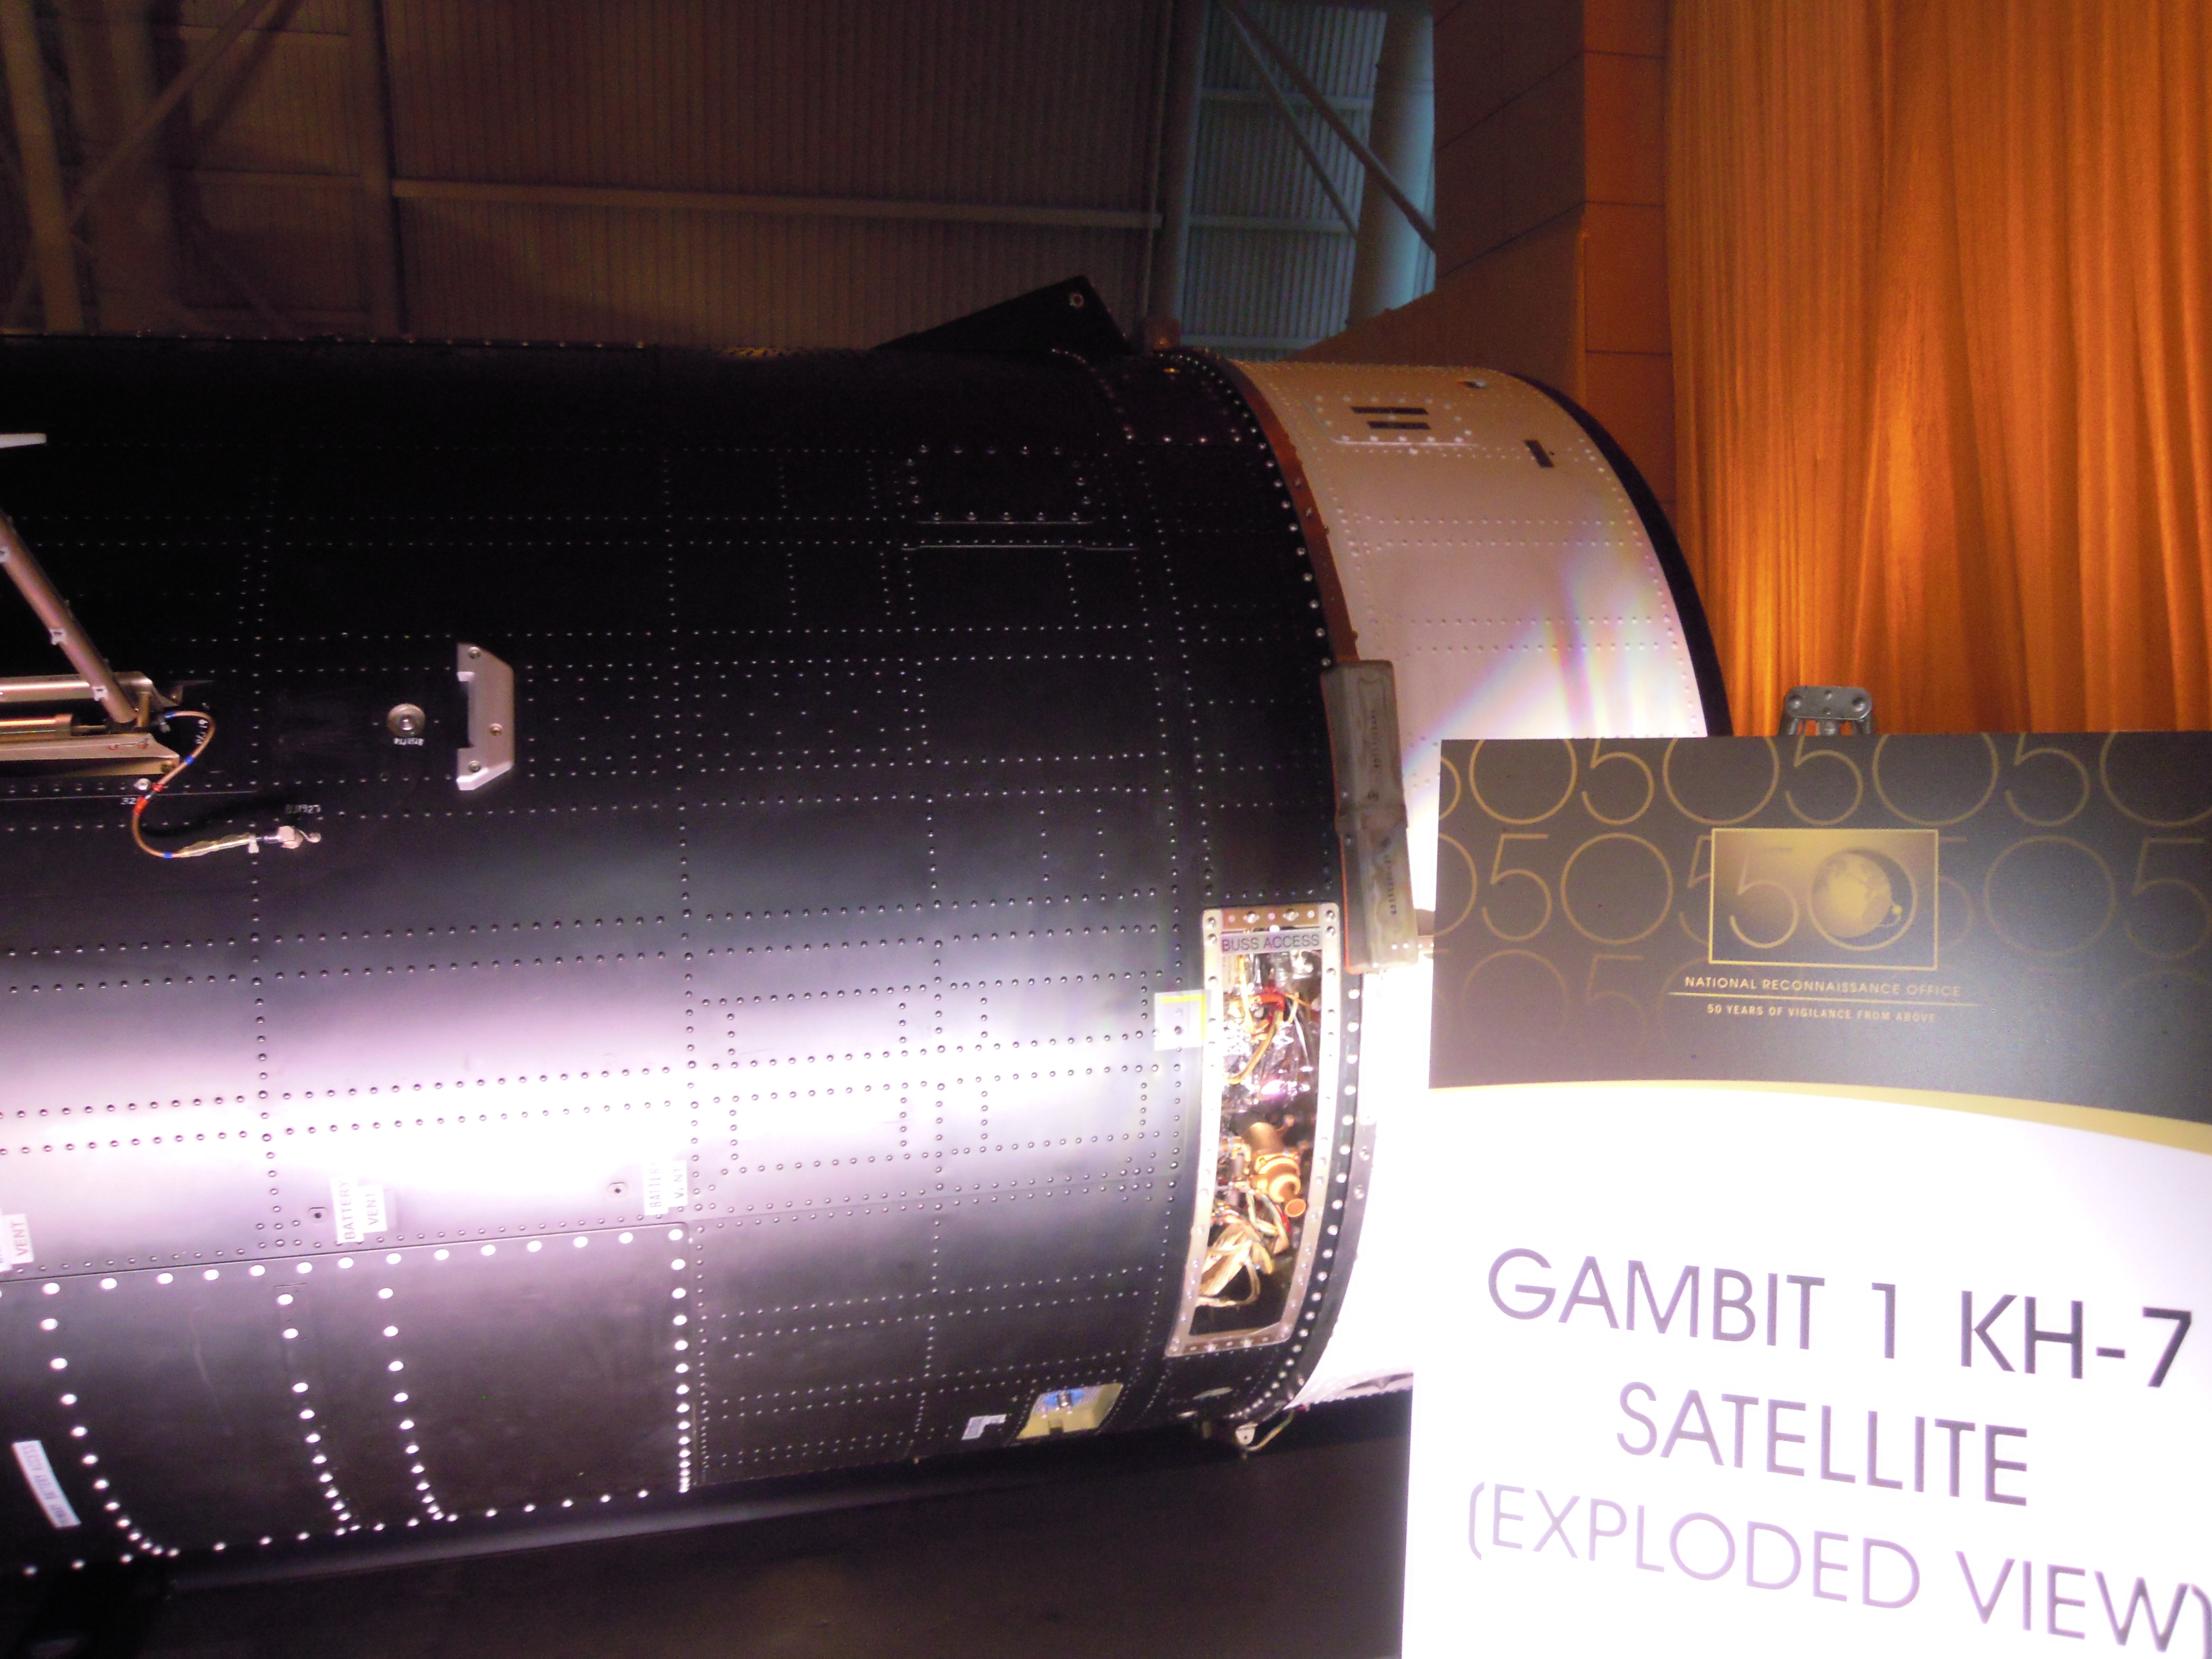
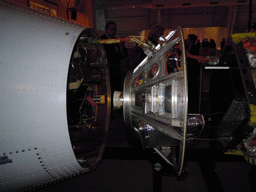
| DSCN0322.JPG KH-7 frustum aft end |
DSCN0323.JPG KH-7 frustum fwd, SRV thrust cone. Retro nozzle is dummy
(cardboard?!) |
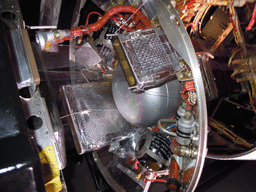
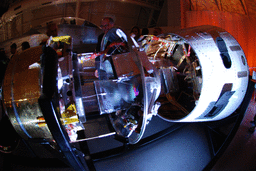
DSCN0324.JPG KH-7 SRV cone and interior |
DSCN0325.JPG KH-7 SRV in pieces |
 |
 |
 |
 |
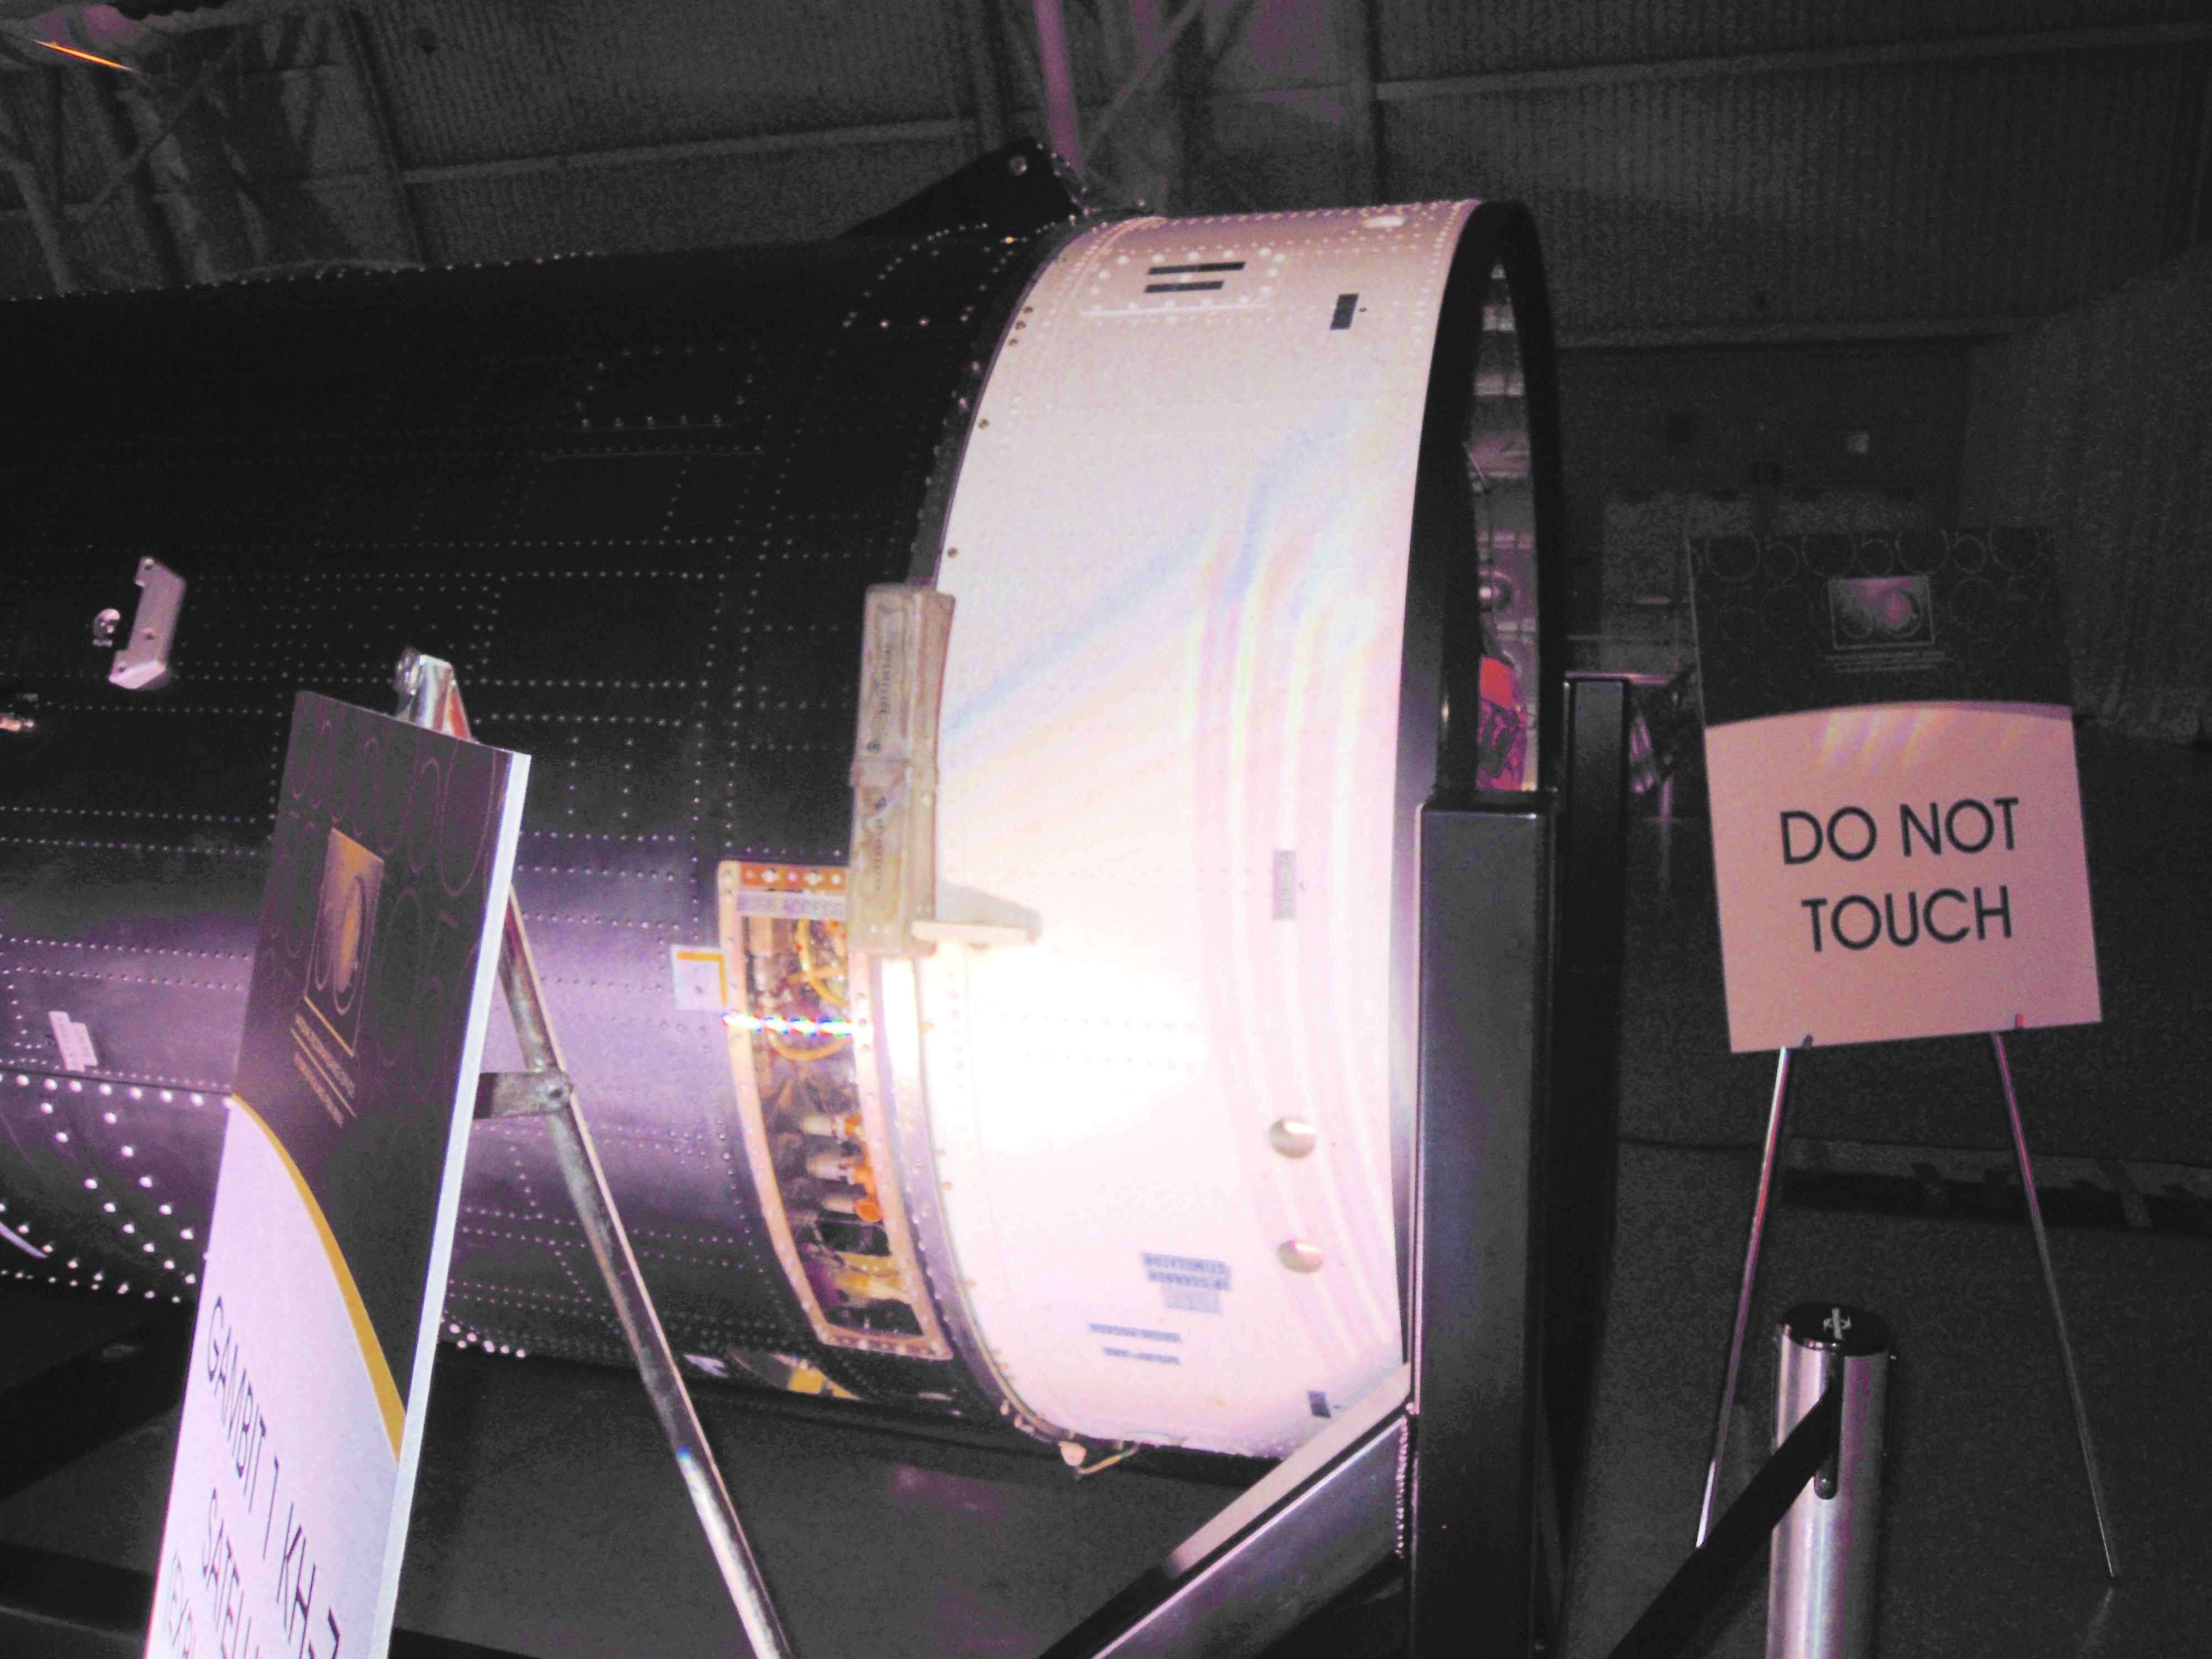
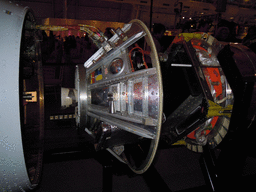
| DSCN0369.JPG KH-7 frustum fwd |
DSCN0370.JPG KH-7 SRV TCA with dummy motor |
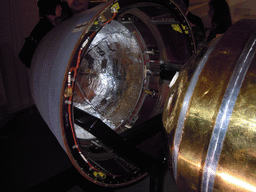
DSCN0371.JPG KH-7 SRV heat shield interior |
DSCN0372.JPG KH-7 SRV thermal cover |
 |
 |
 |
| DSCN0373.JPG KH7 TCA and frustum from front |
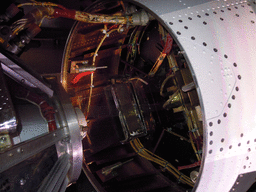
DSCN0375.JPG Detail inside KH7 frustum |
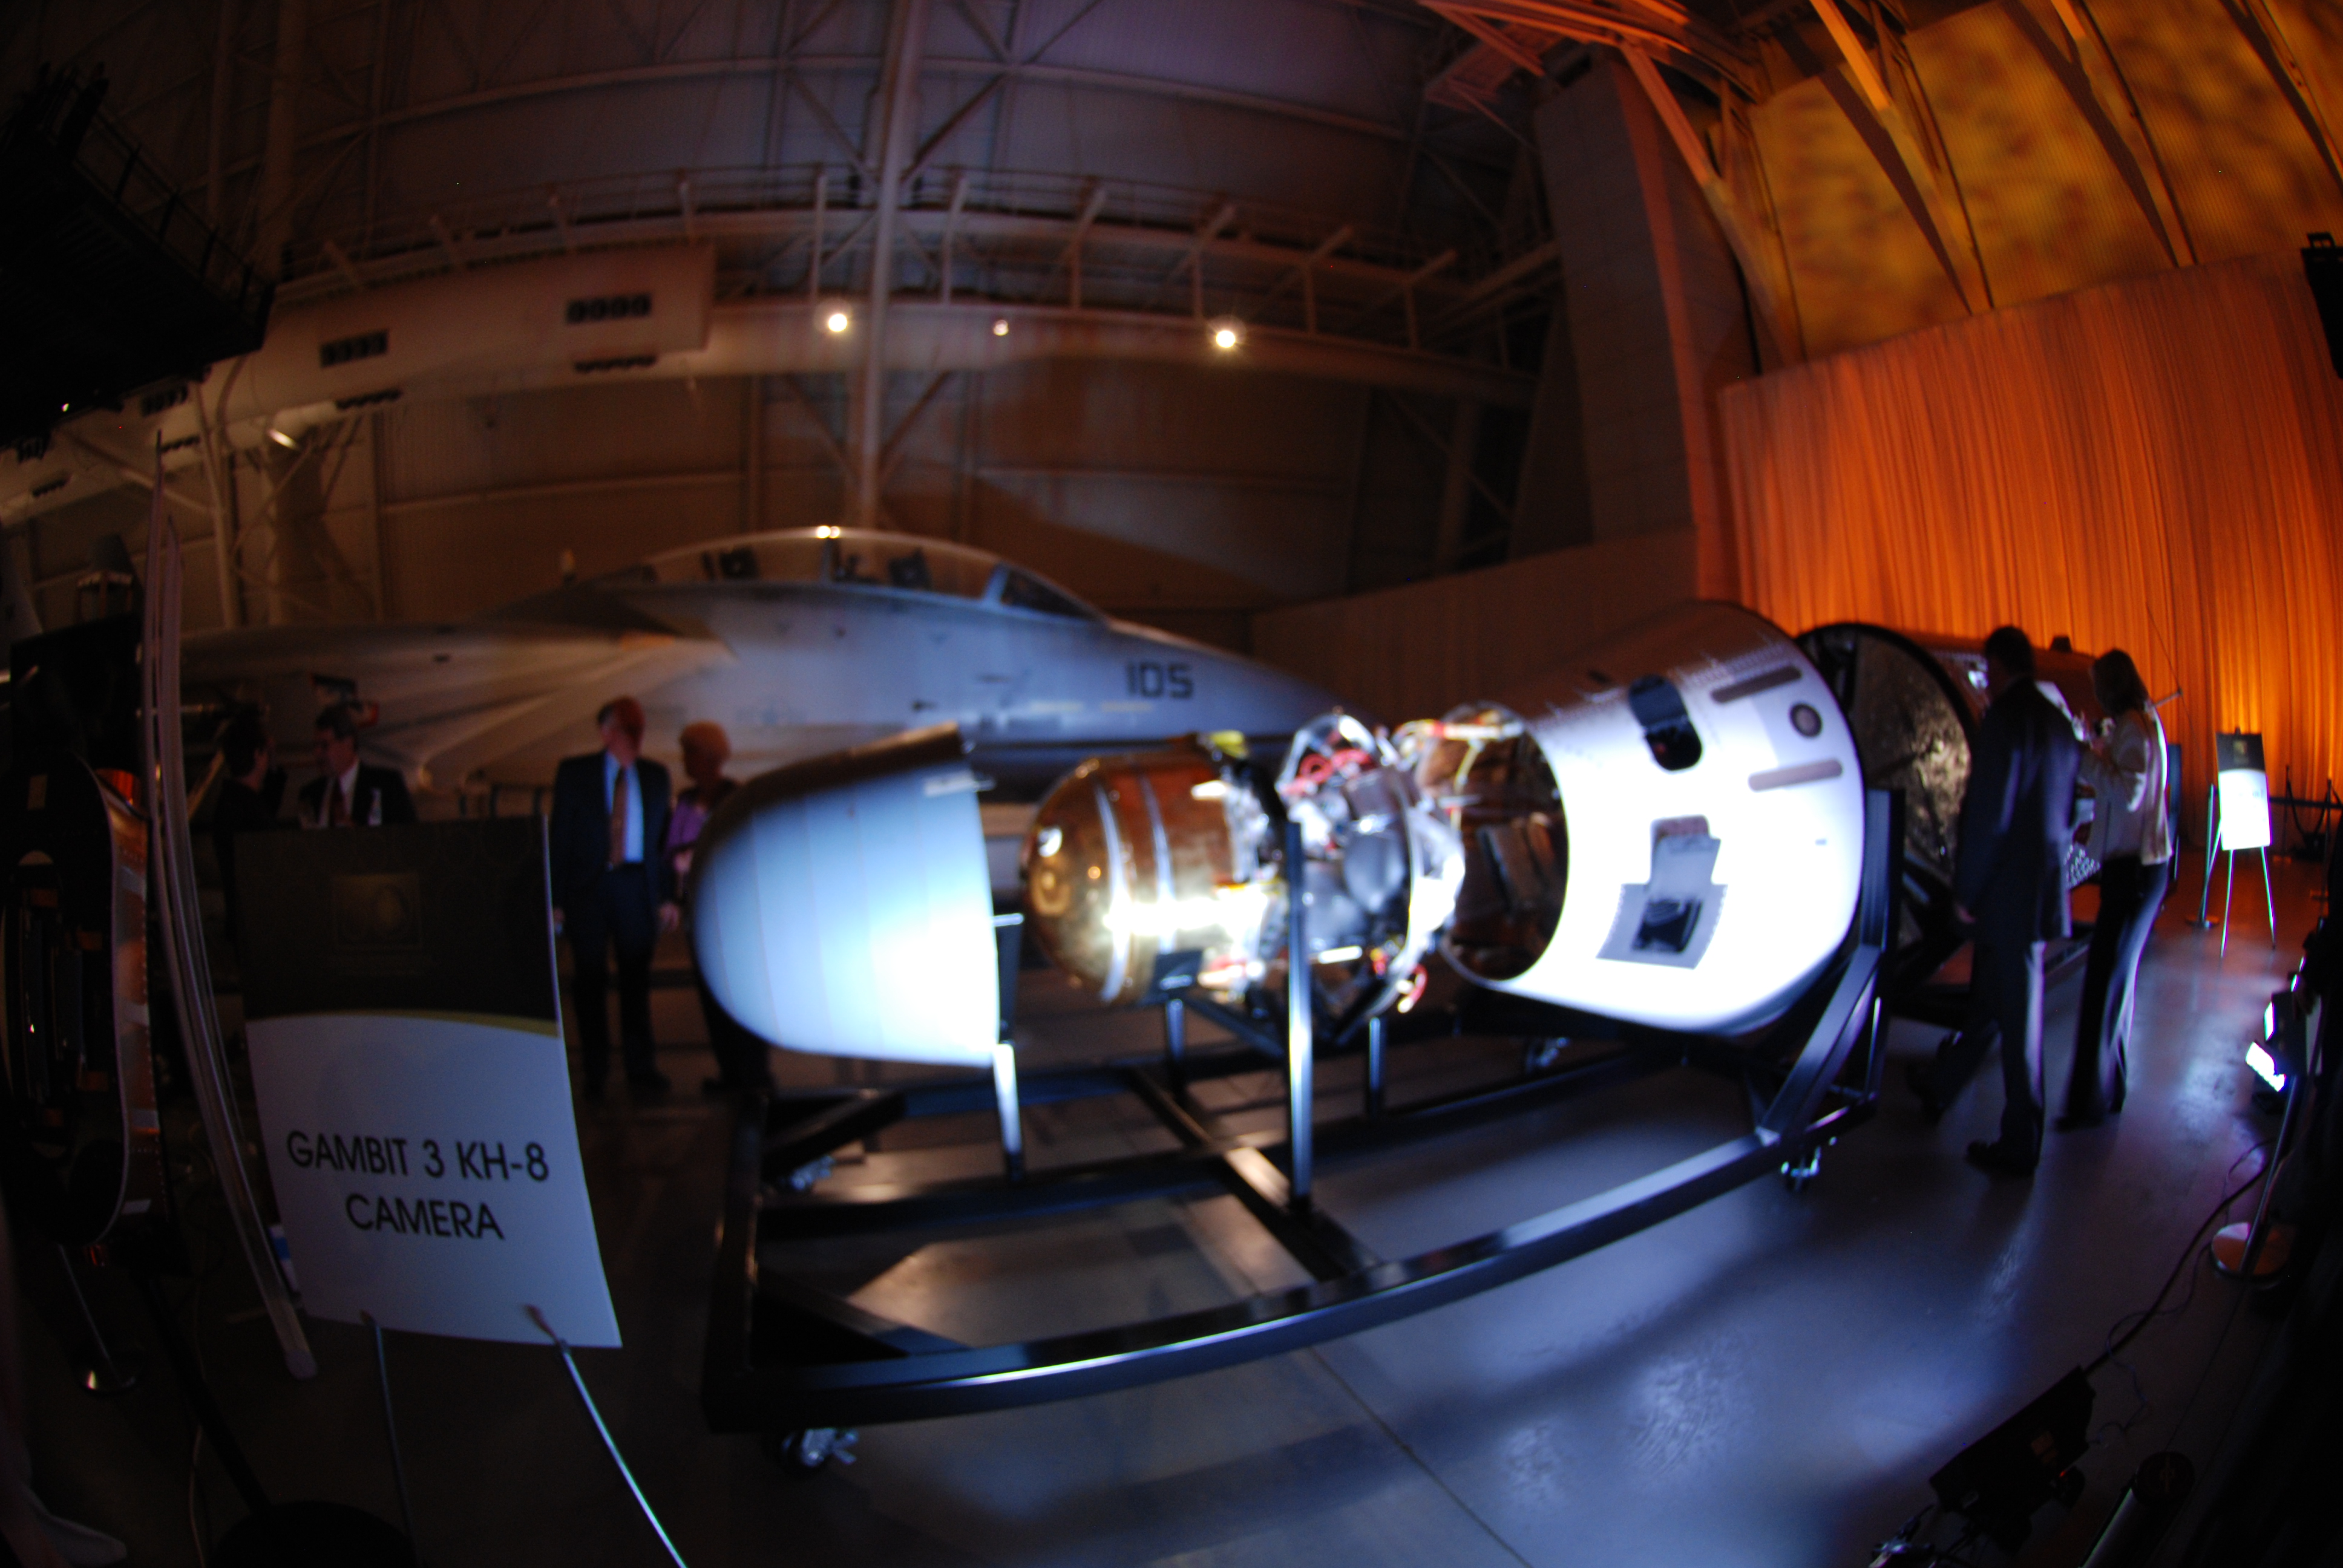
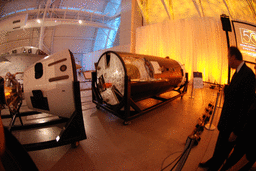
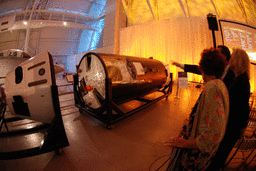
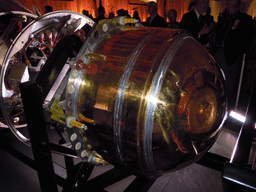
DSC_2554.JPG KH-7 SRV |
 |
 |
 |
 |
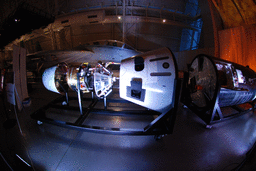
| DSC_2562.JPG KH-7 SRV |
DSC_2566.JPG KH-7 SRV |
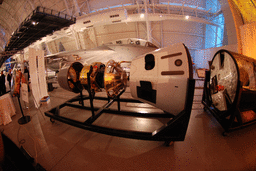
DSC_2557.JPG frustum and SRV |
DSC_2558.JPG KH-7 SRV |
 |
 |
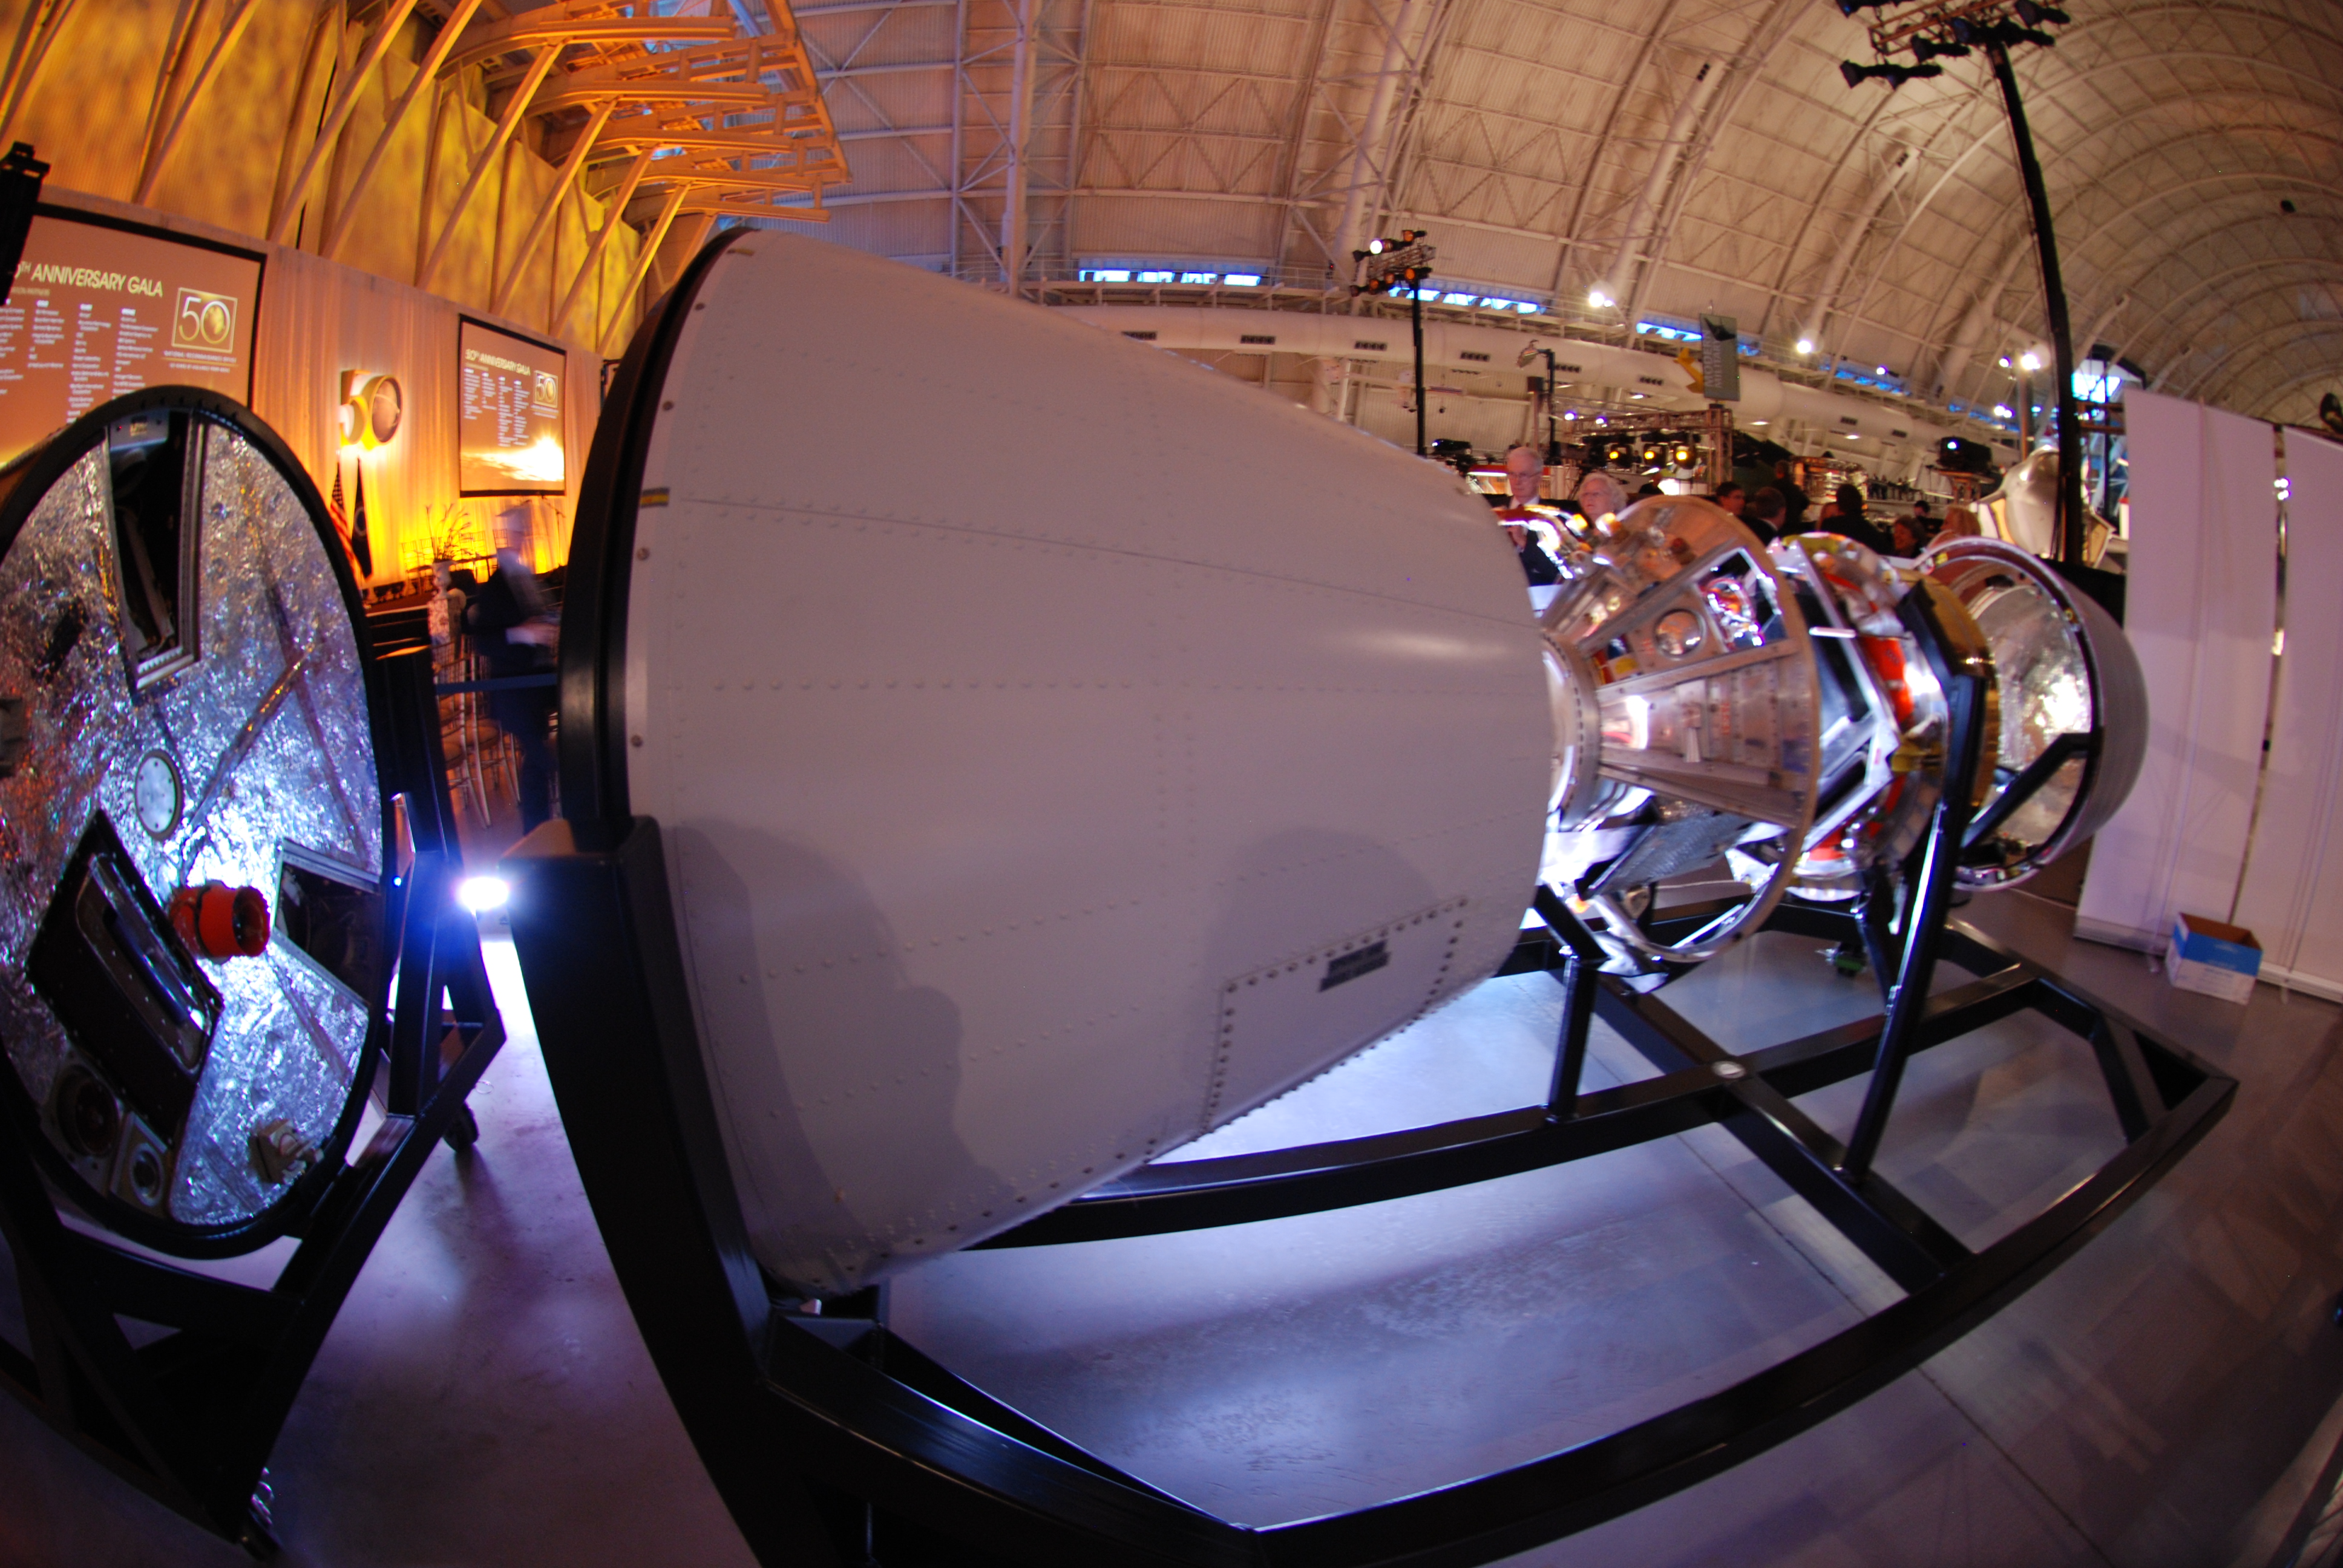
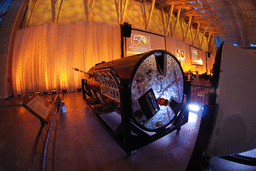
| DSC_2583.JPG KH-7 SRV |
DSC_2584.JPG KH-7 SRV interior, TCA, frustum |