 |
 |
 |
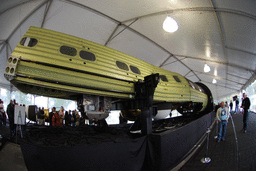 |
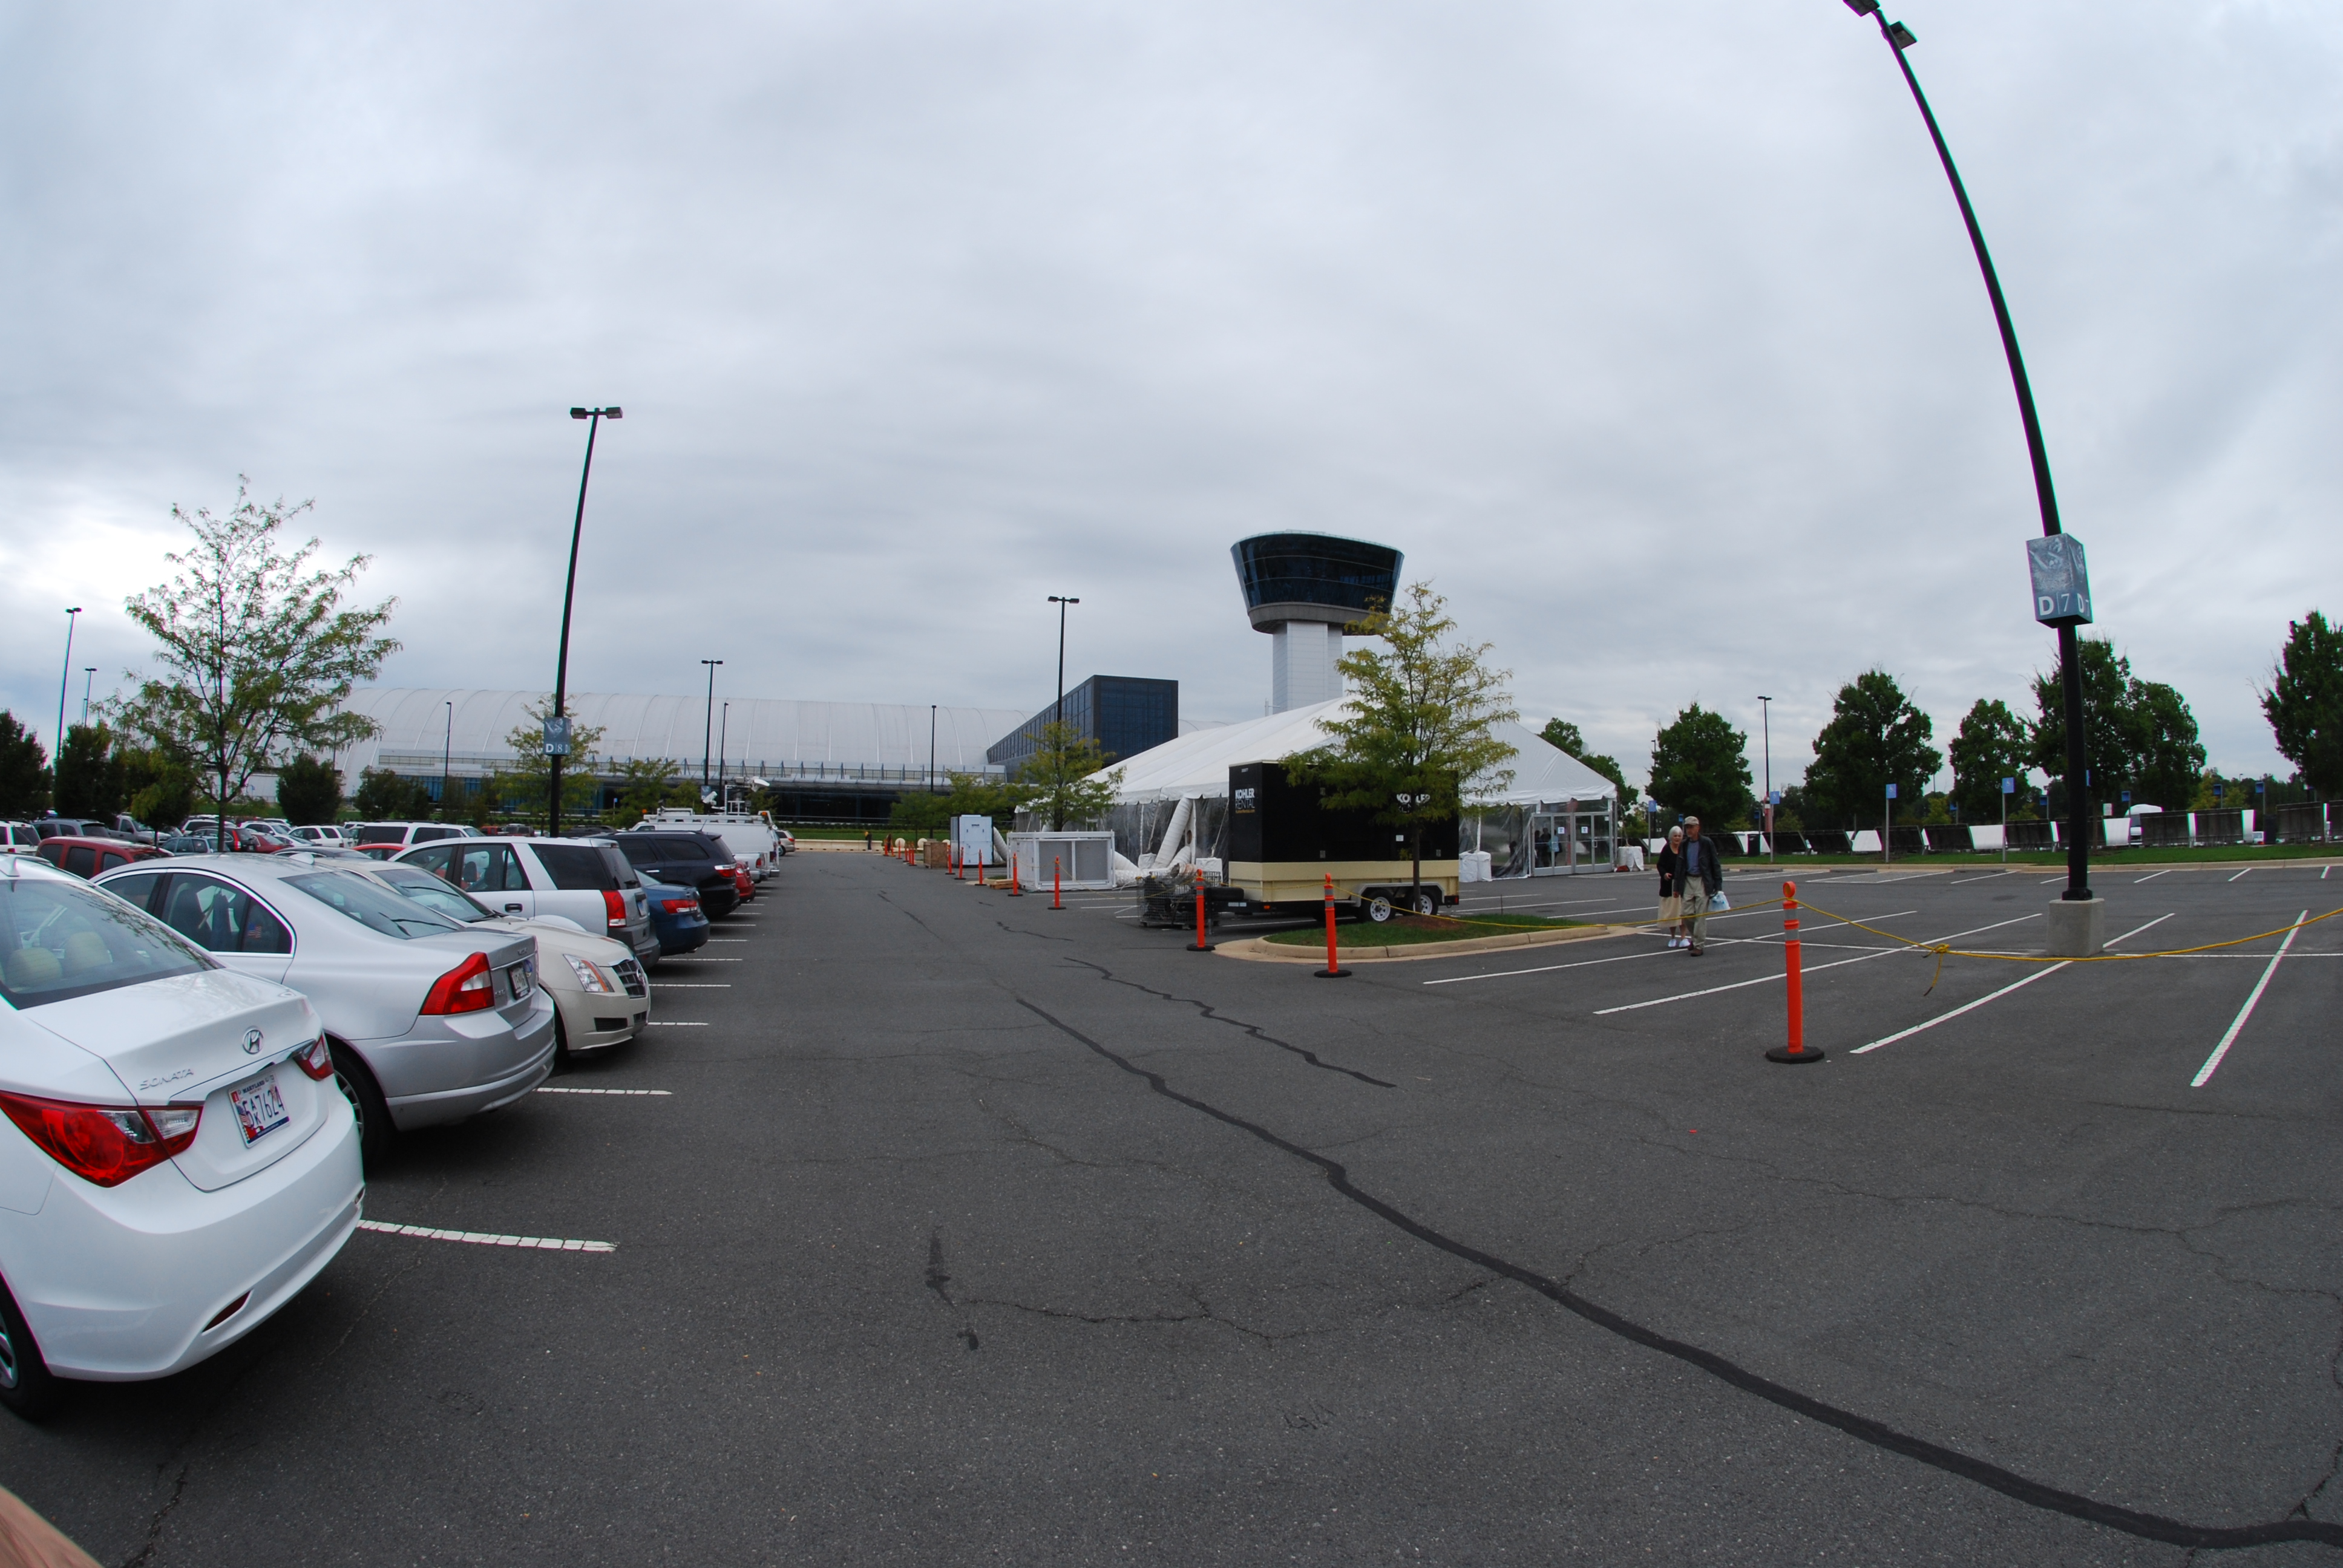
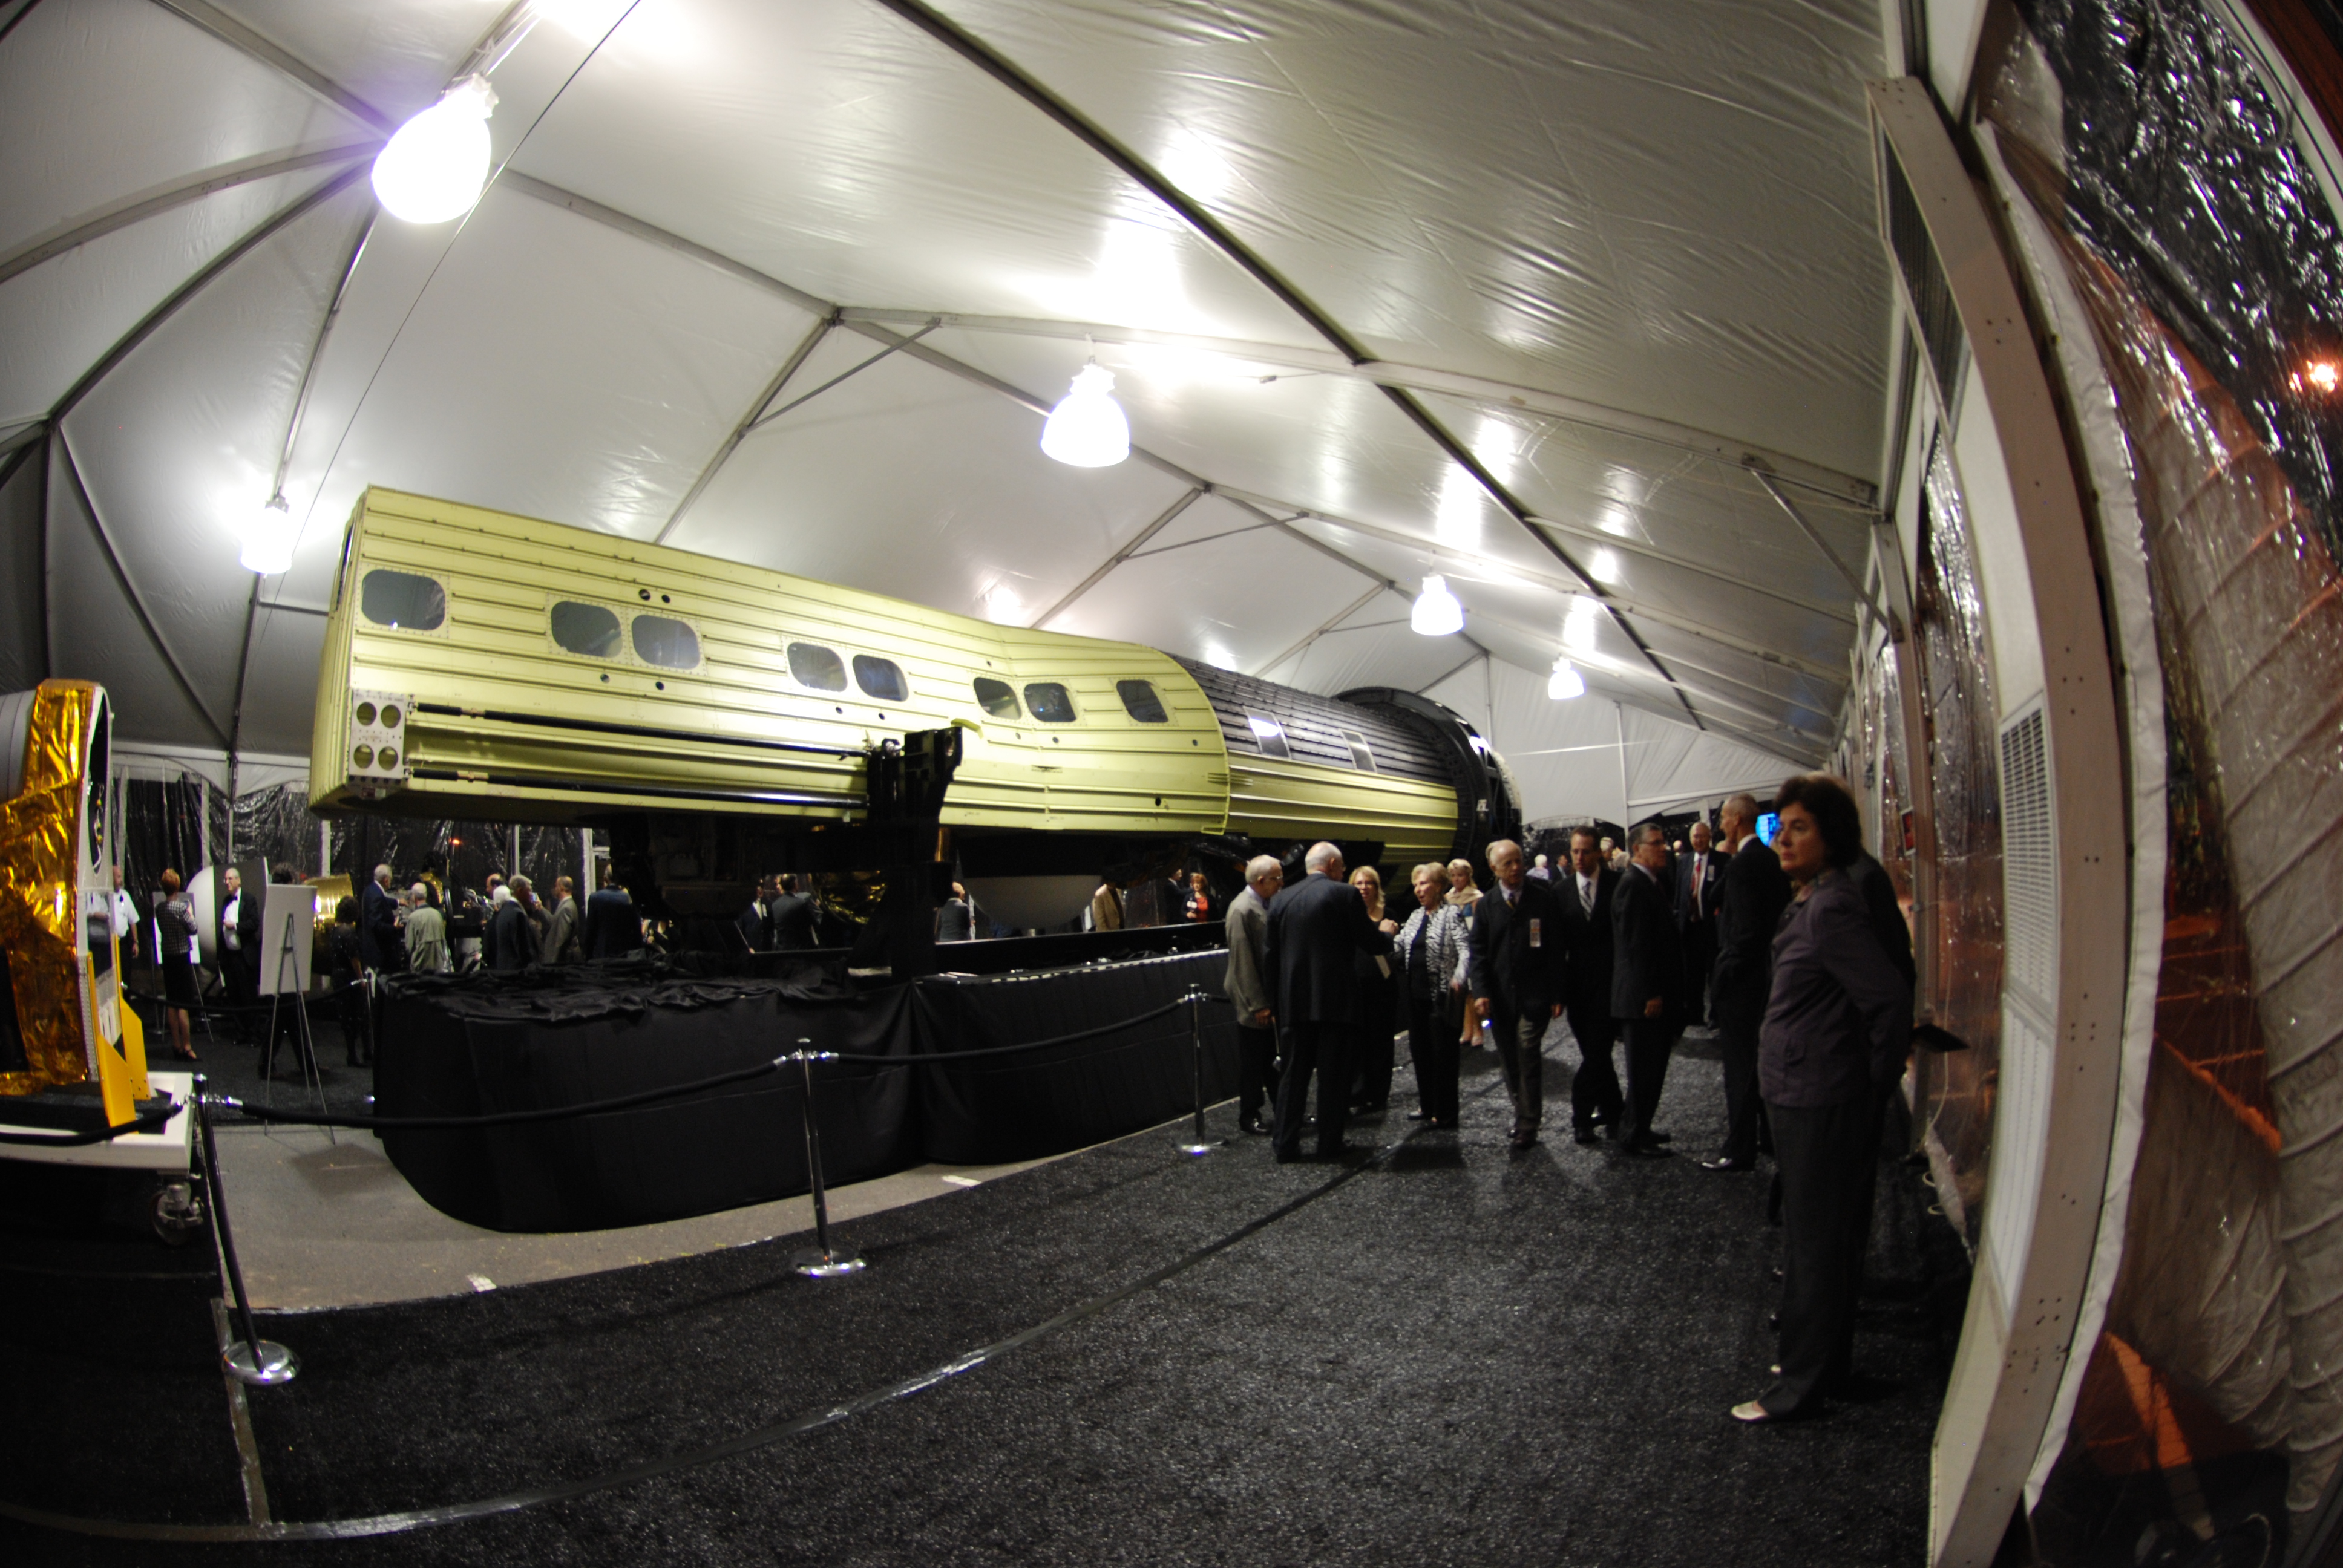
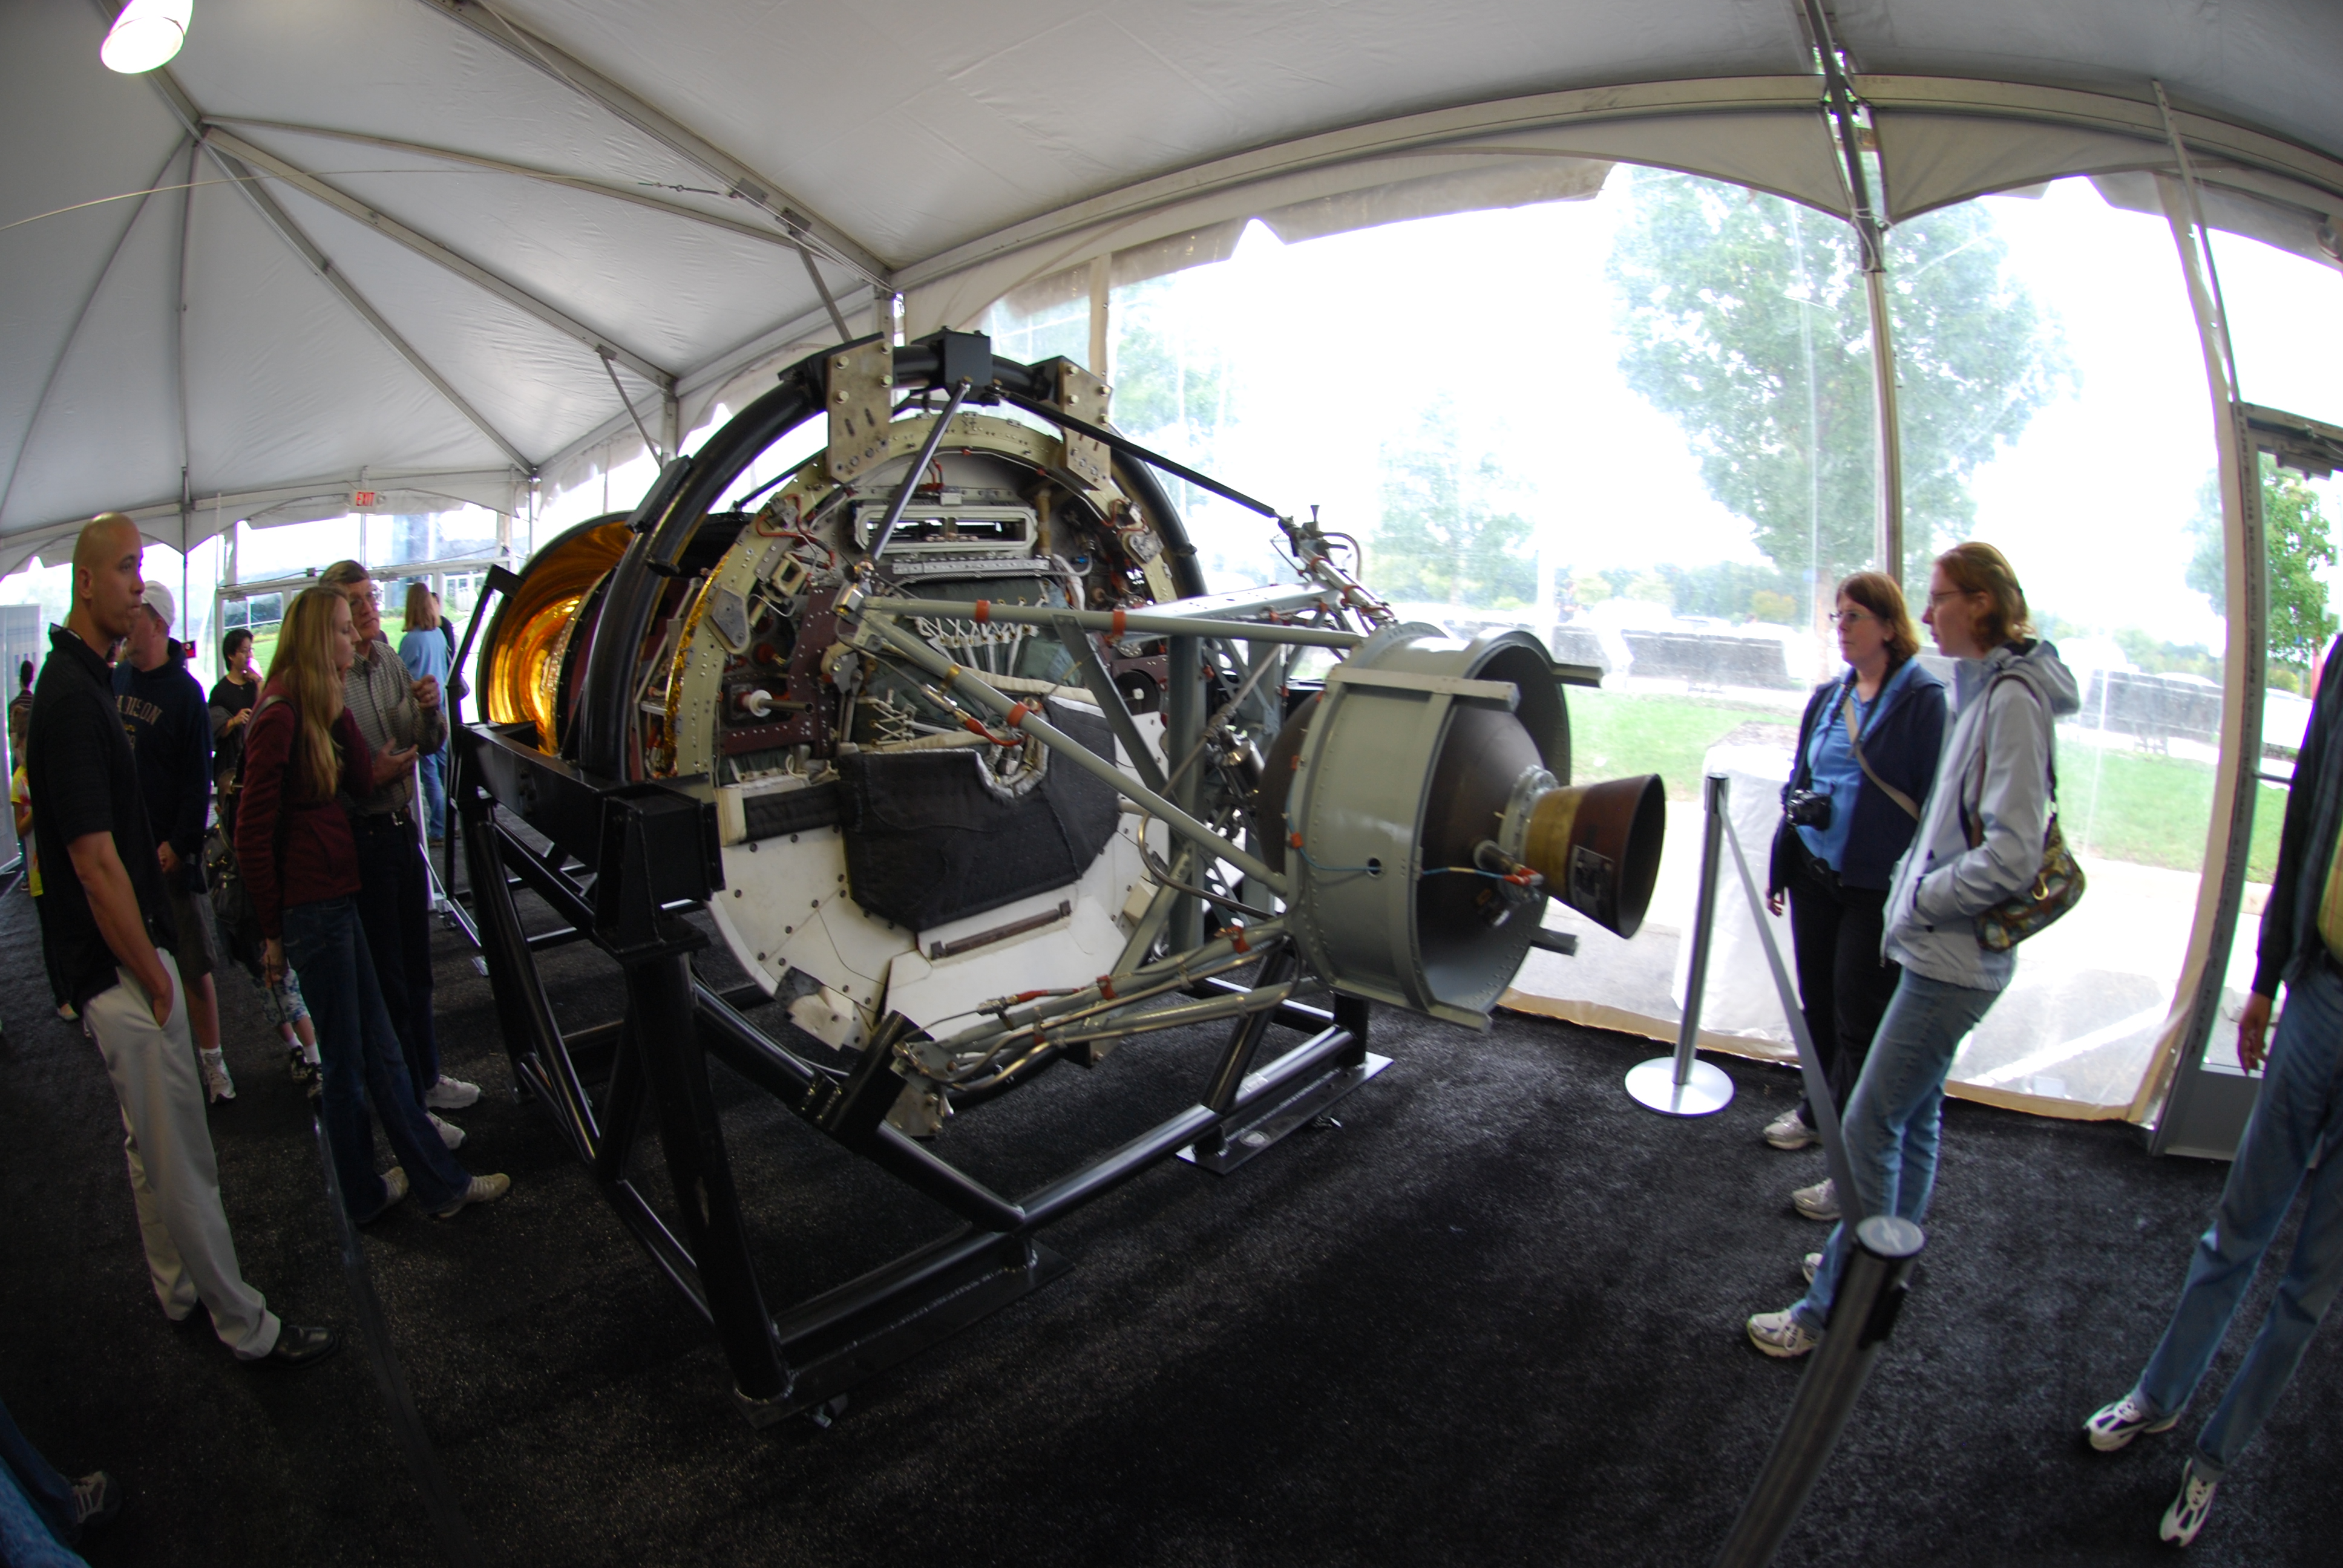
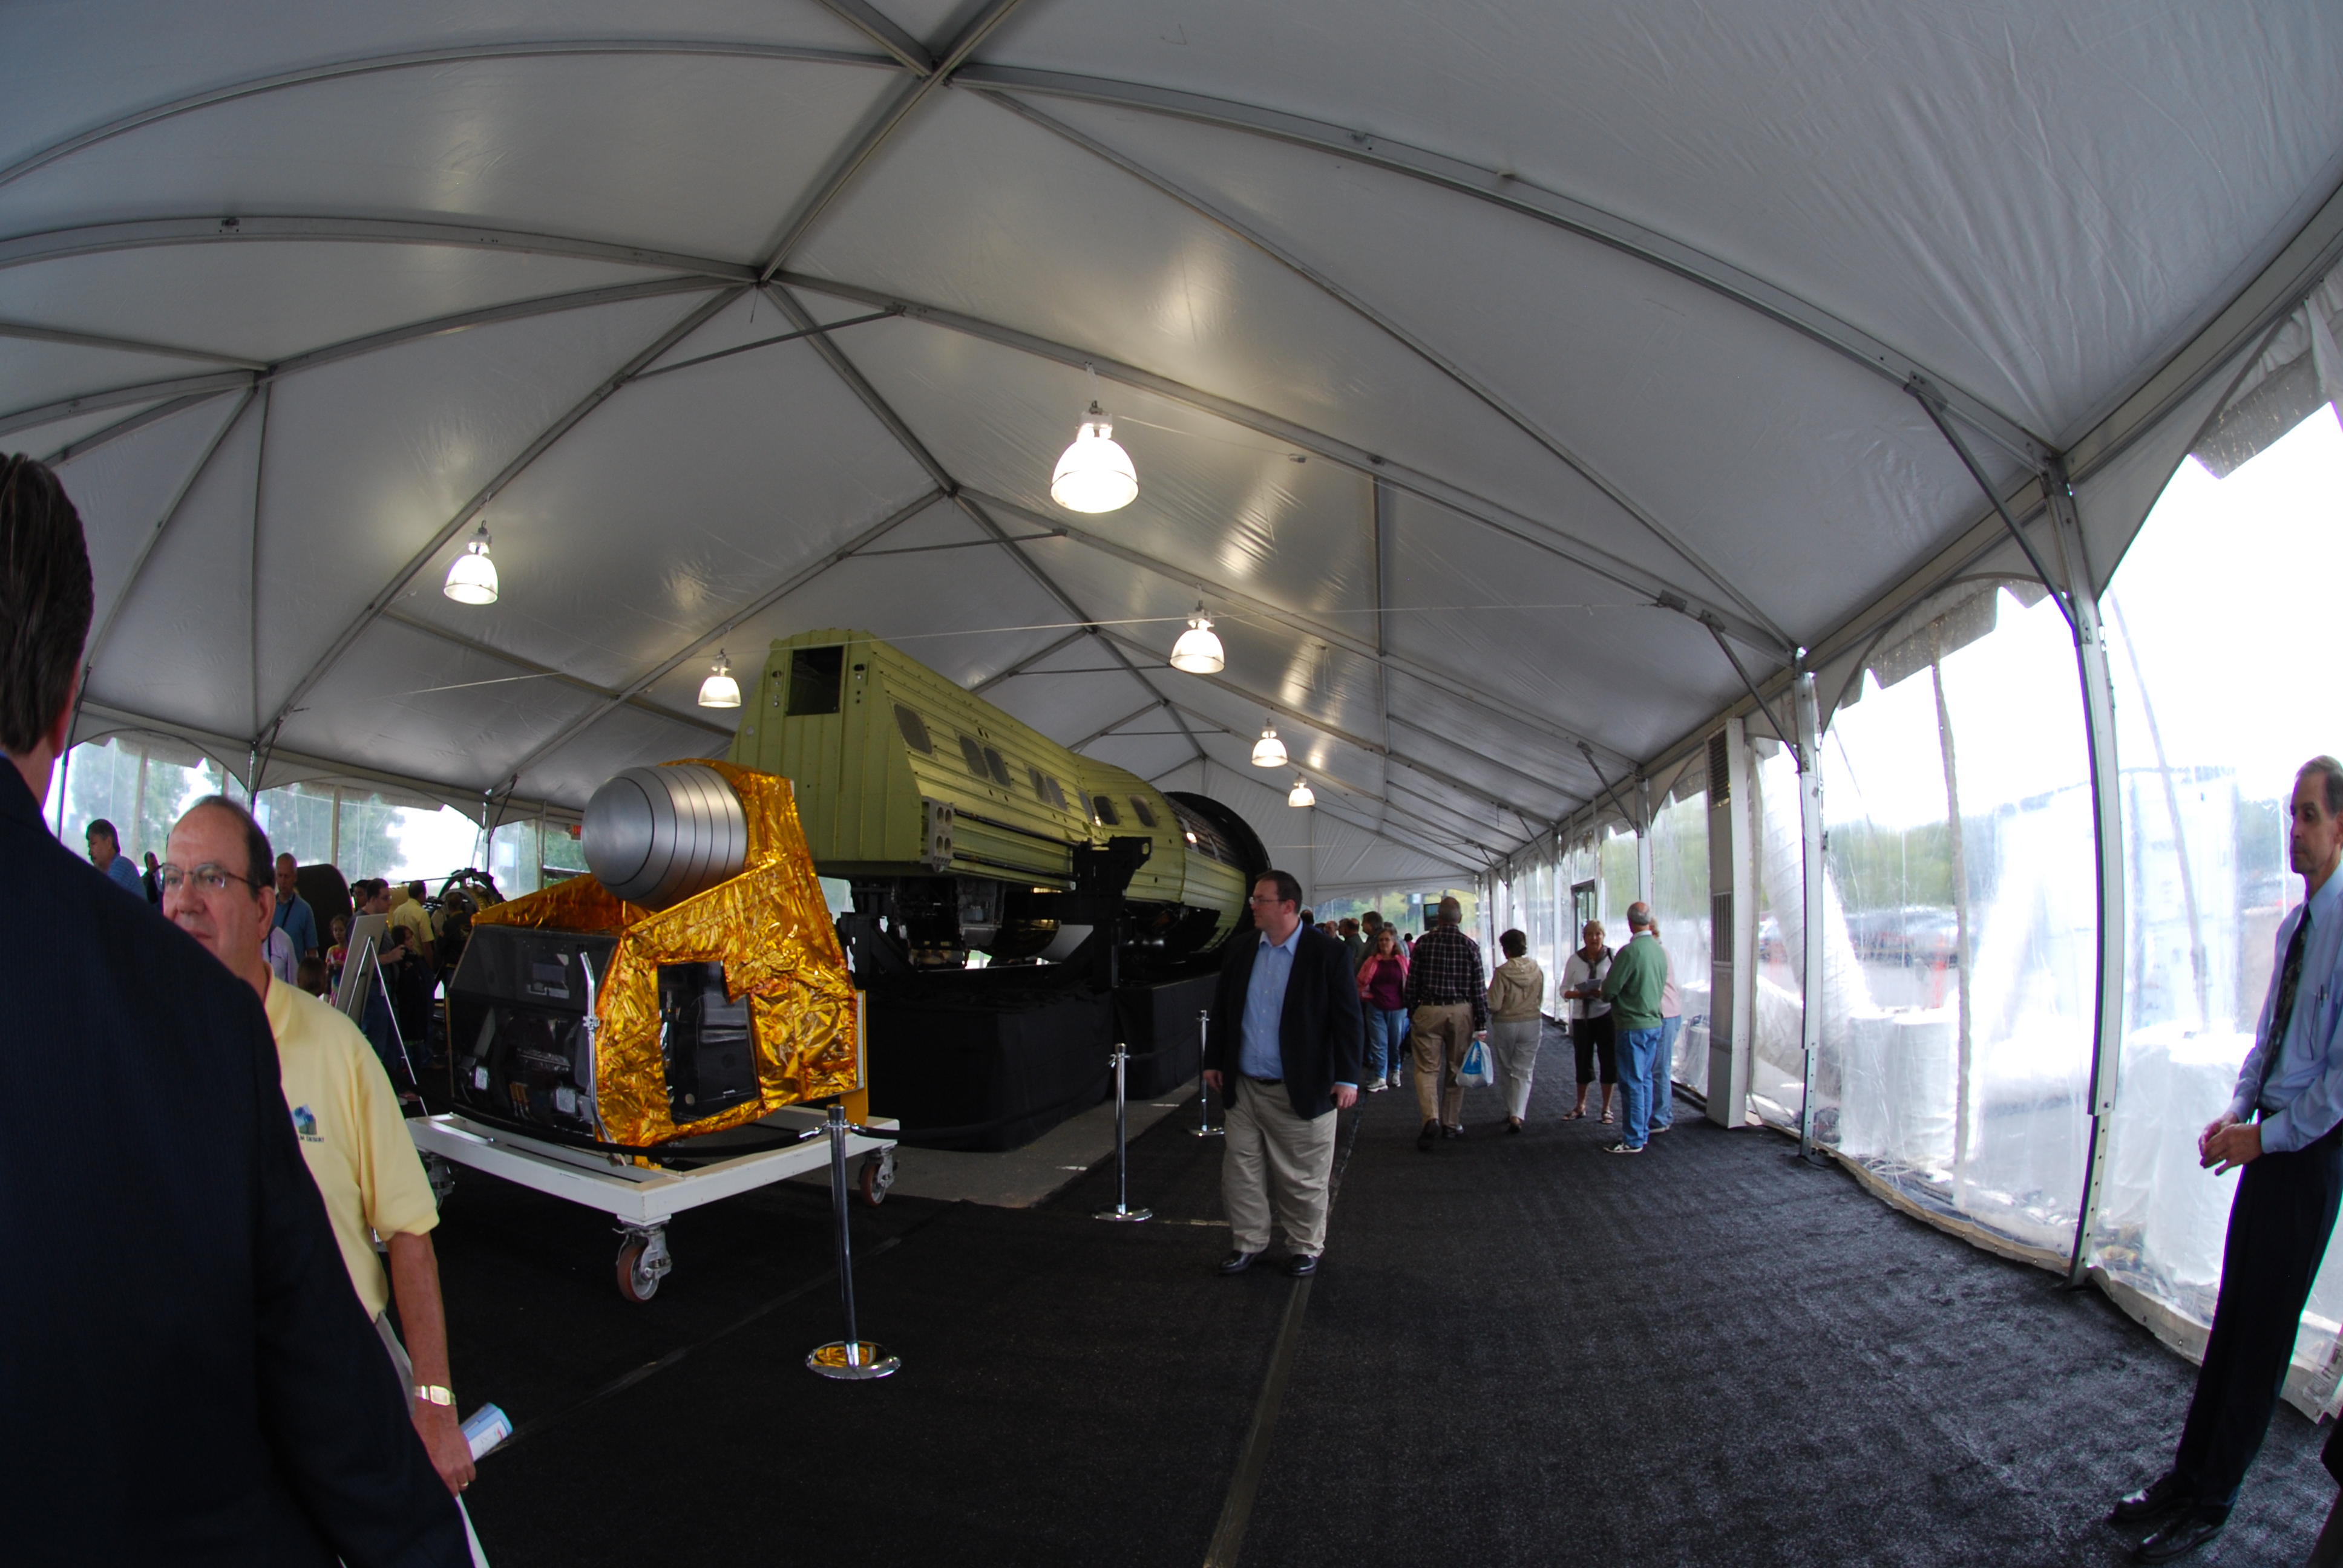
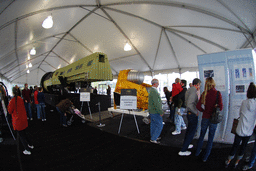
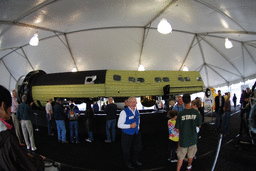
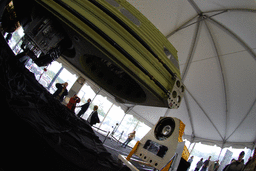
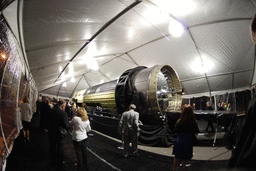
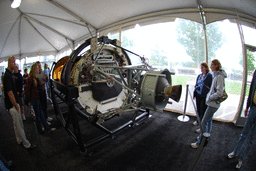
| DSC_2519.JPG Tent |
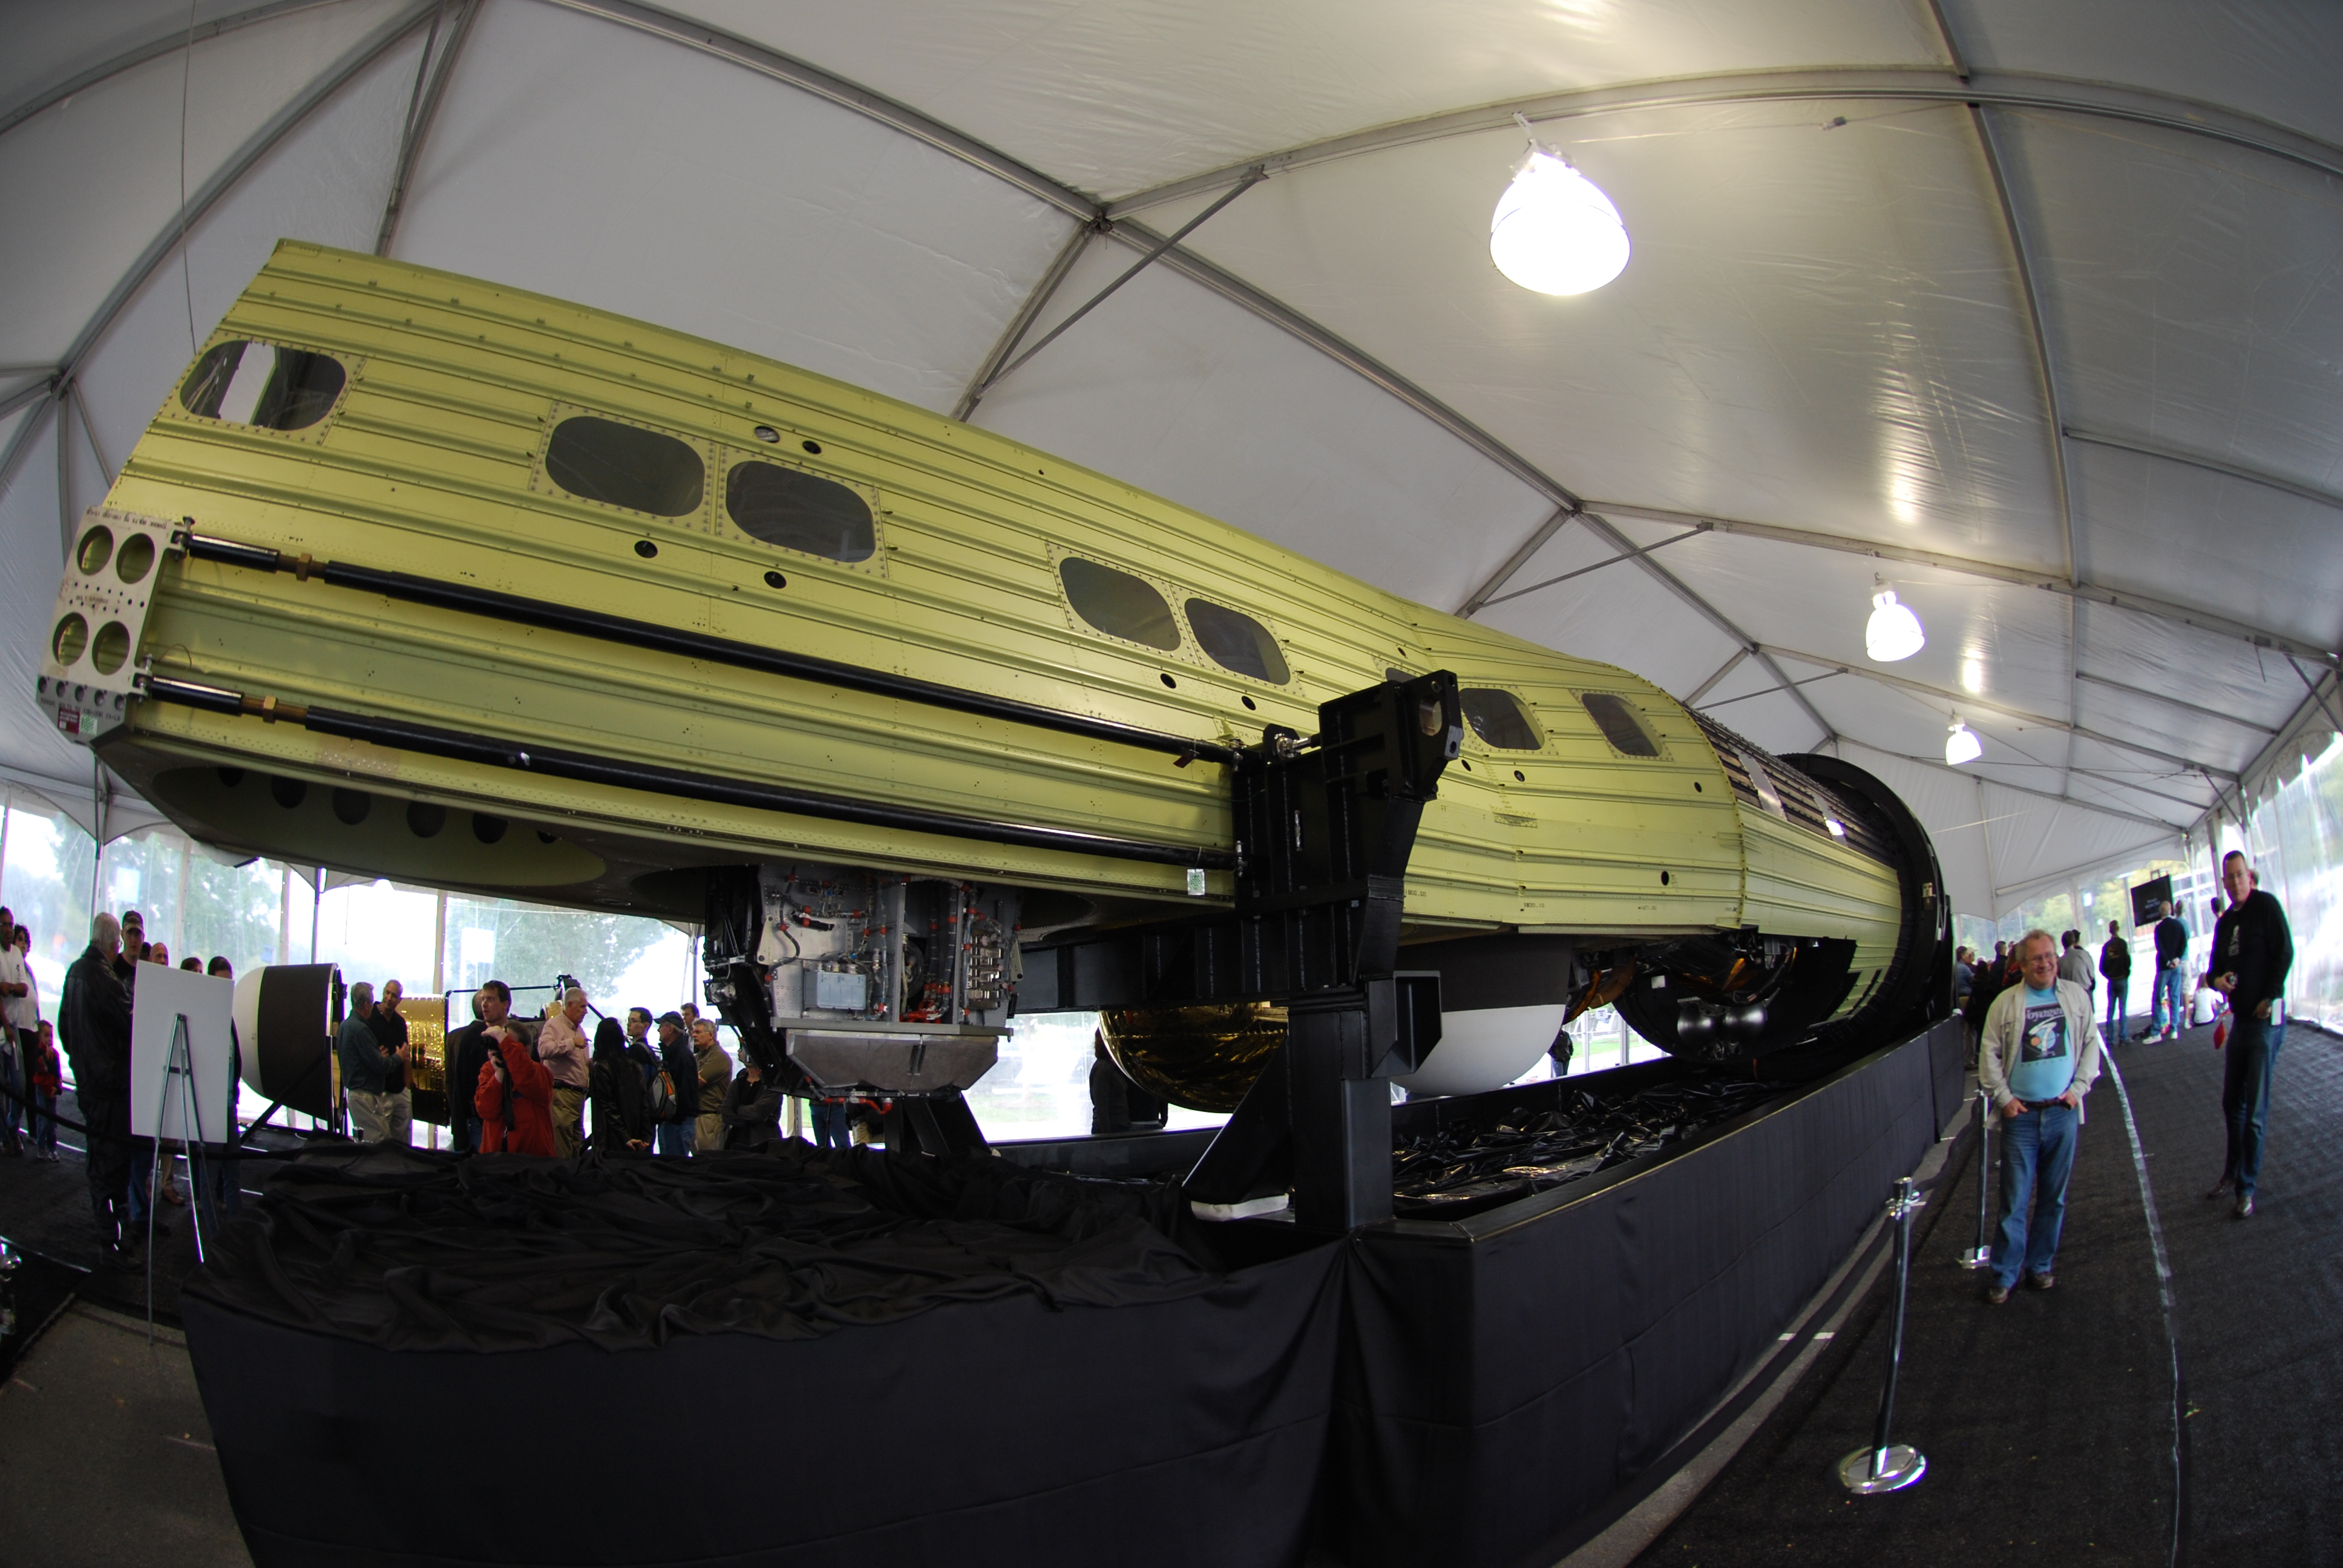
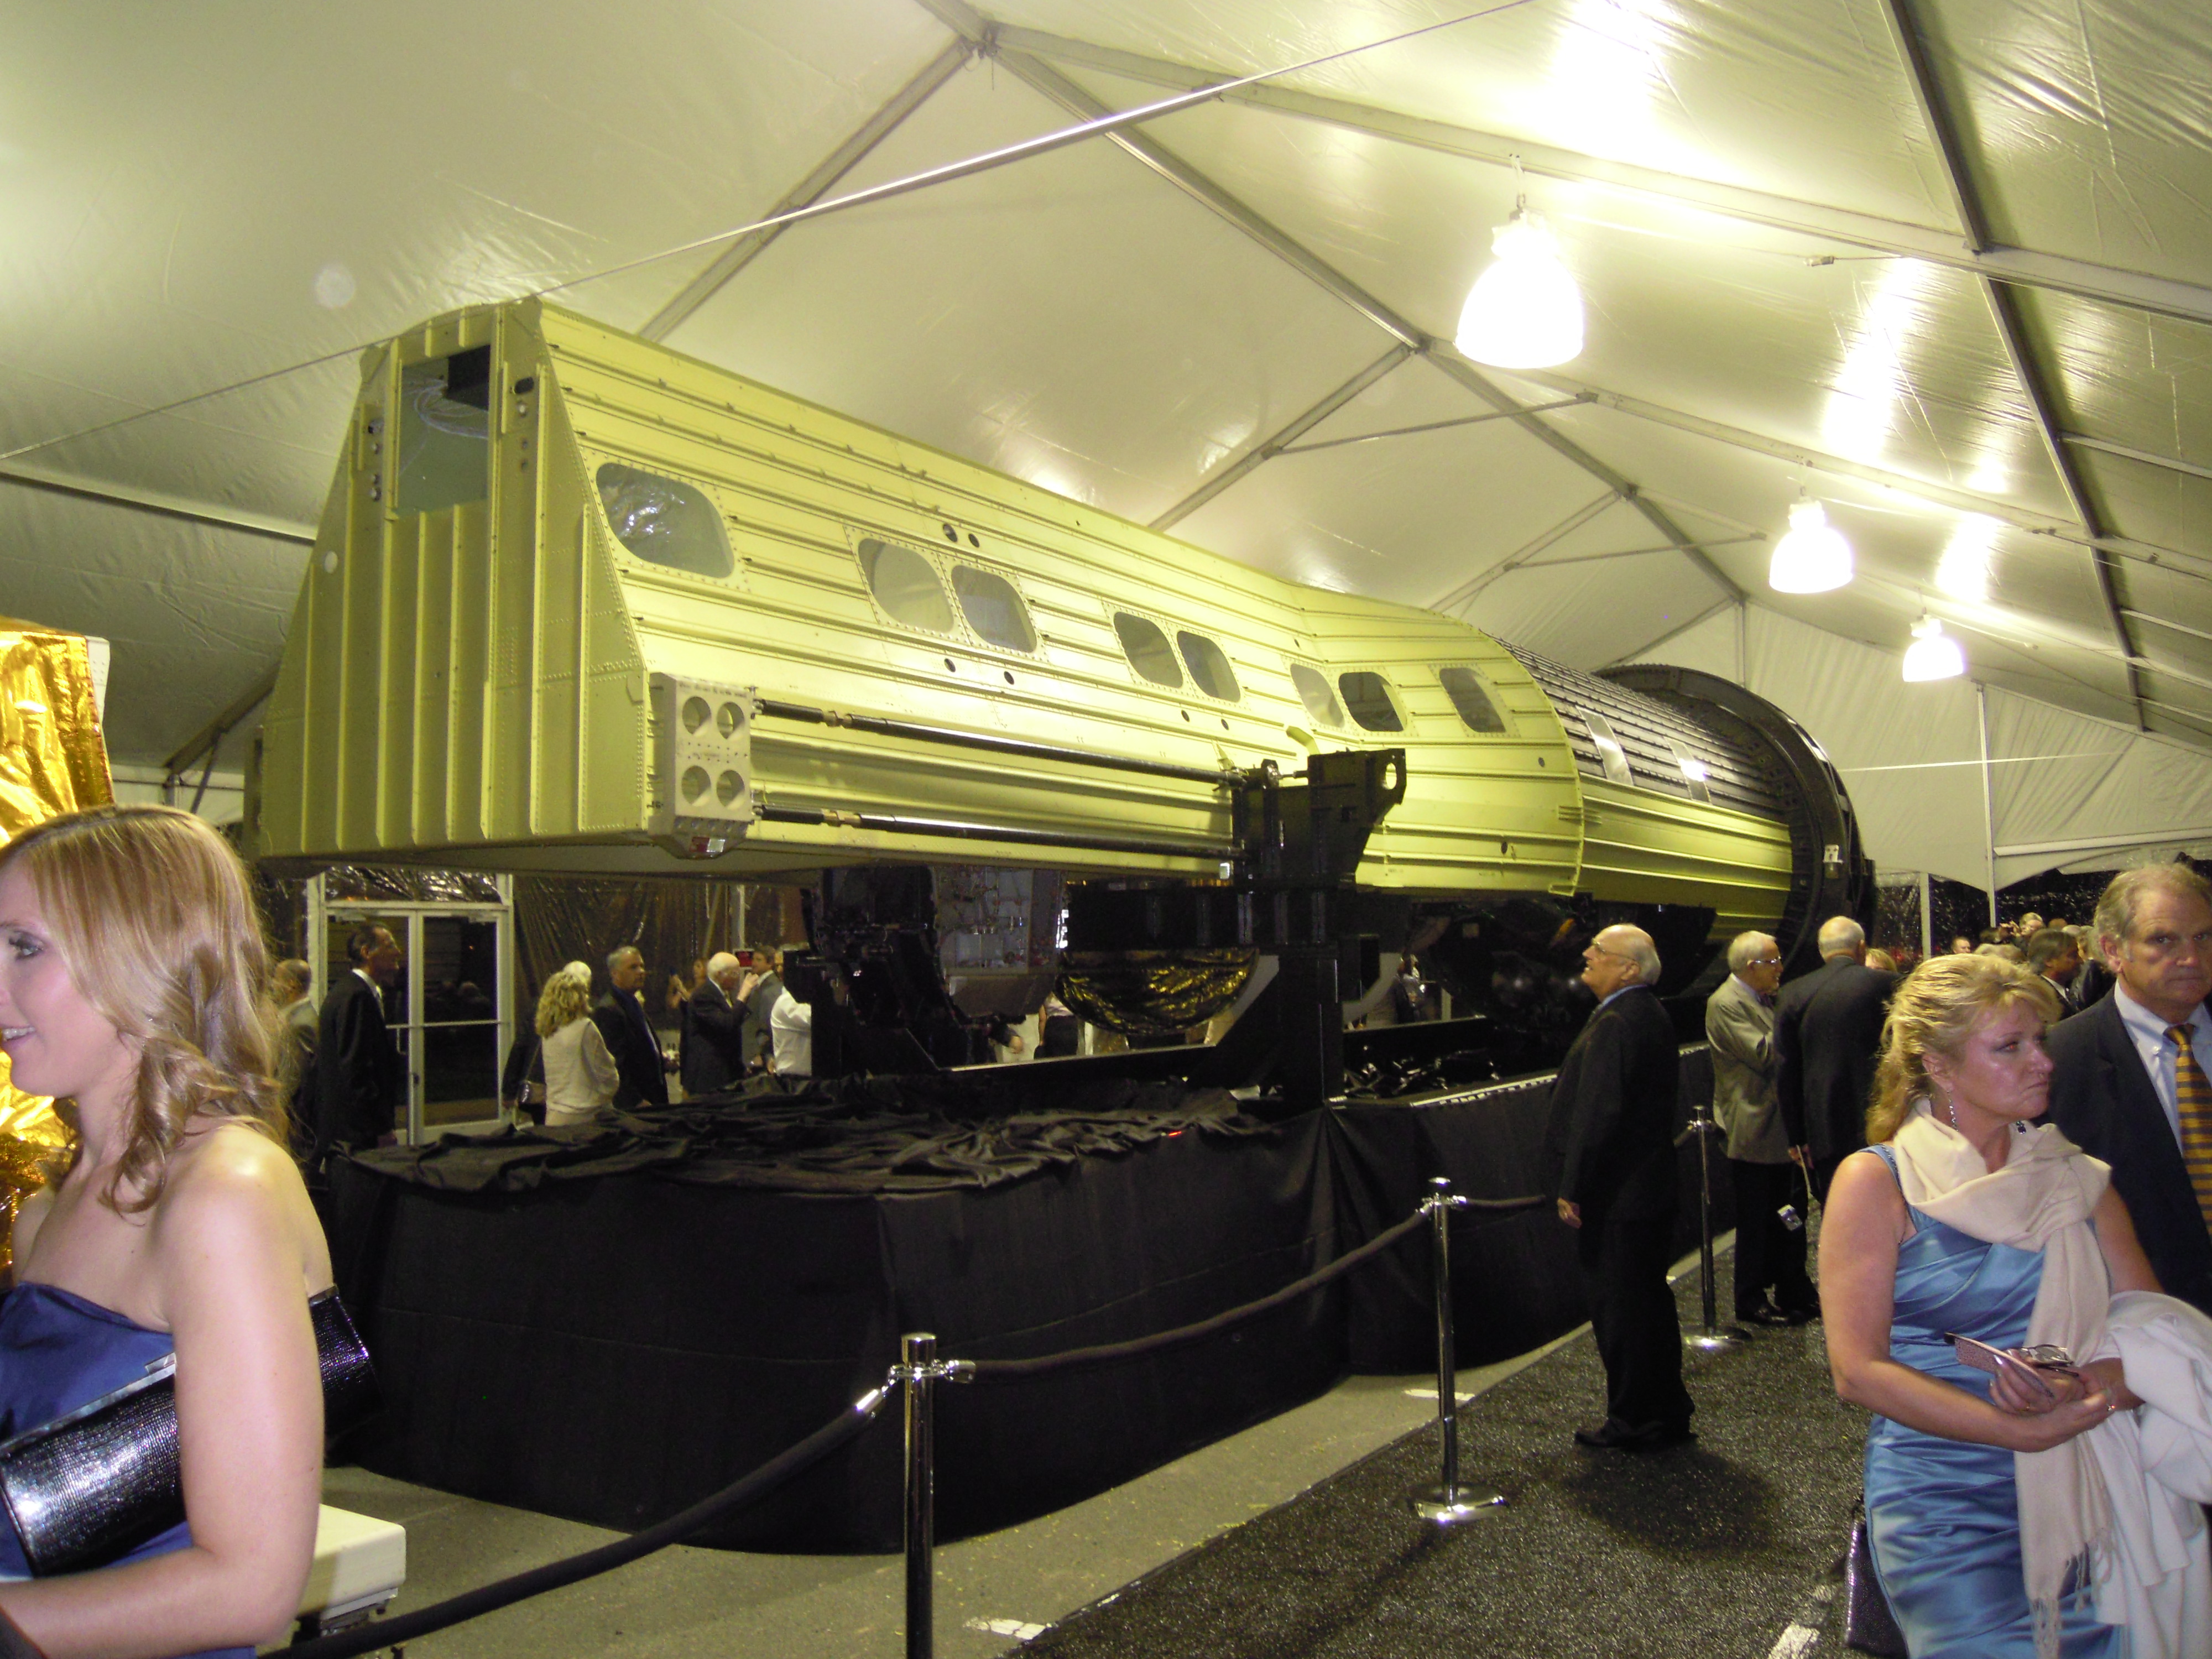
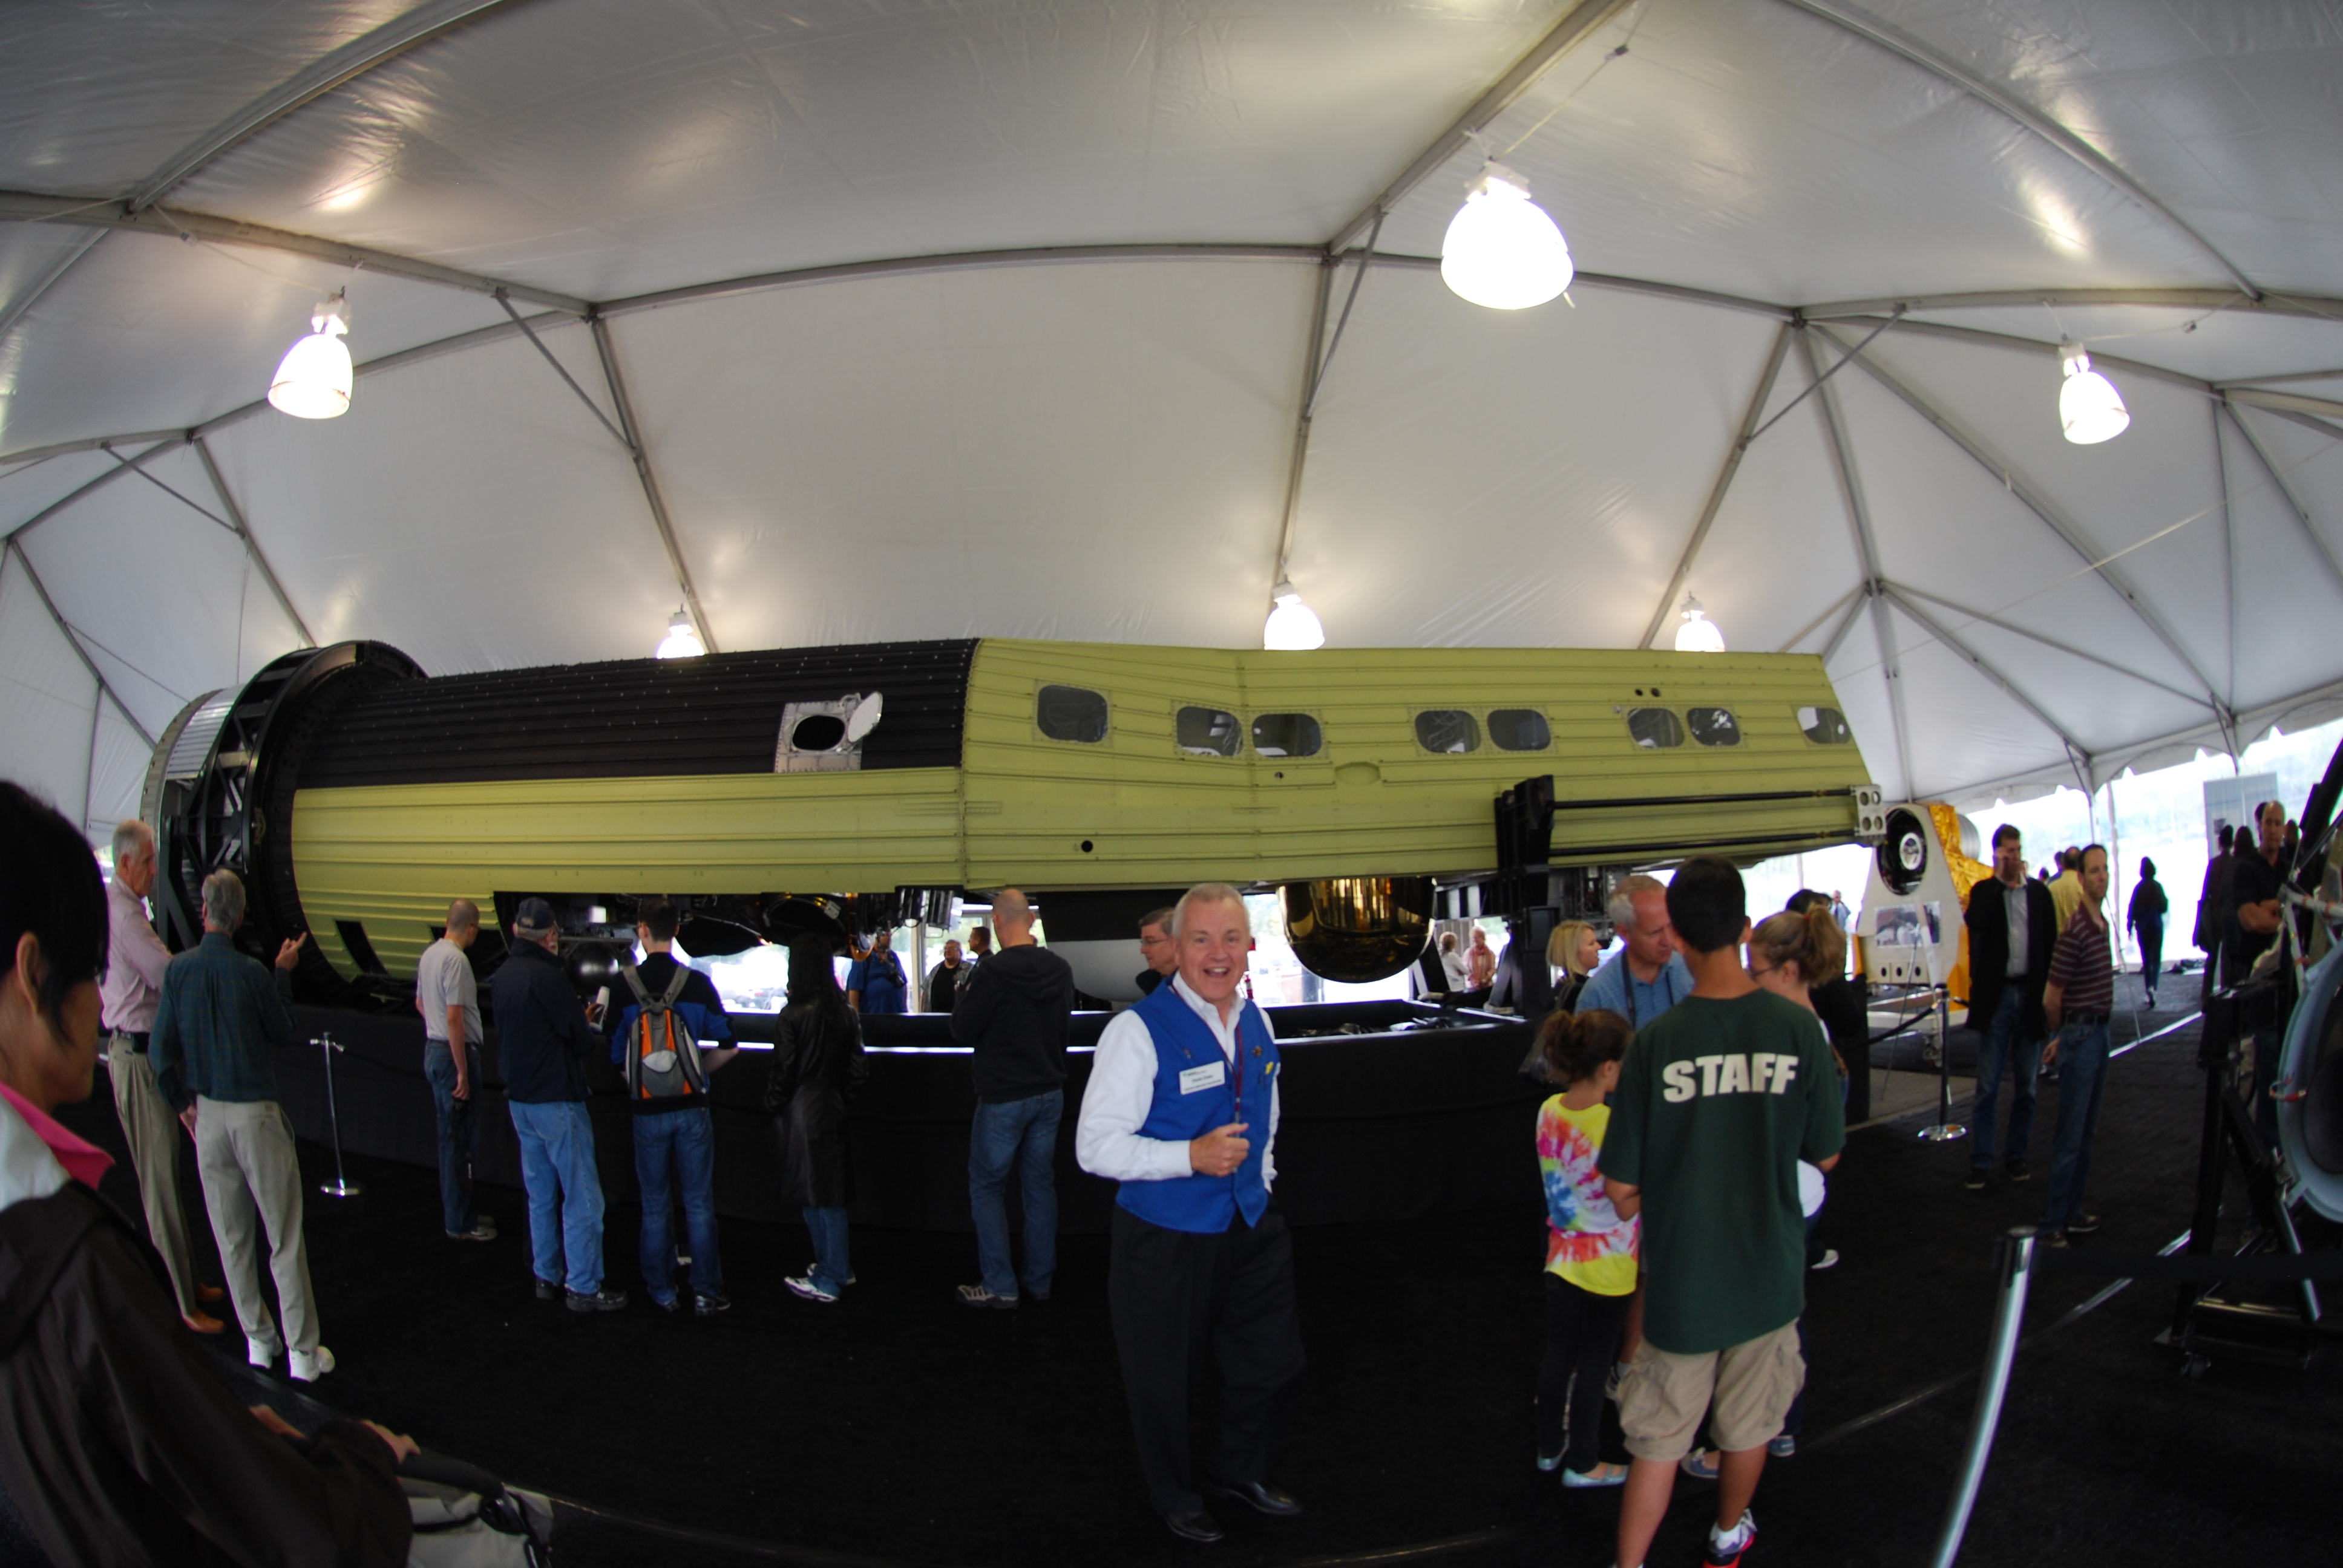
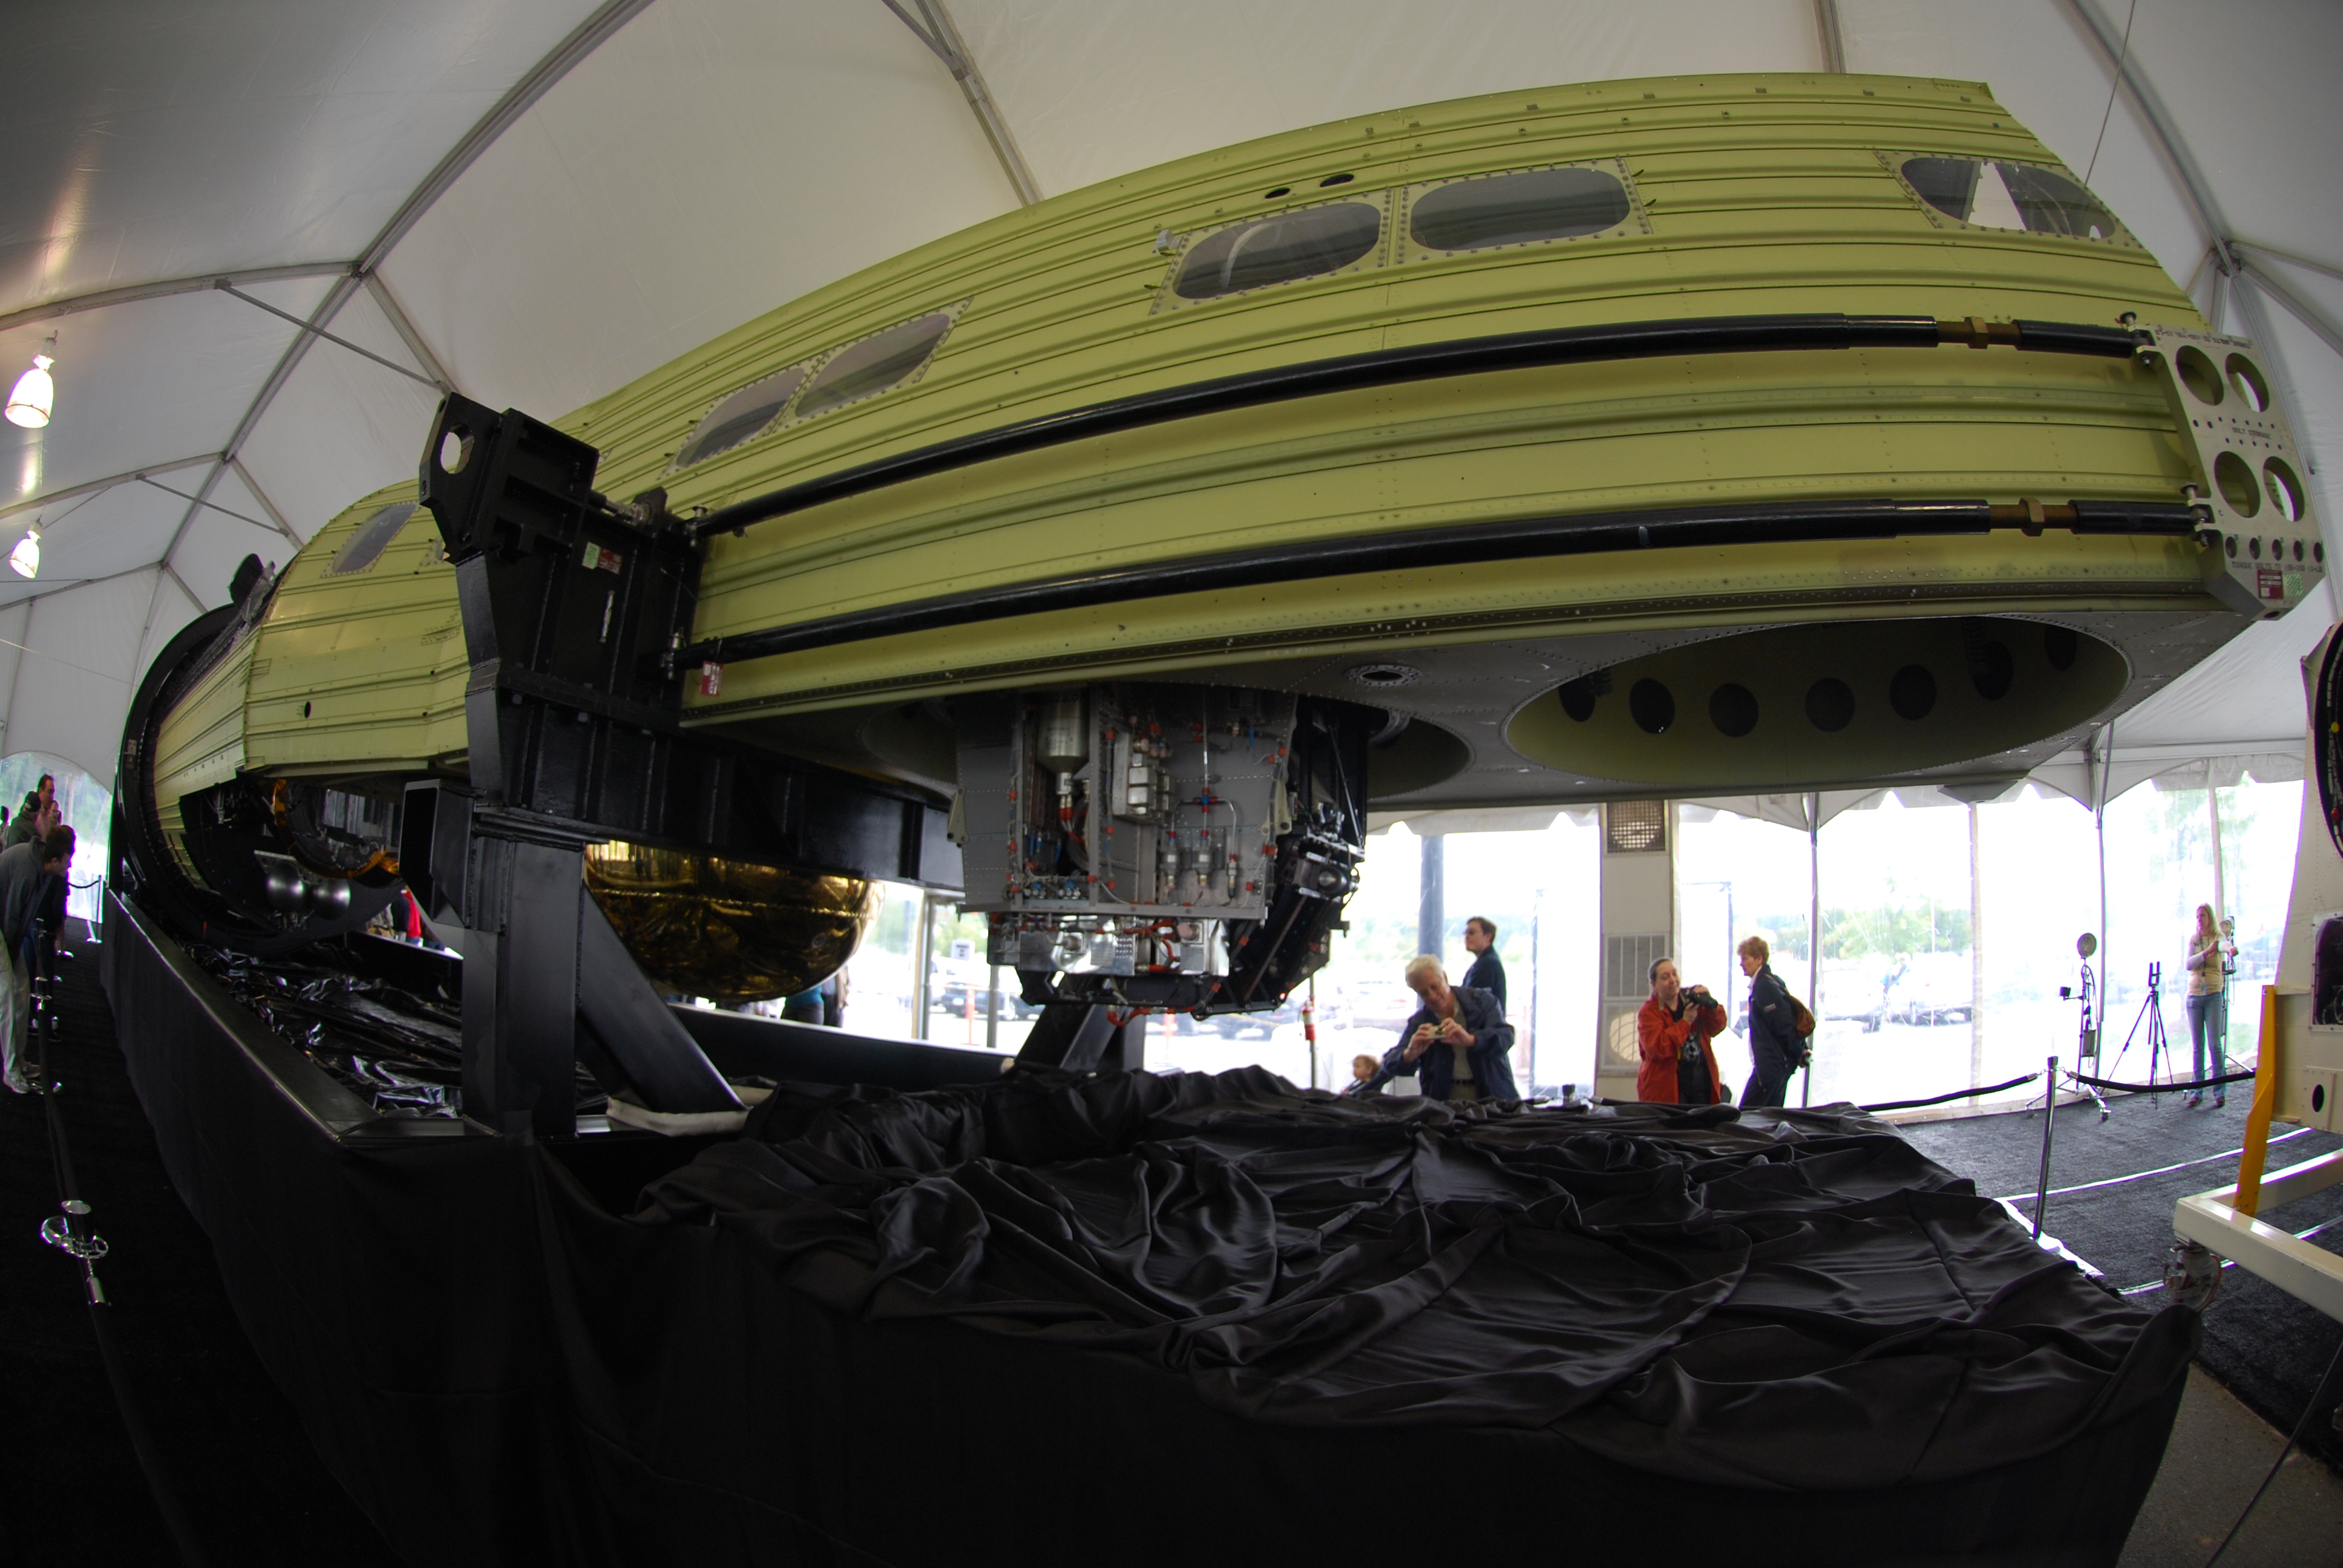
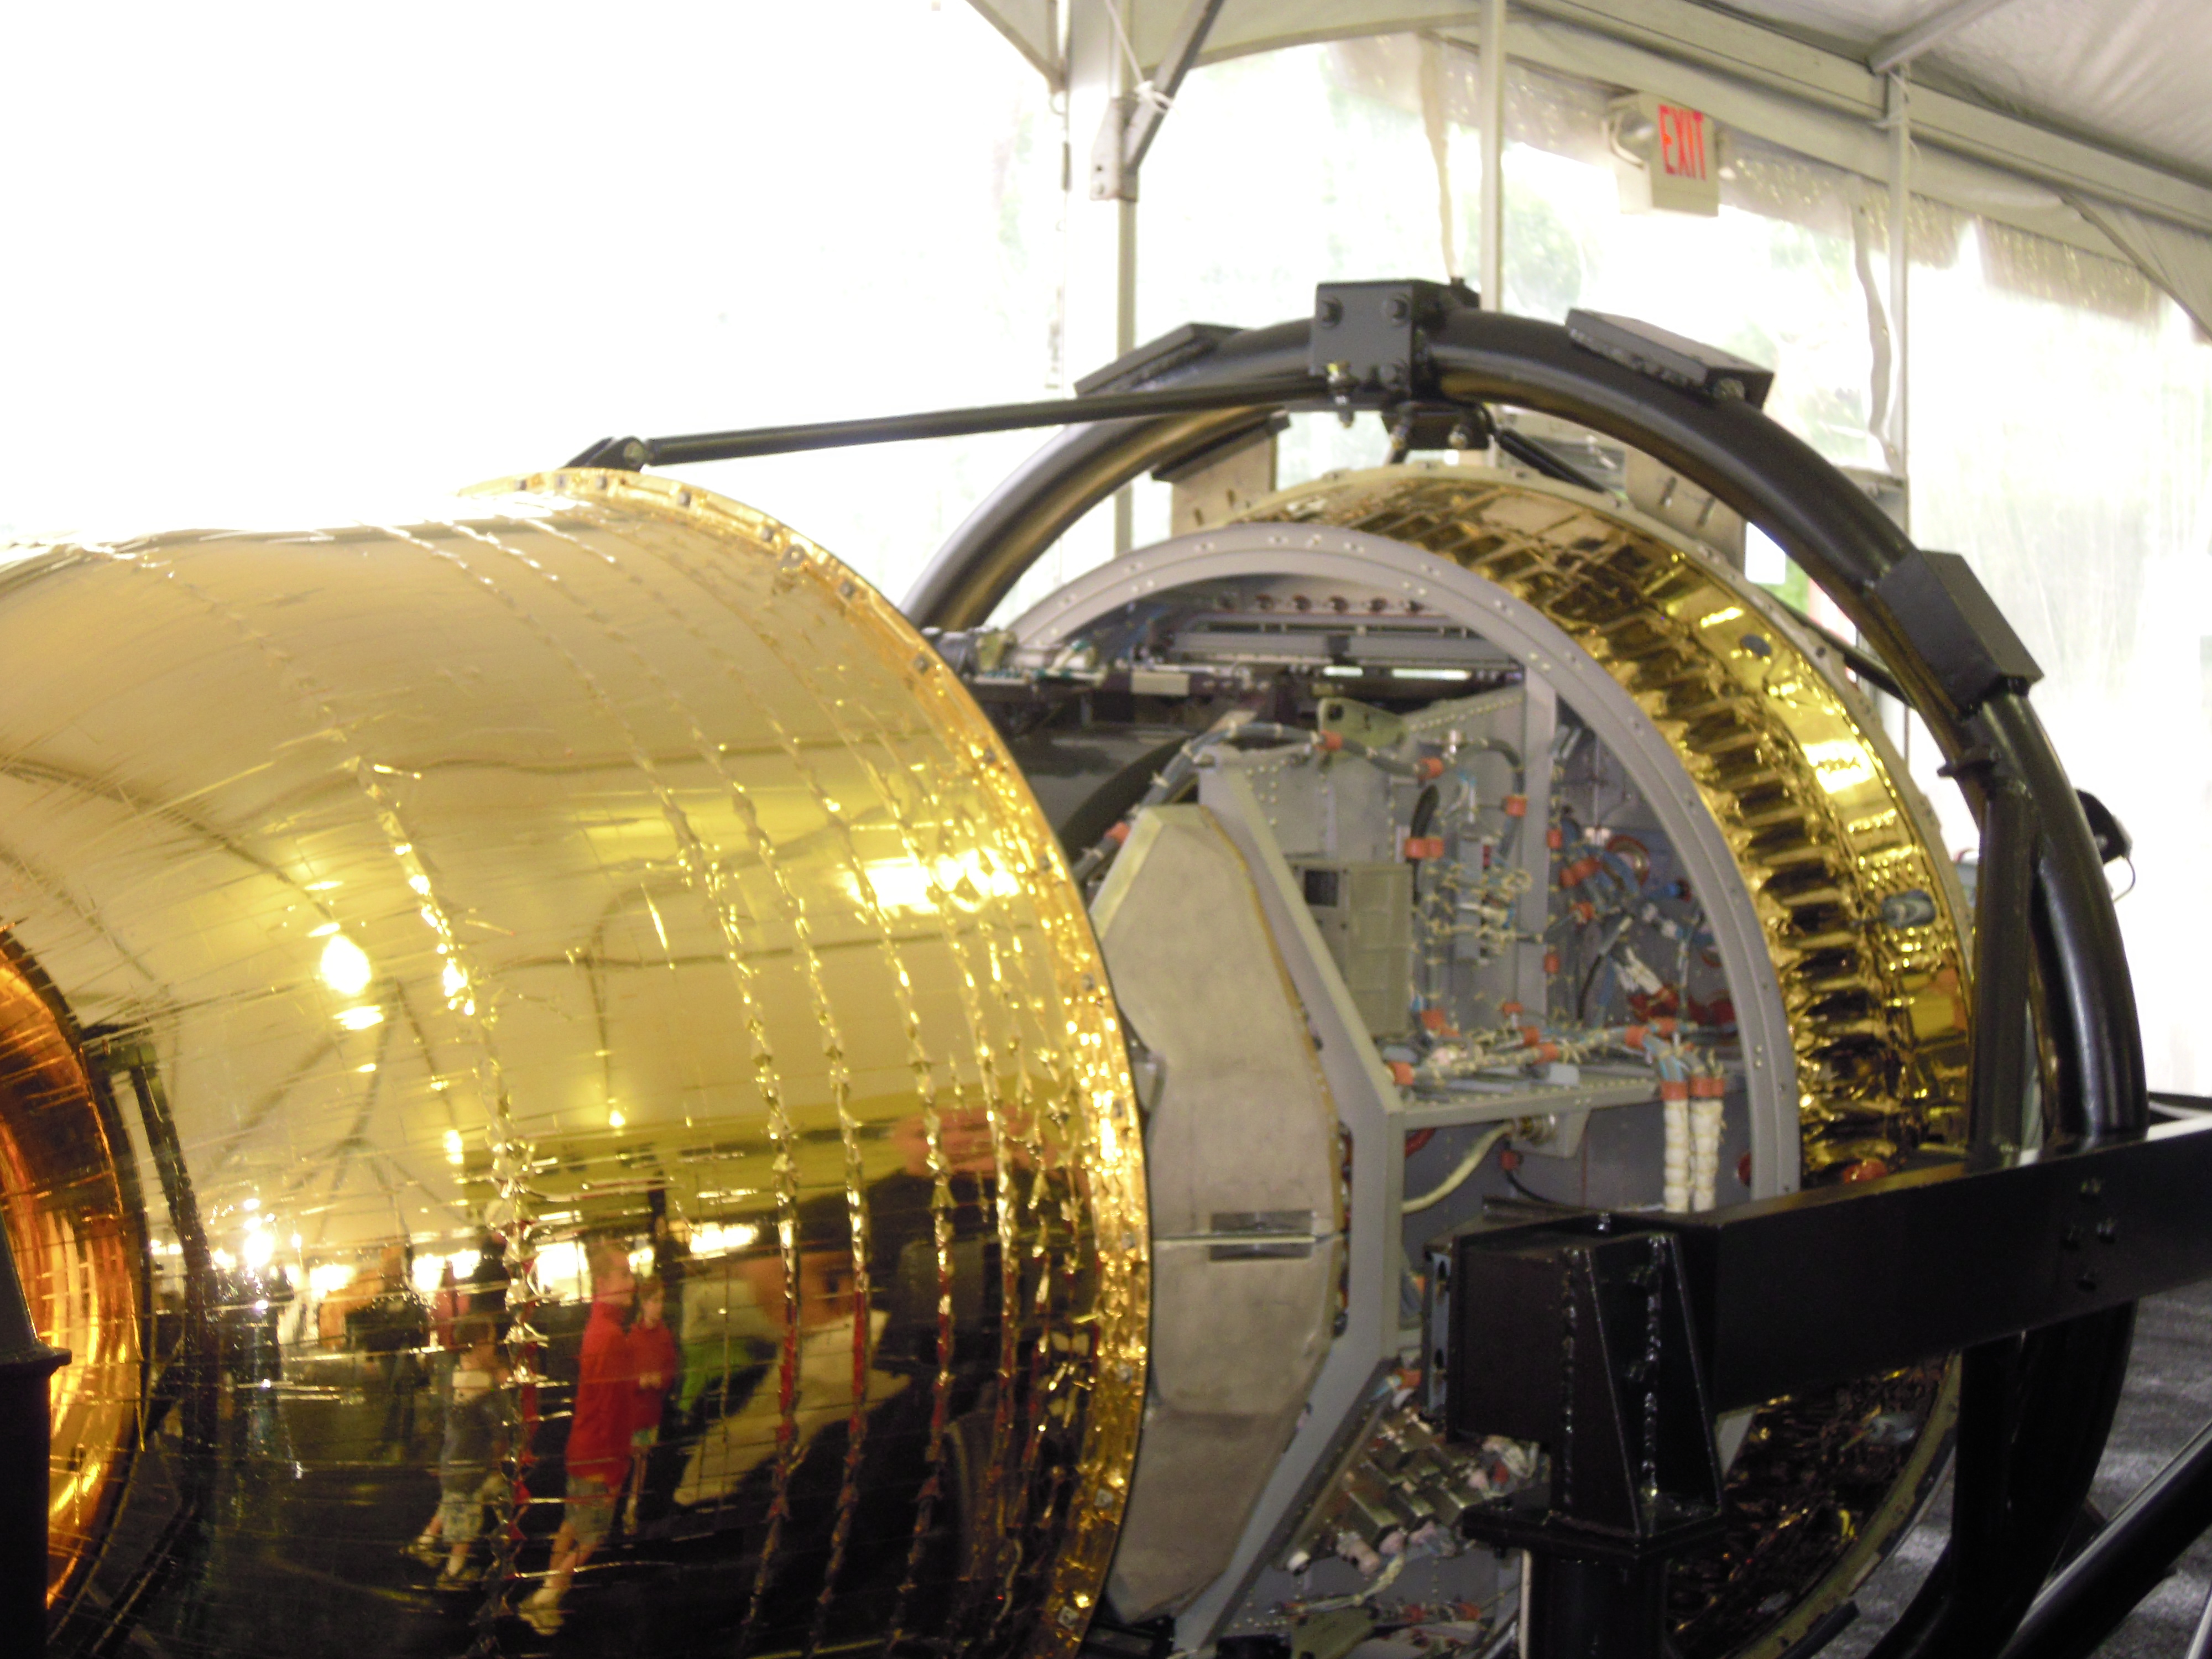
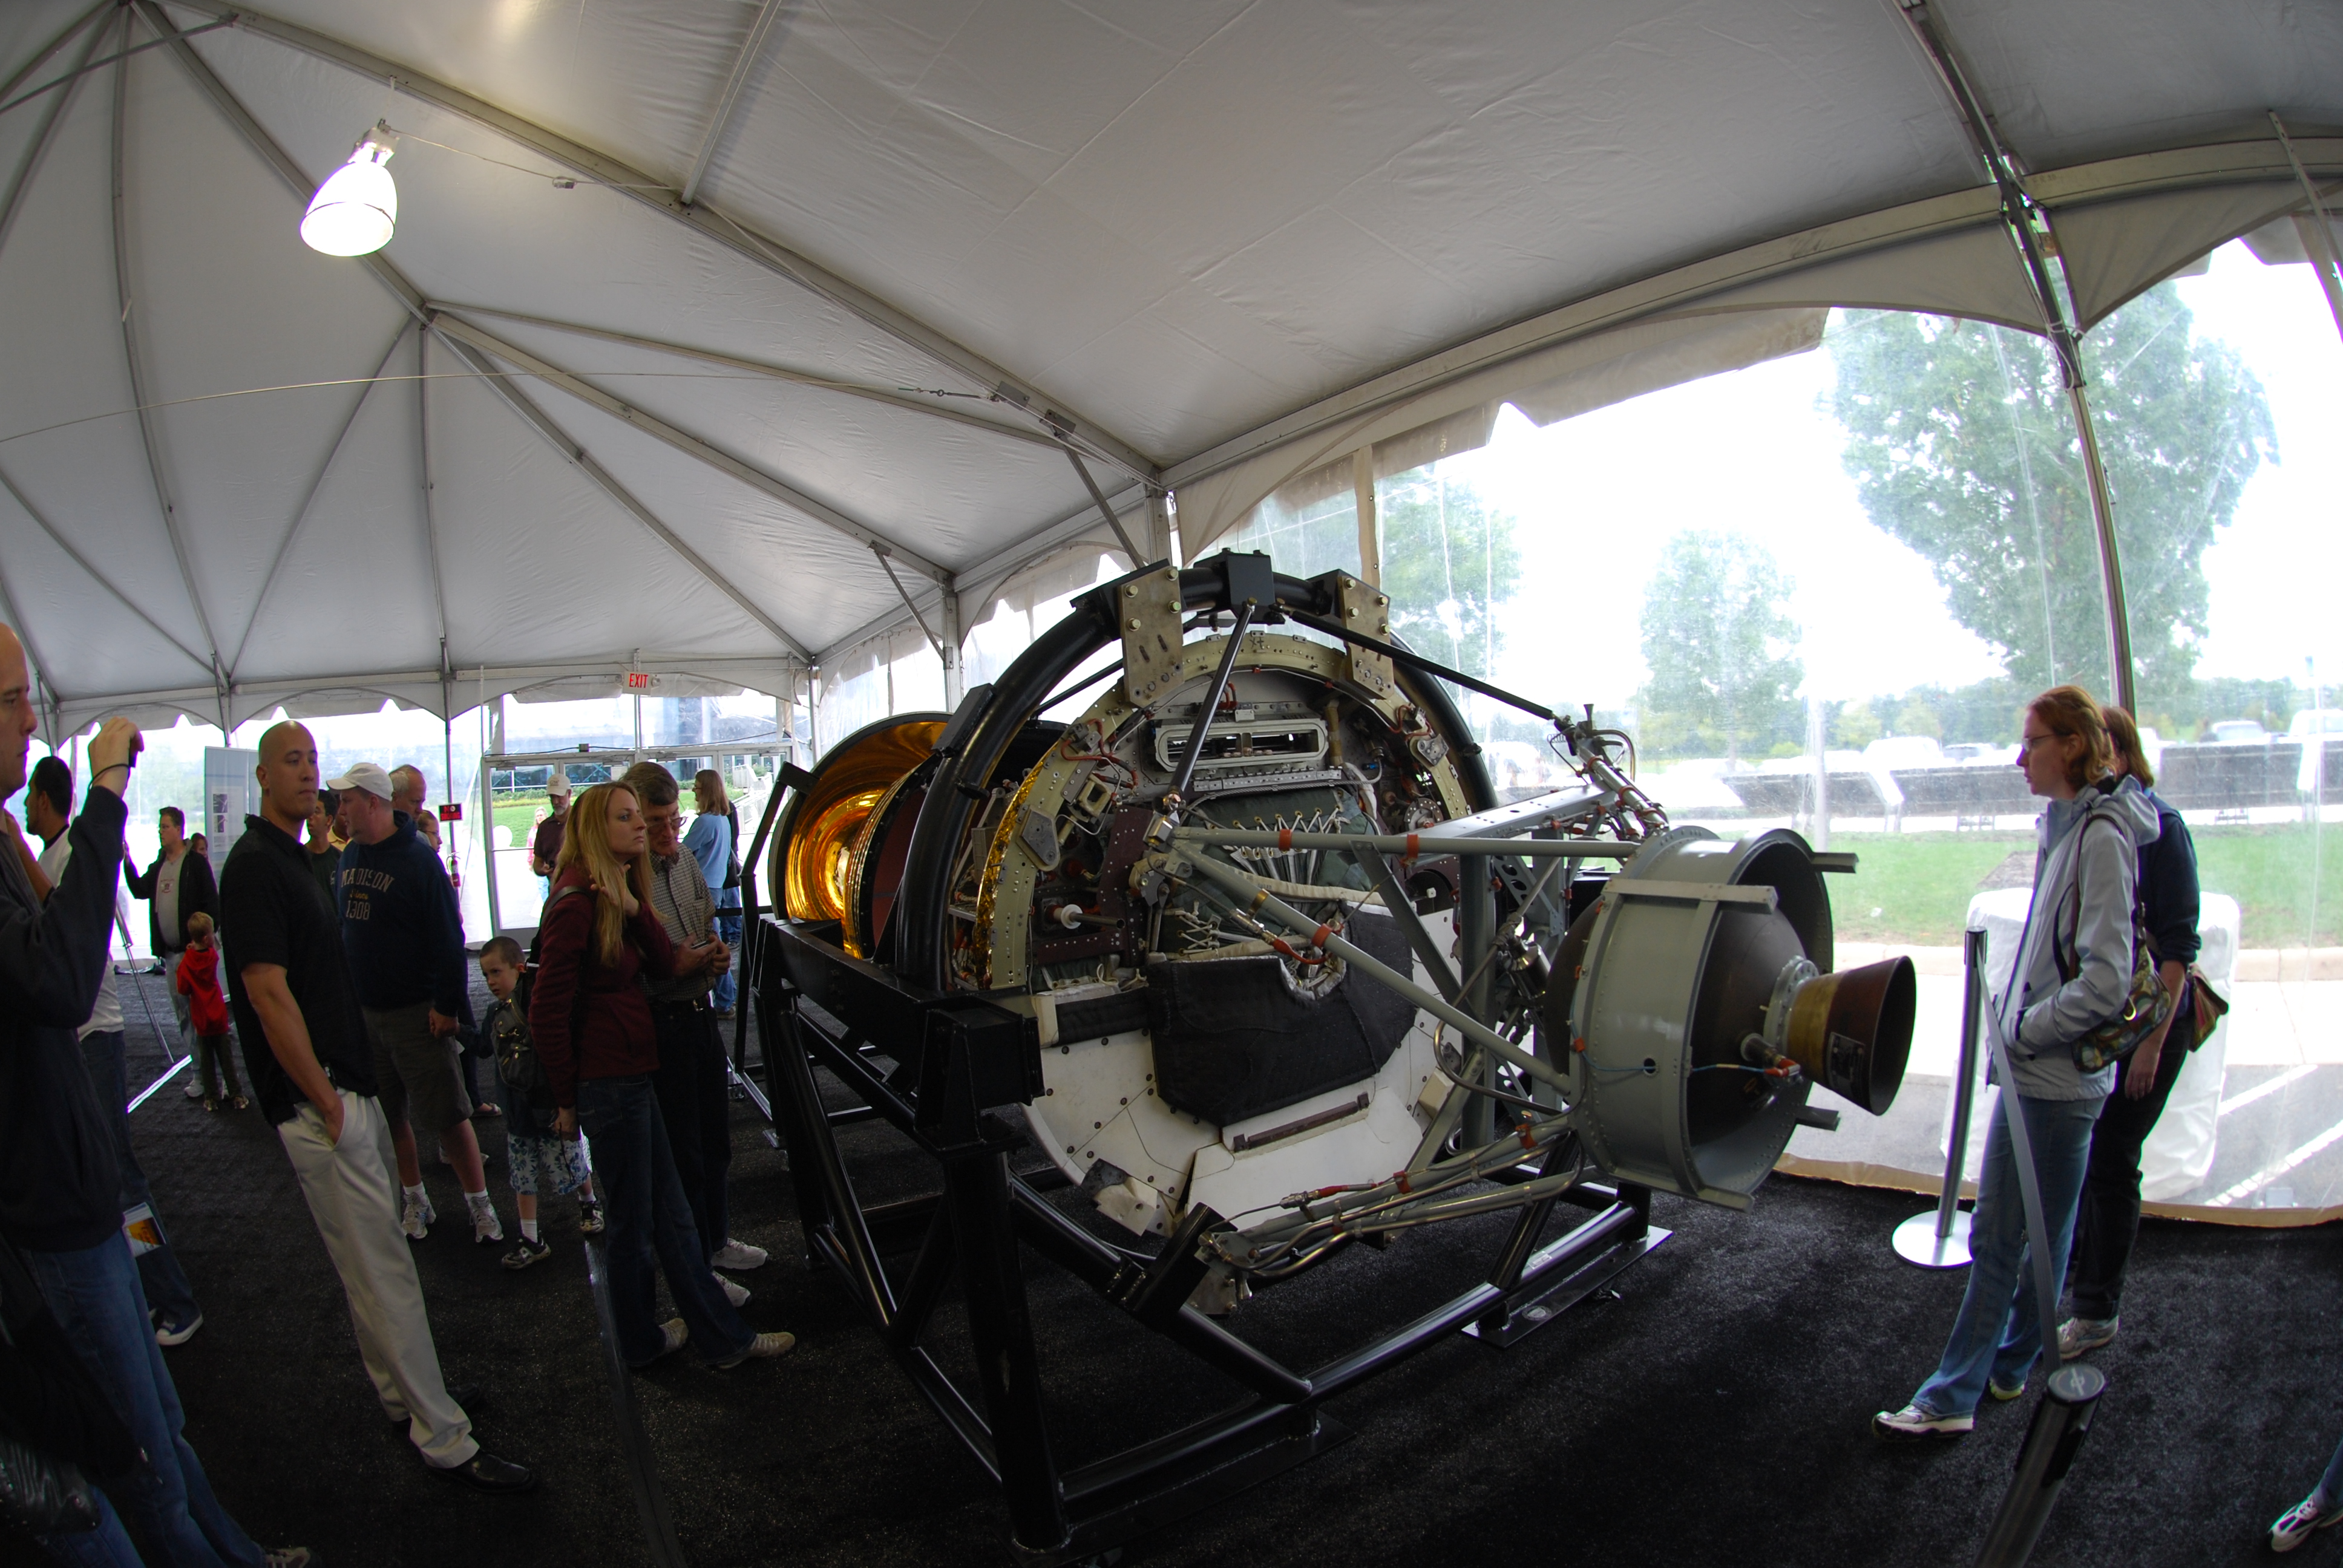
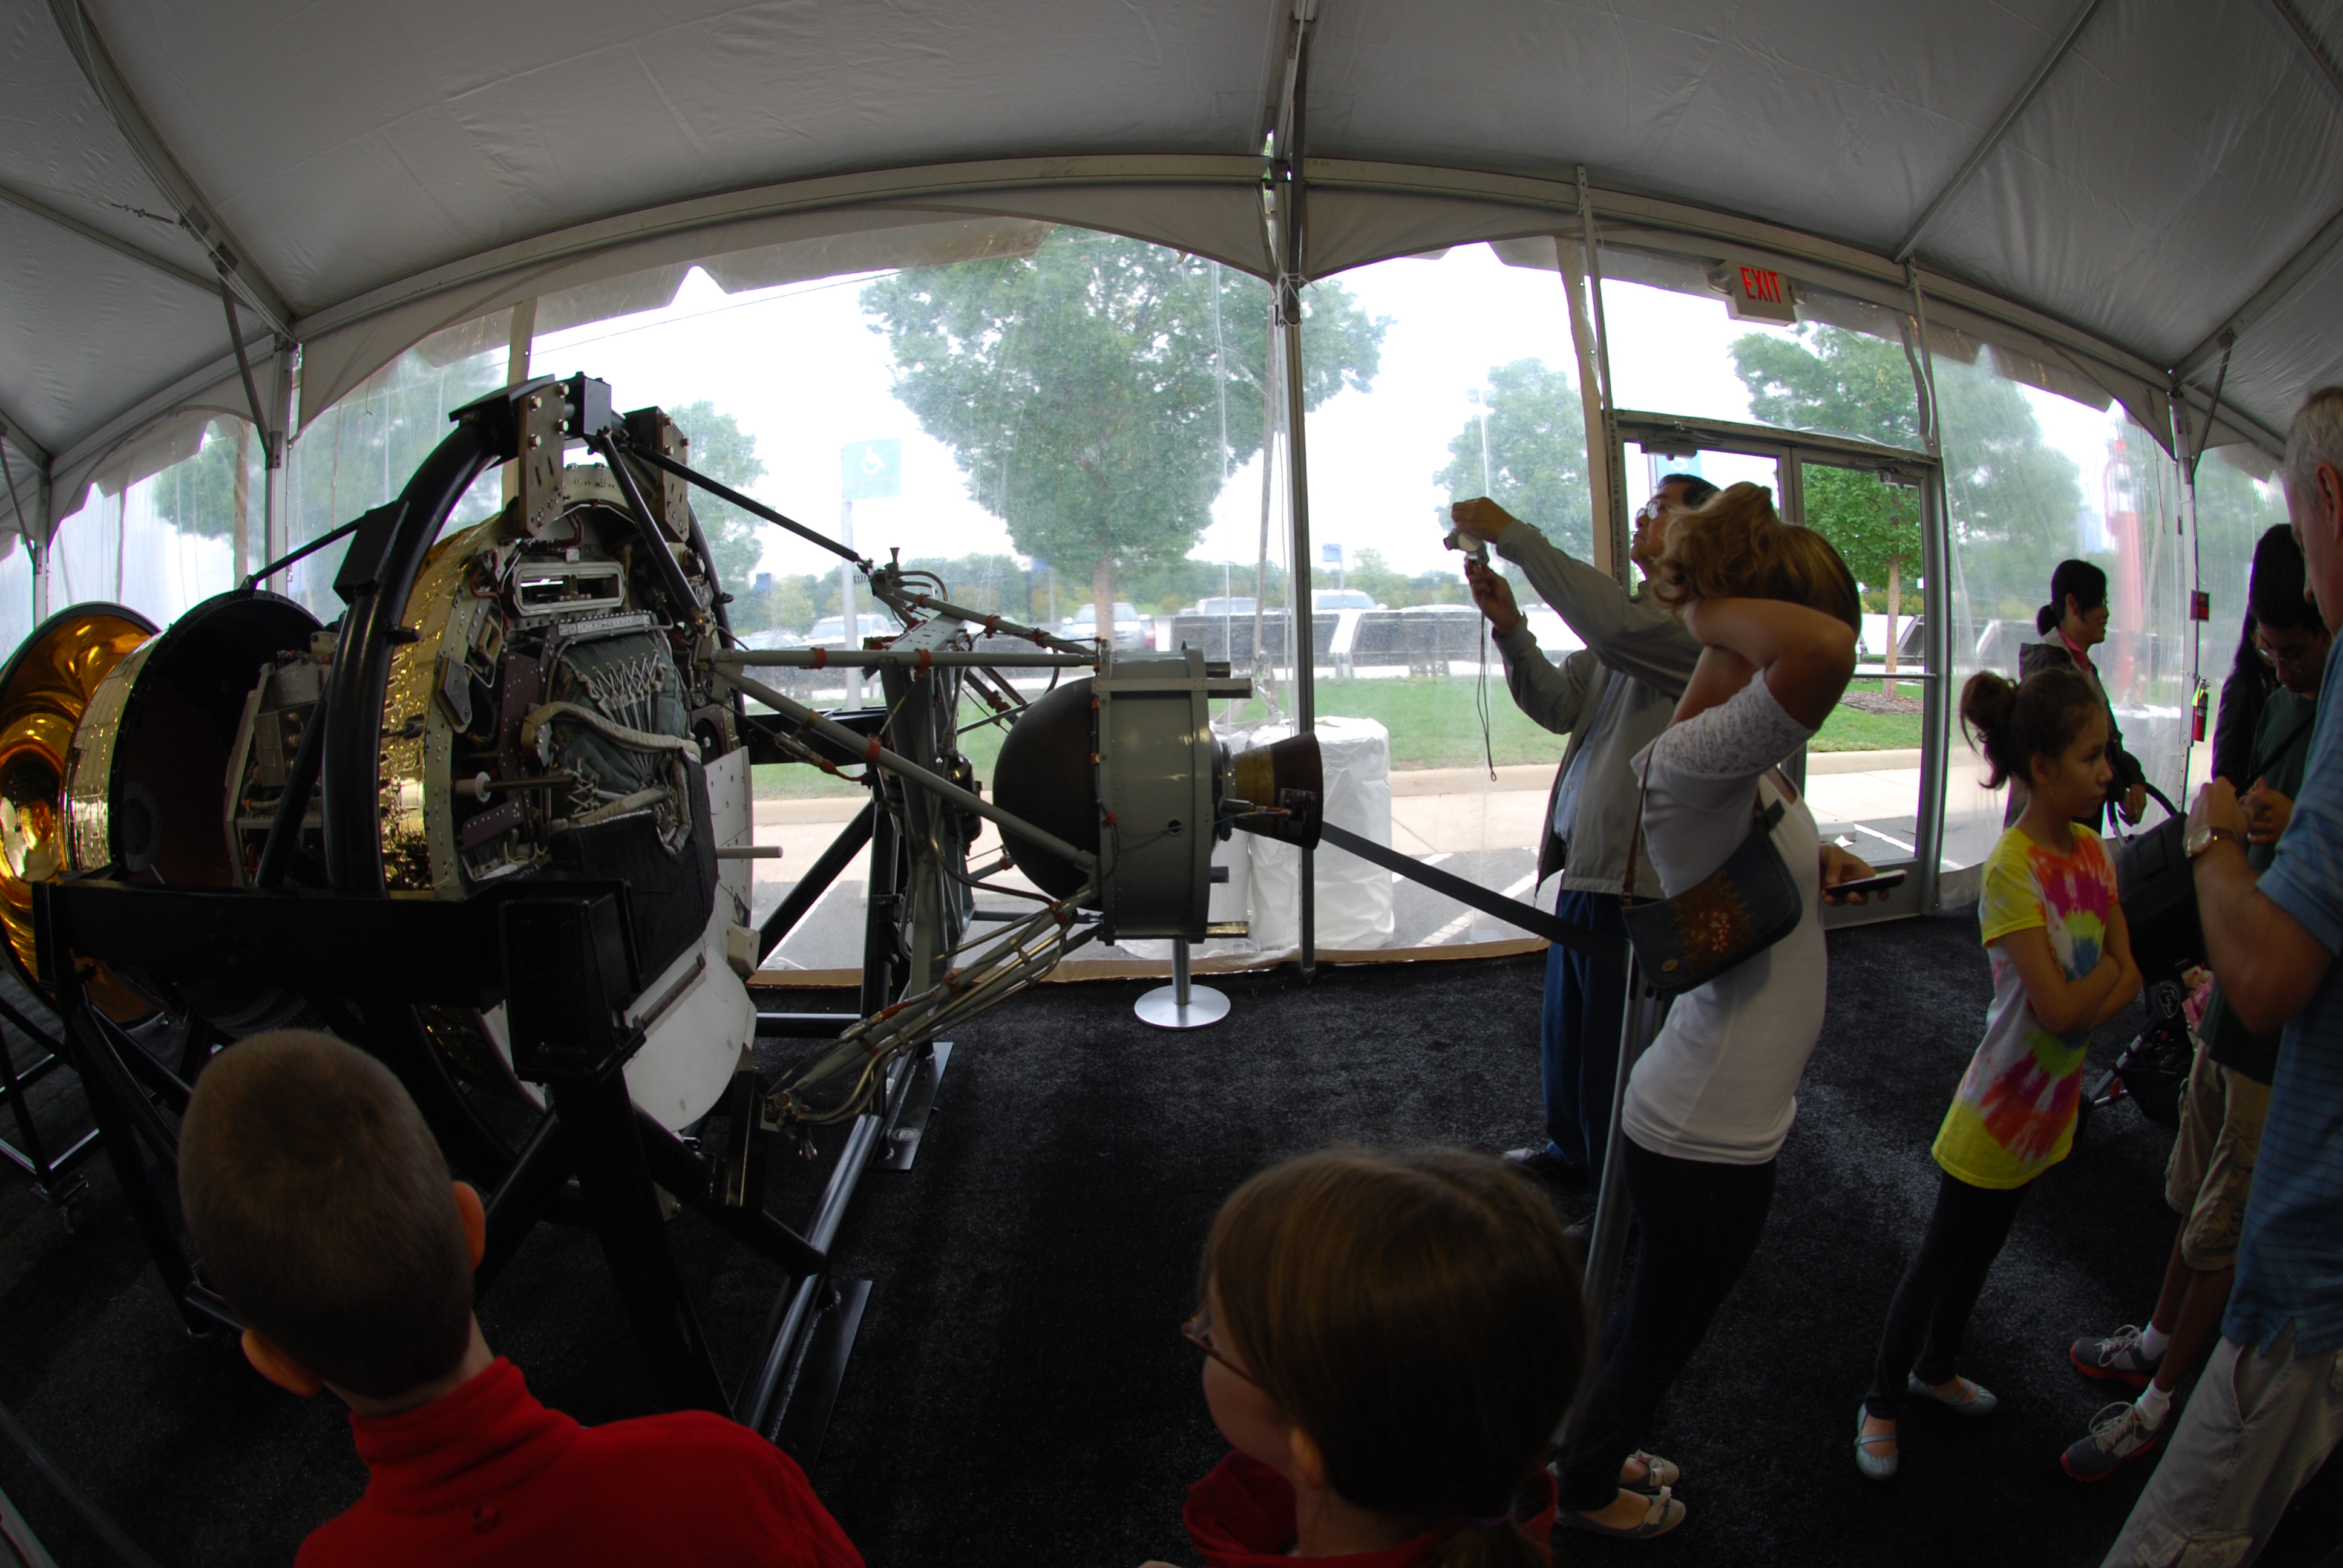
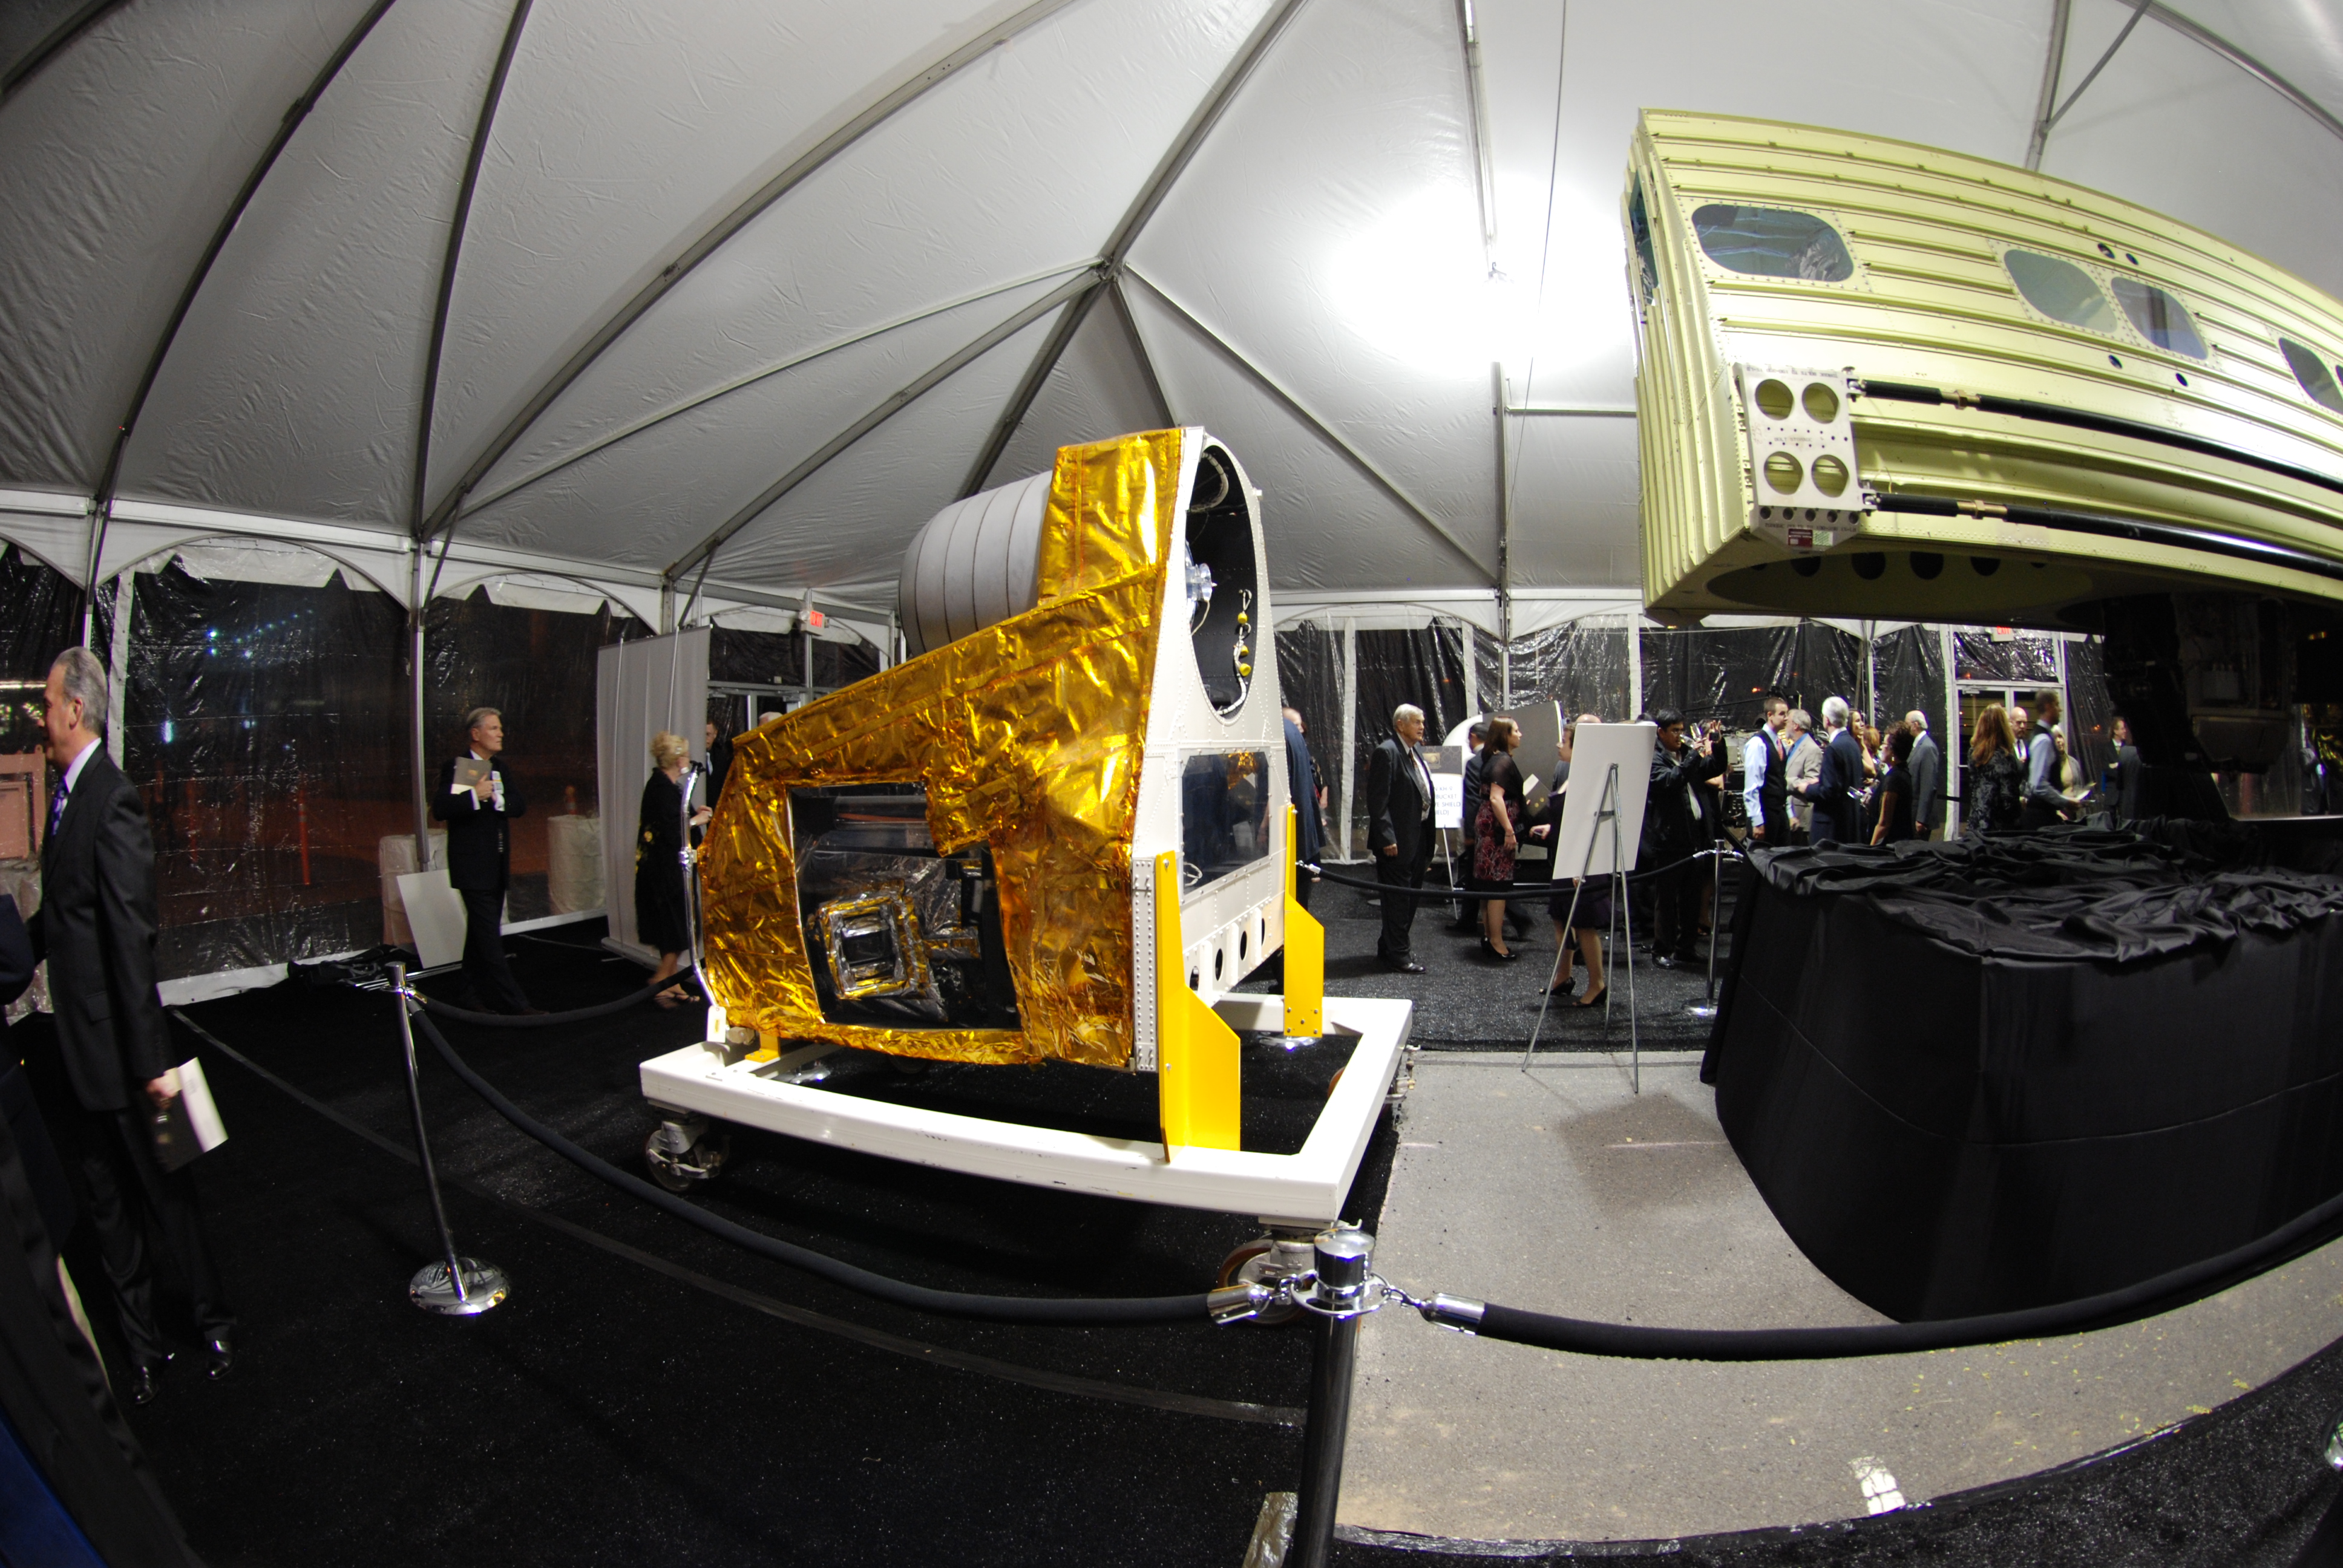
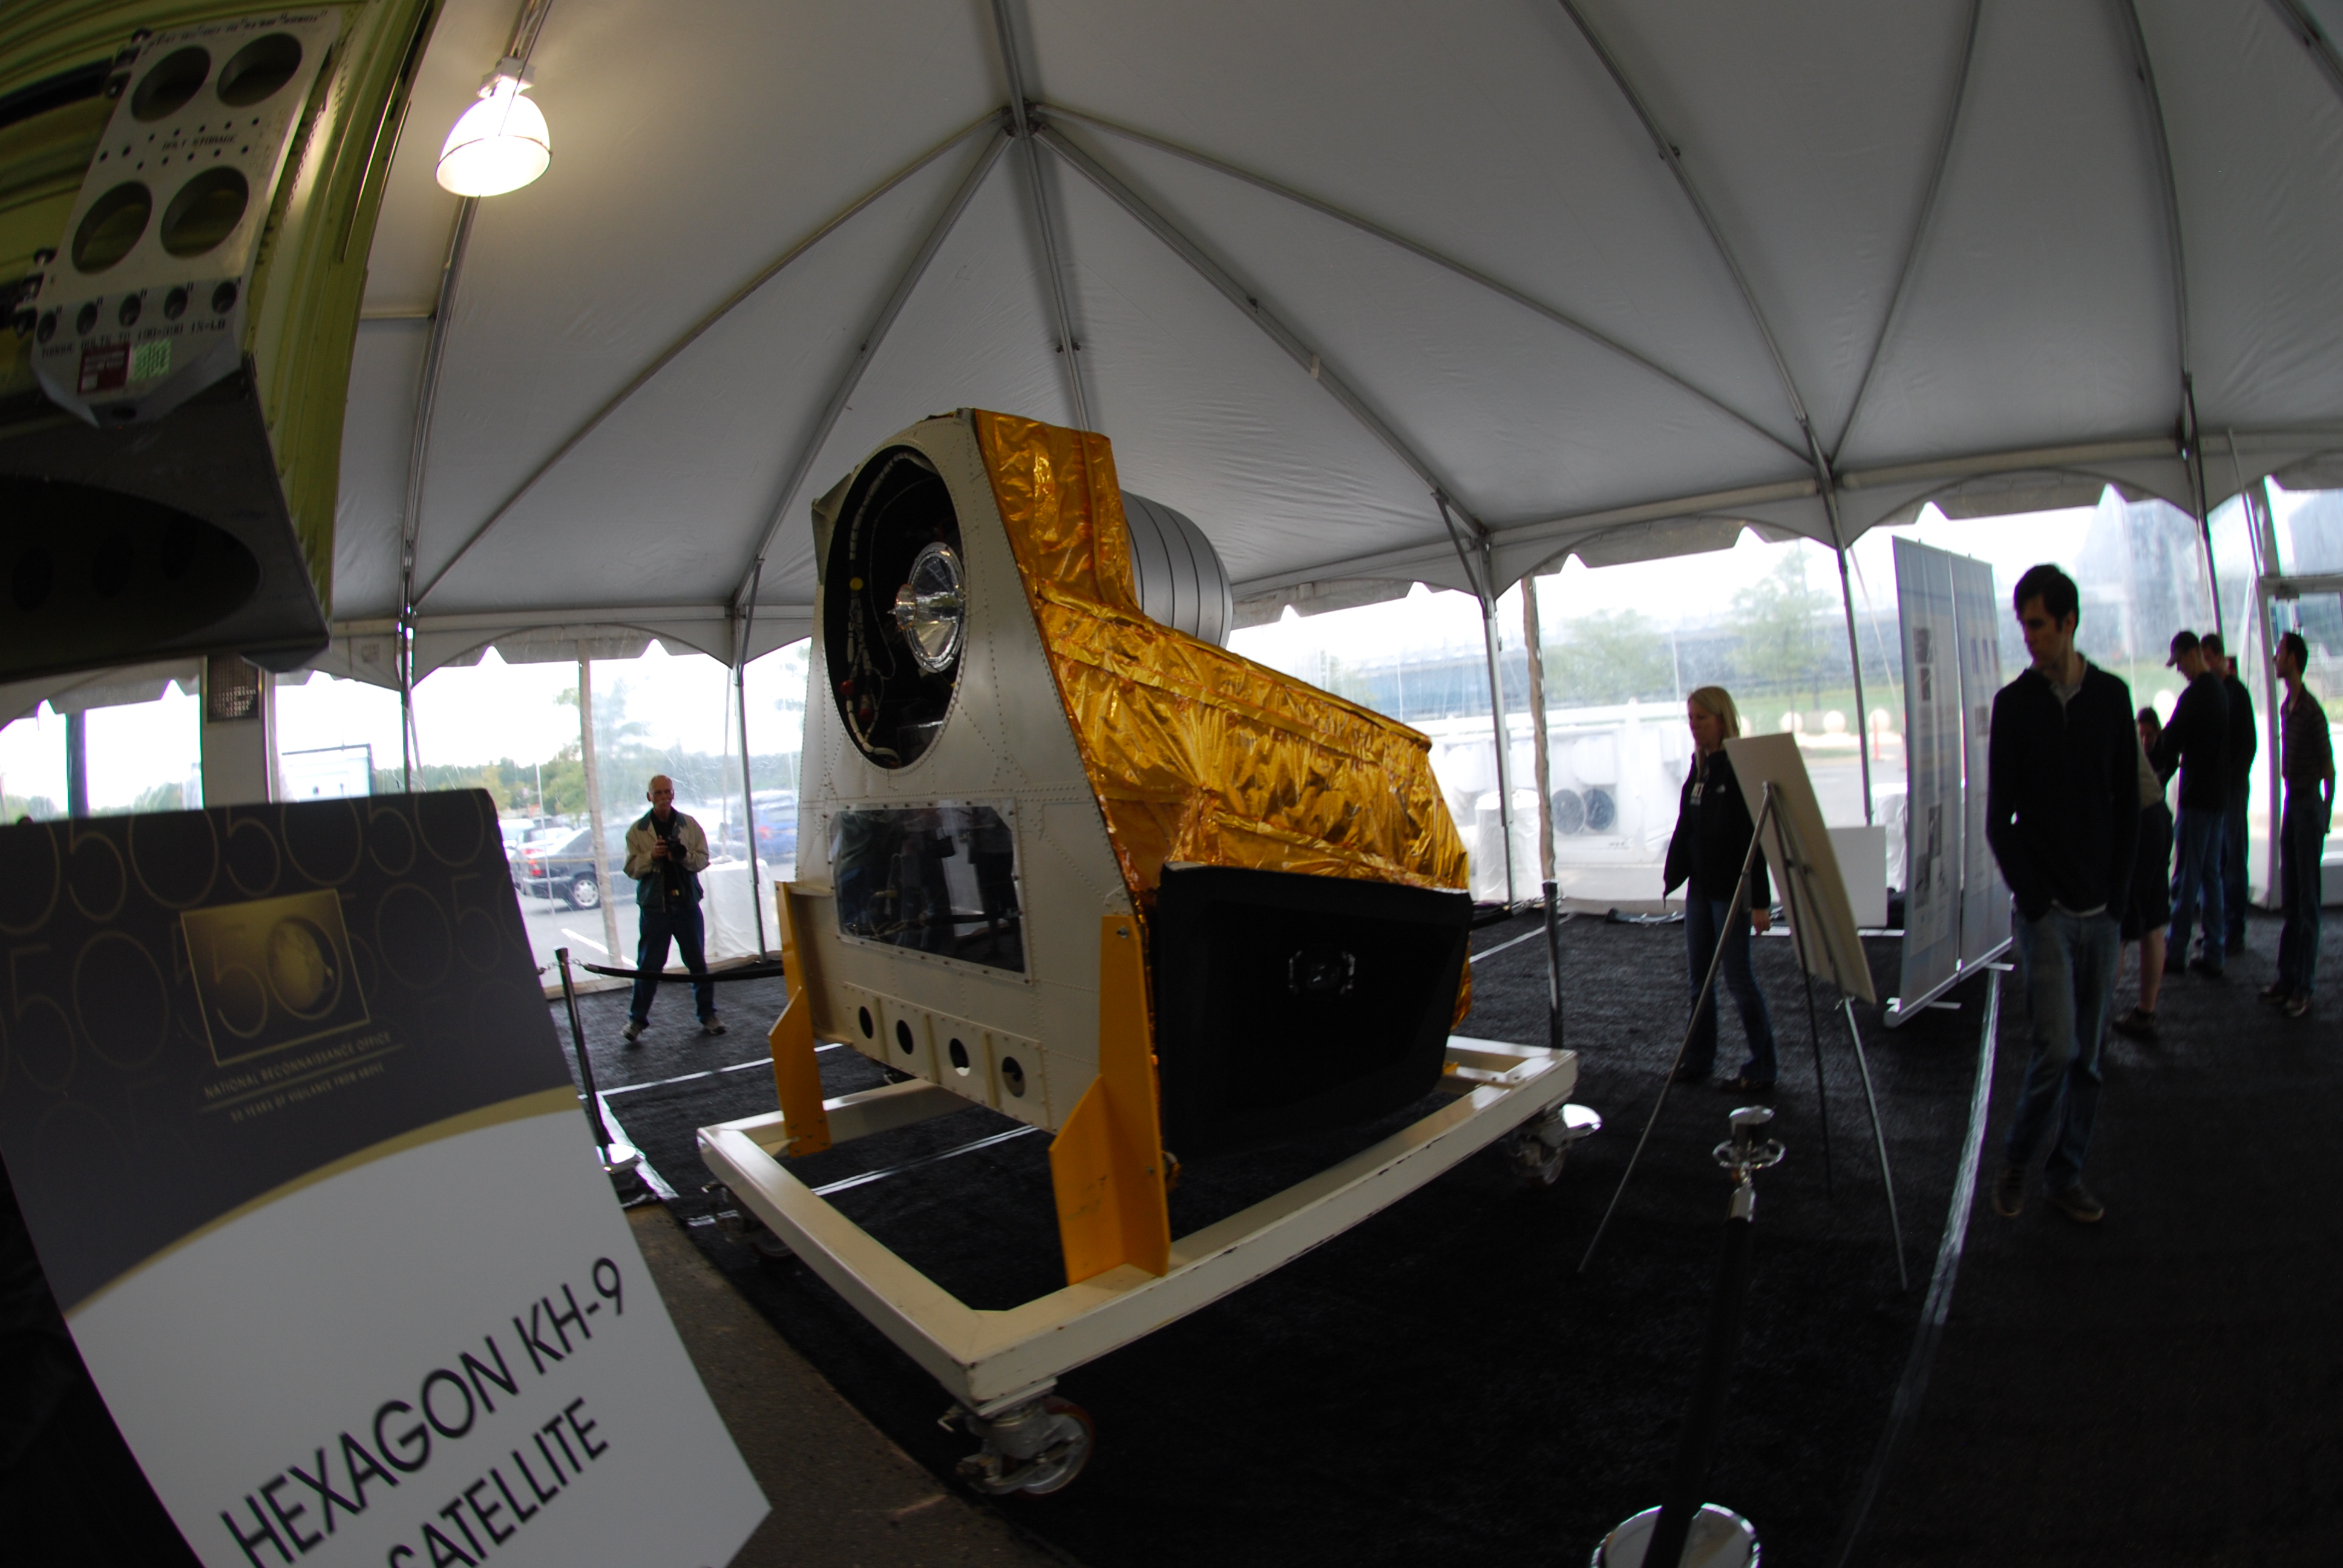
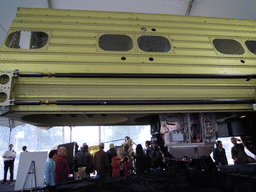
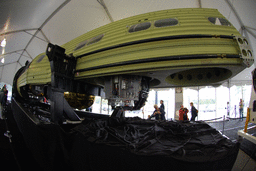
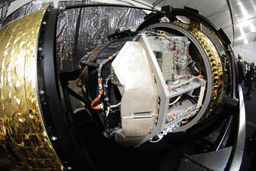
DSC_2520.JPG KH-9 in the tent |
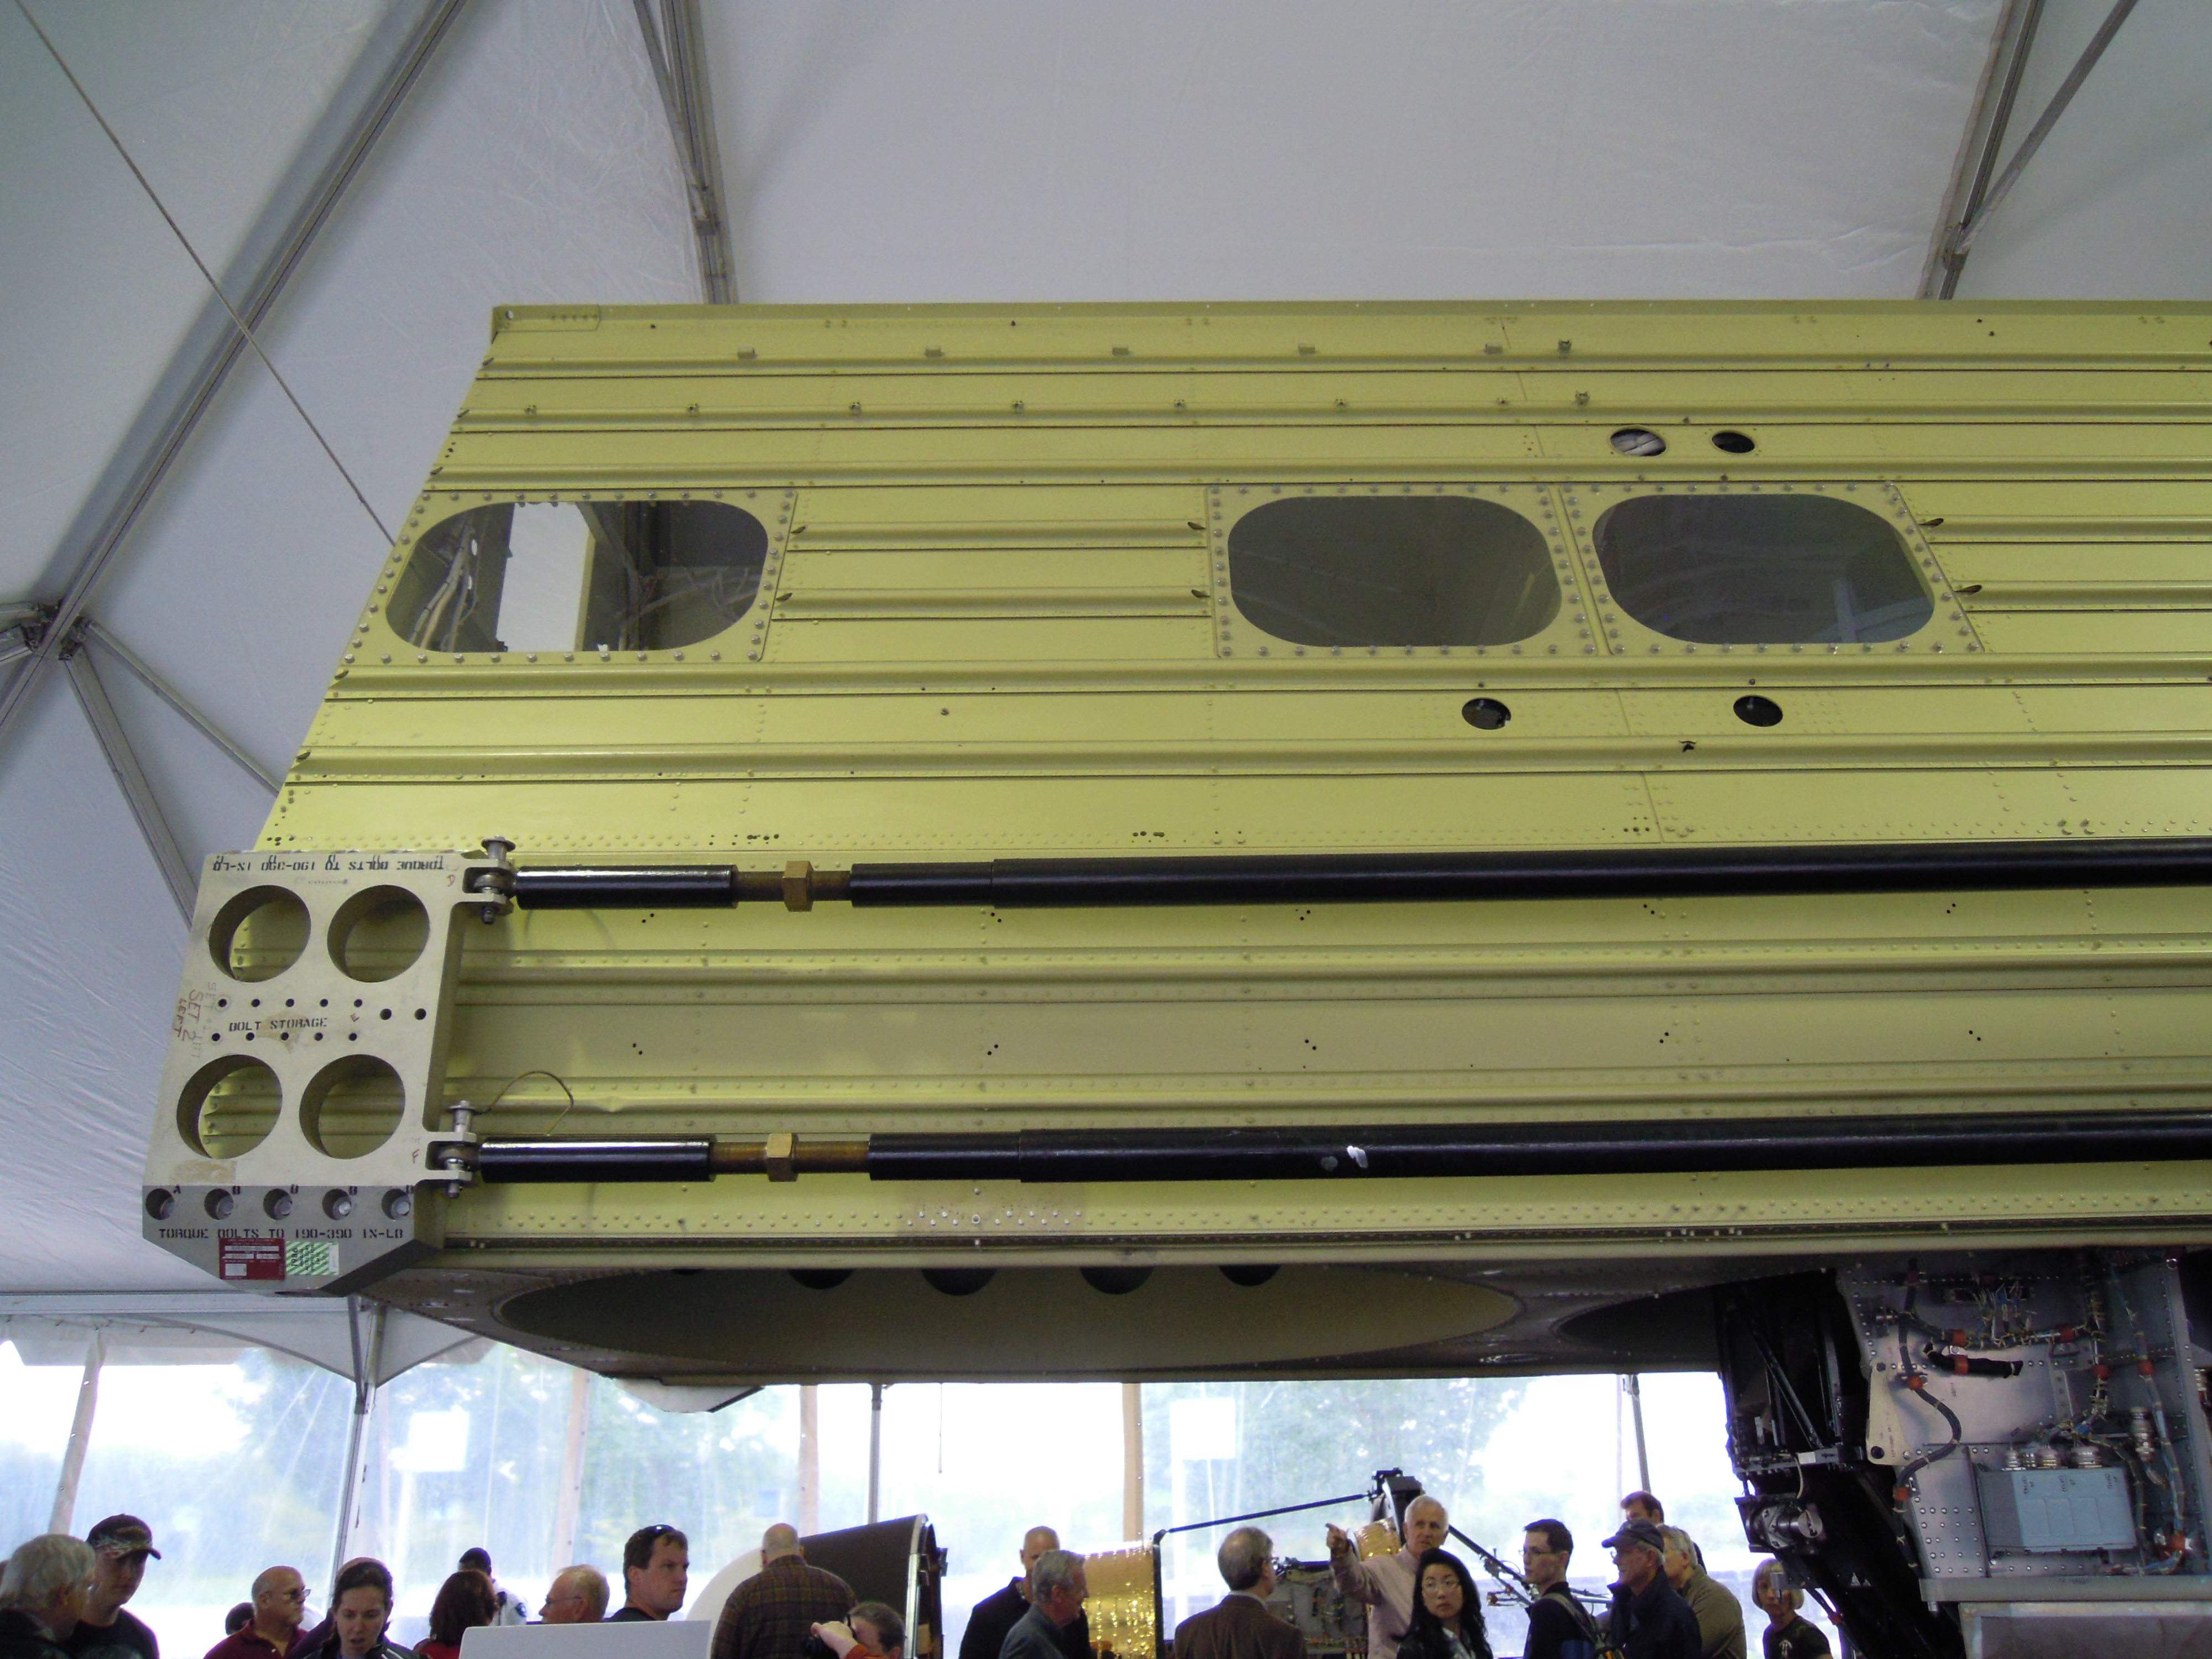
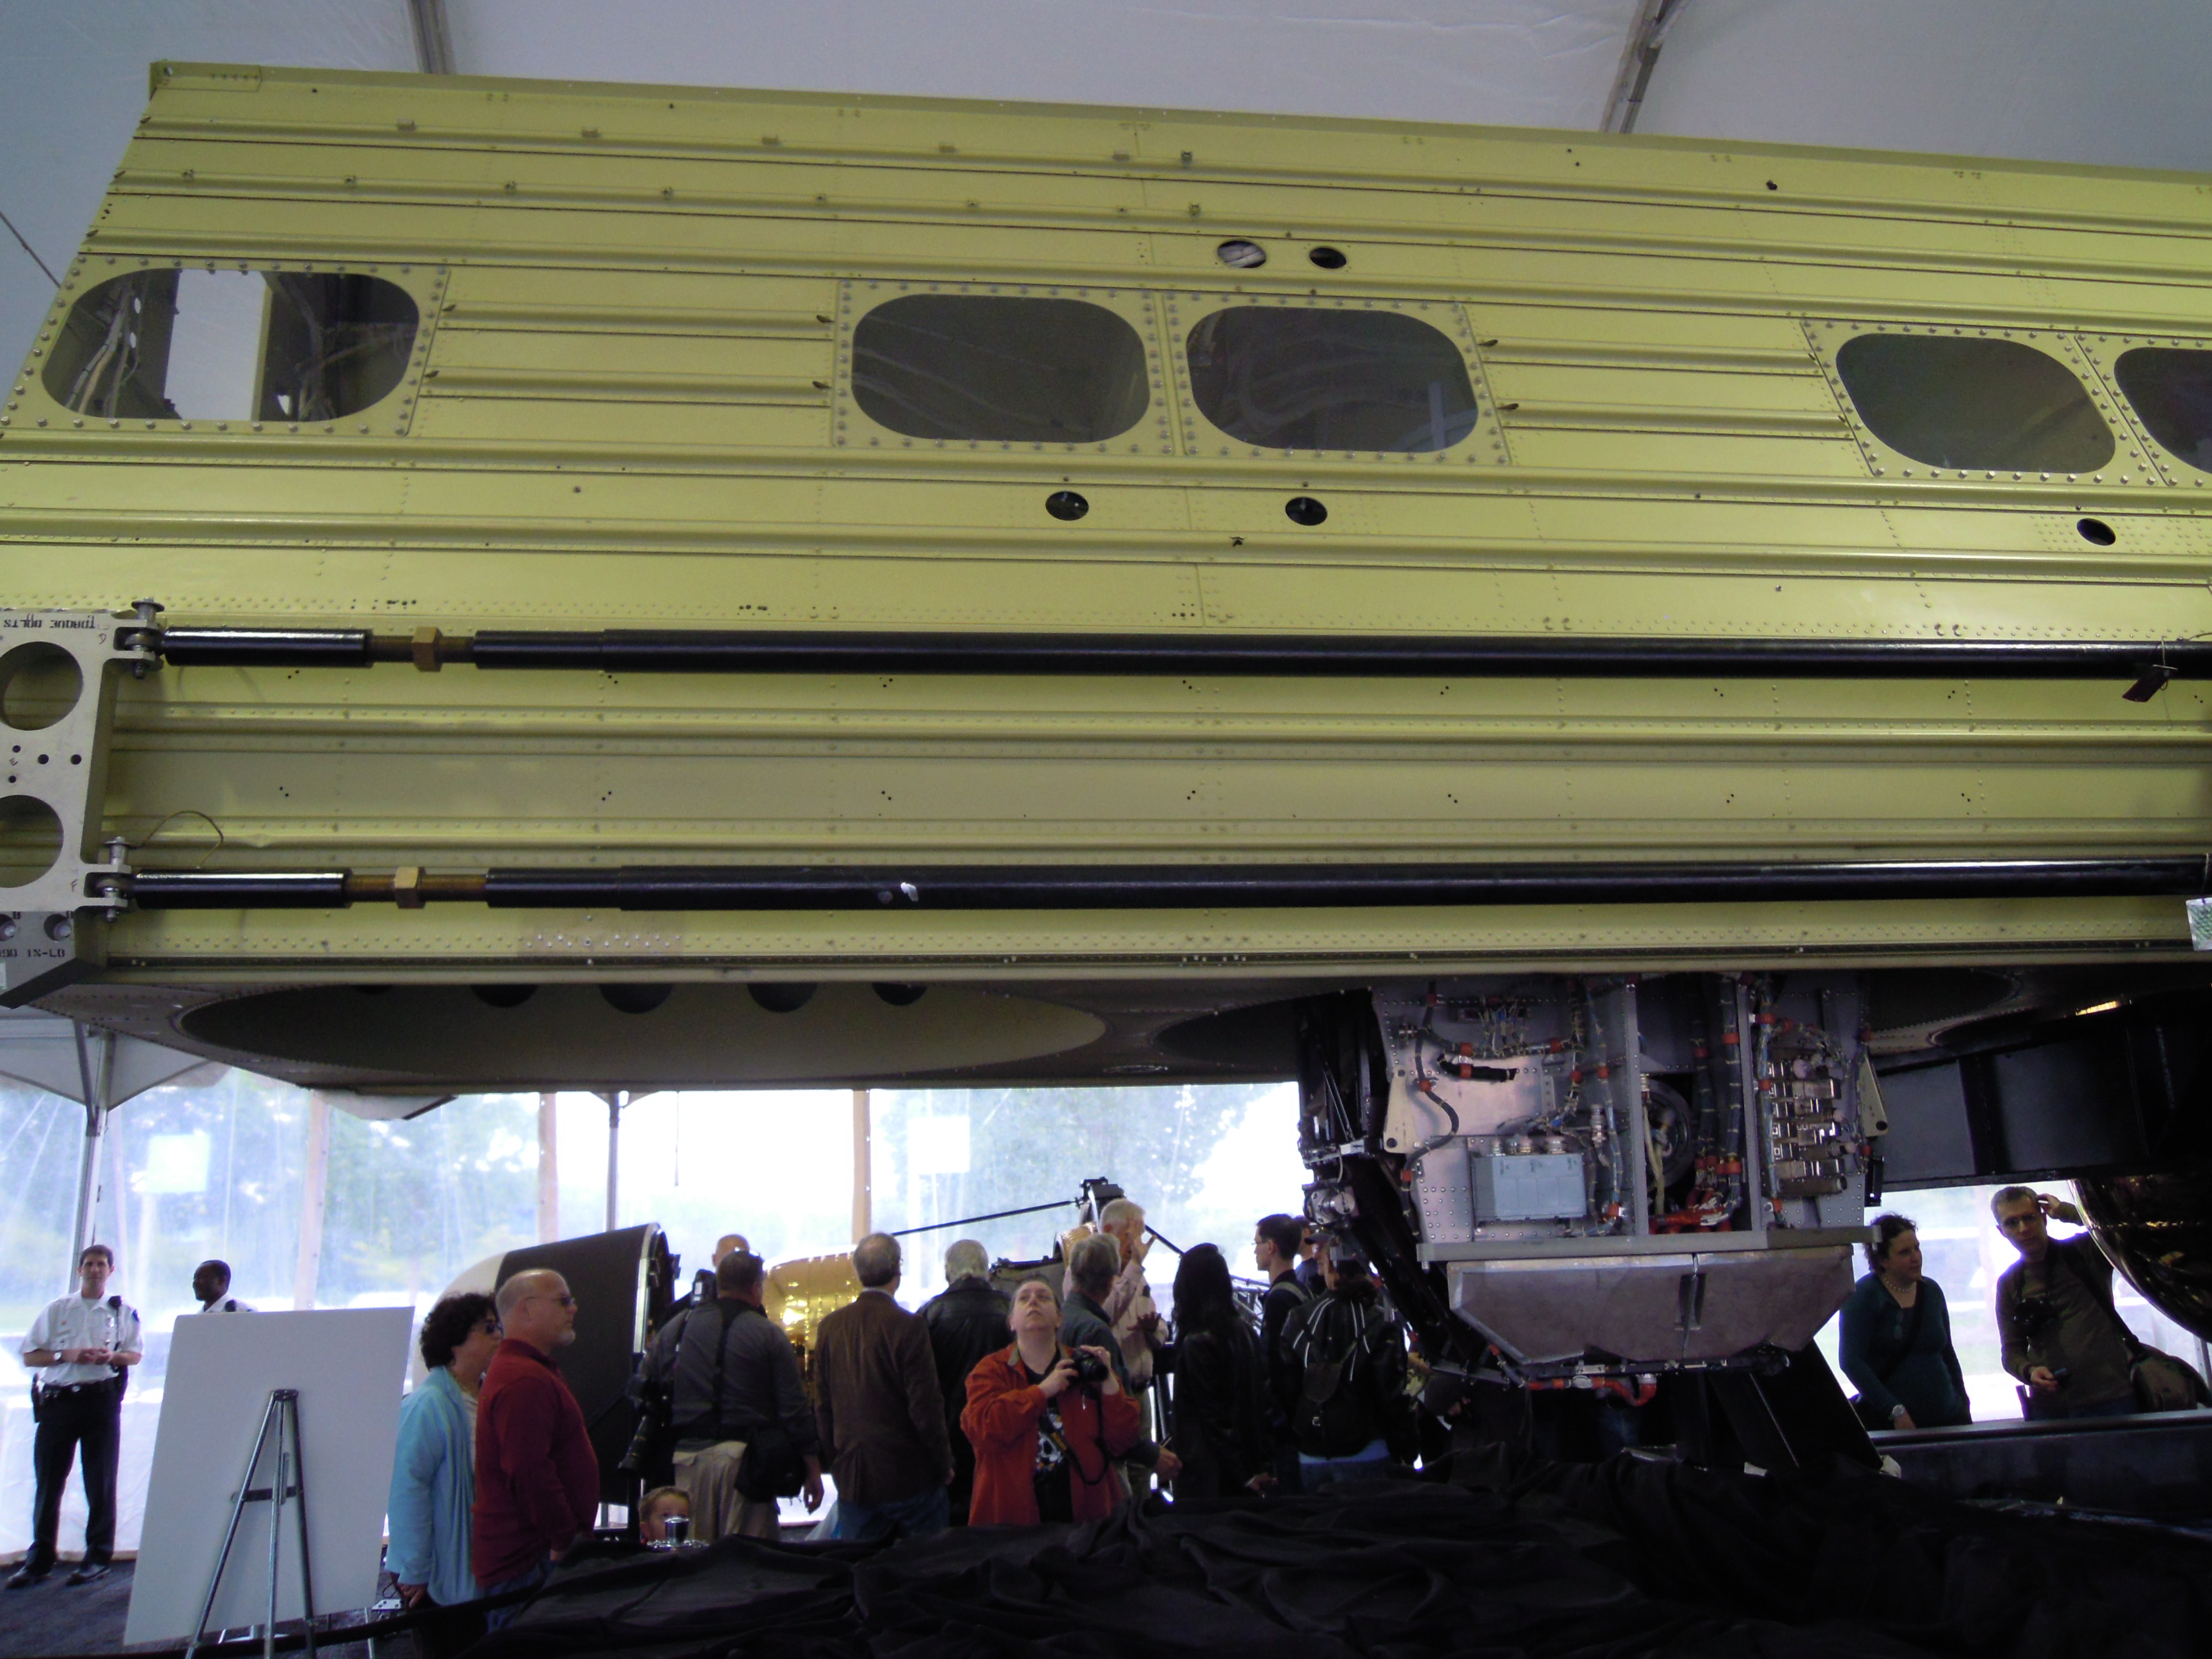
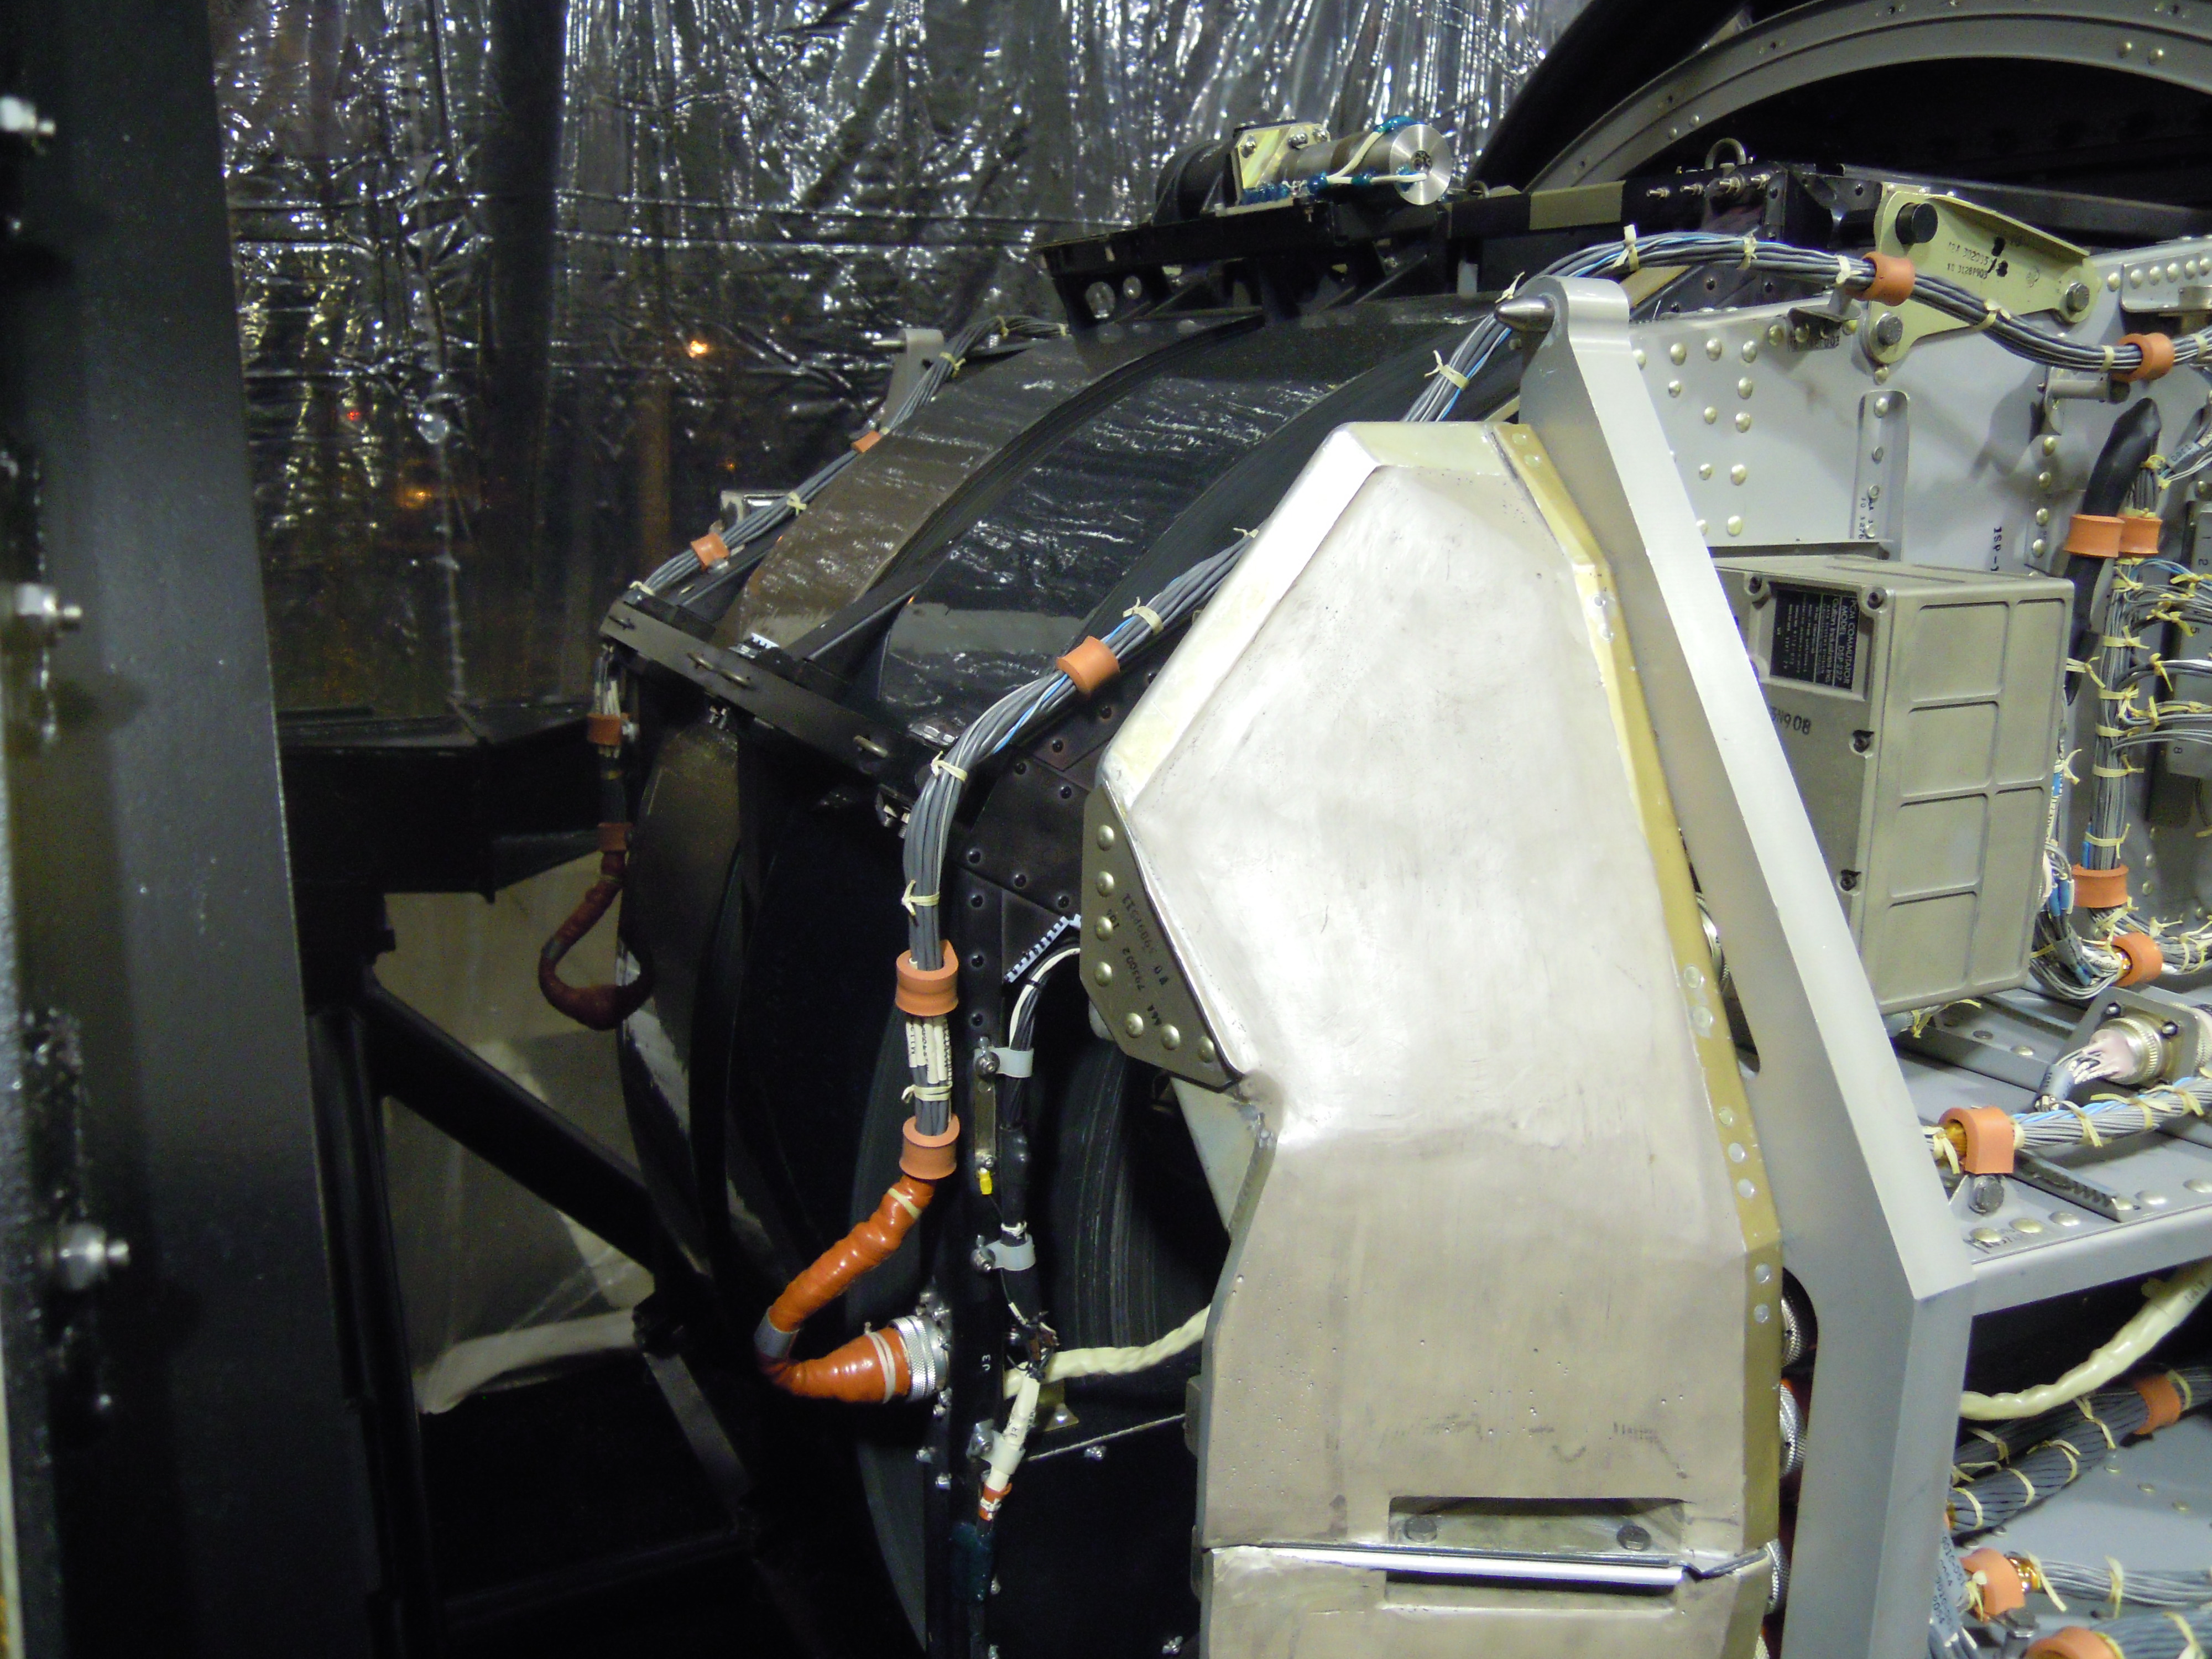
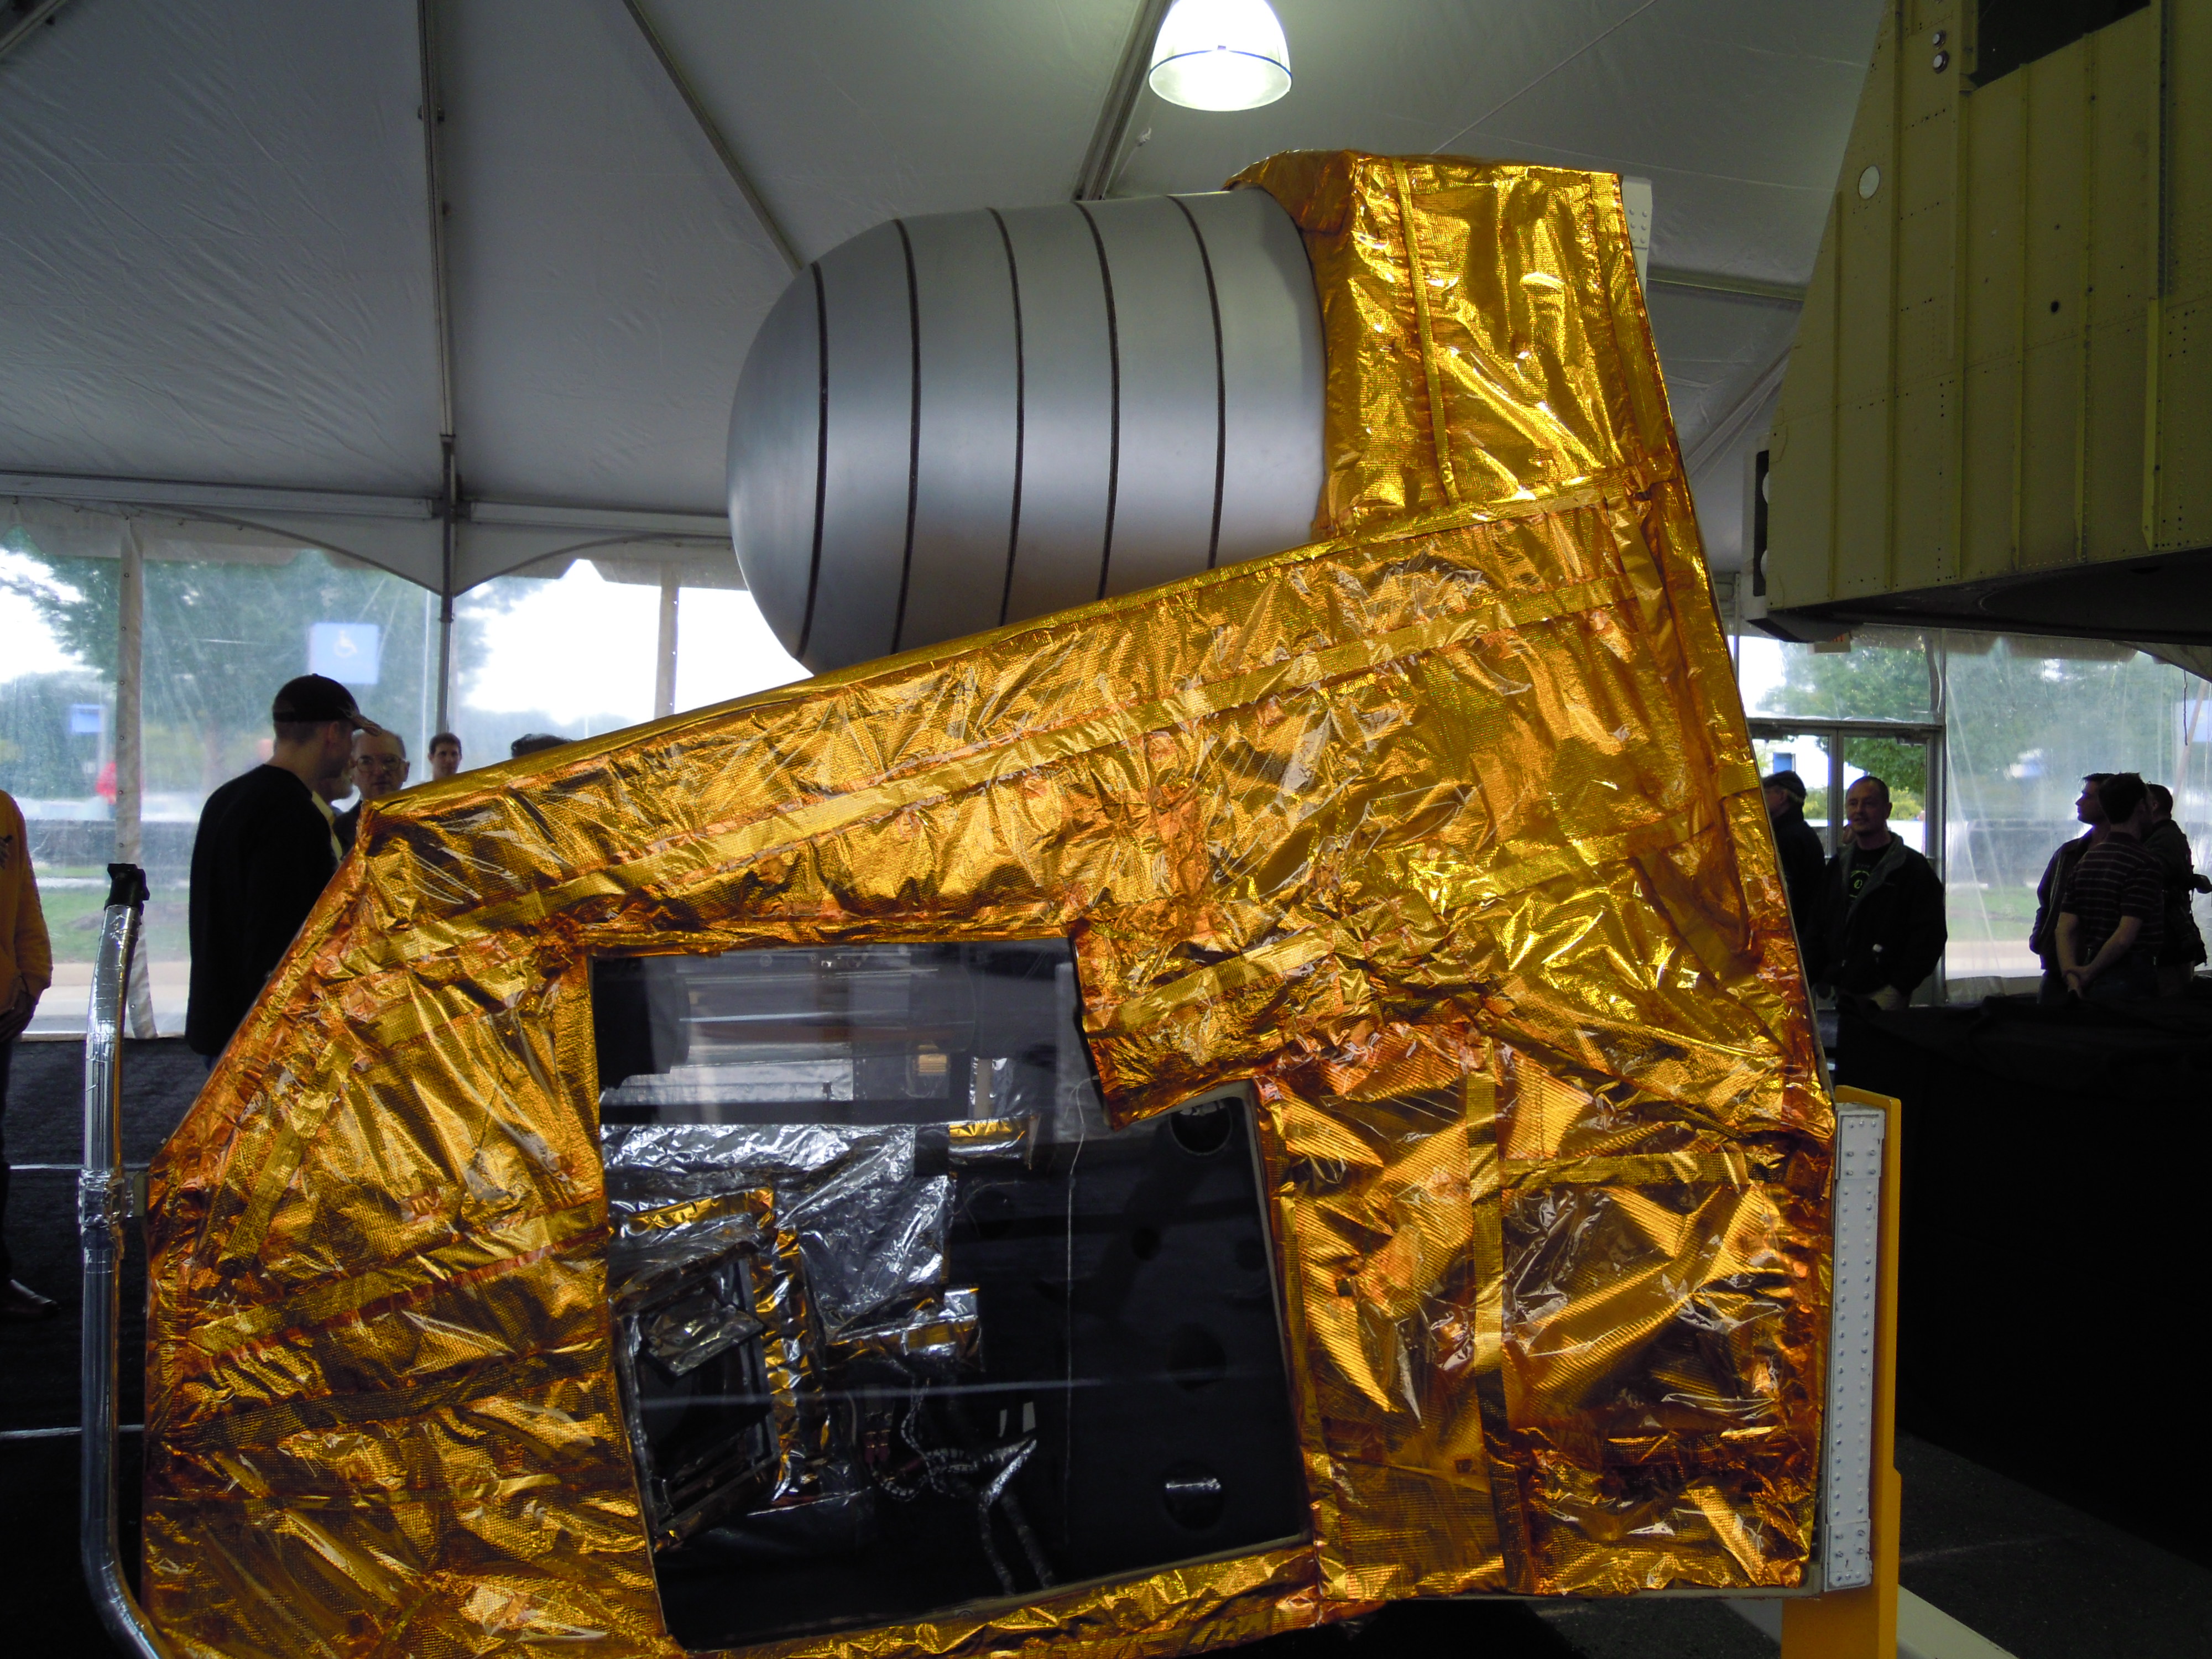
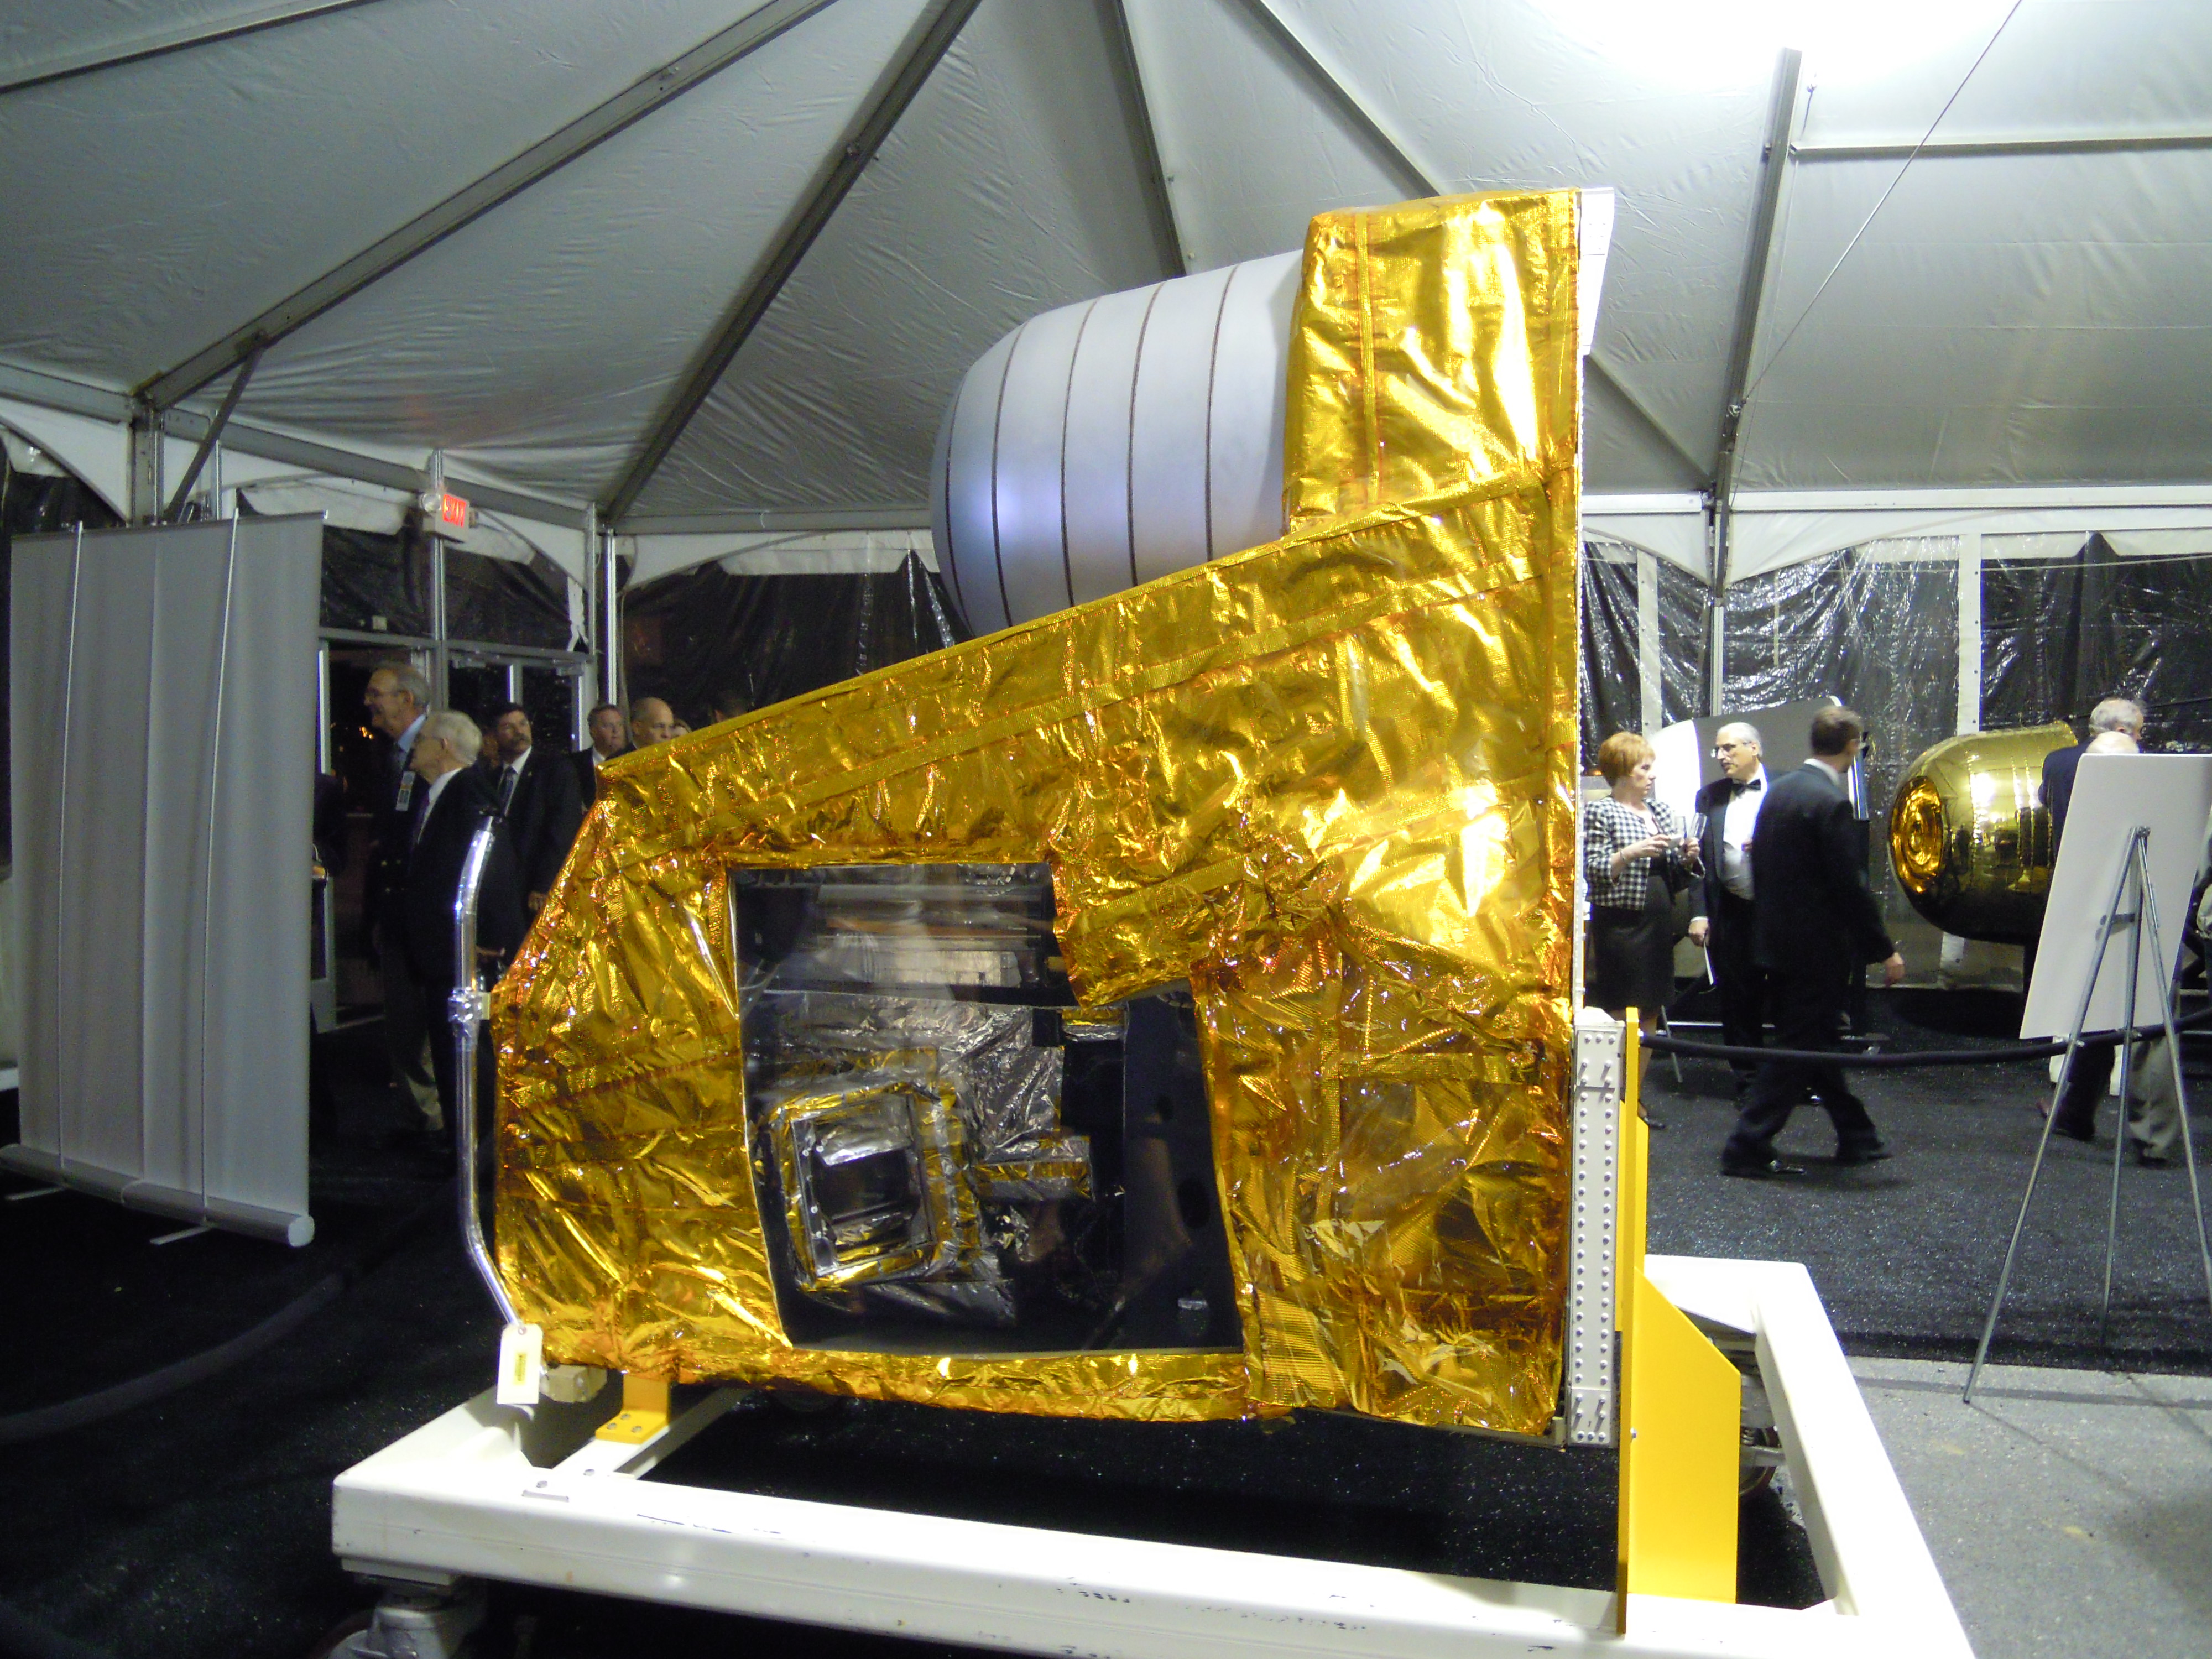
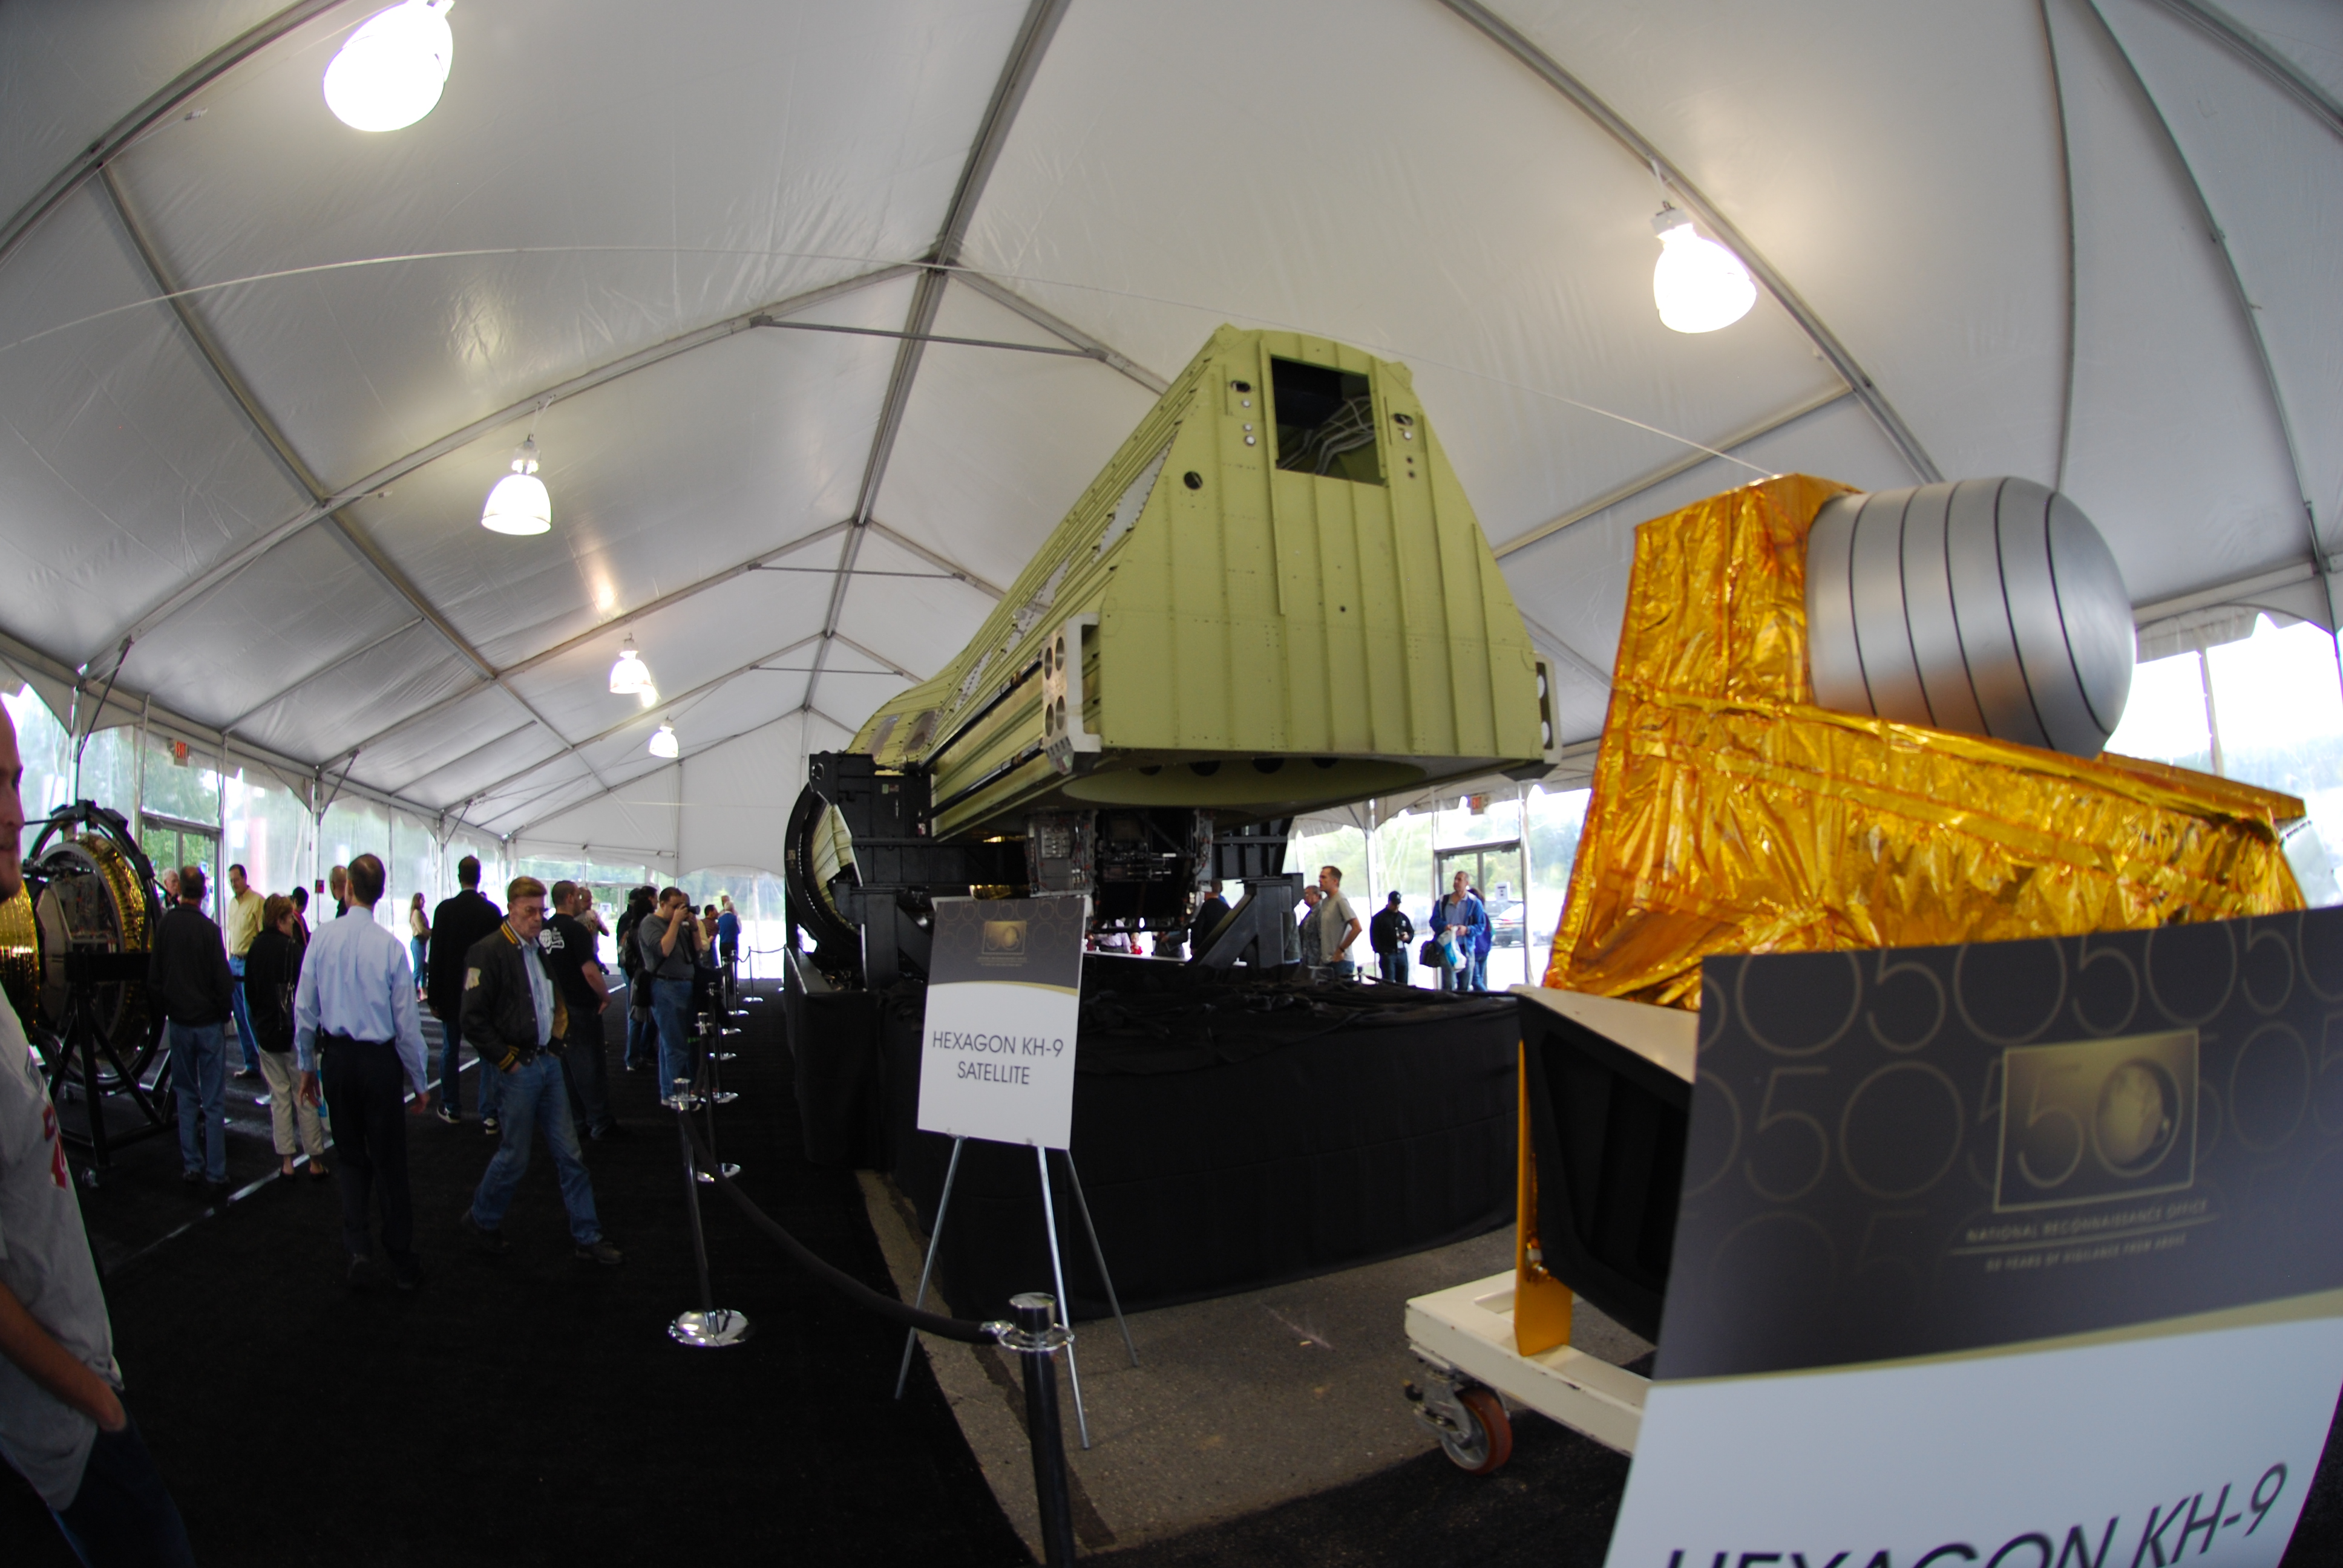
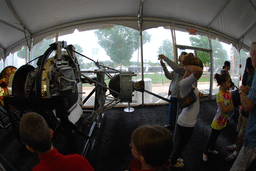
DSC_2521.JPG KH-9 |
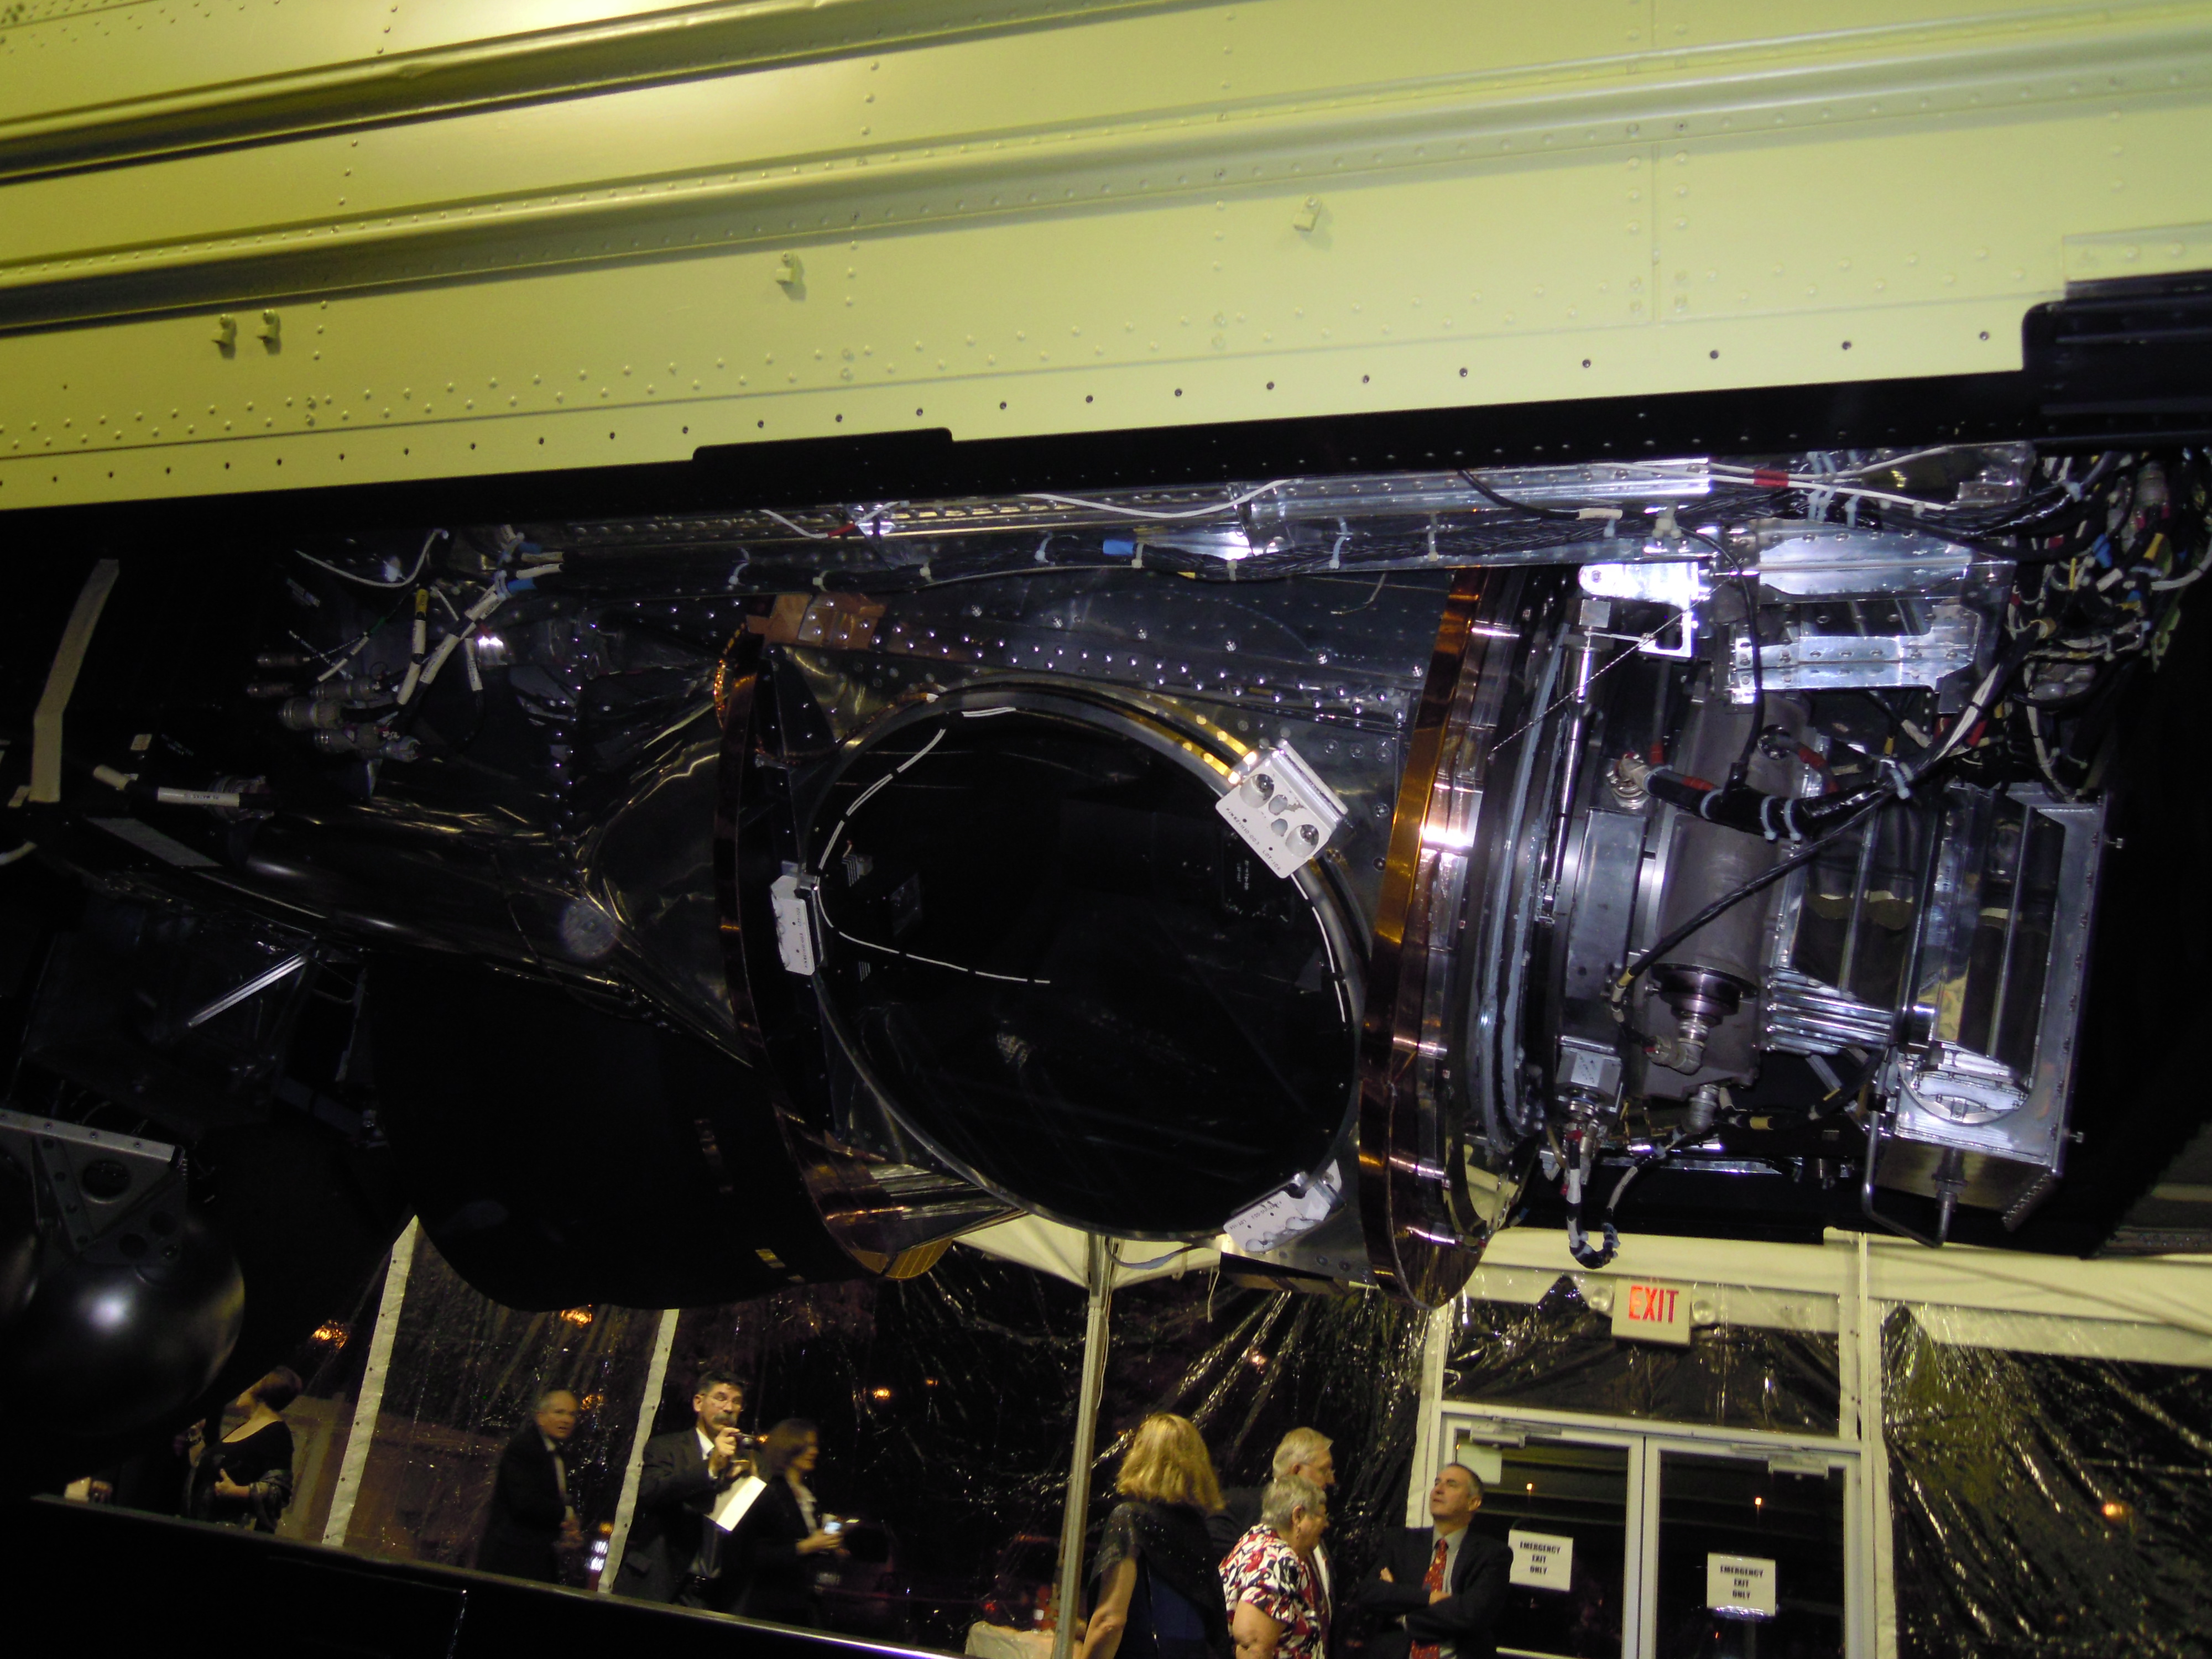
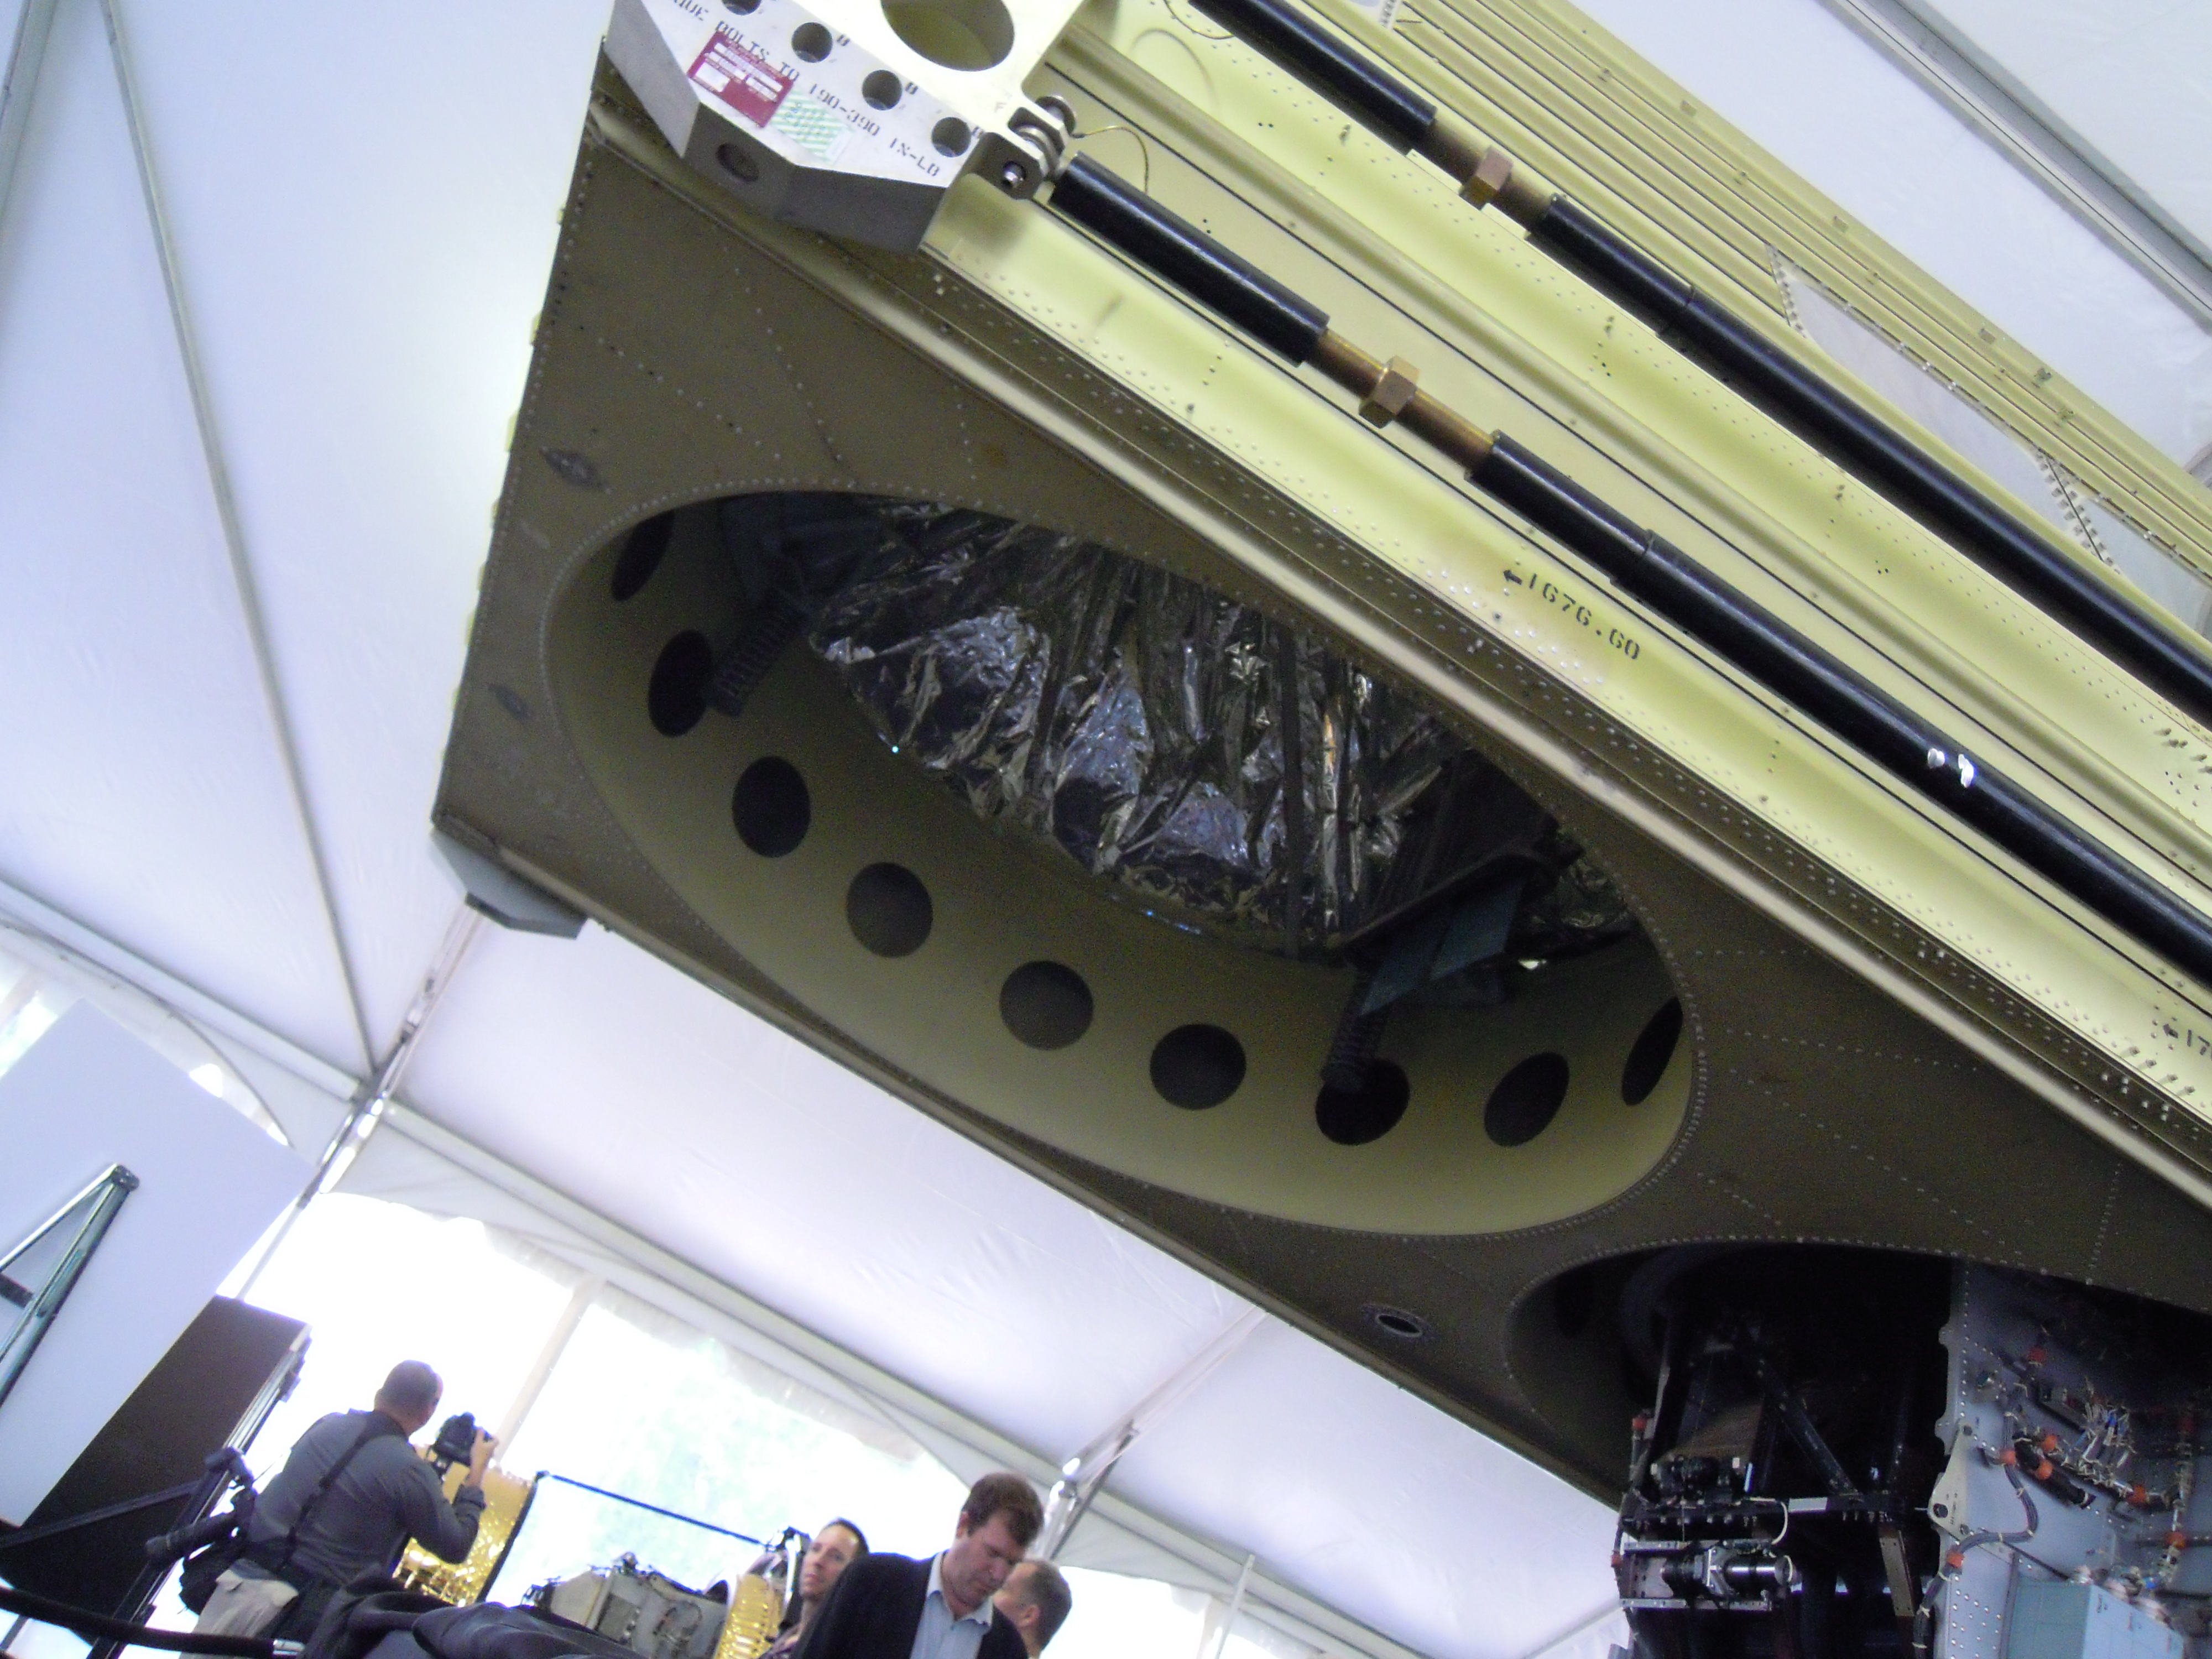
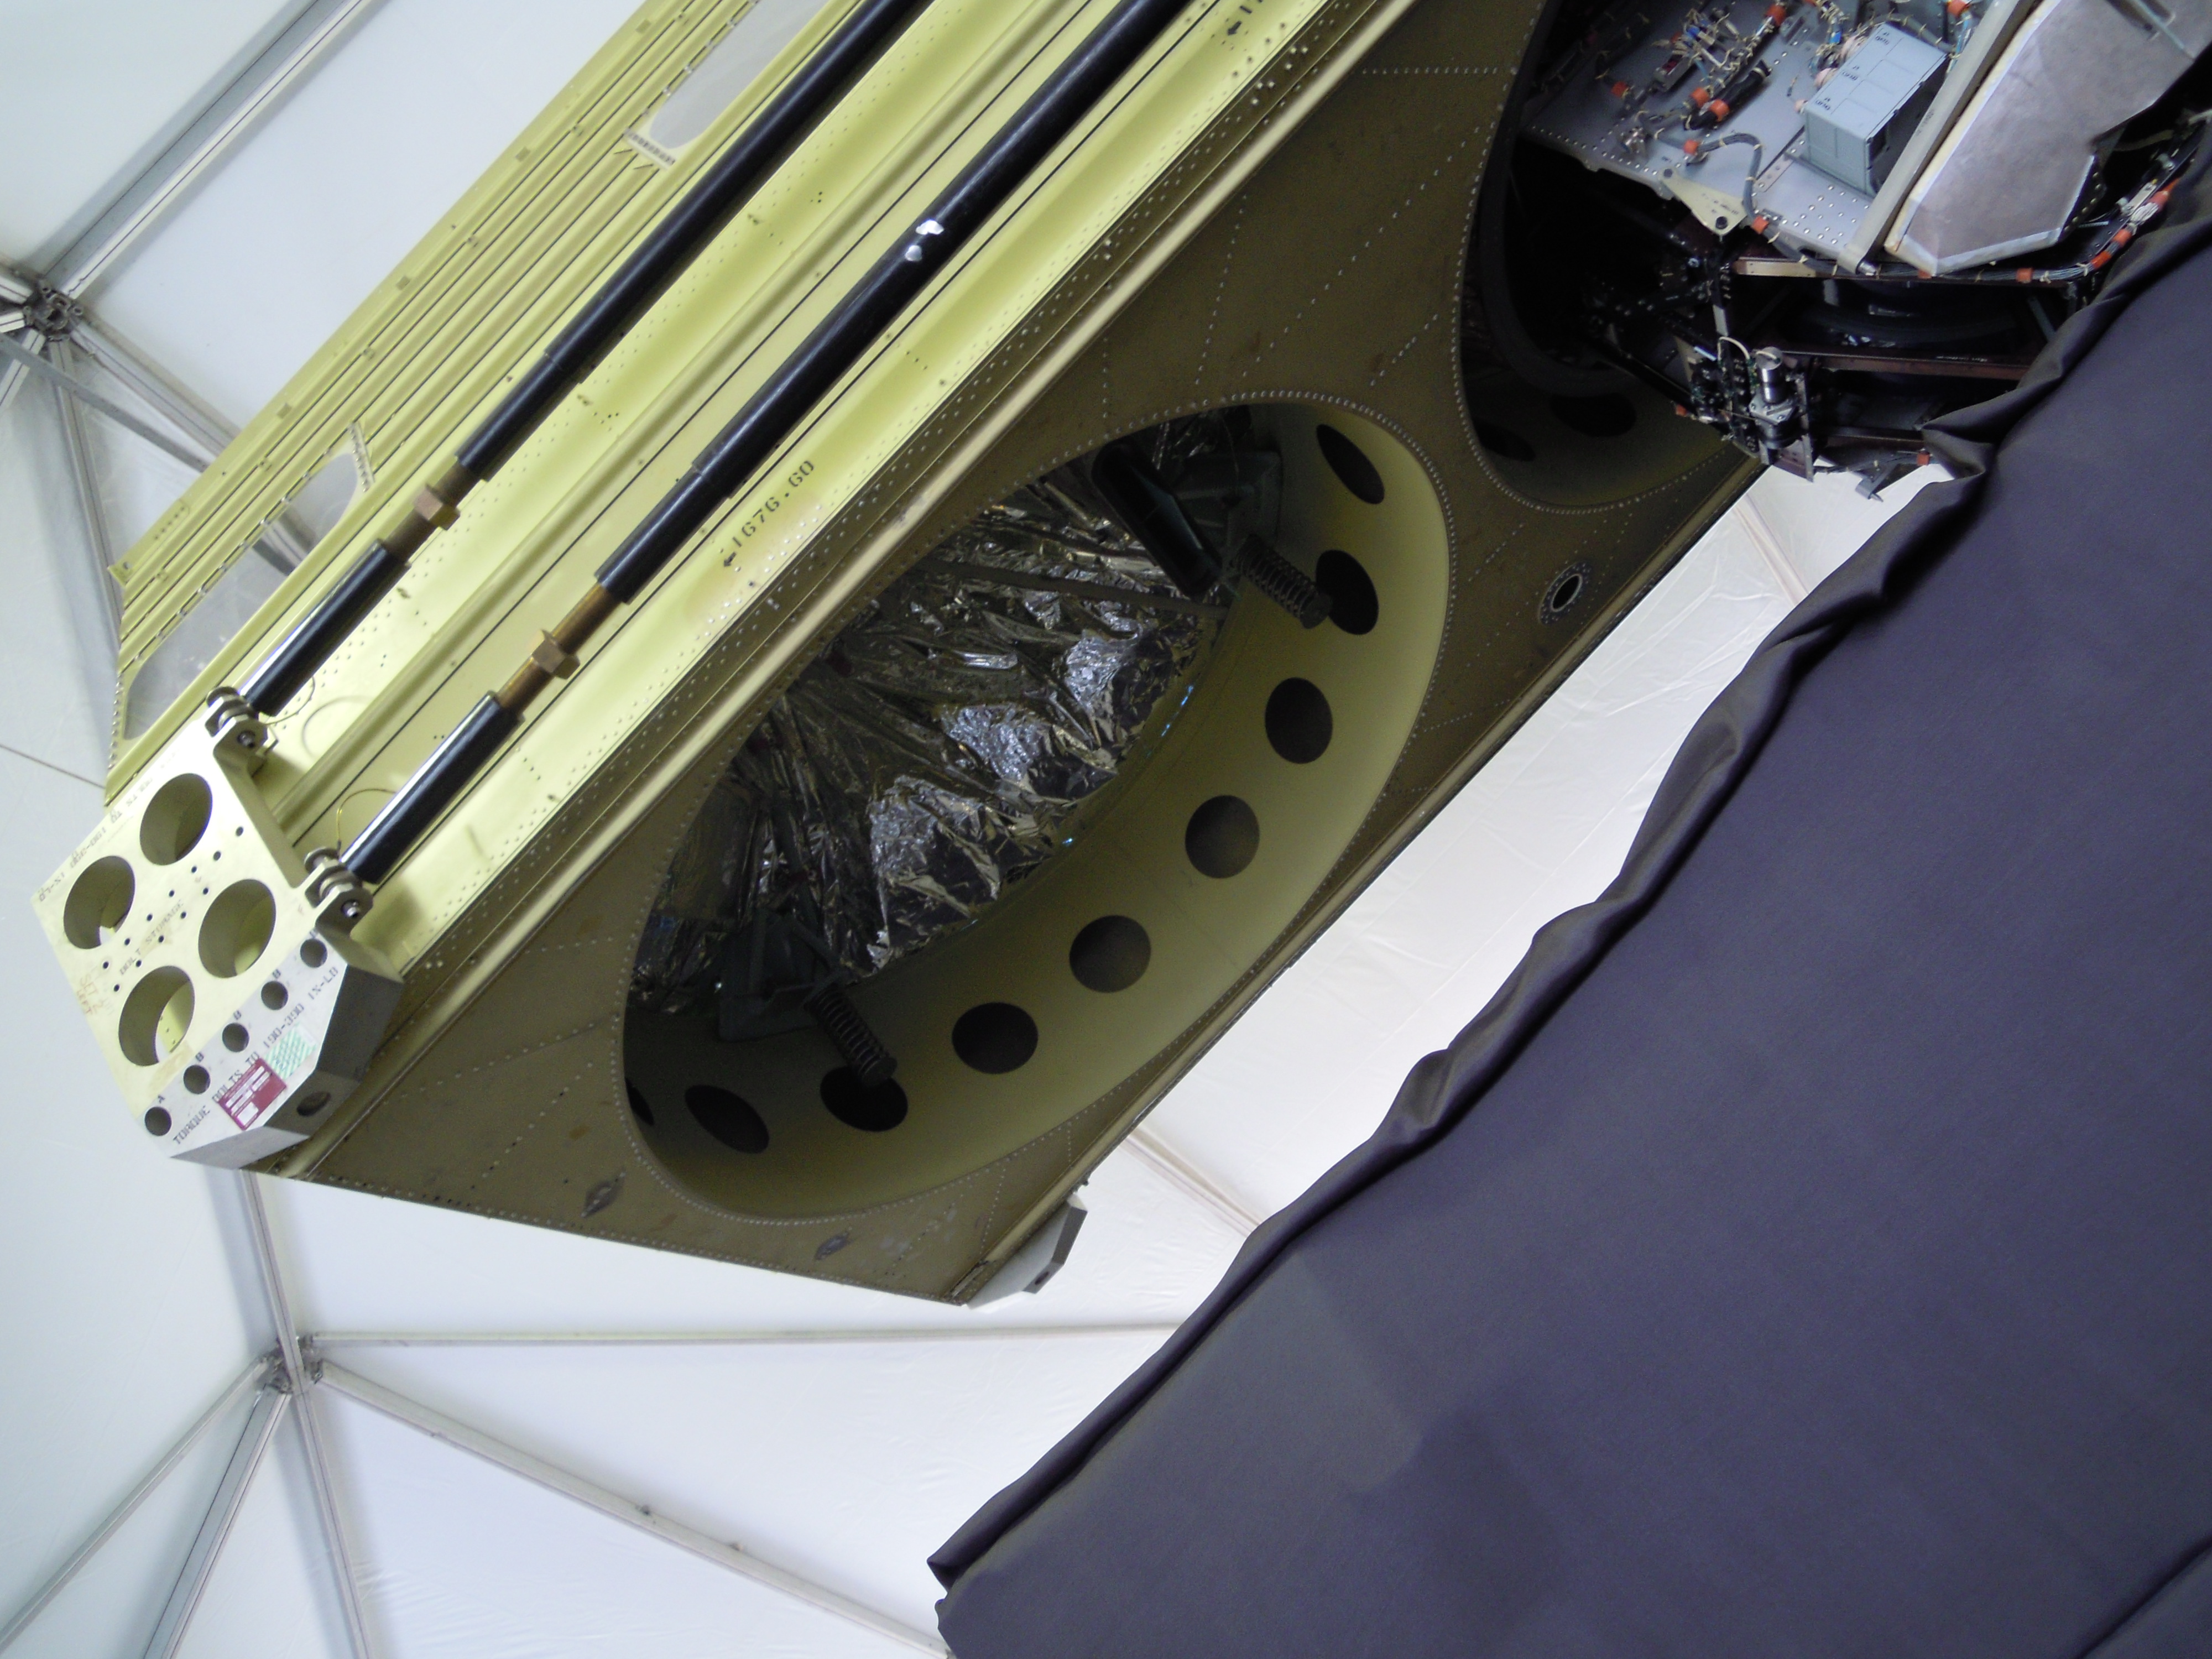
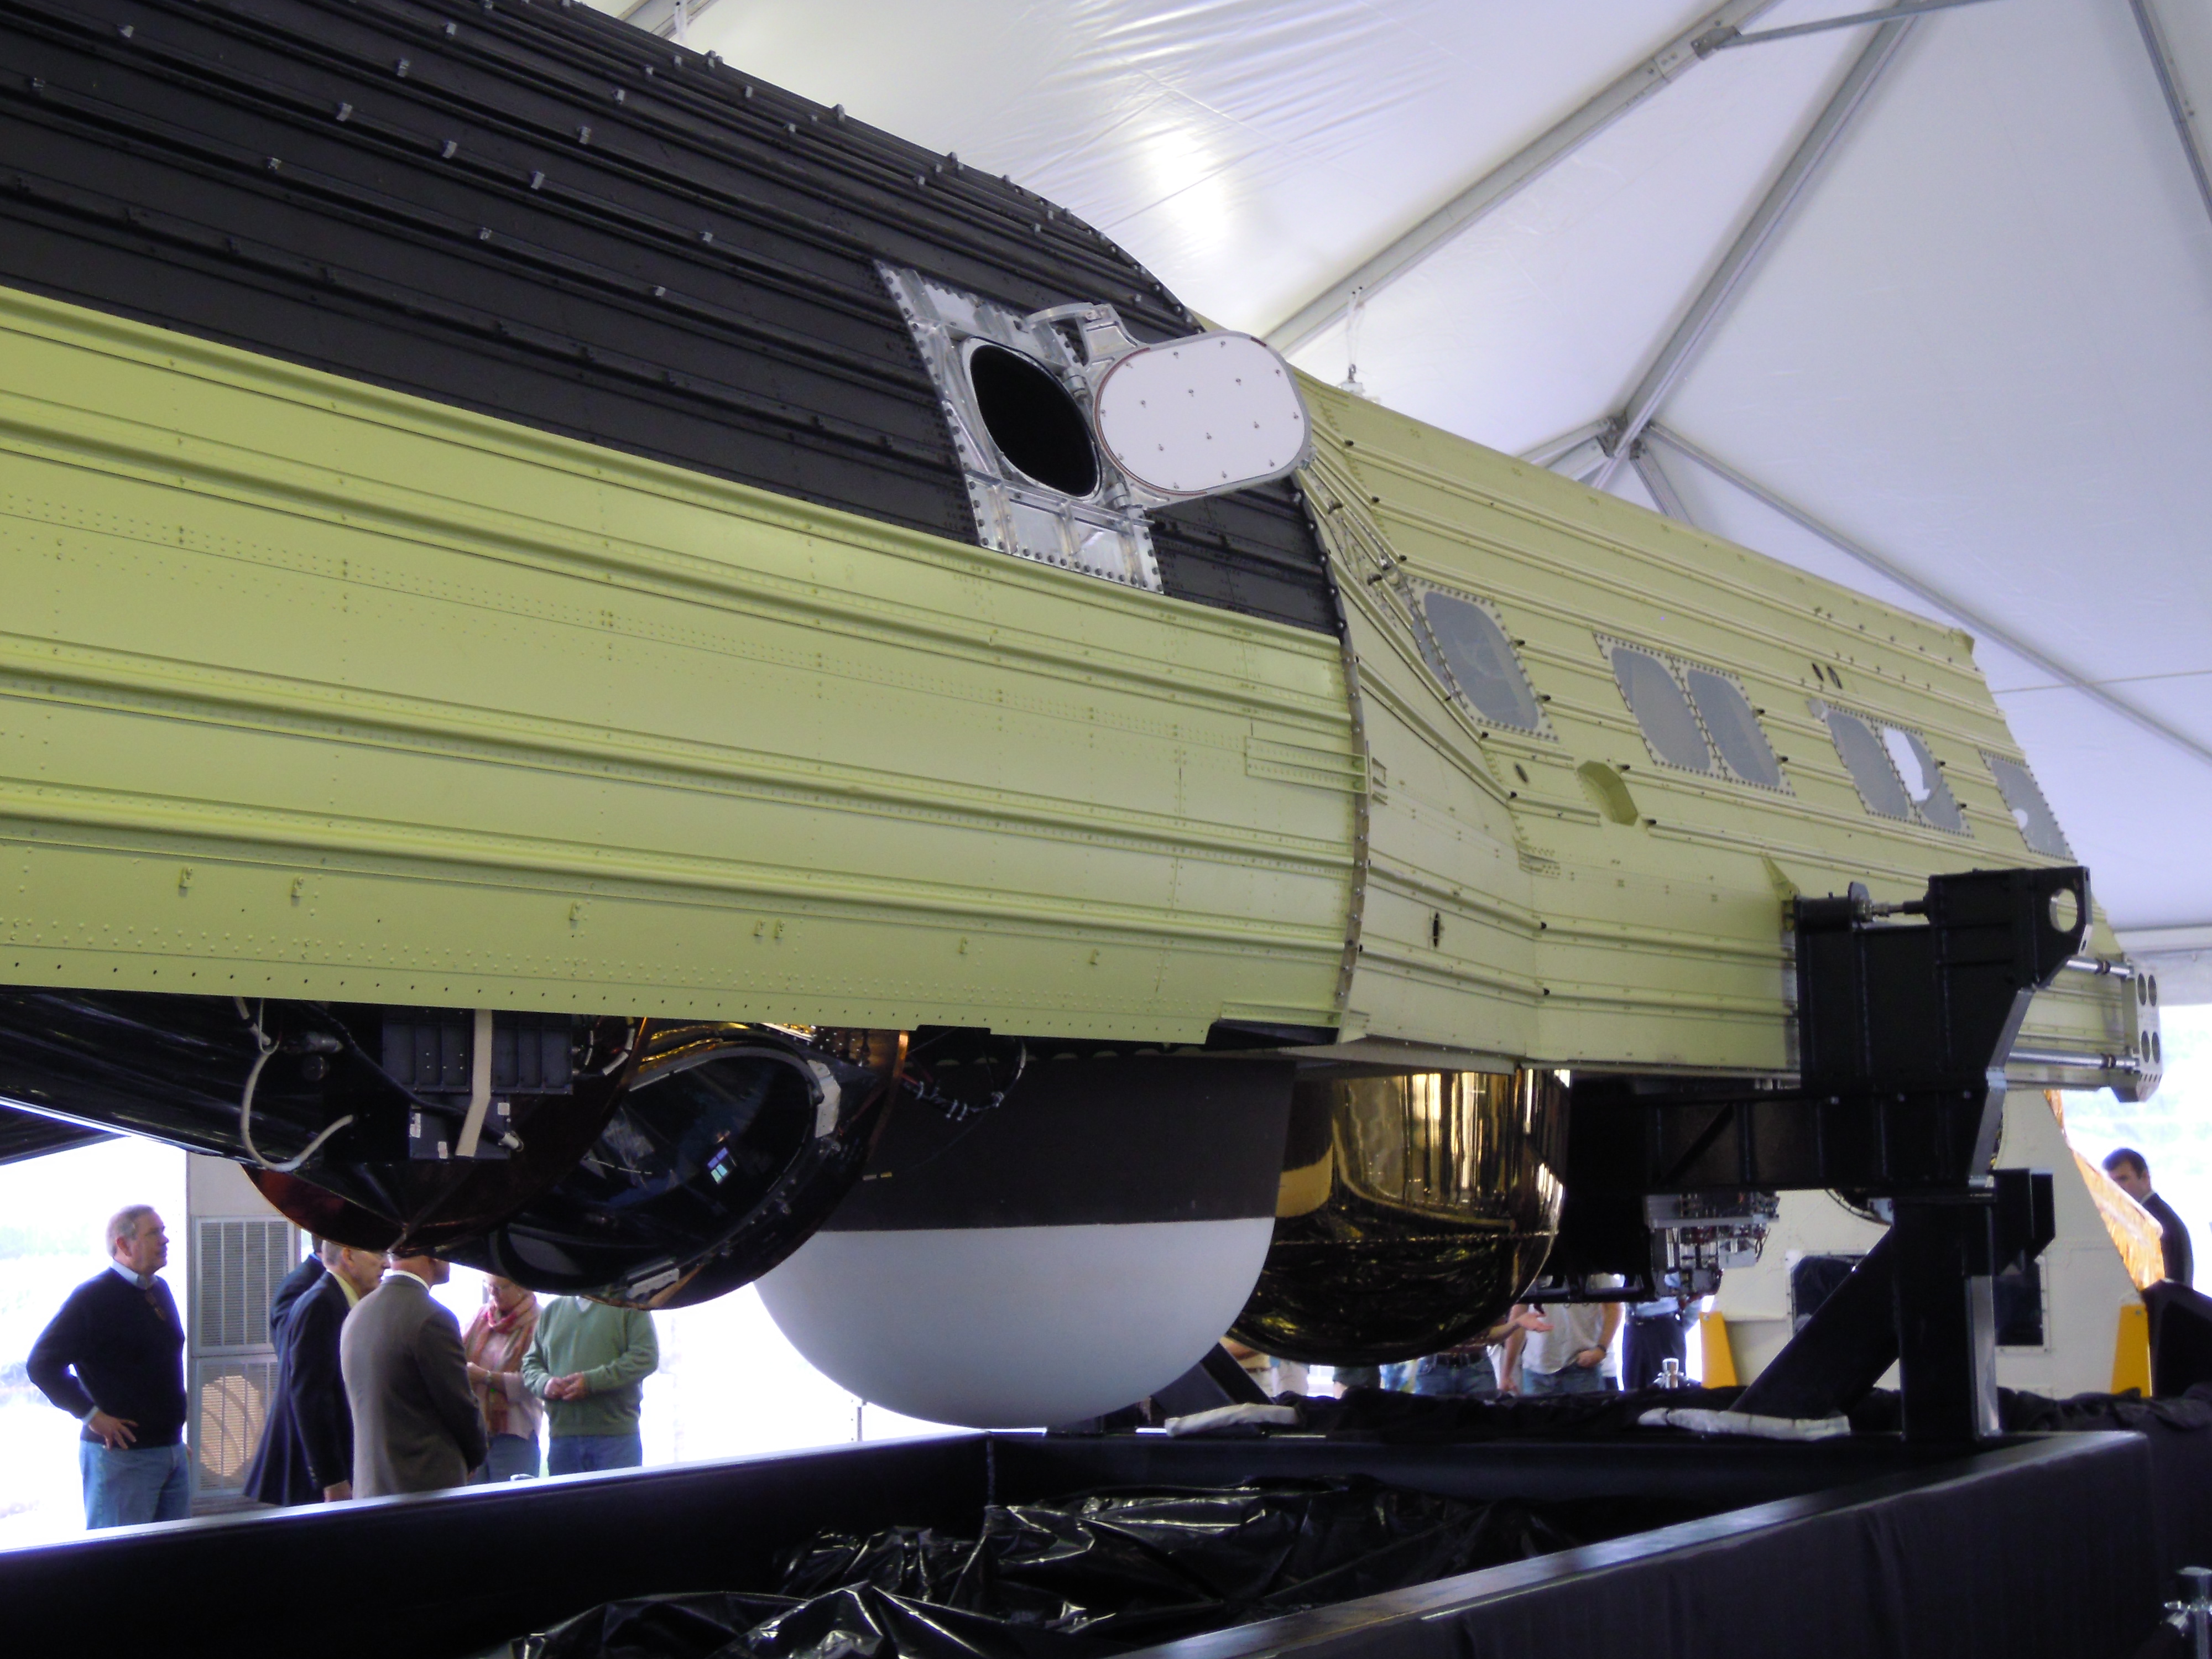
DSC_2522.JPG KH-9 forward end |
 |
 |
 |
 |
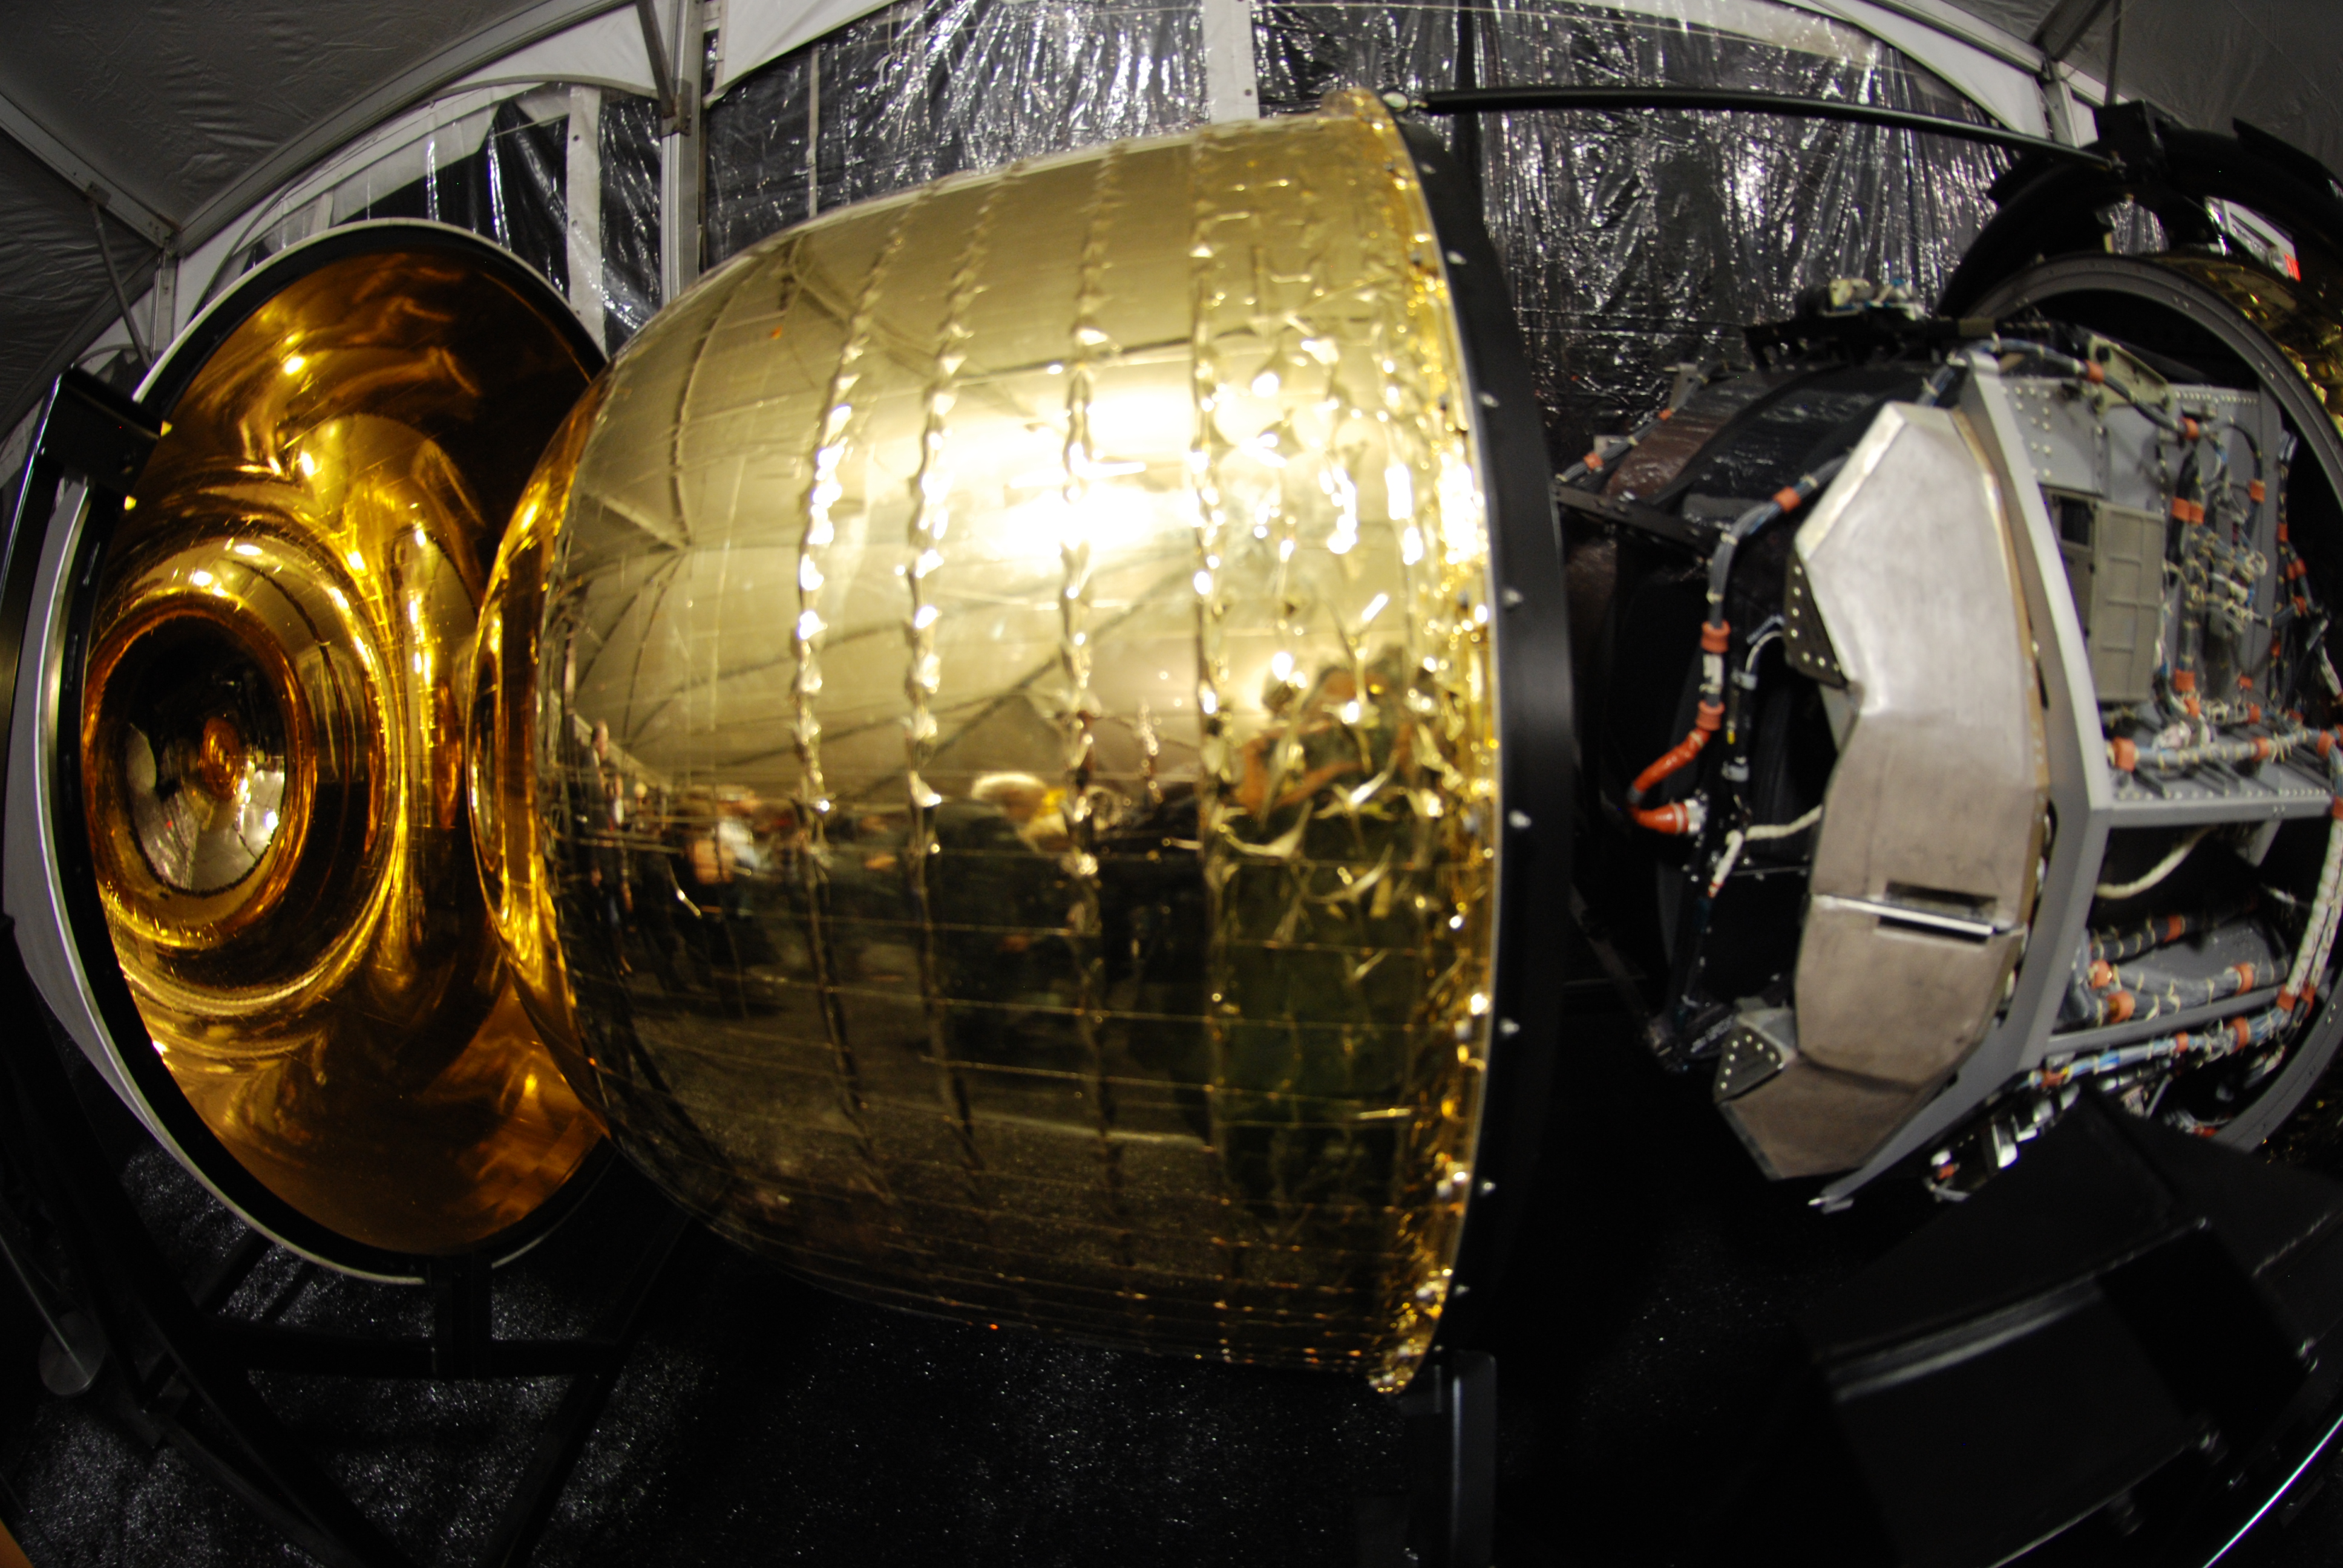
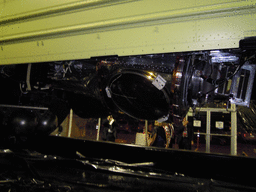
| DSCN0364.JPG HEX wide view |
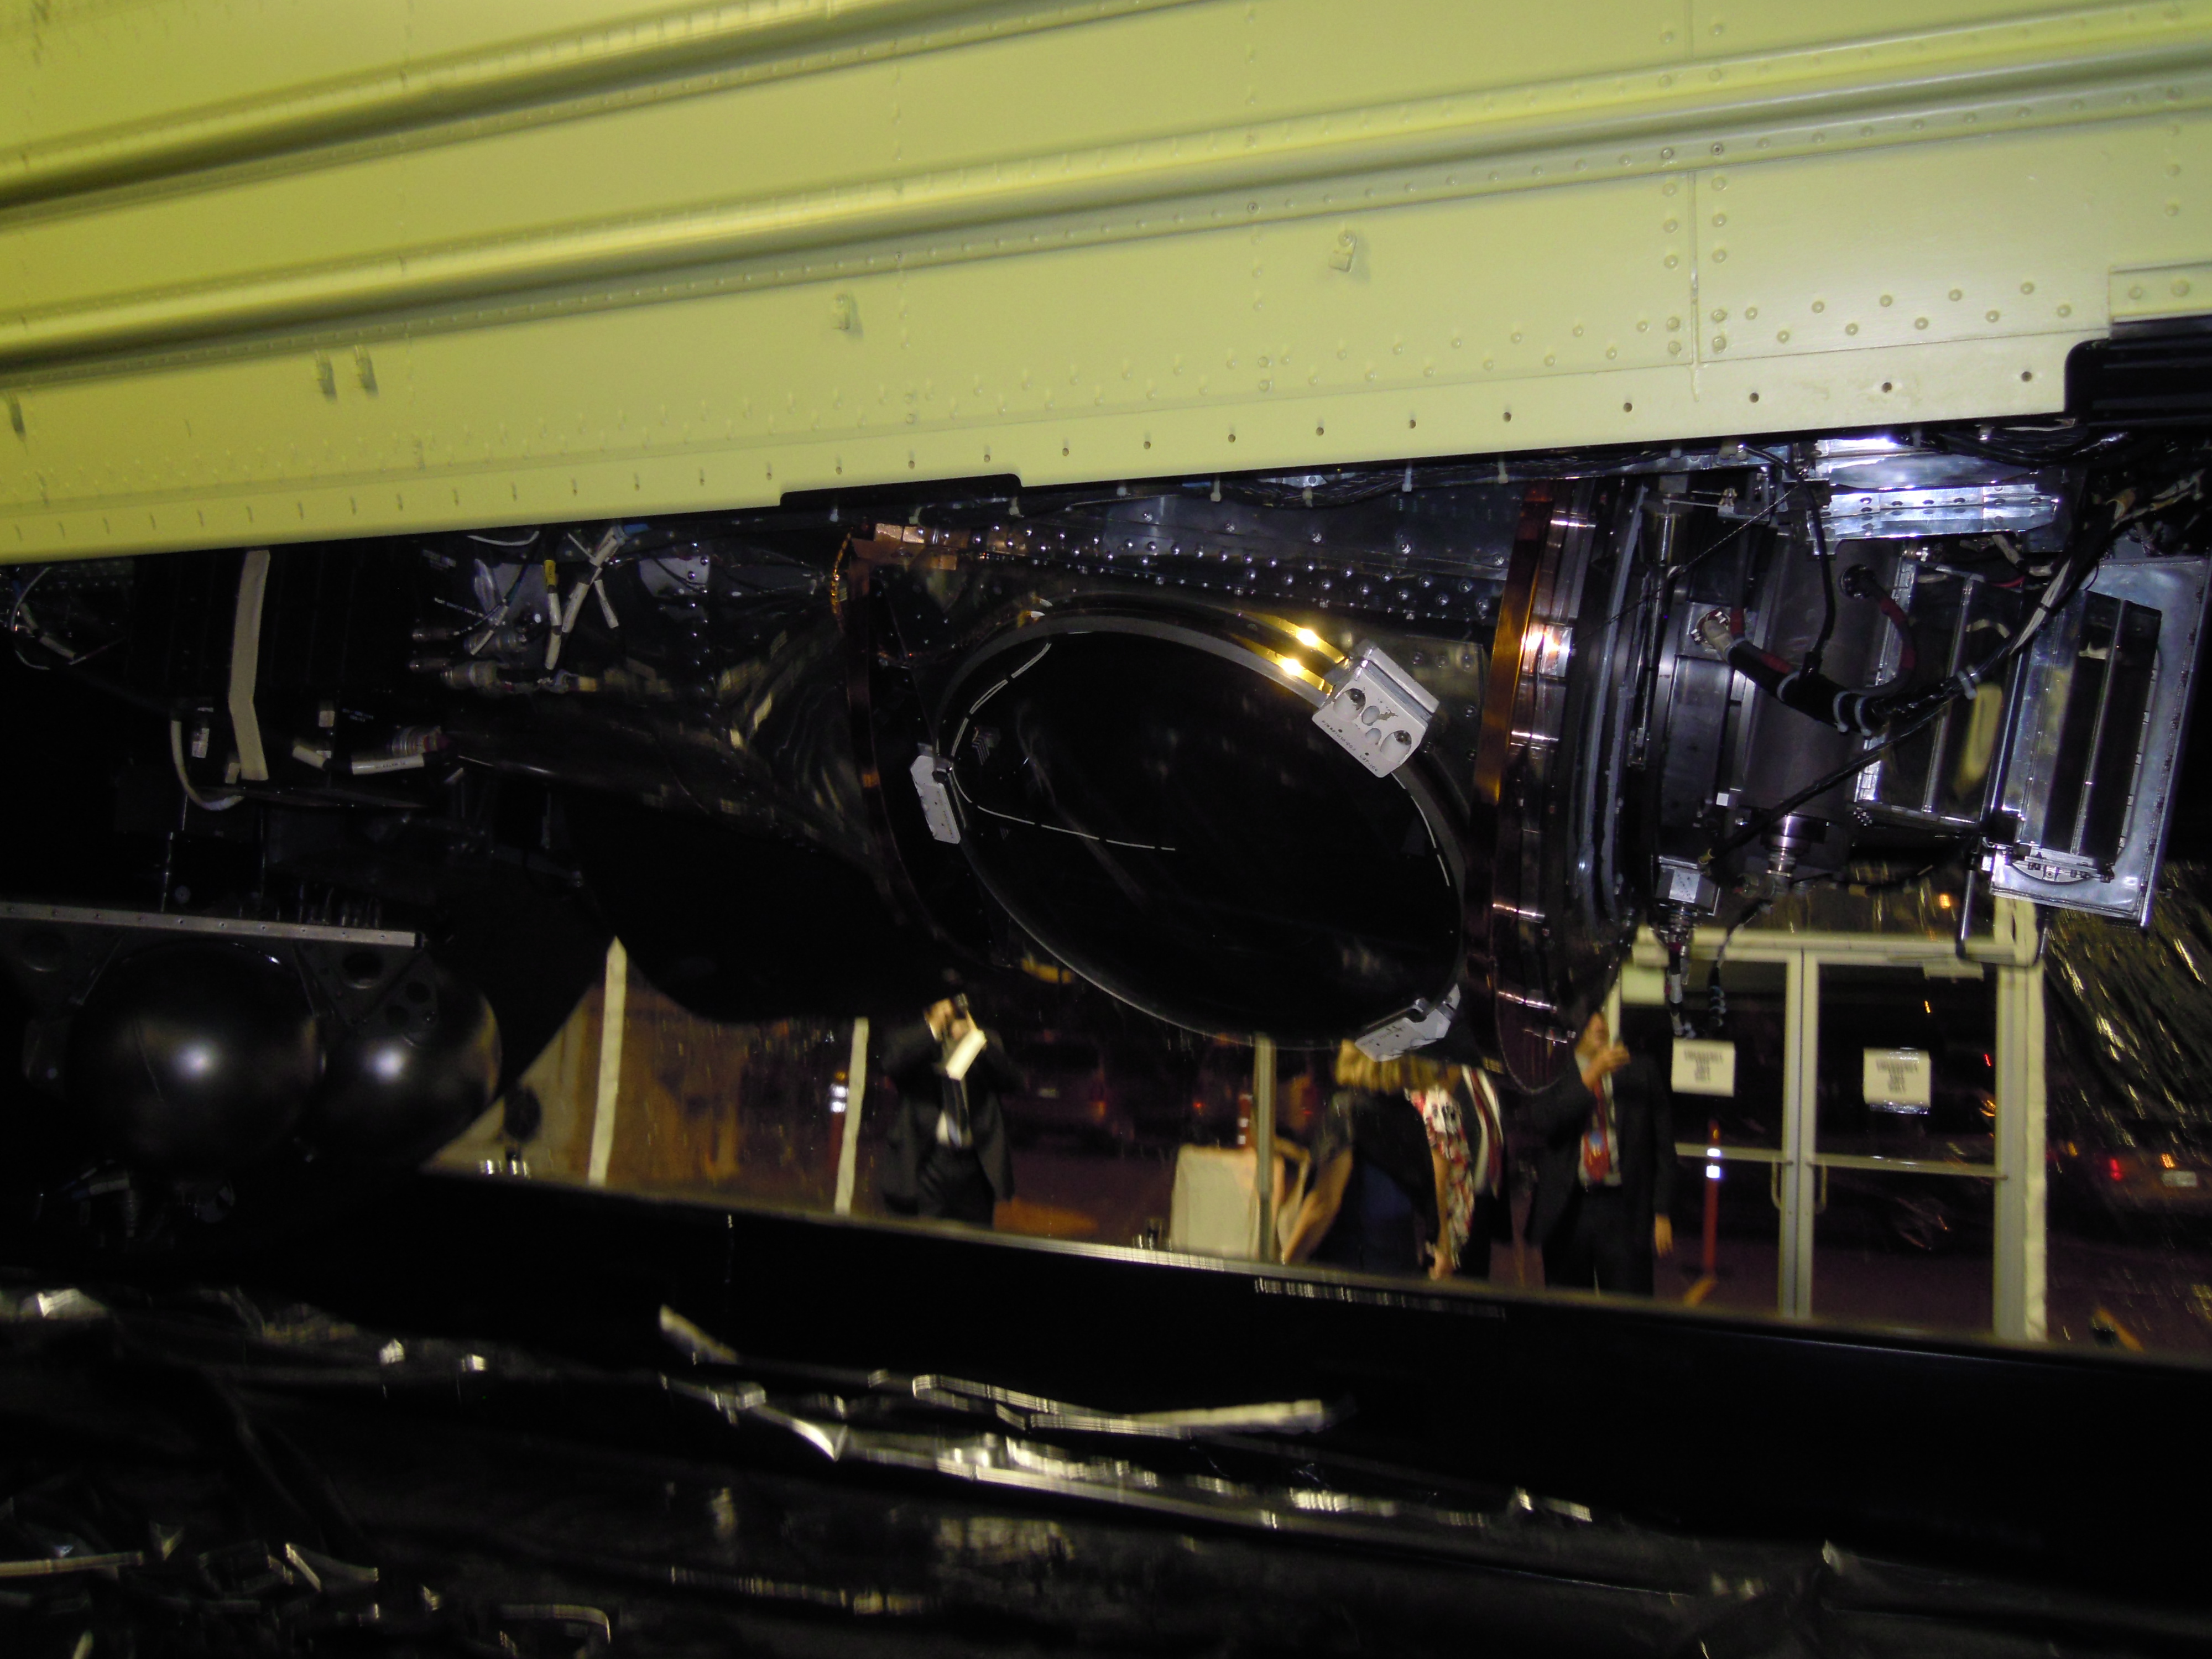
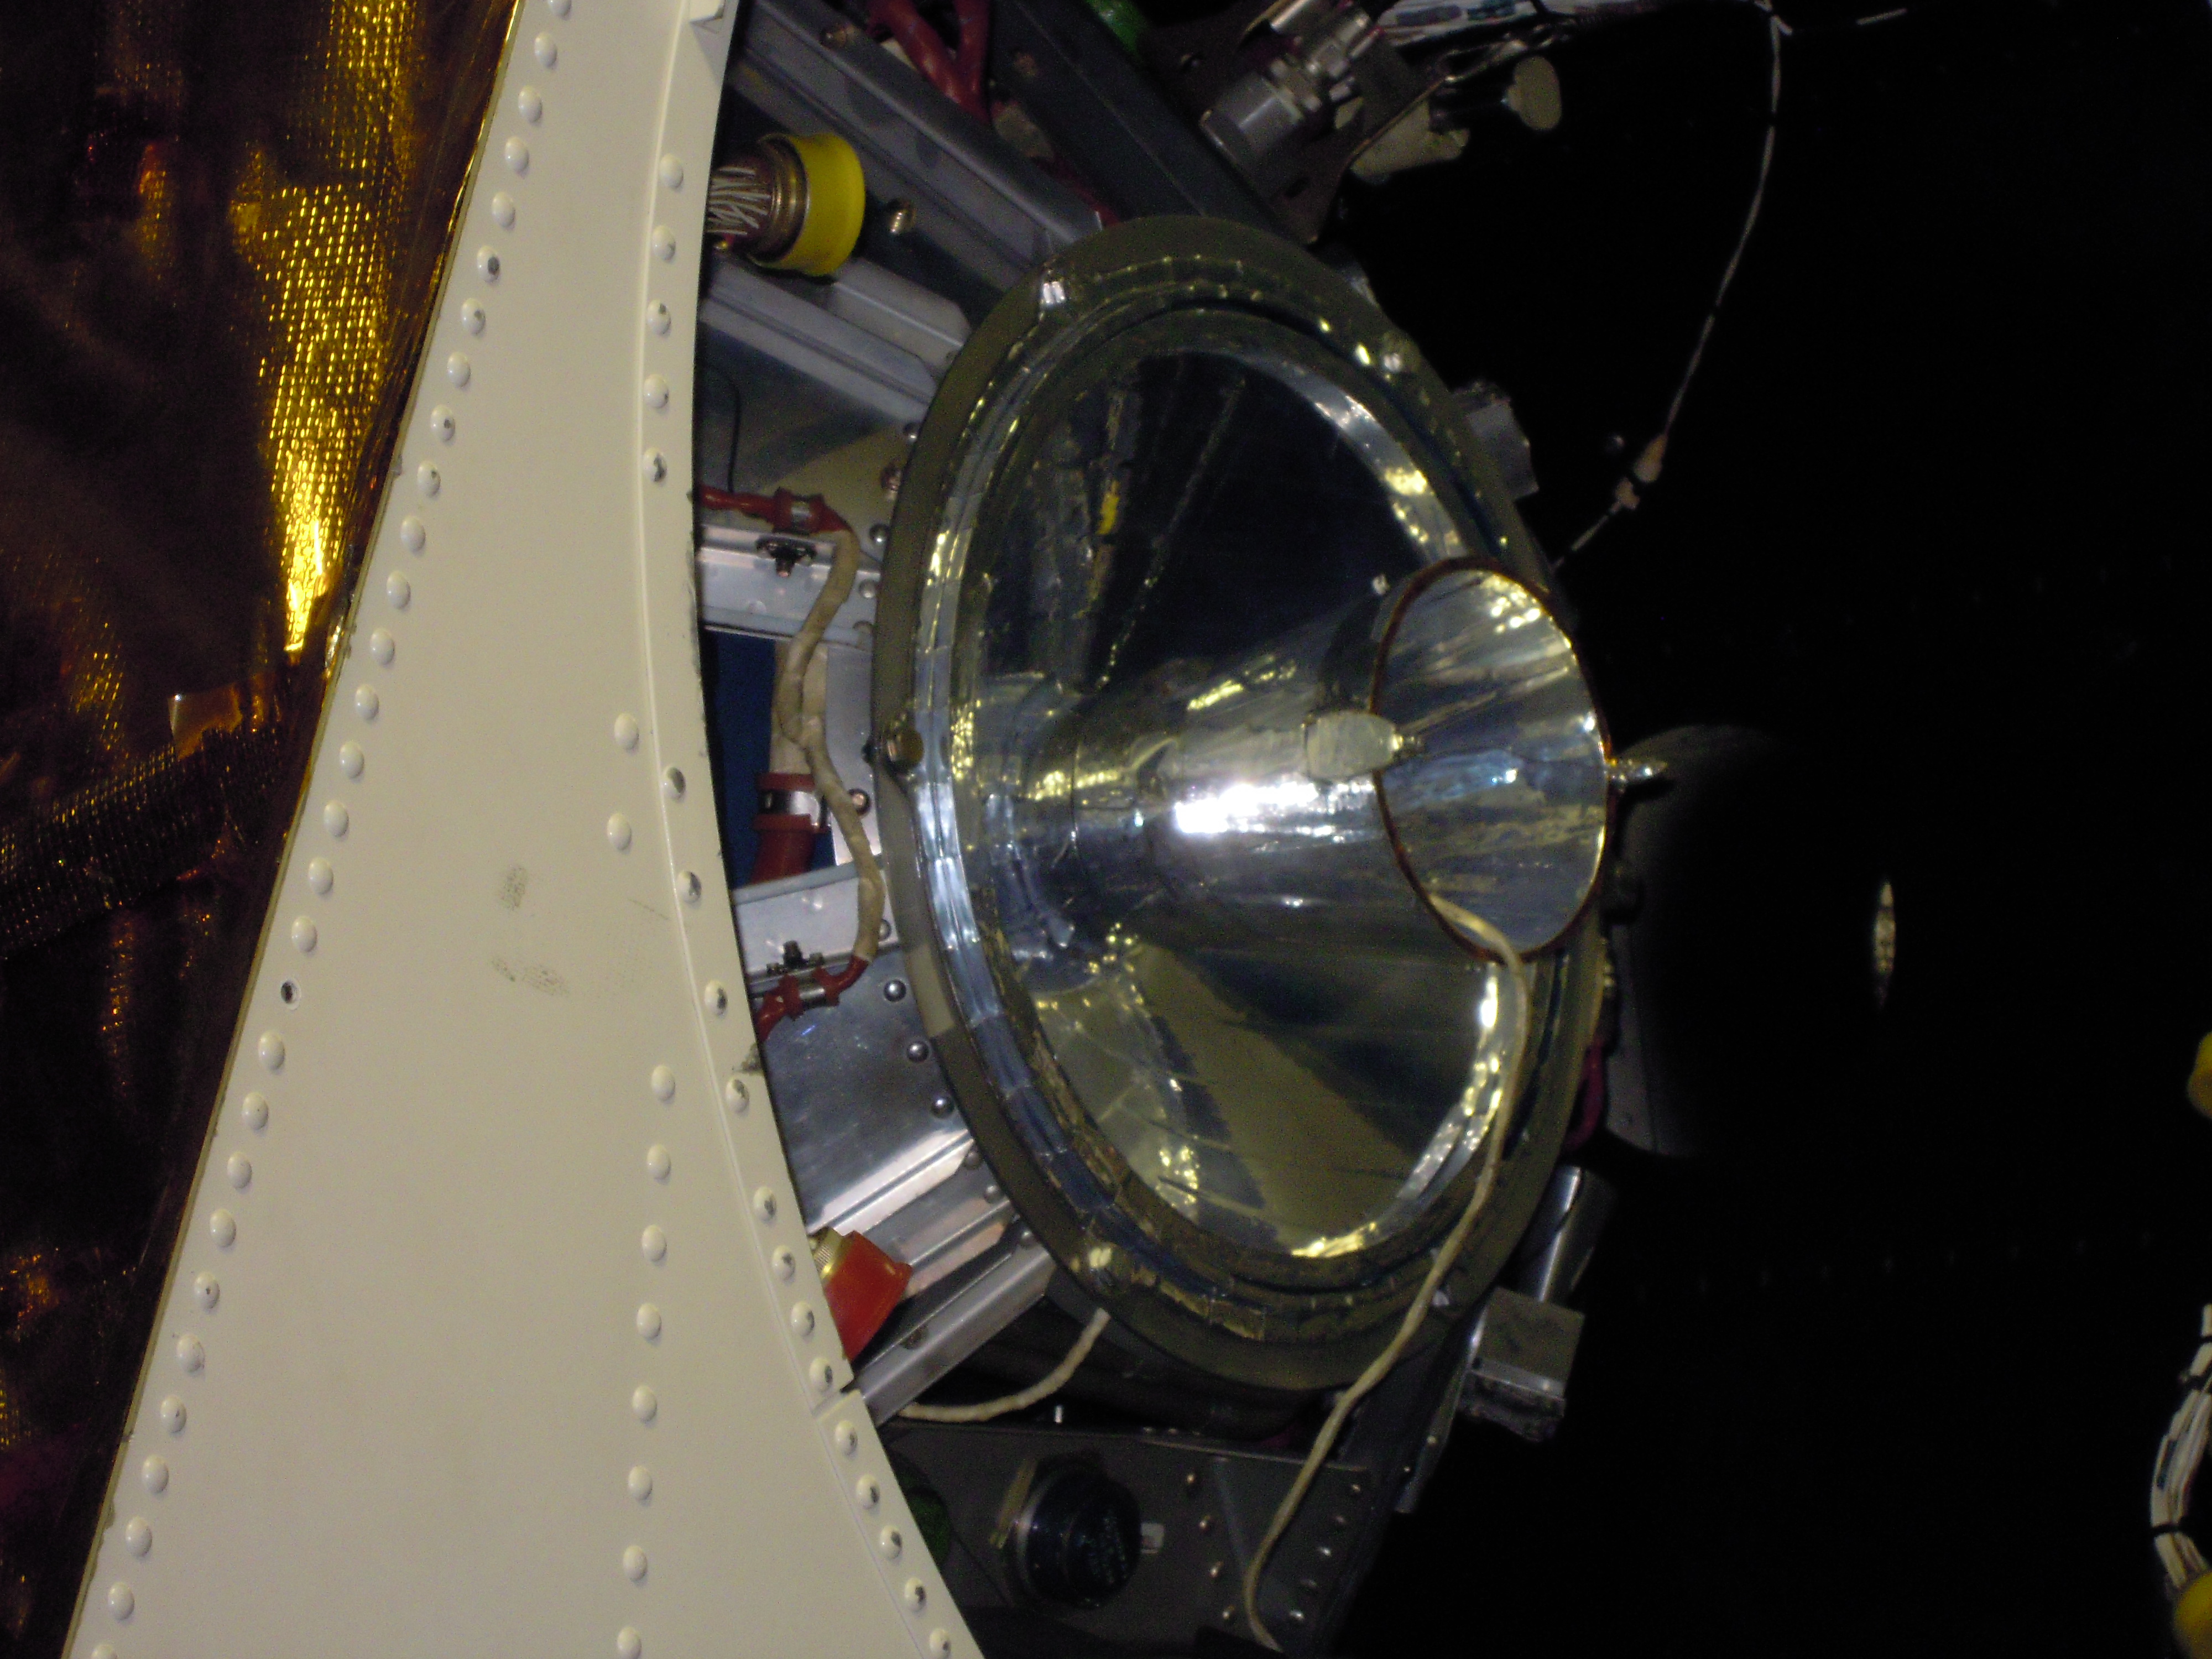
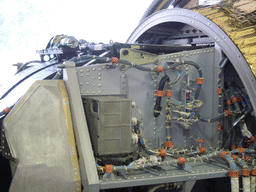
DSCN0359.JPG TCA (HEX cameras) |
DSCN0360.JPG TCA |
DSCN0361.JPG HEX and TCA |
 |
 |
 |
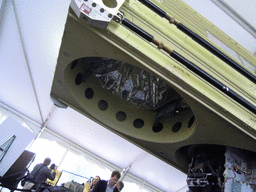 |
| DSCN0282.JPG Hexagon -Y (?) pallet, forward end |
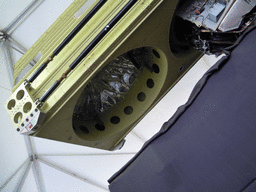
DSCN0283.JPG Pallet, showing SRV without cover |
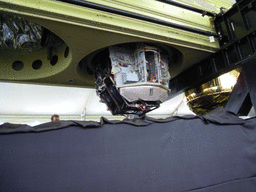
DSCN0284.JPG View along HEX body showing SRV-4 and TCA |
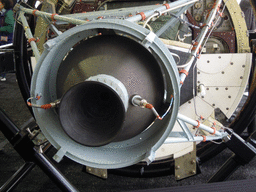
DSCN0285.JPG The hole for SRV-1 |
 |
 |
 |
 |
| DSCN0286.JPG Underneath HEX pallet showing hole for SRV-1 |
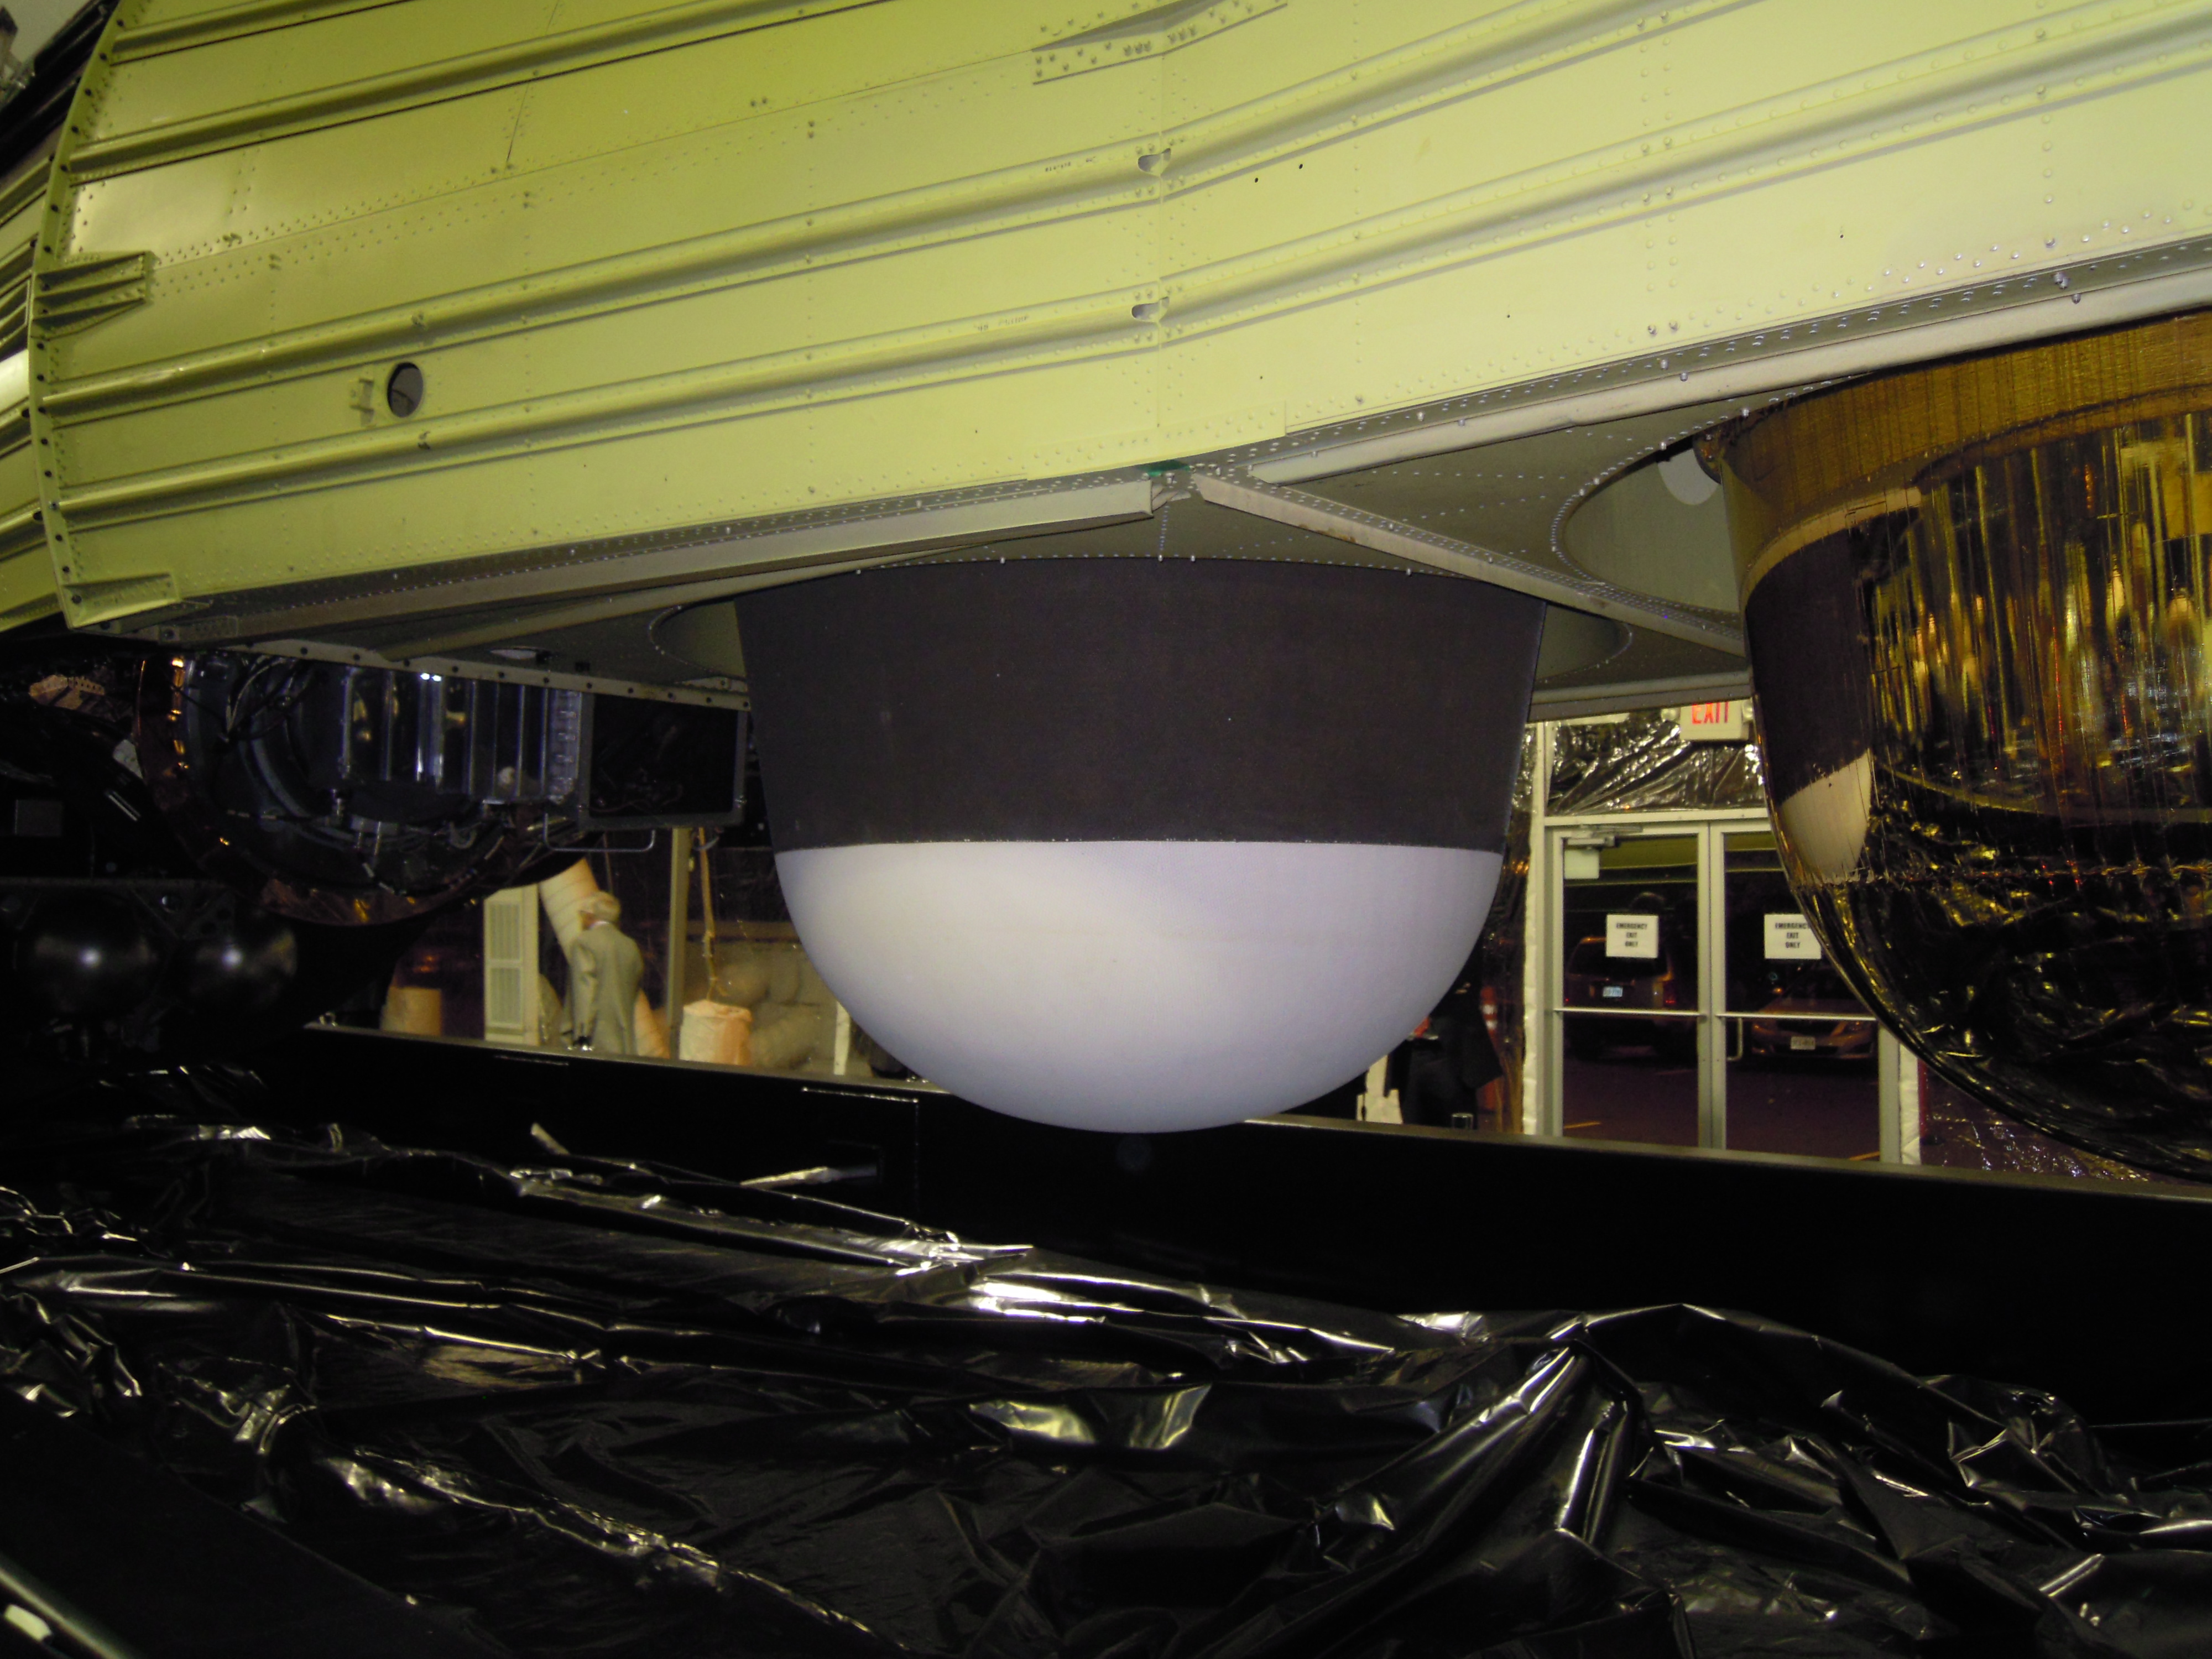
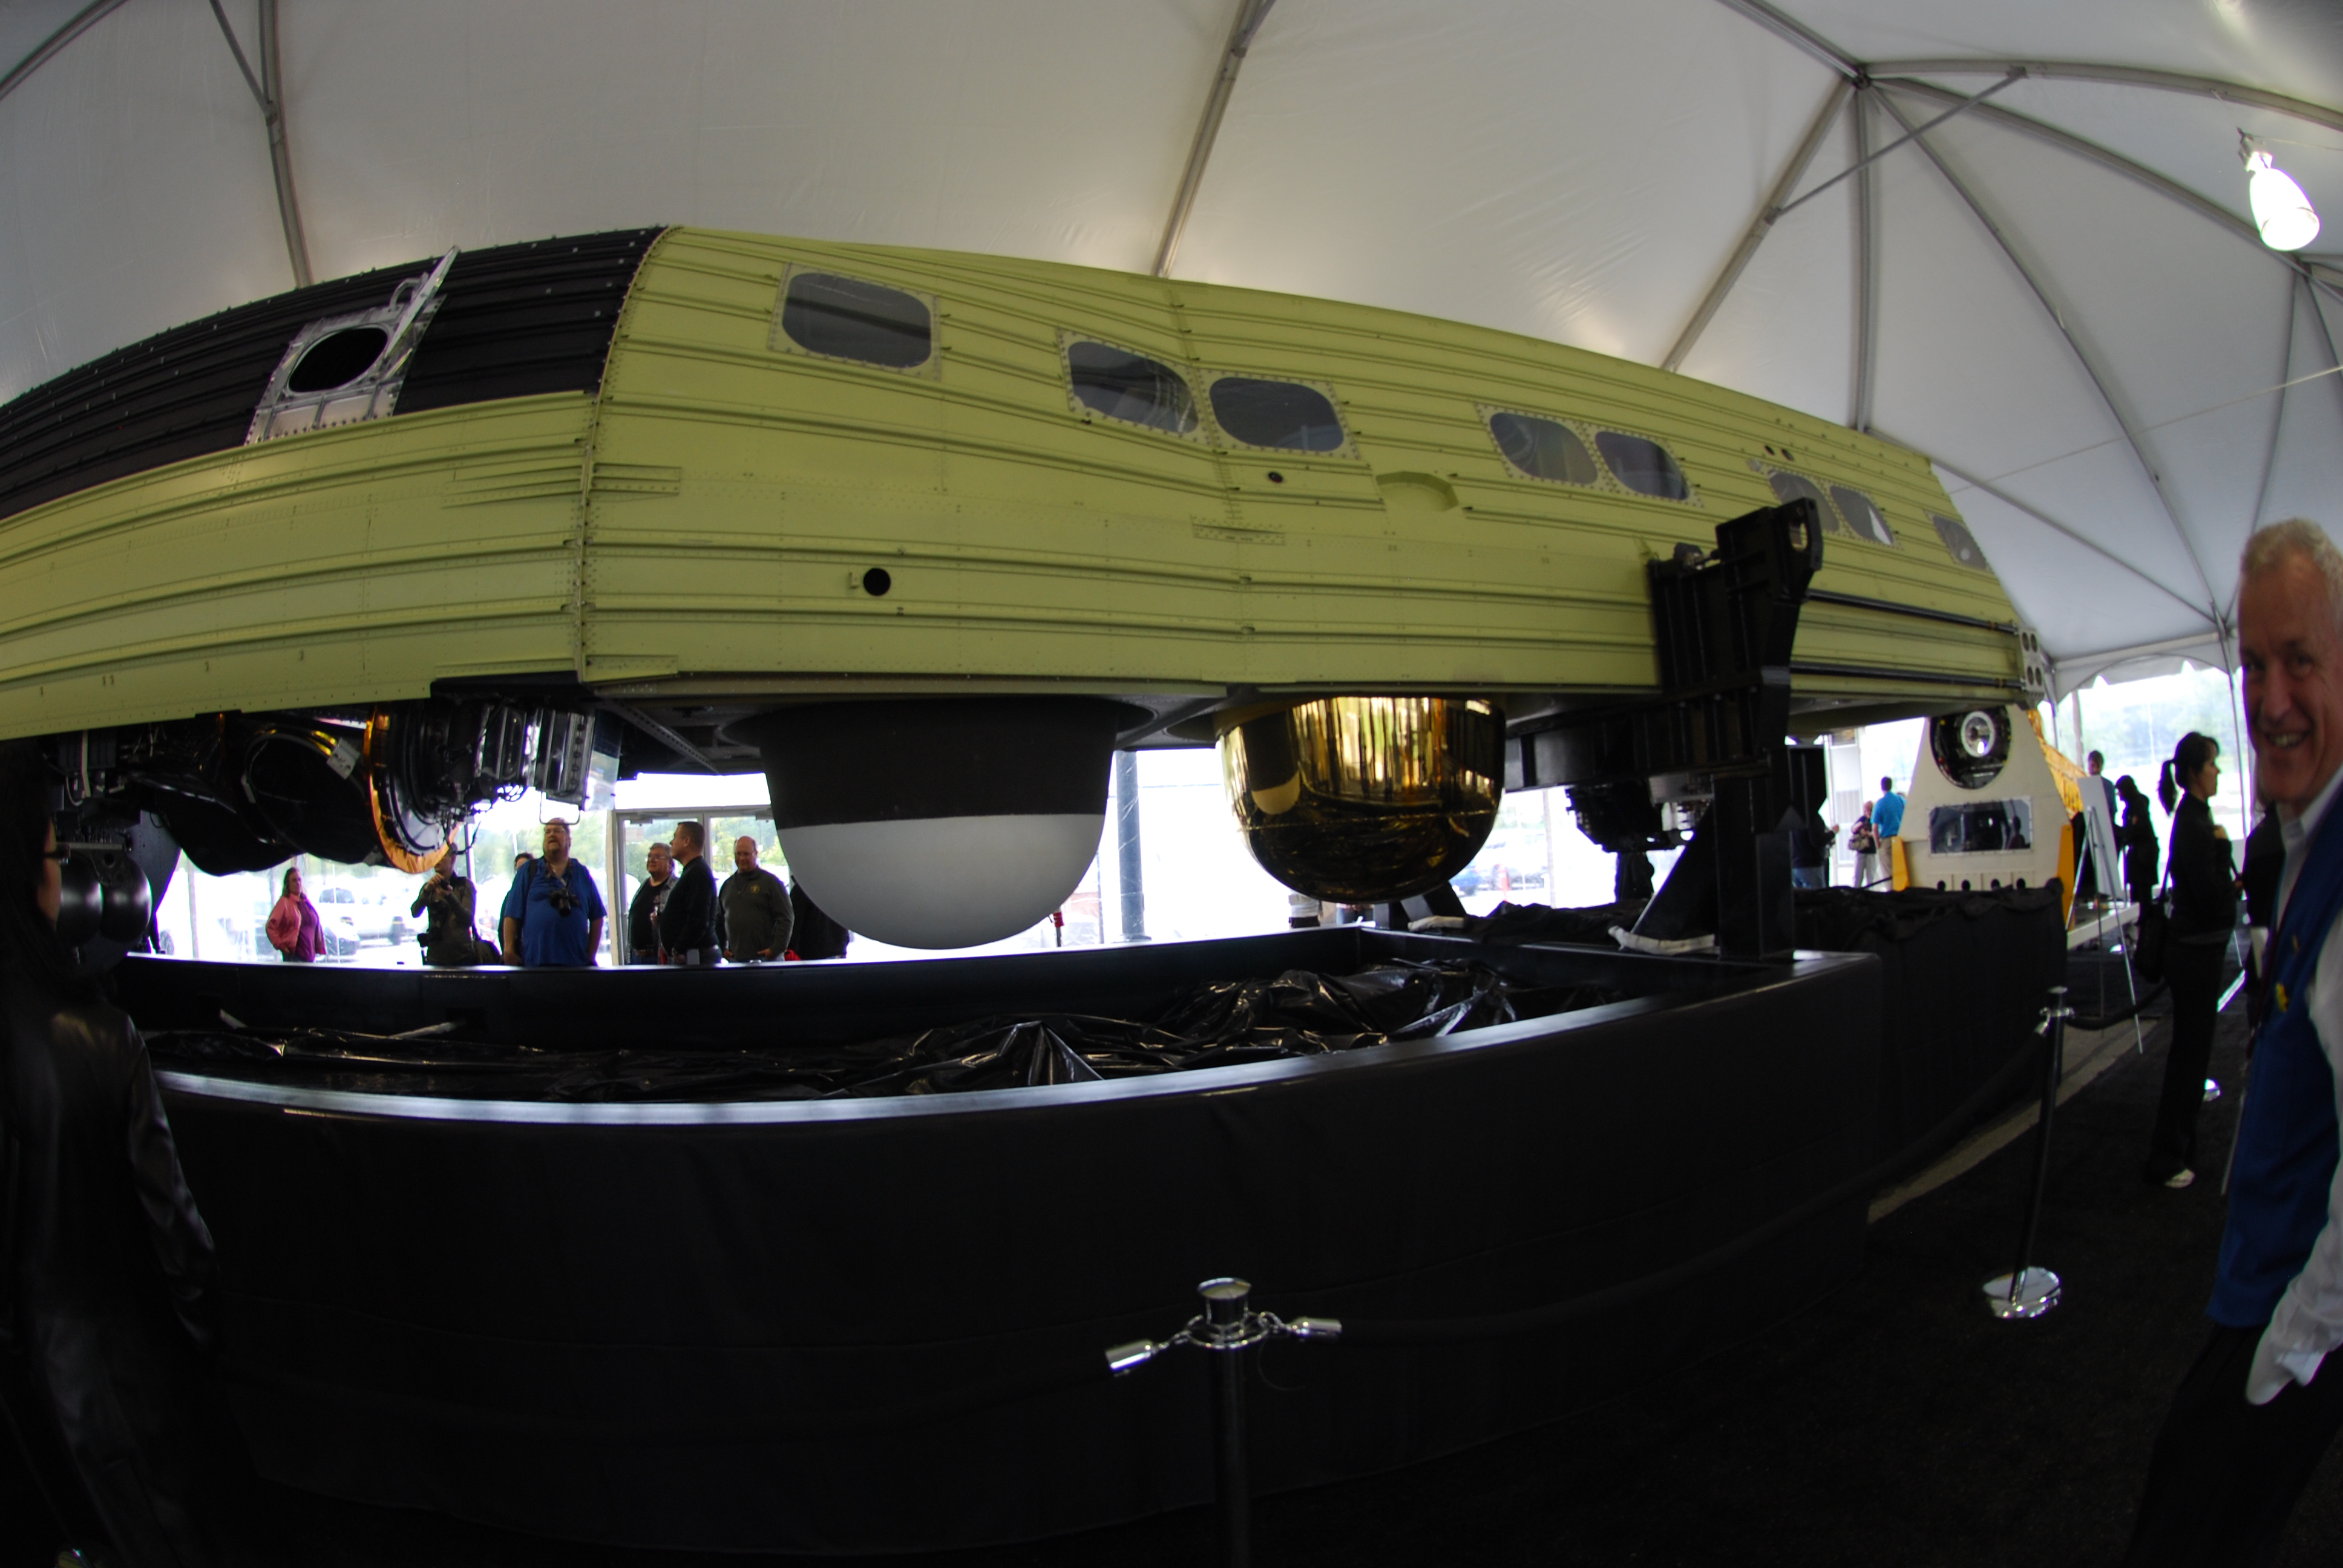
DSCN0287.JPG SRV_2 position, (SRV with no cover) and SRV-3 (gold cover, no heatshield) |
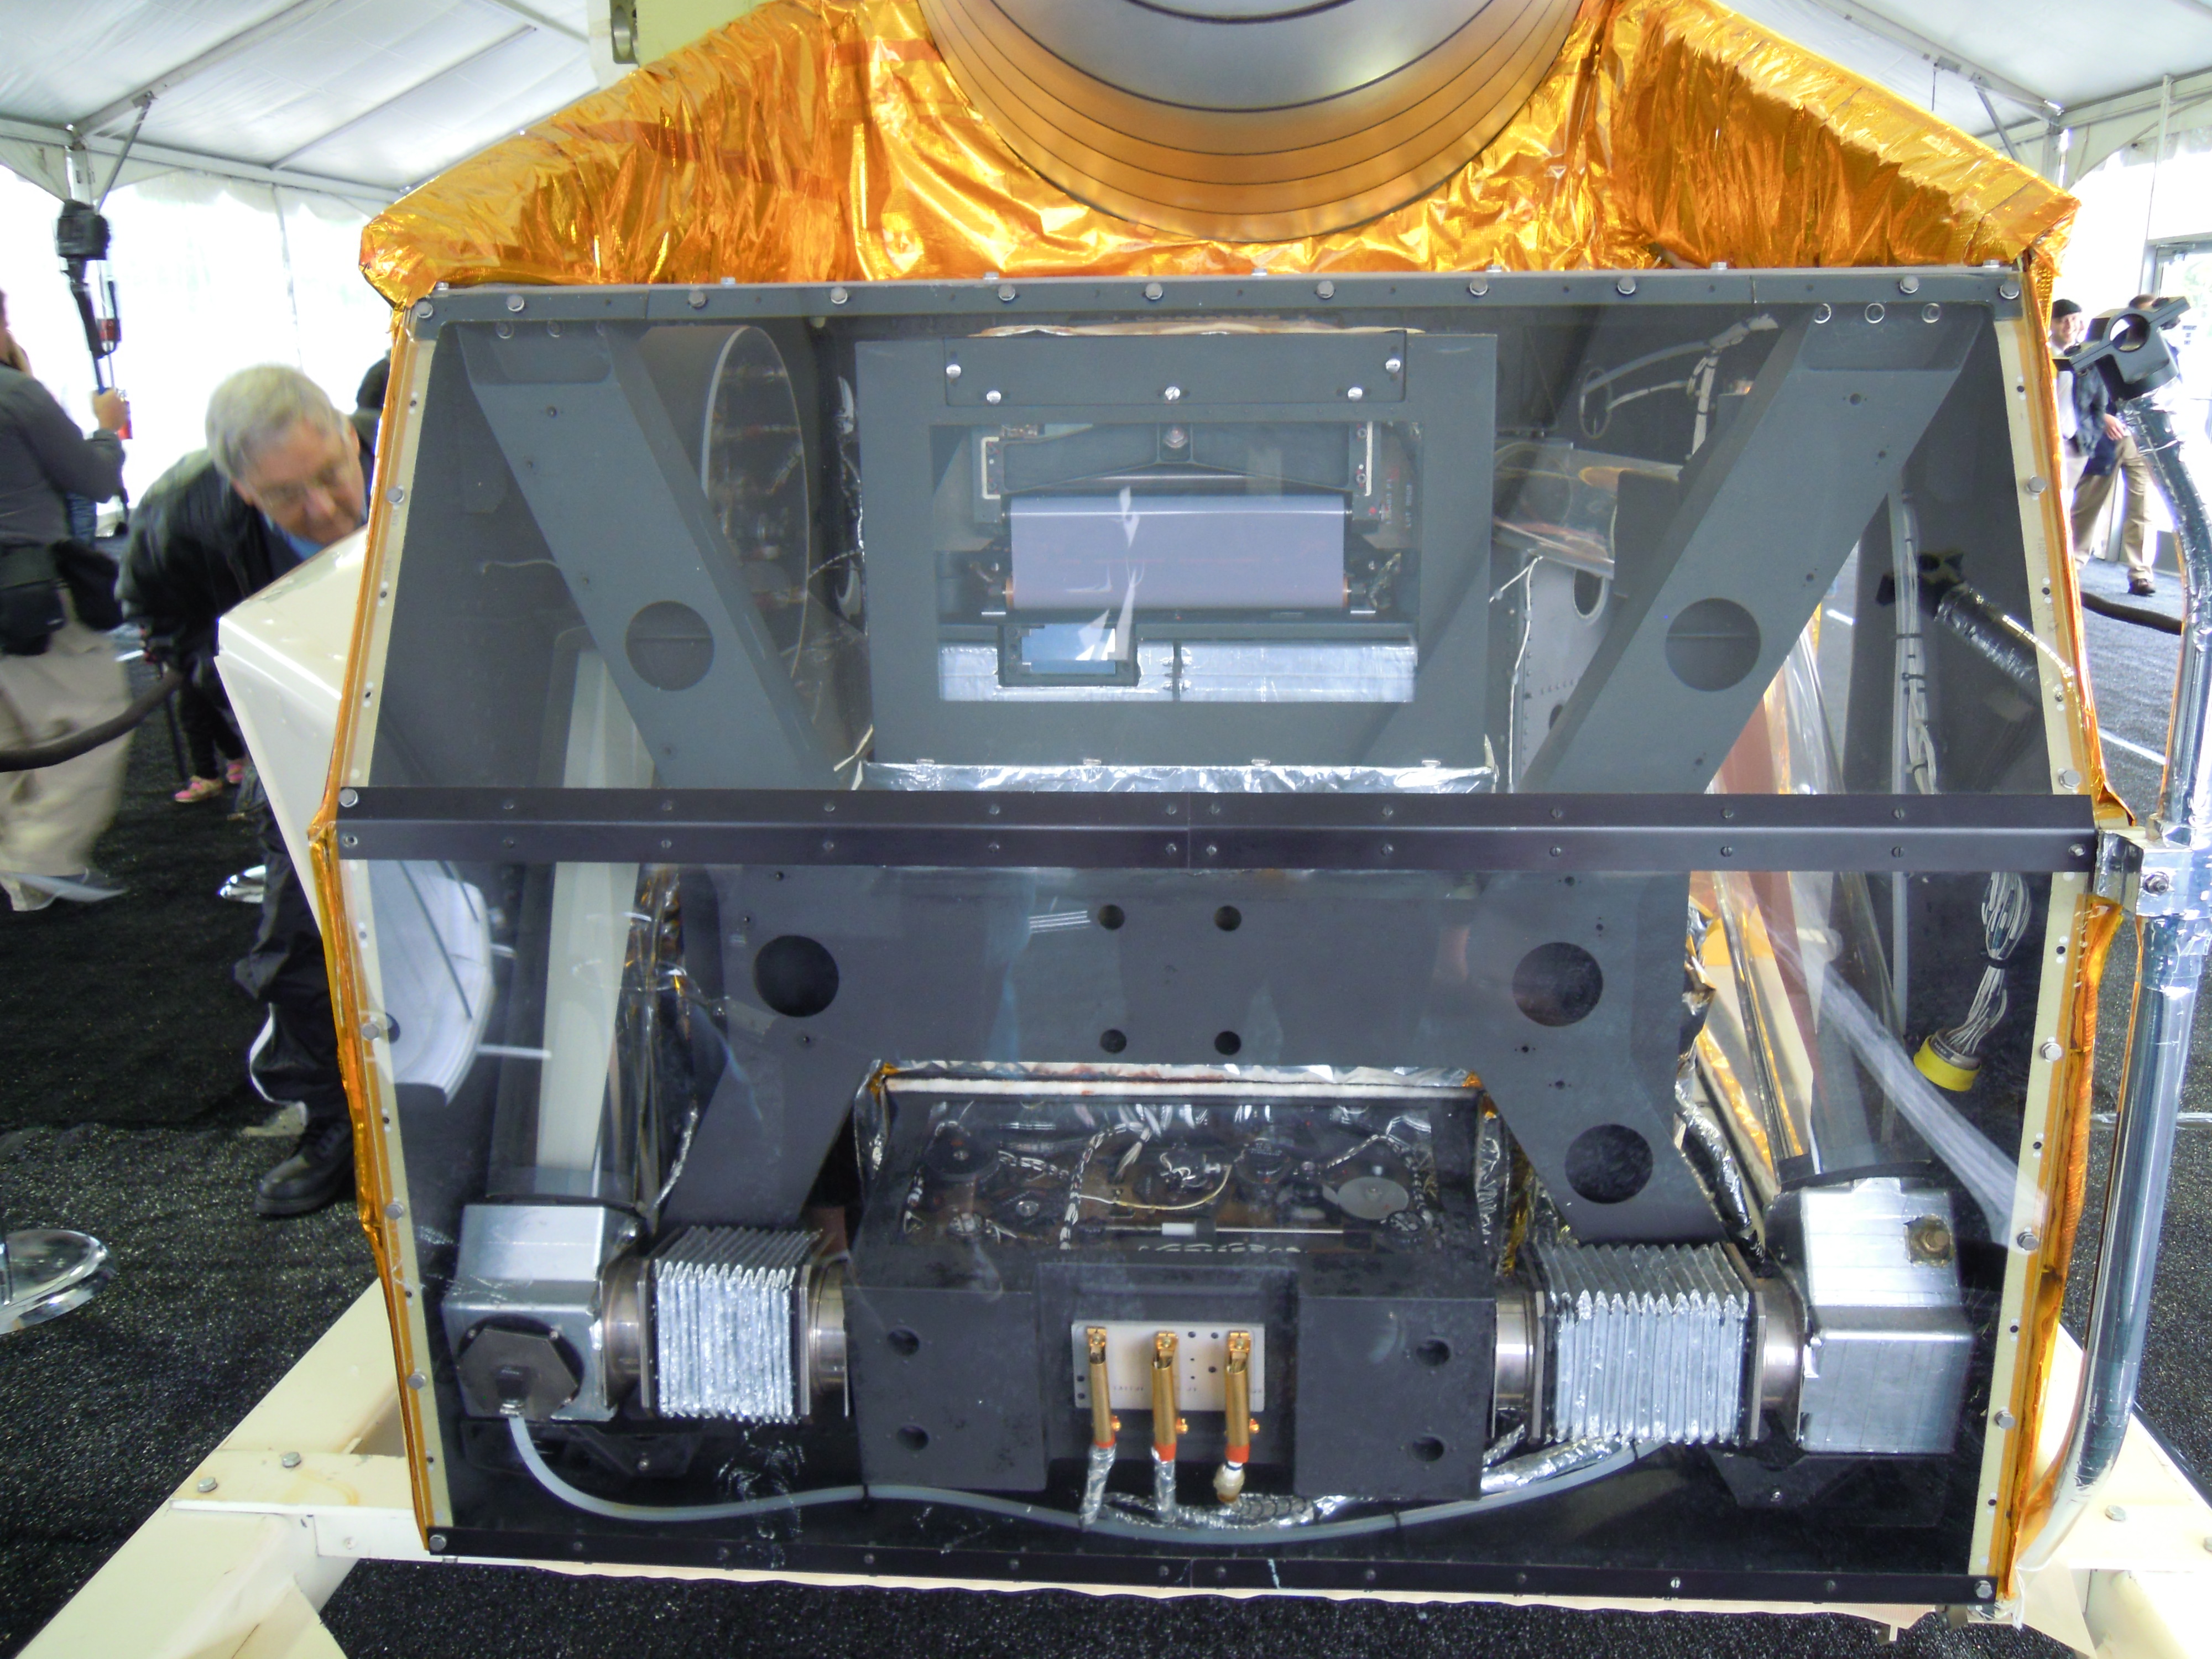
DSCN0288.JPG Two Camera Assembly |
DSCN0292.JPG From aft (L-R) TCA, SRV-4 (complete), SRV-3 (no shield), SRV-2 (no shield or cover) |
 |
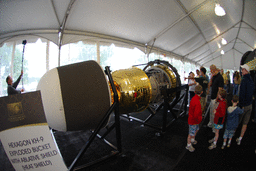
| DSCN0358.JPG SRV-4 with heat shield |
 |
 |
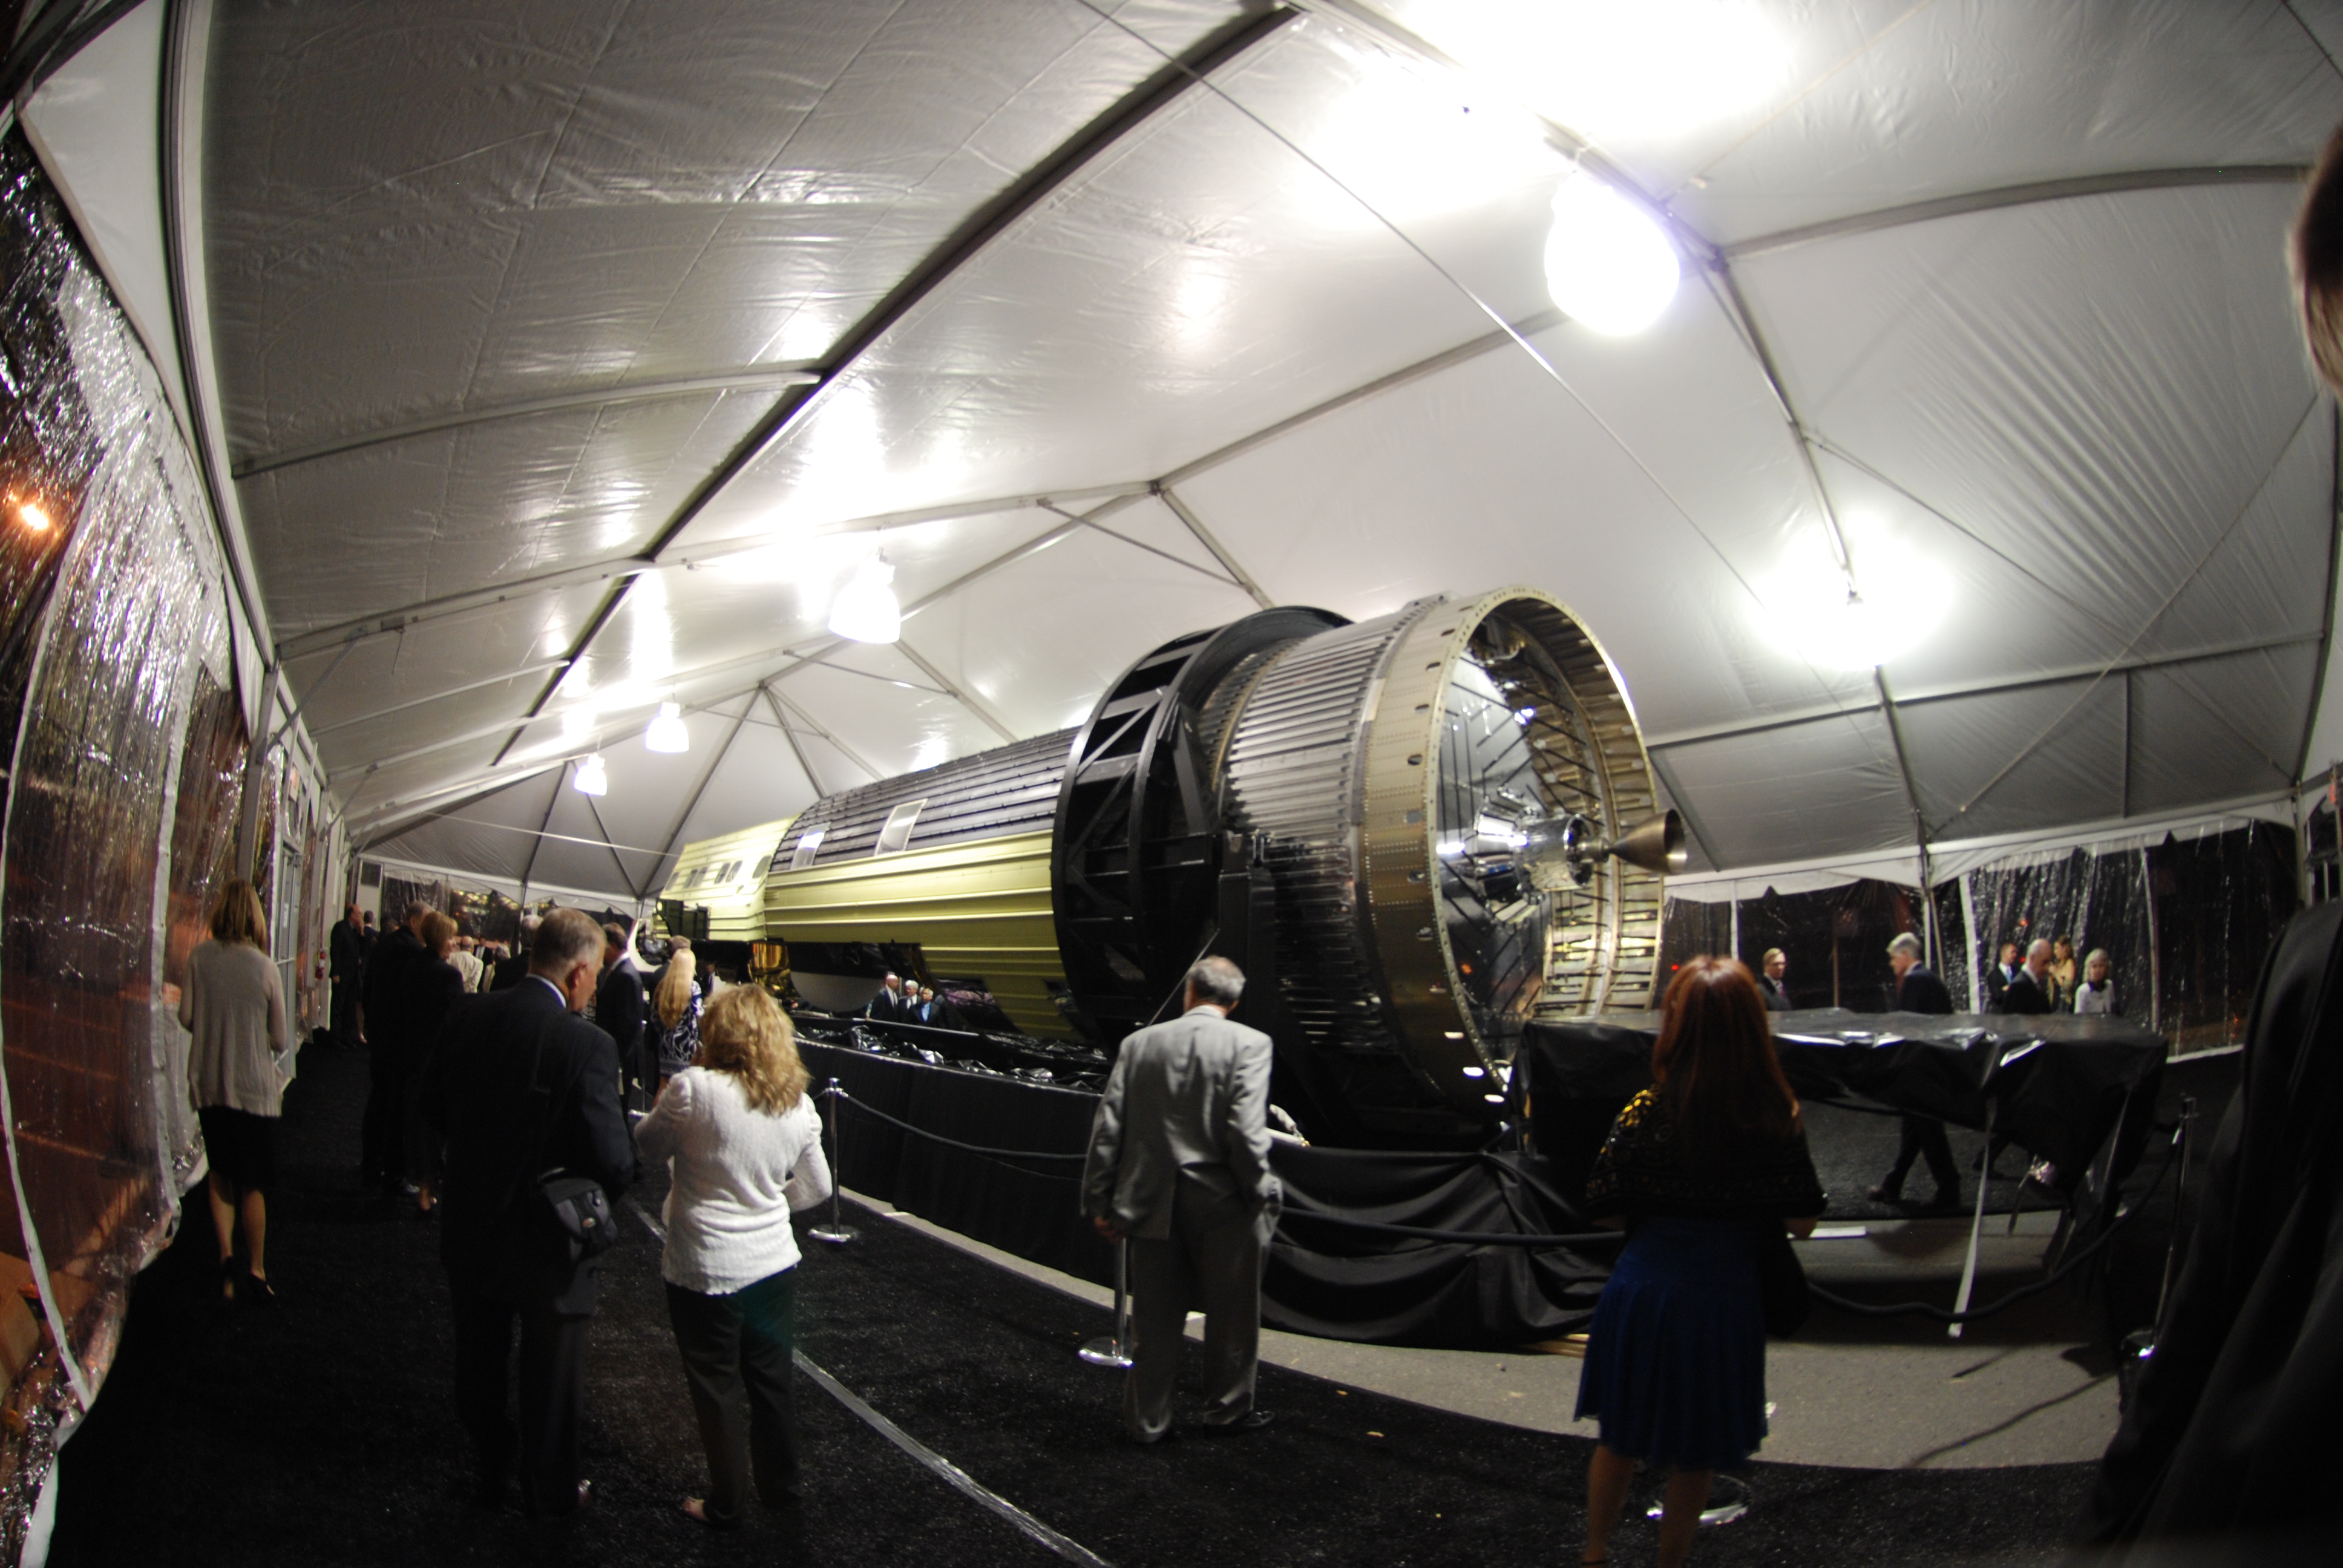
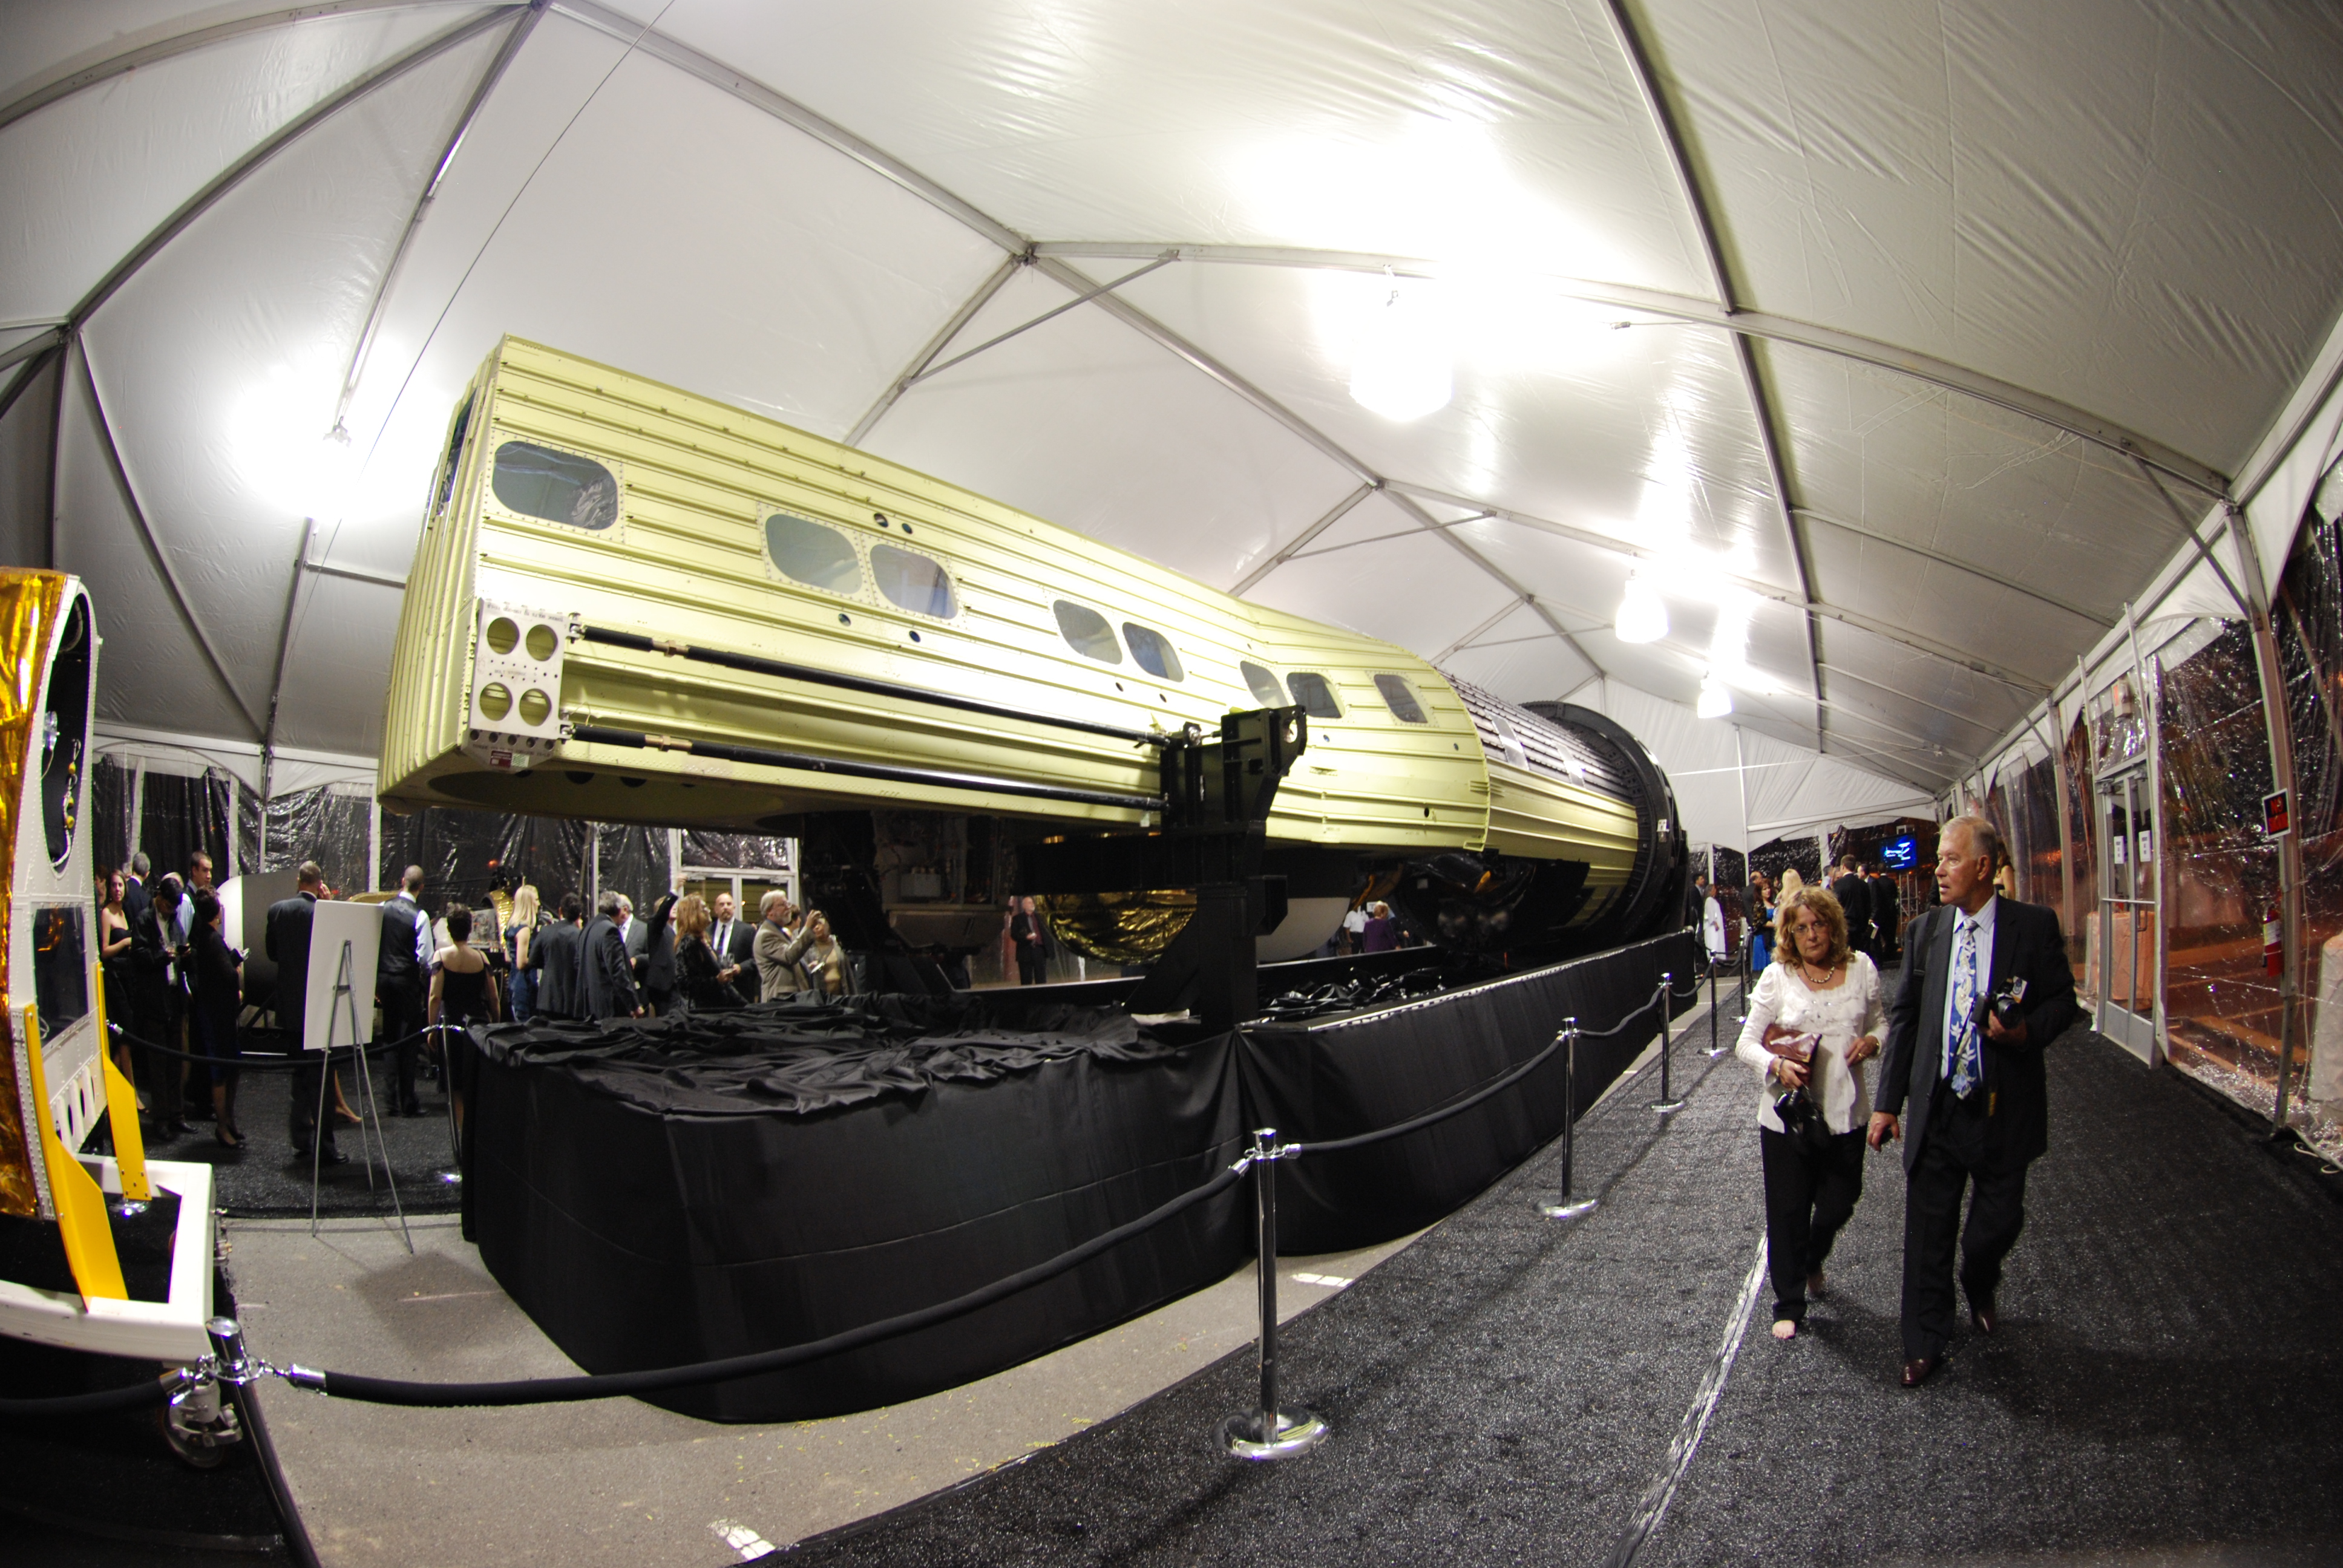
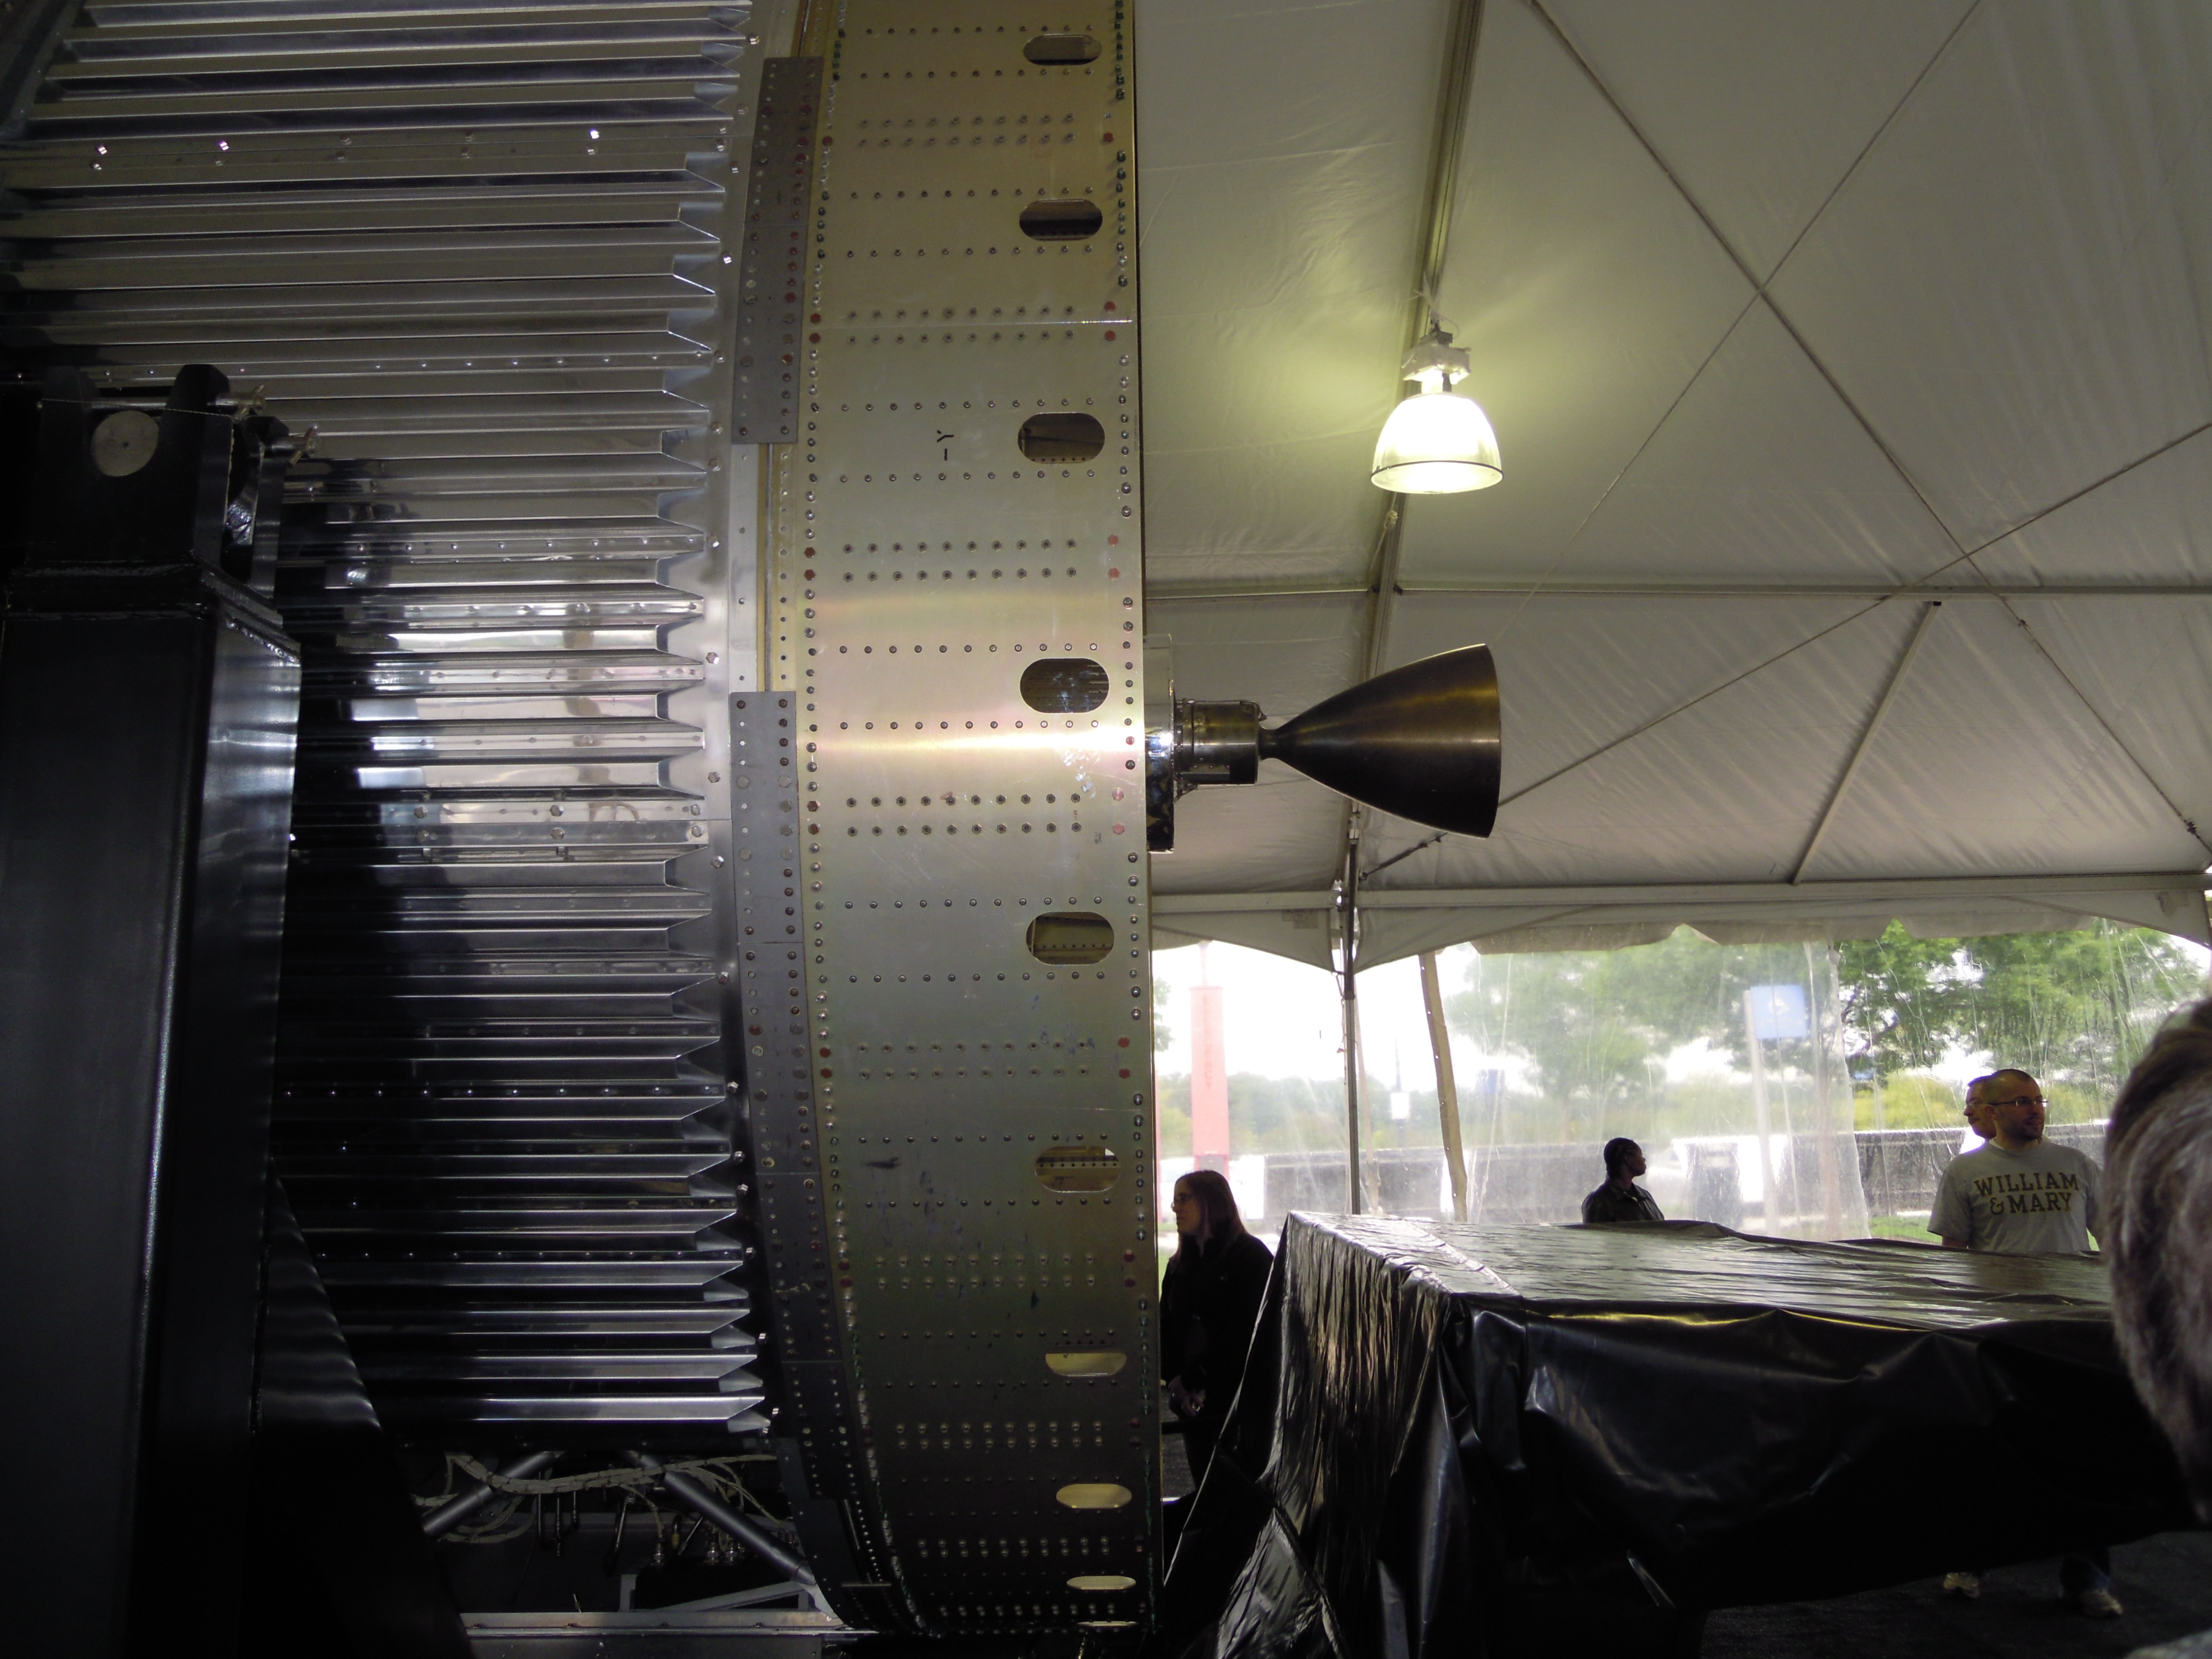
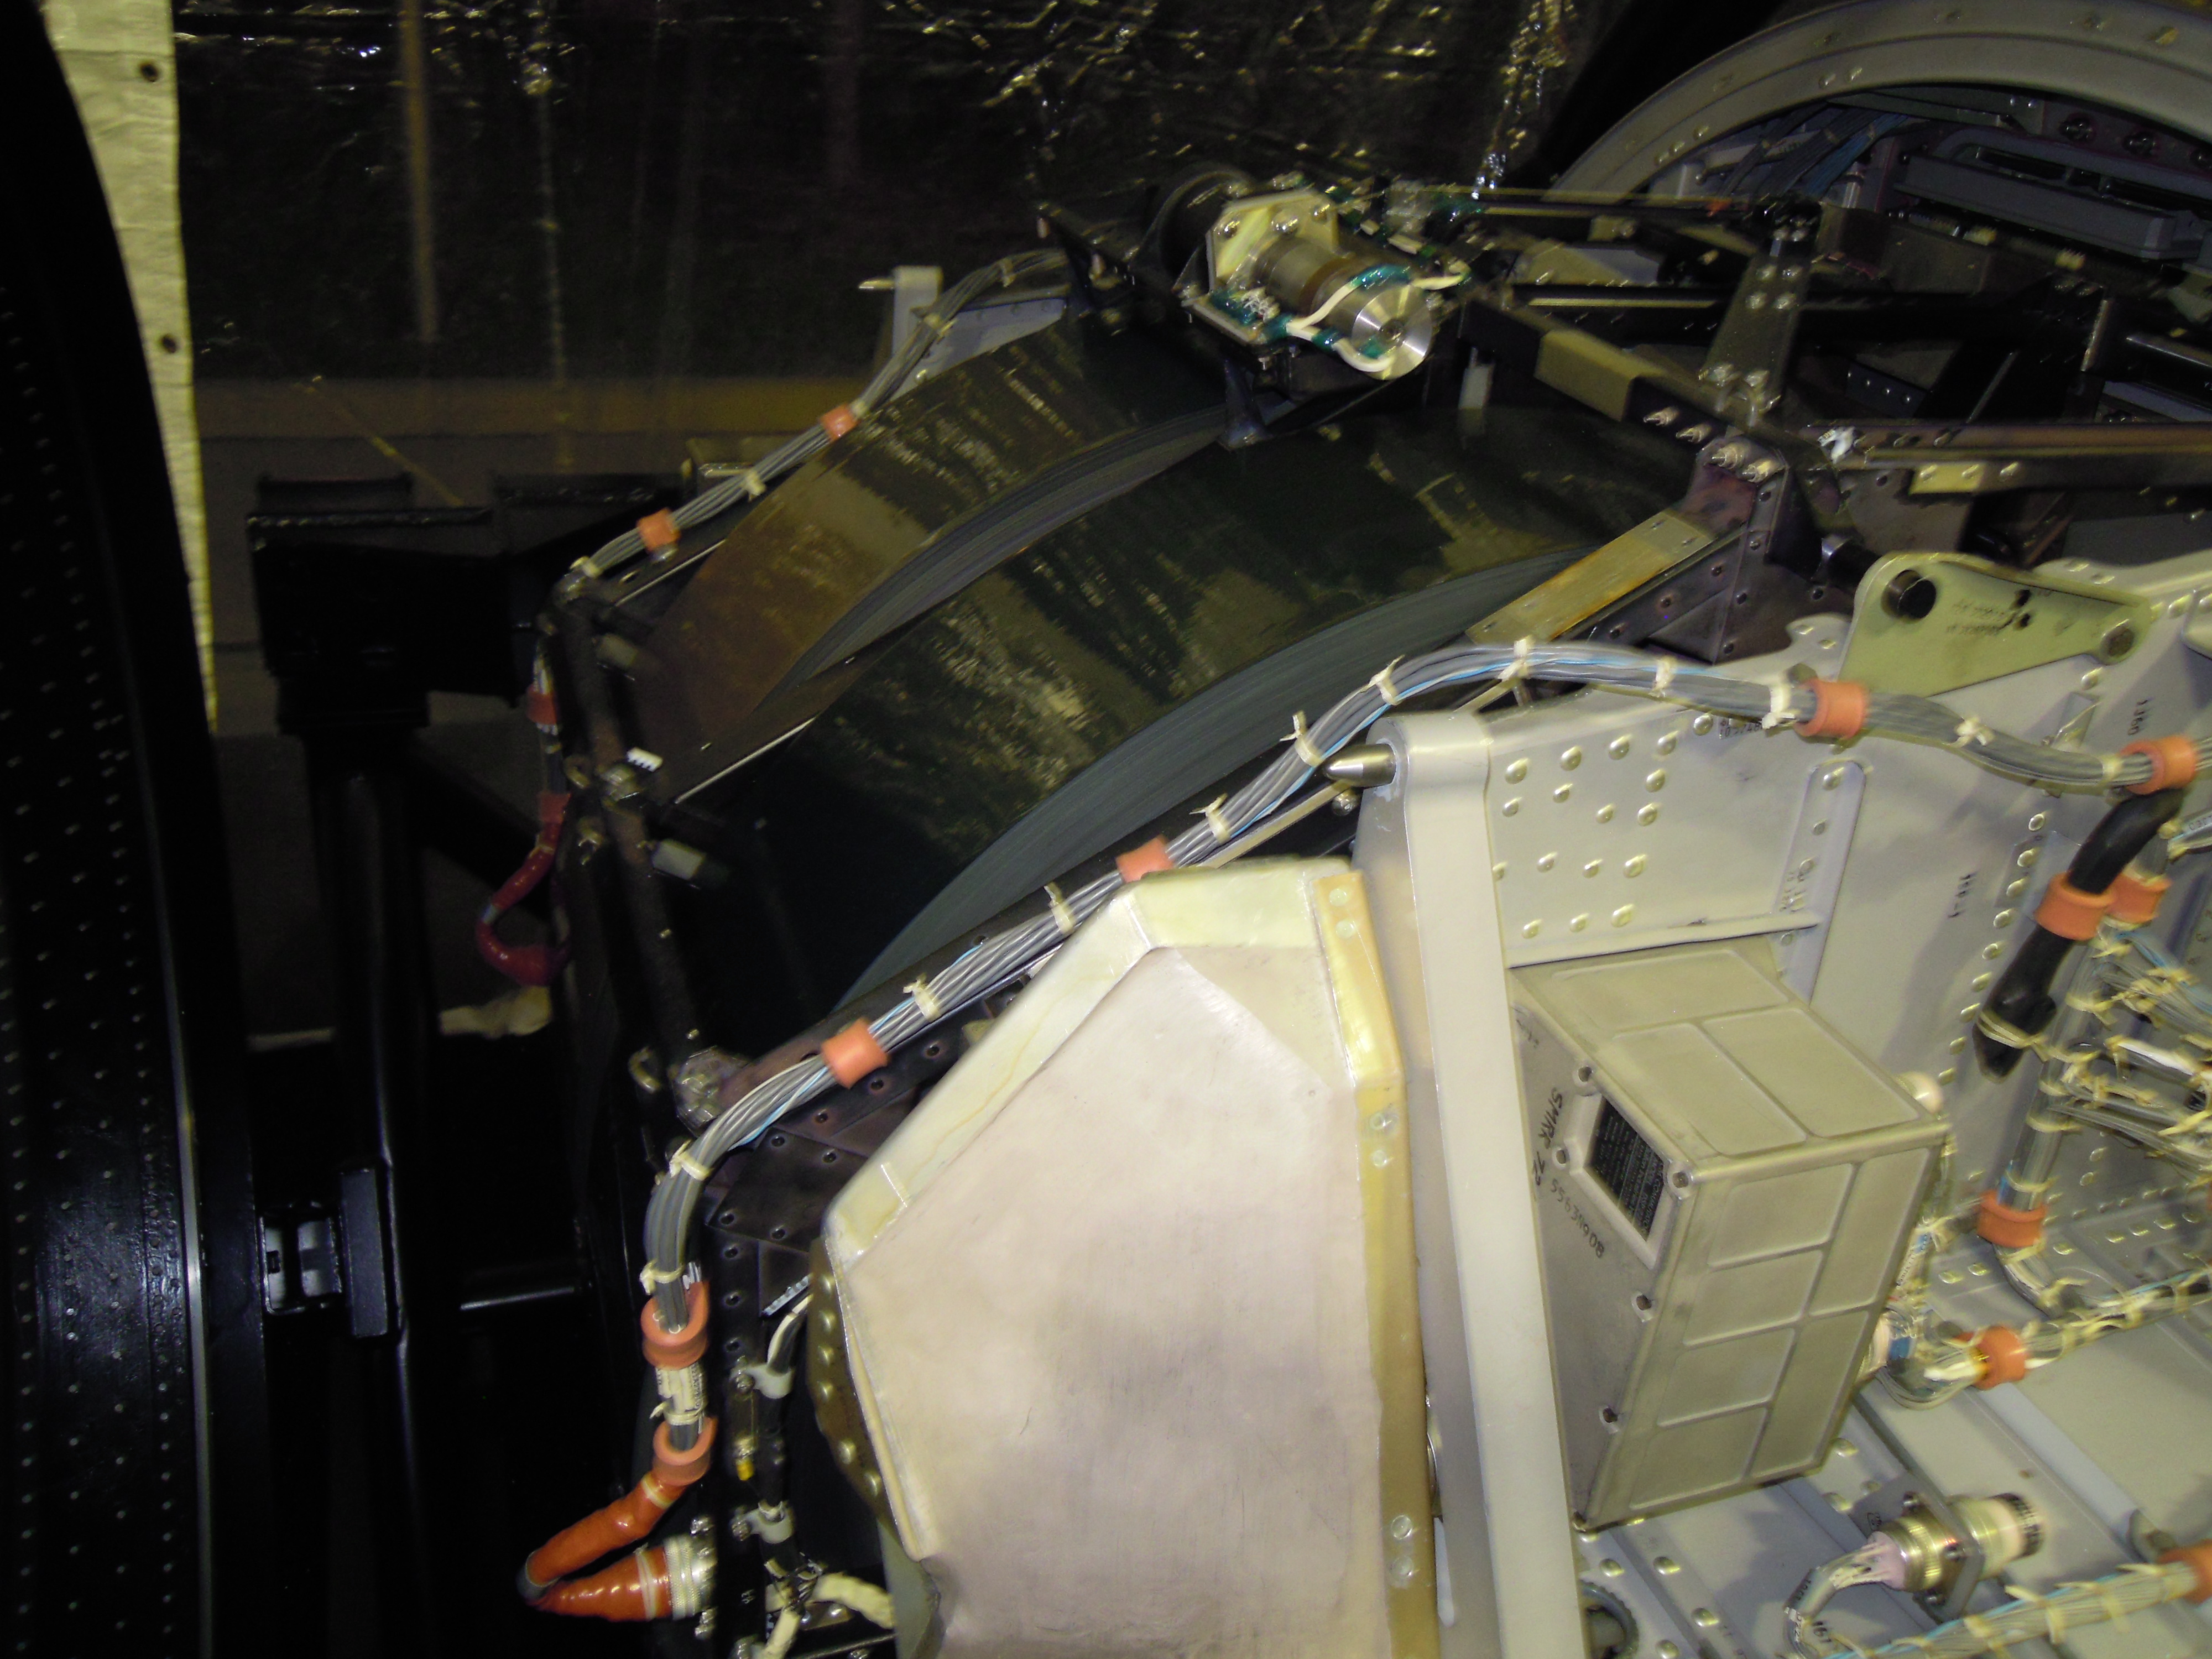
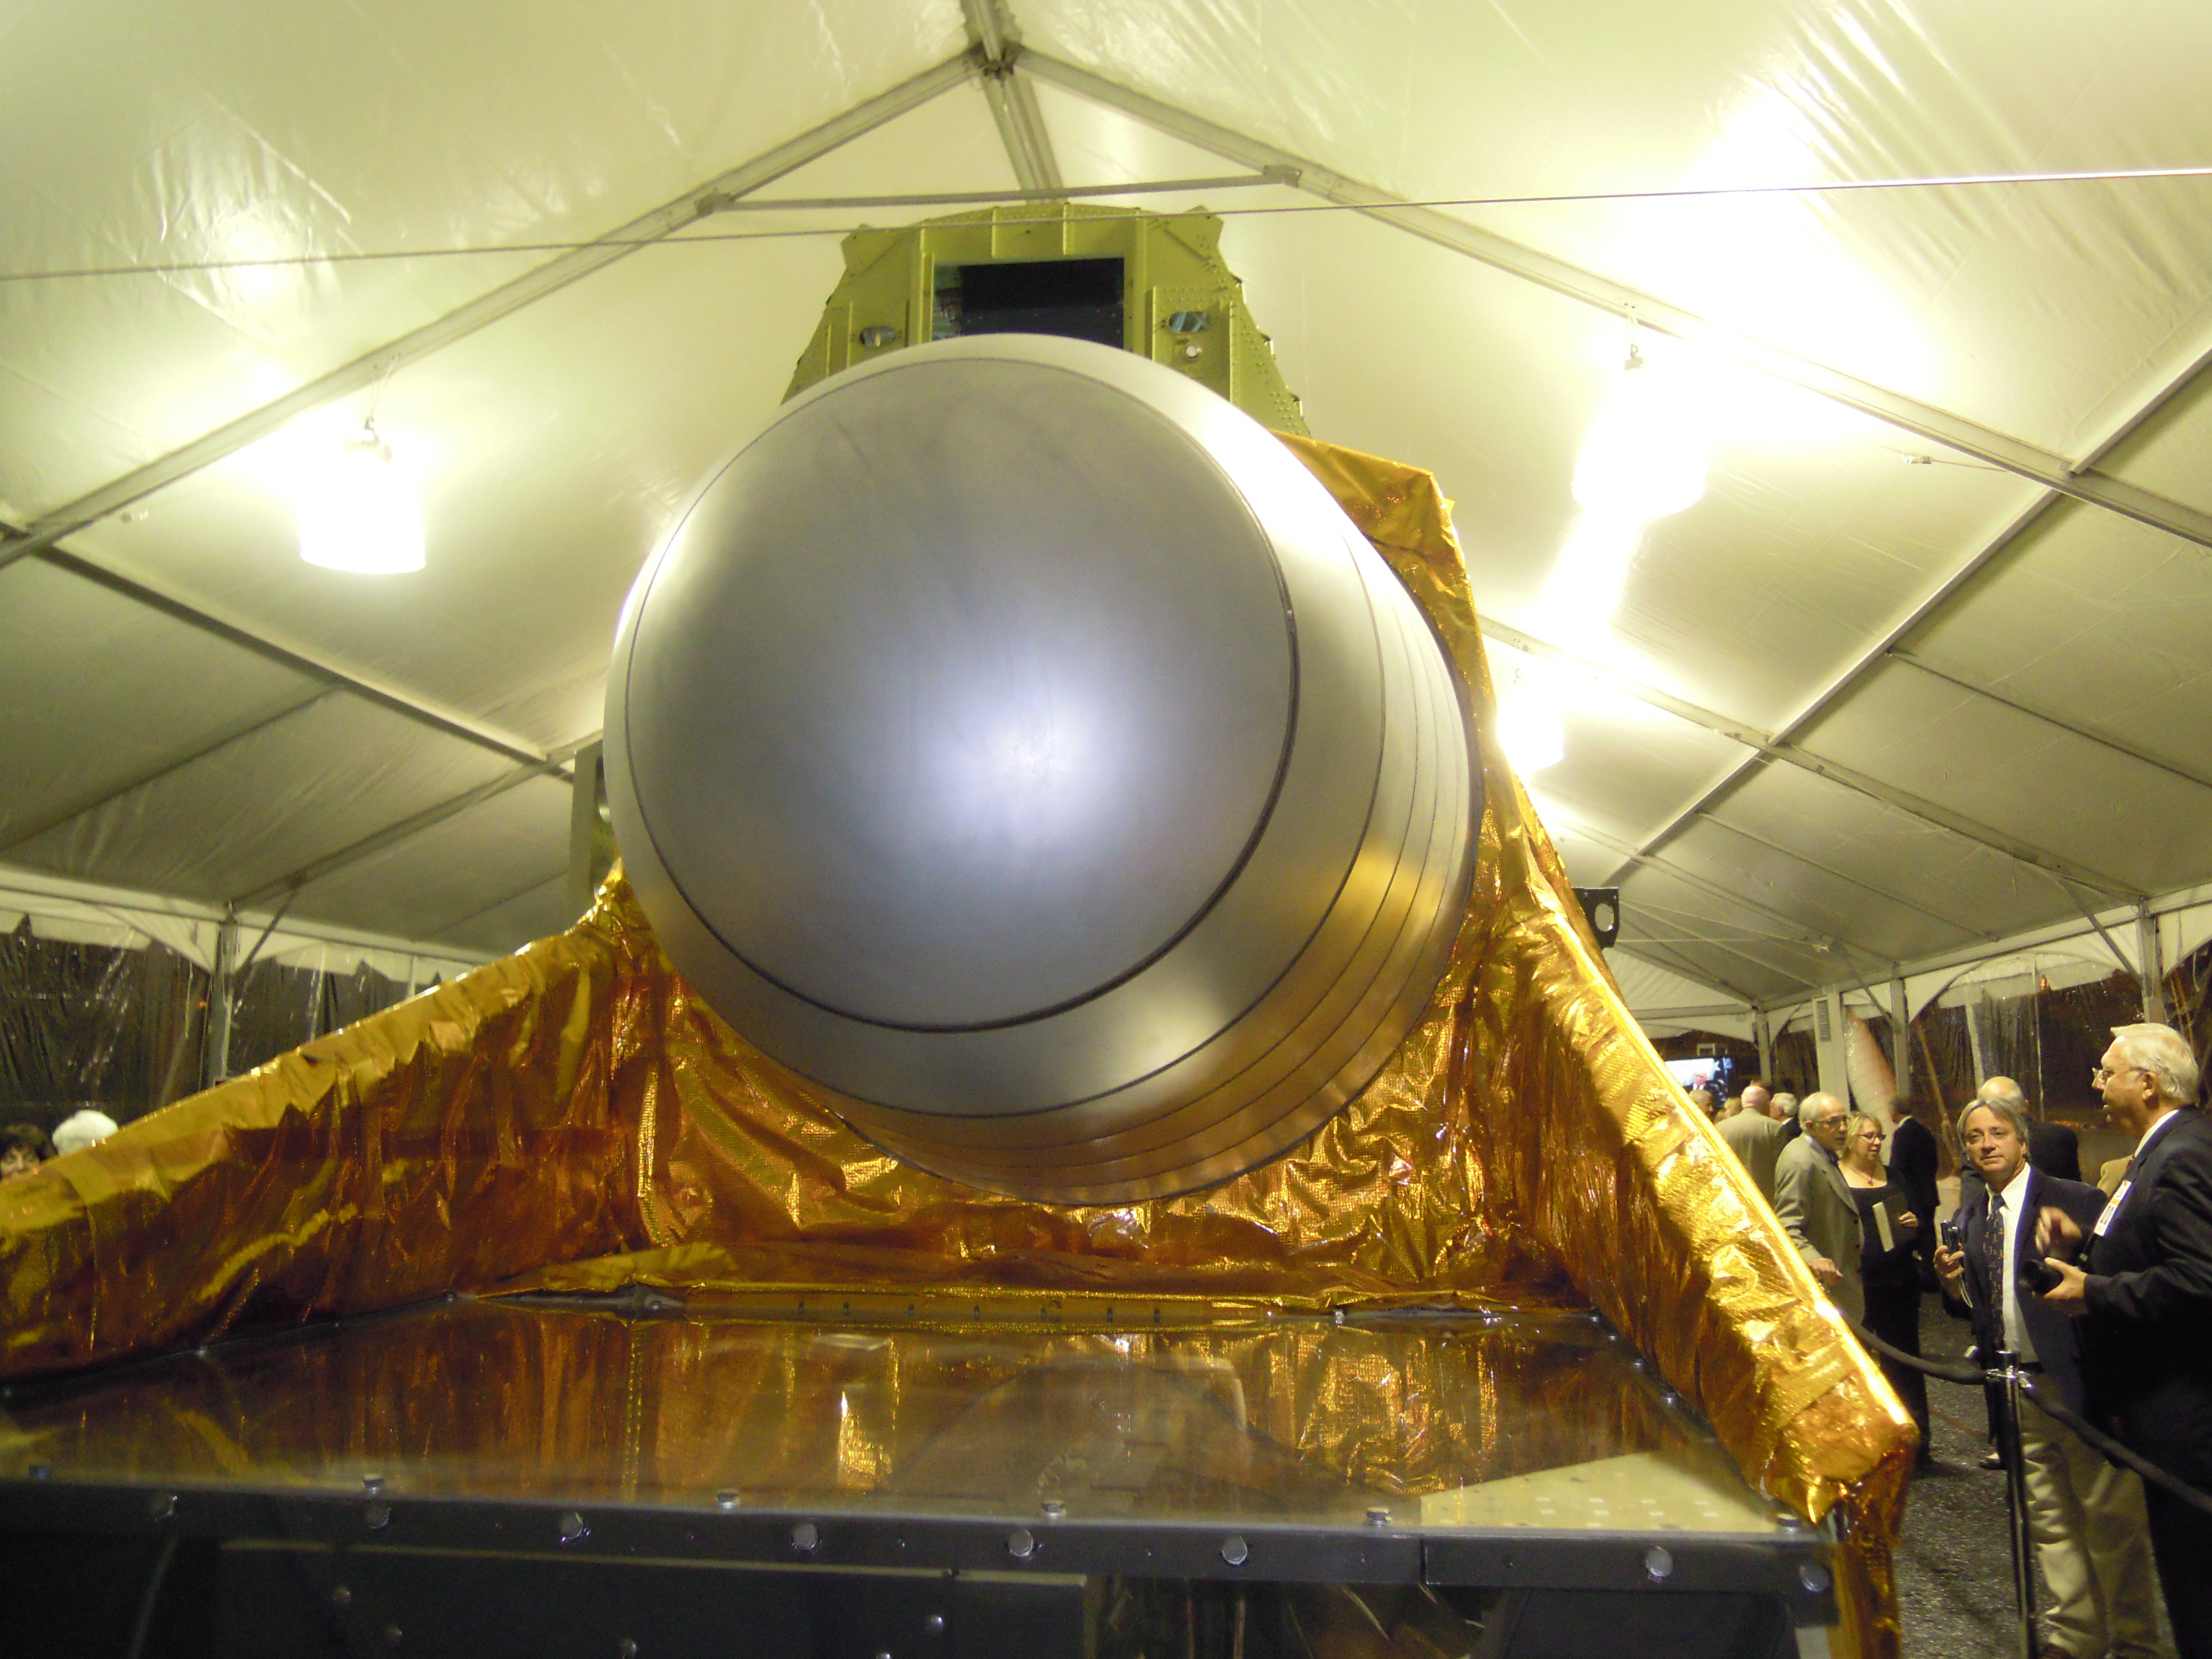
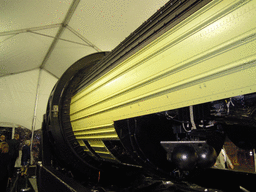
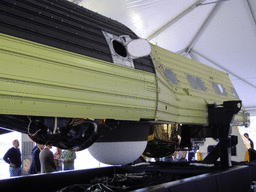
| DSC_2530.JPG HEX |
DSC_2531.JPG HEX forward section (cameras at left) |
 |
 |
 |
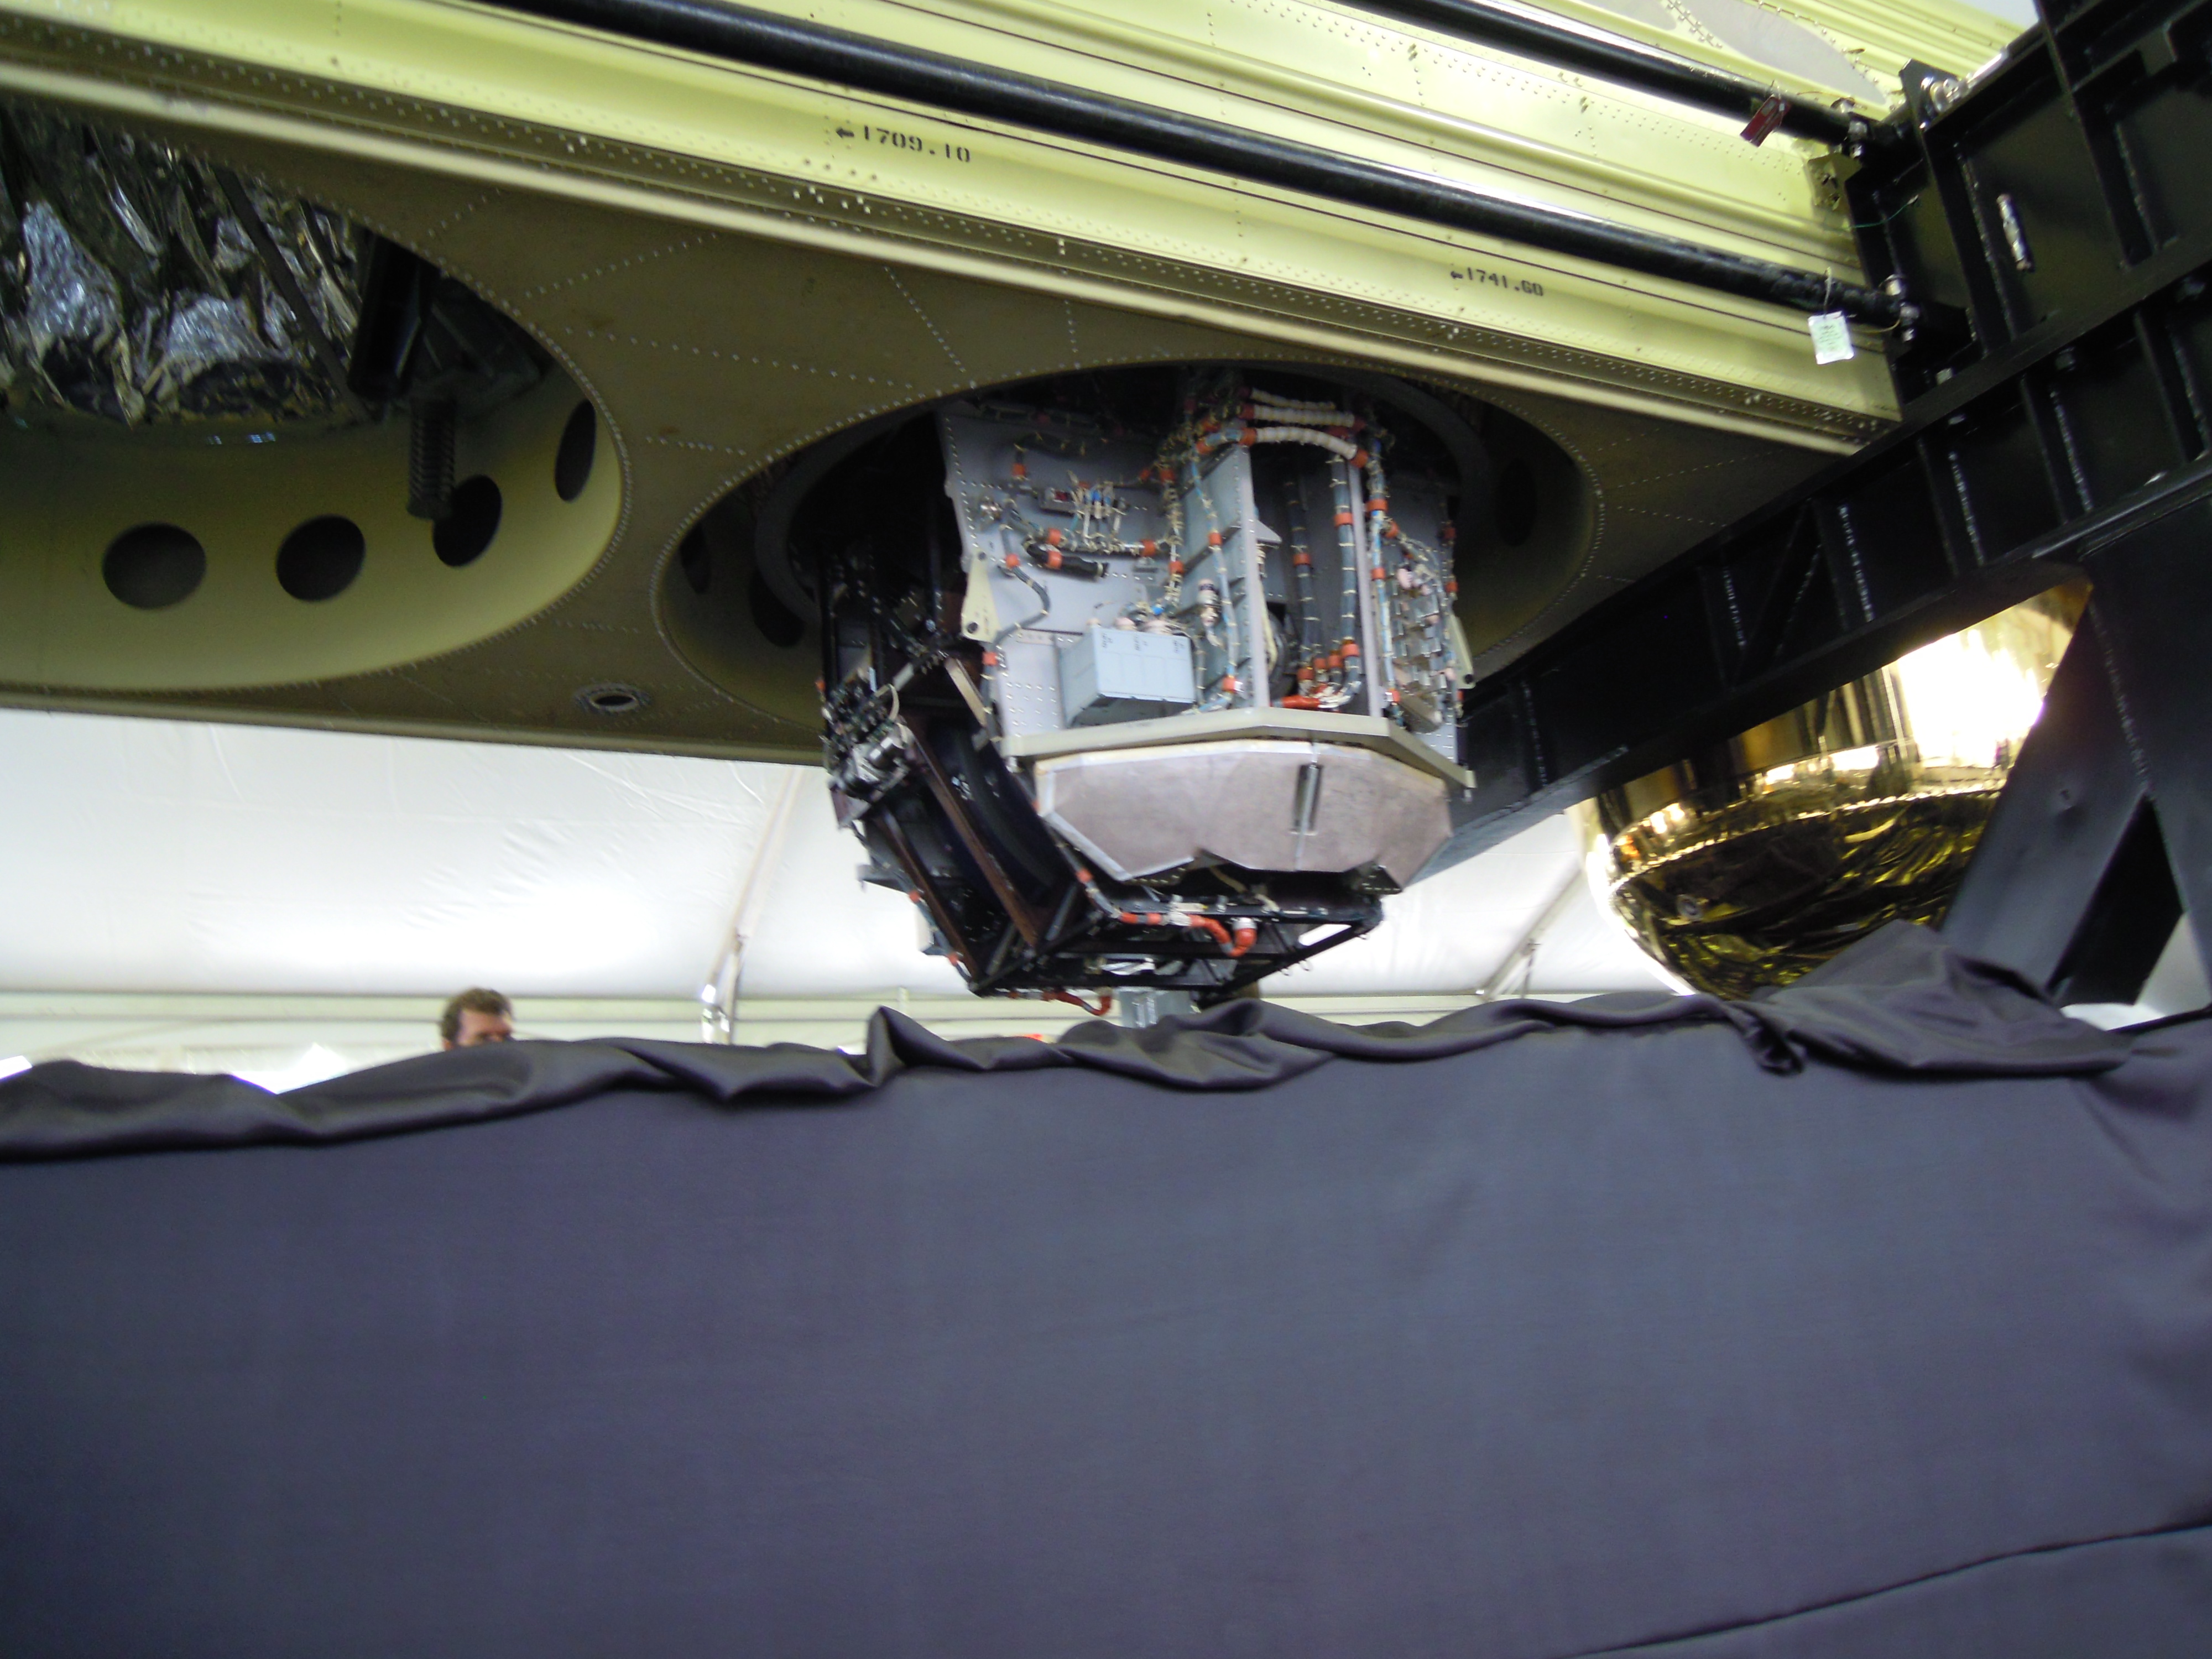
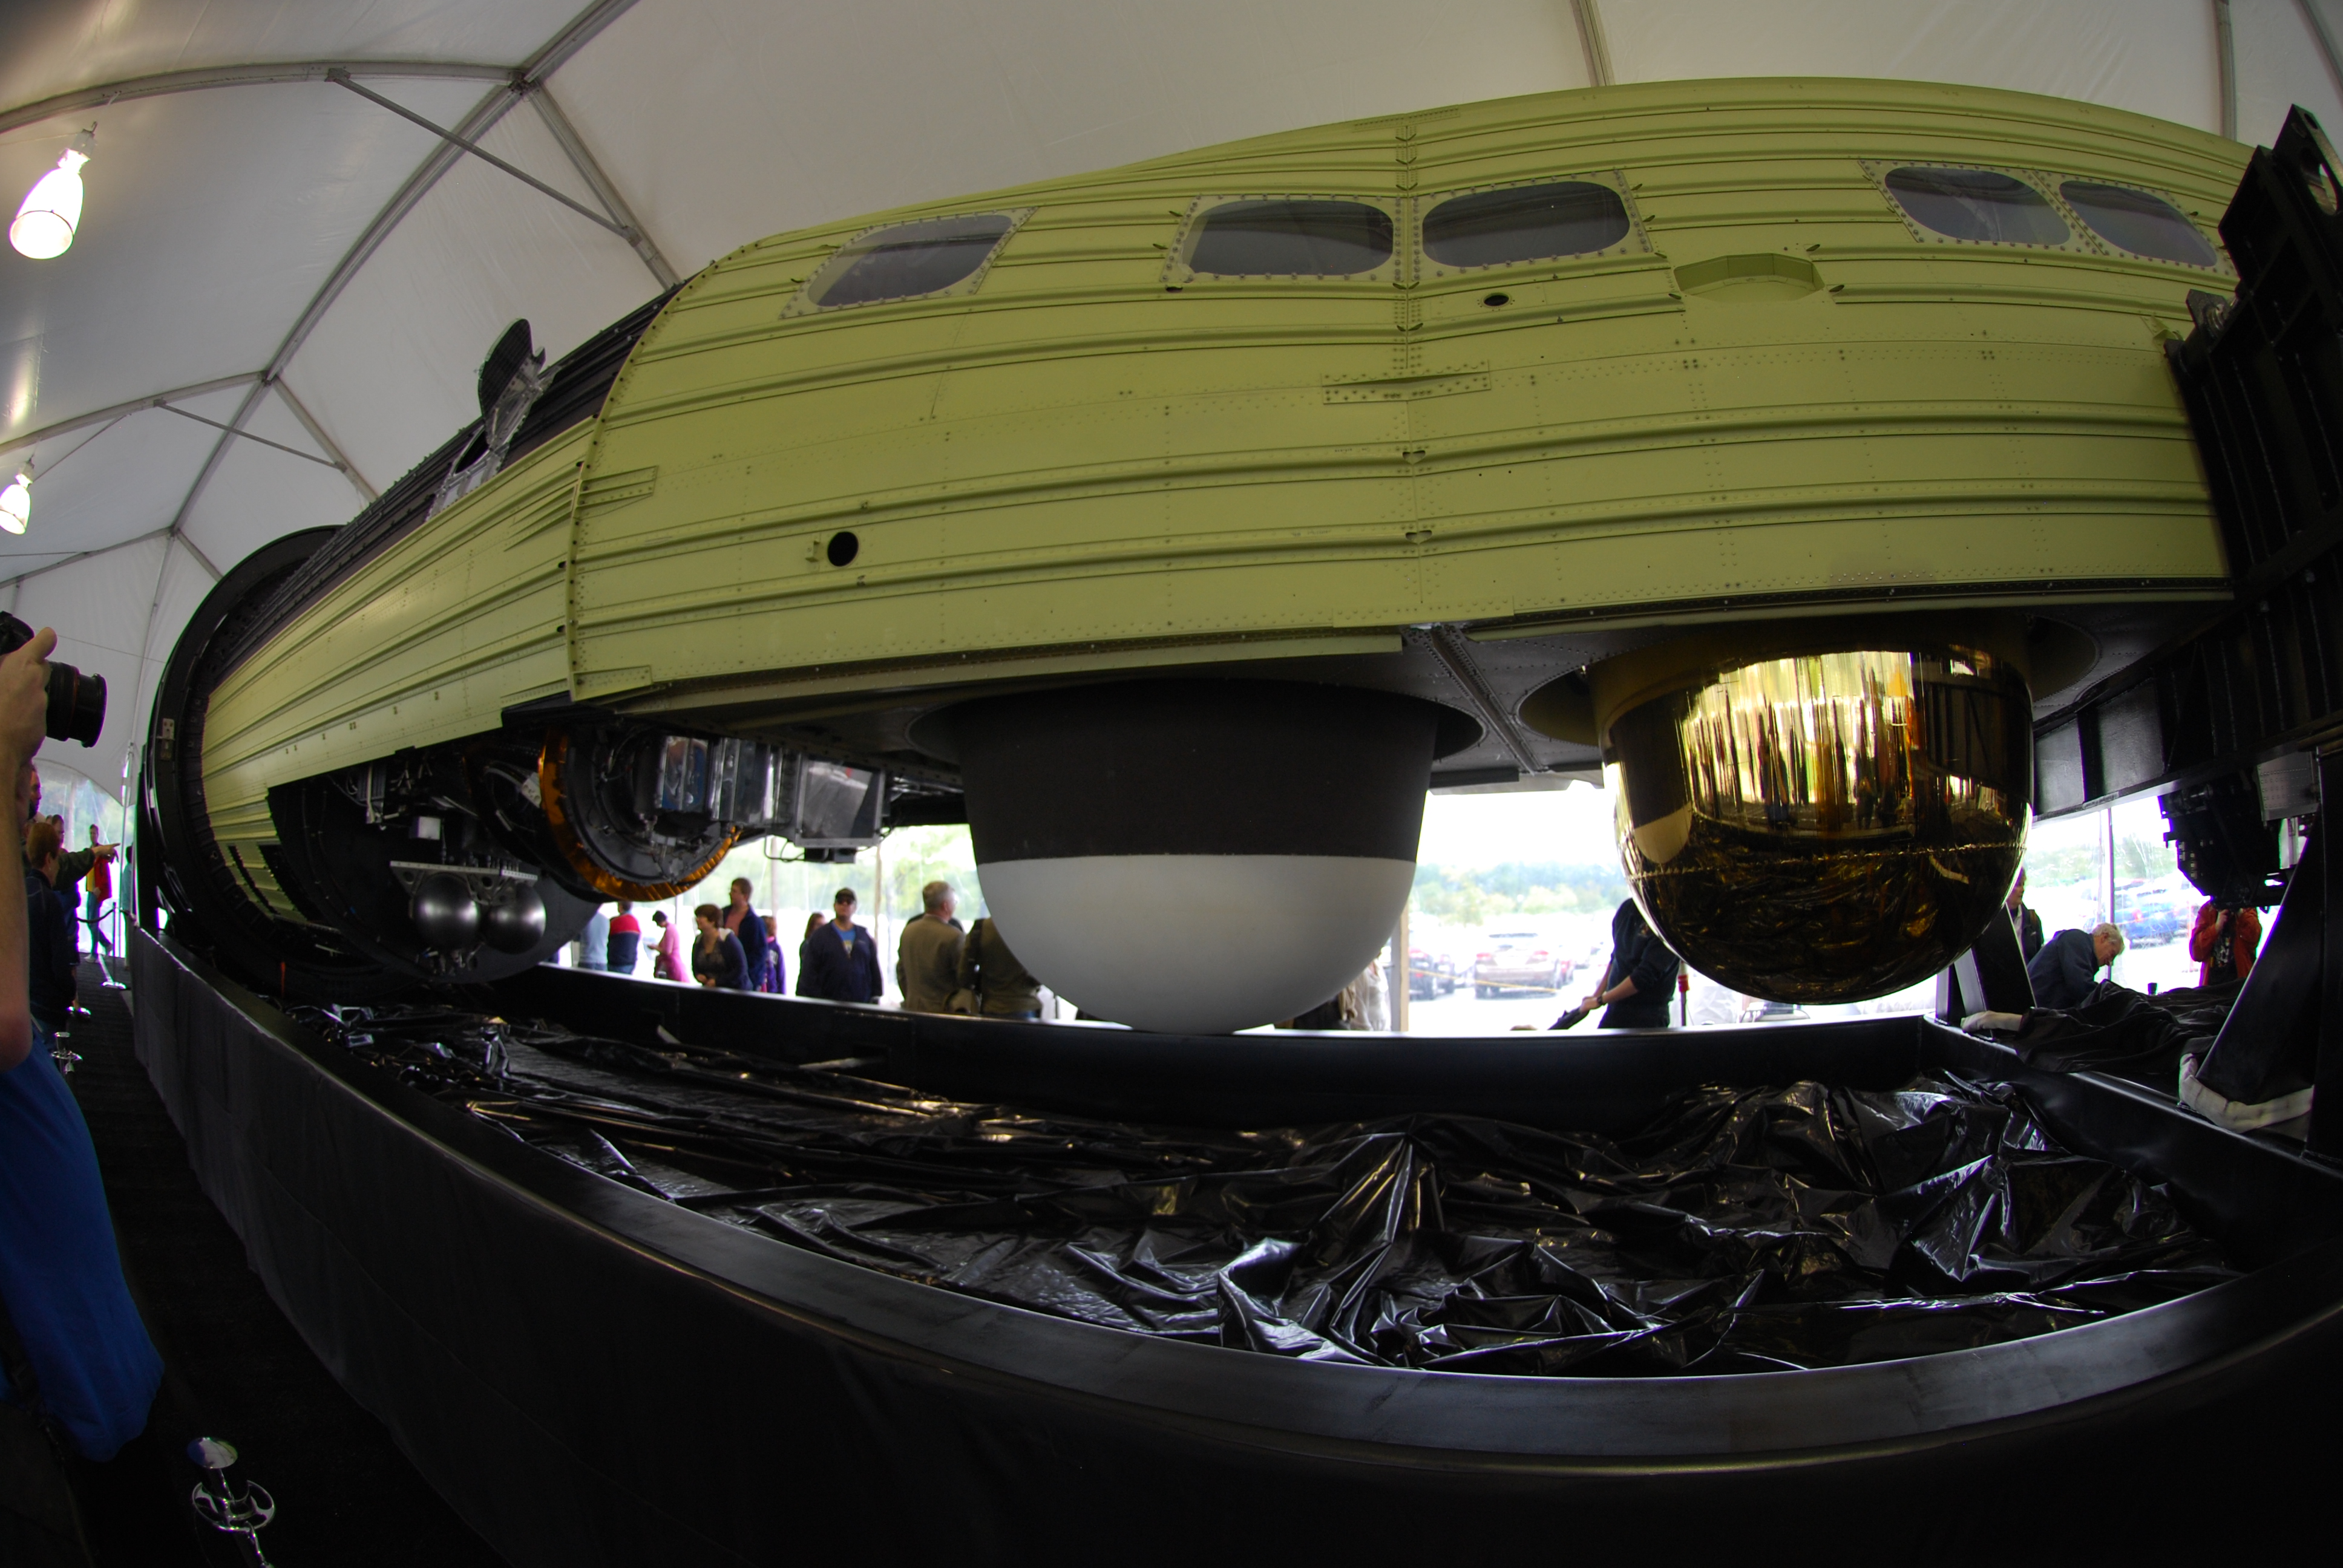
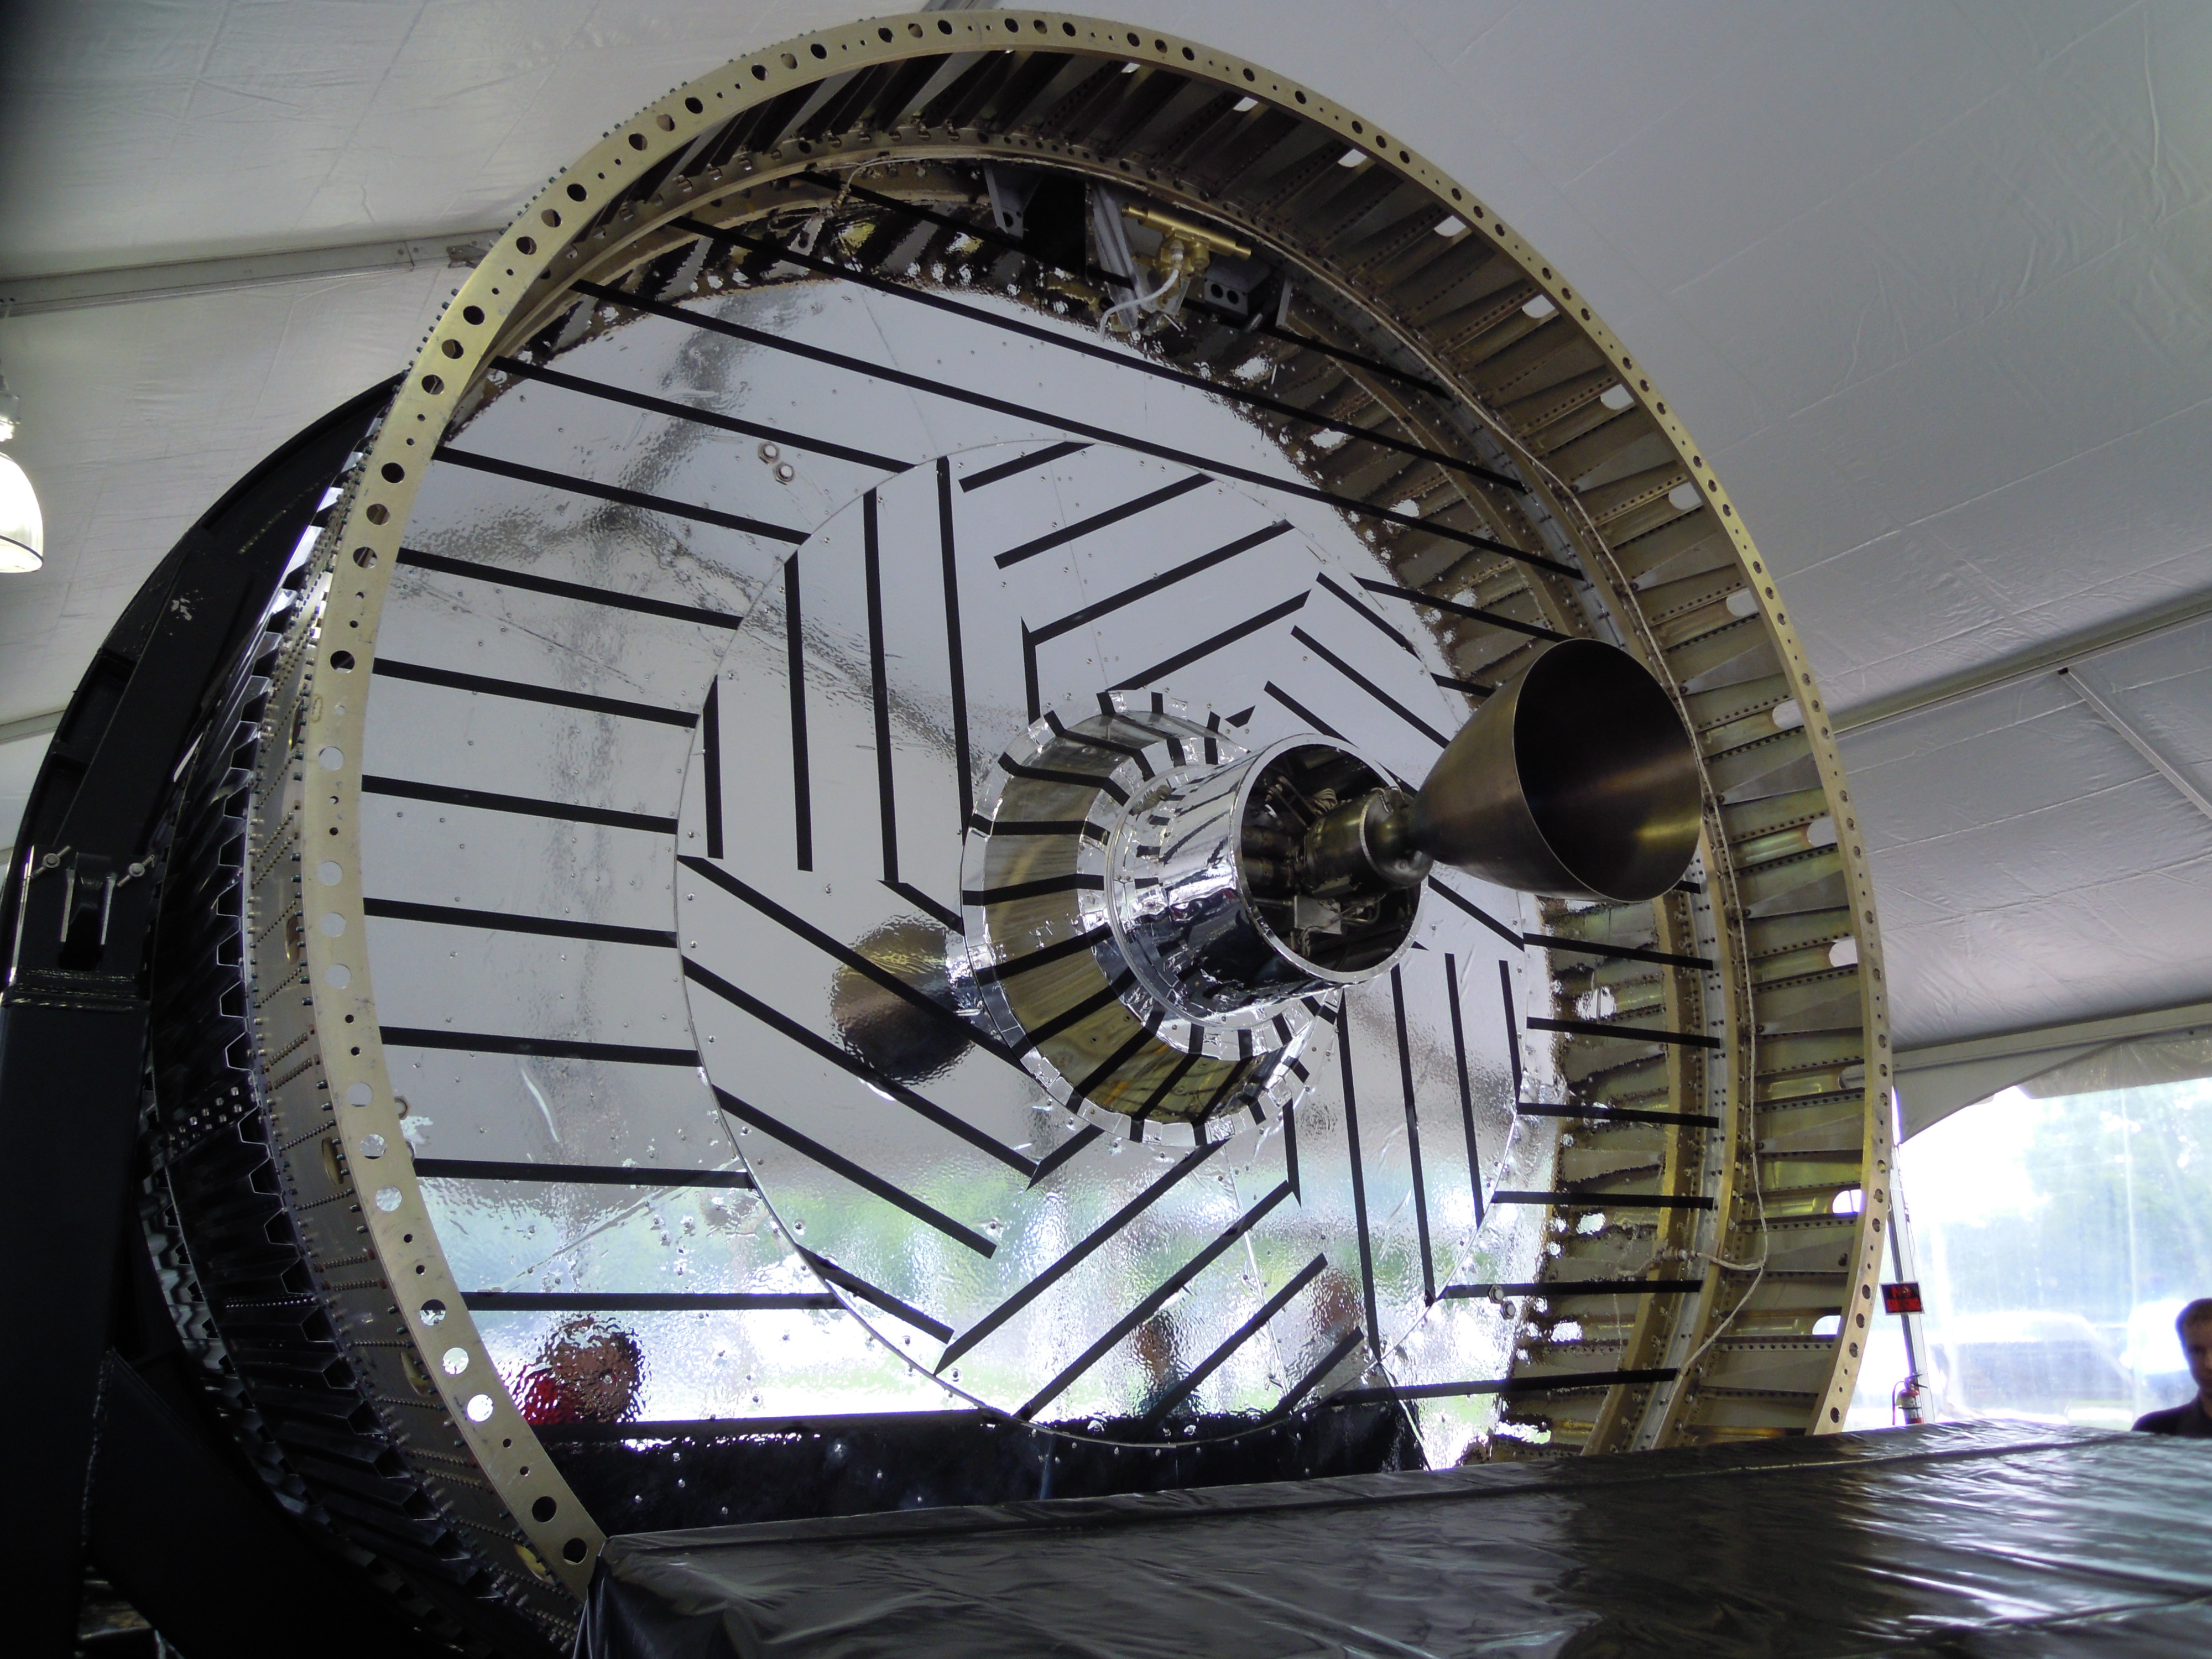
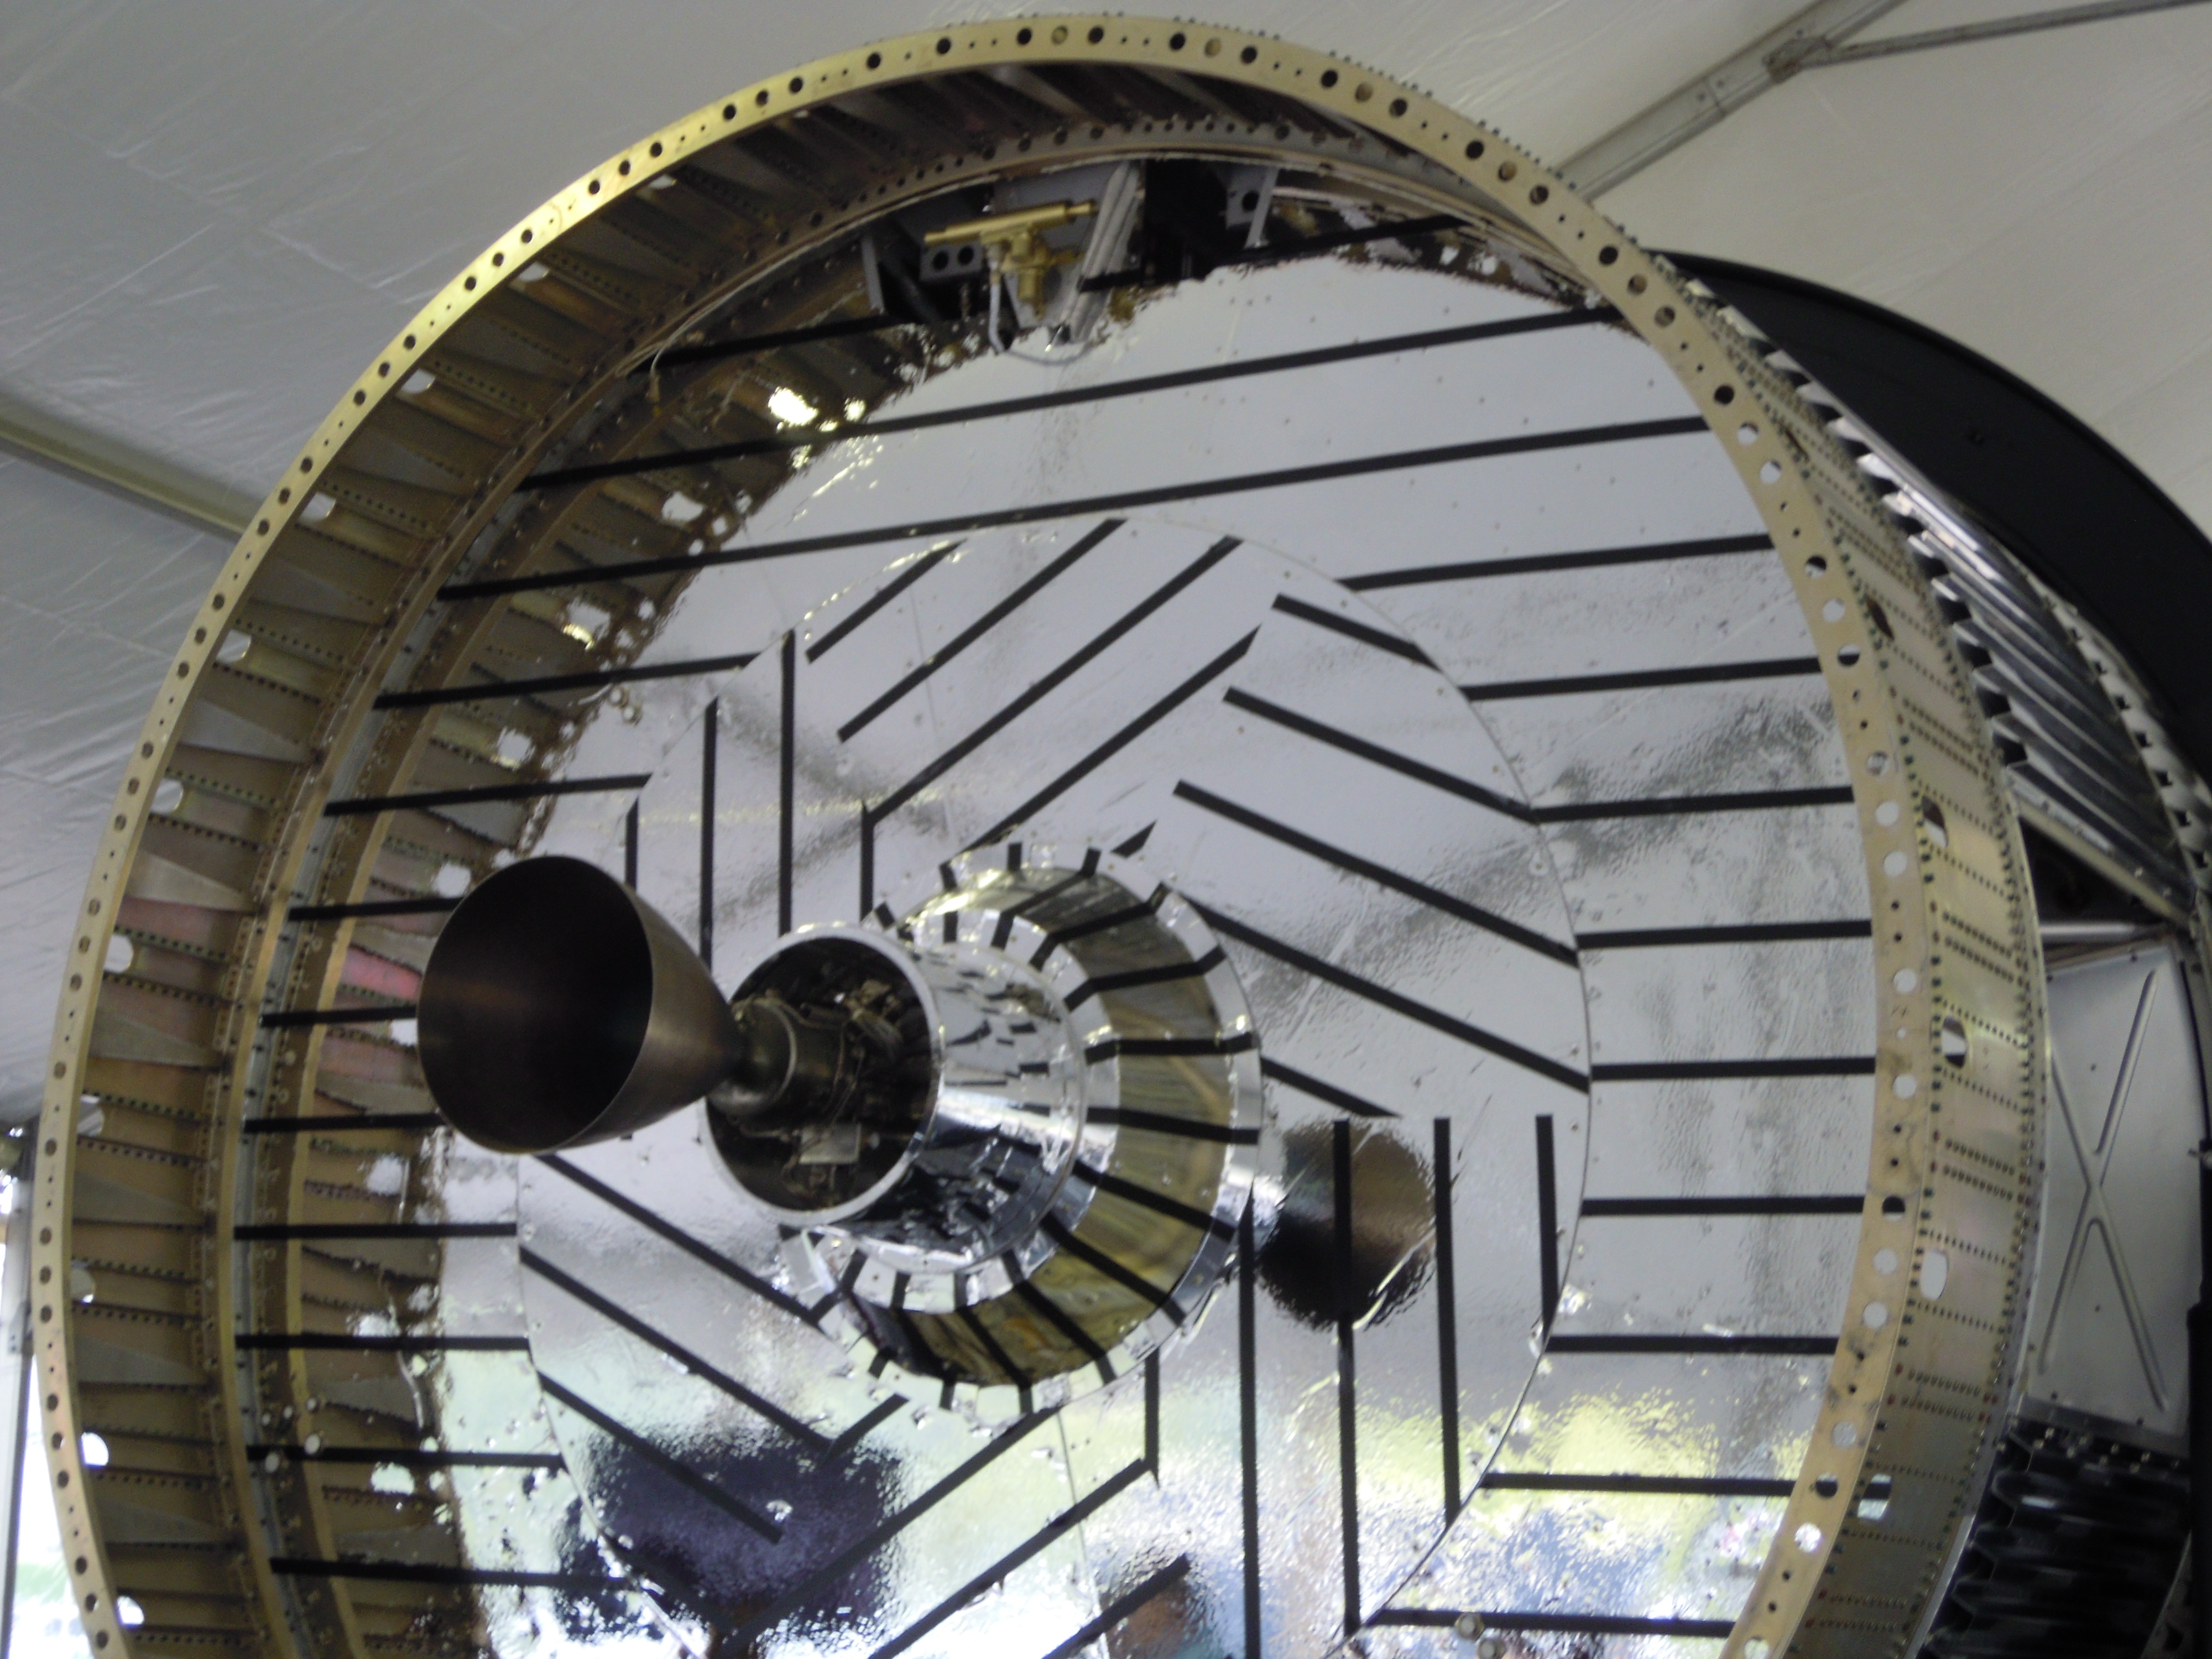
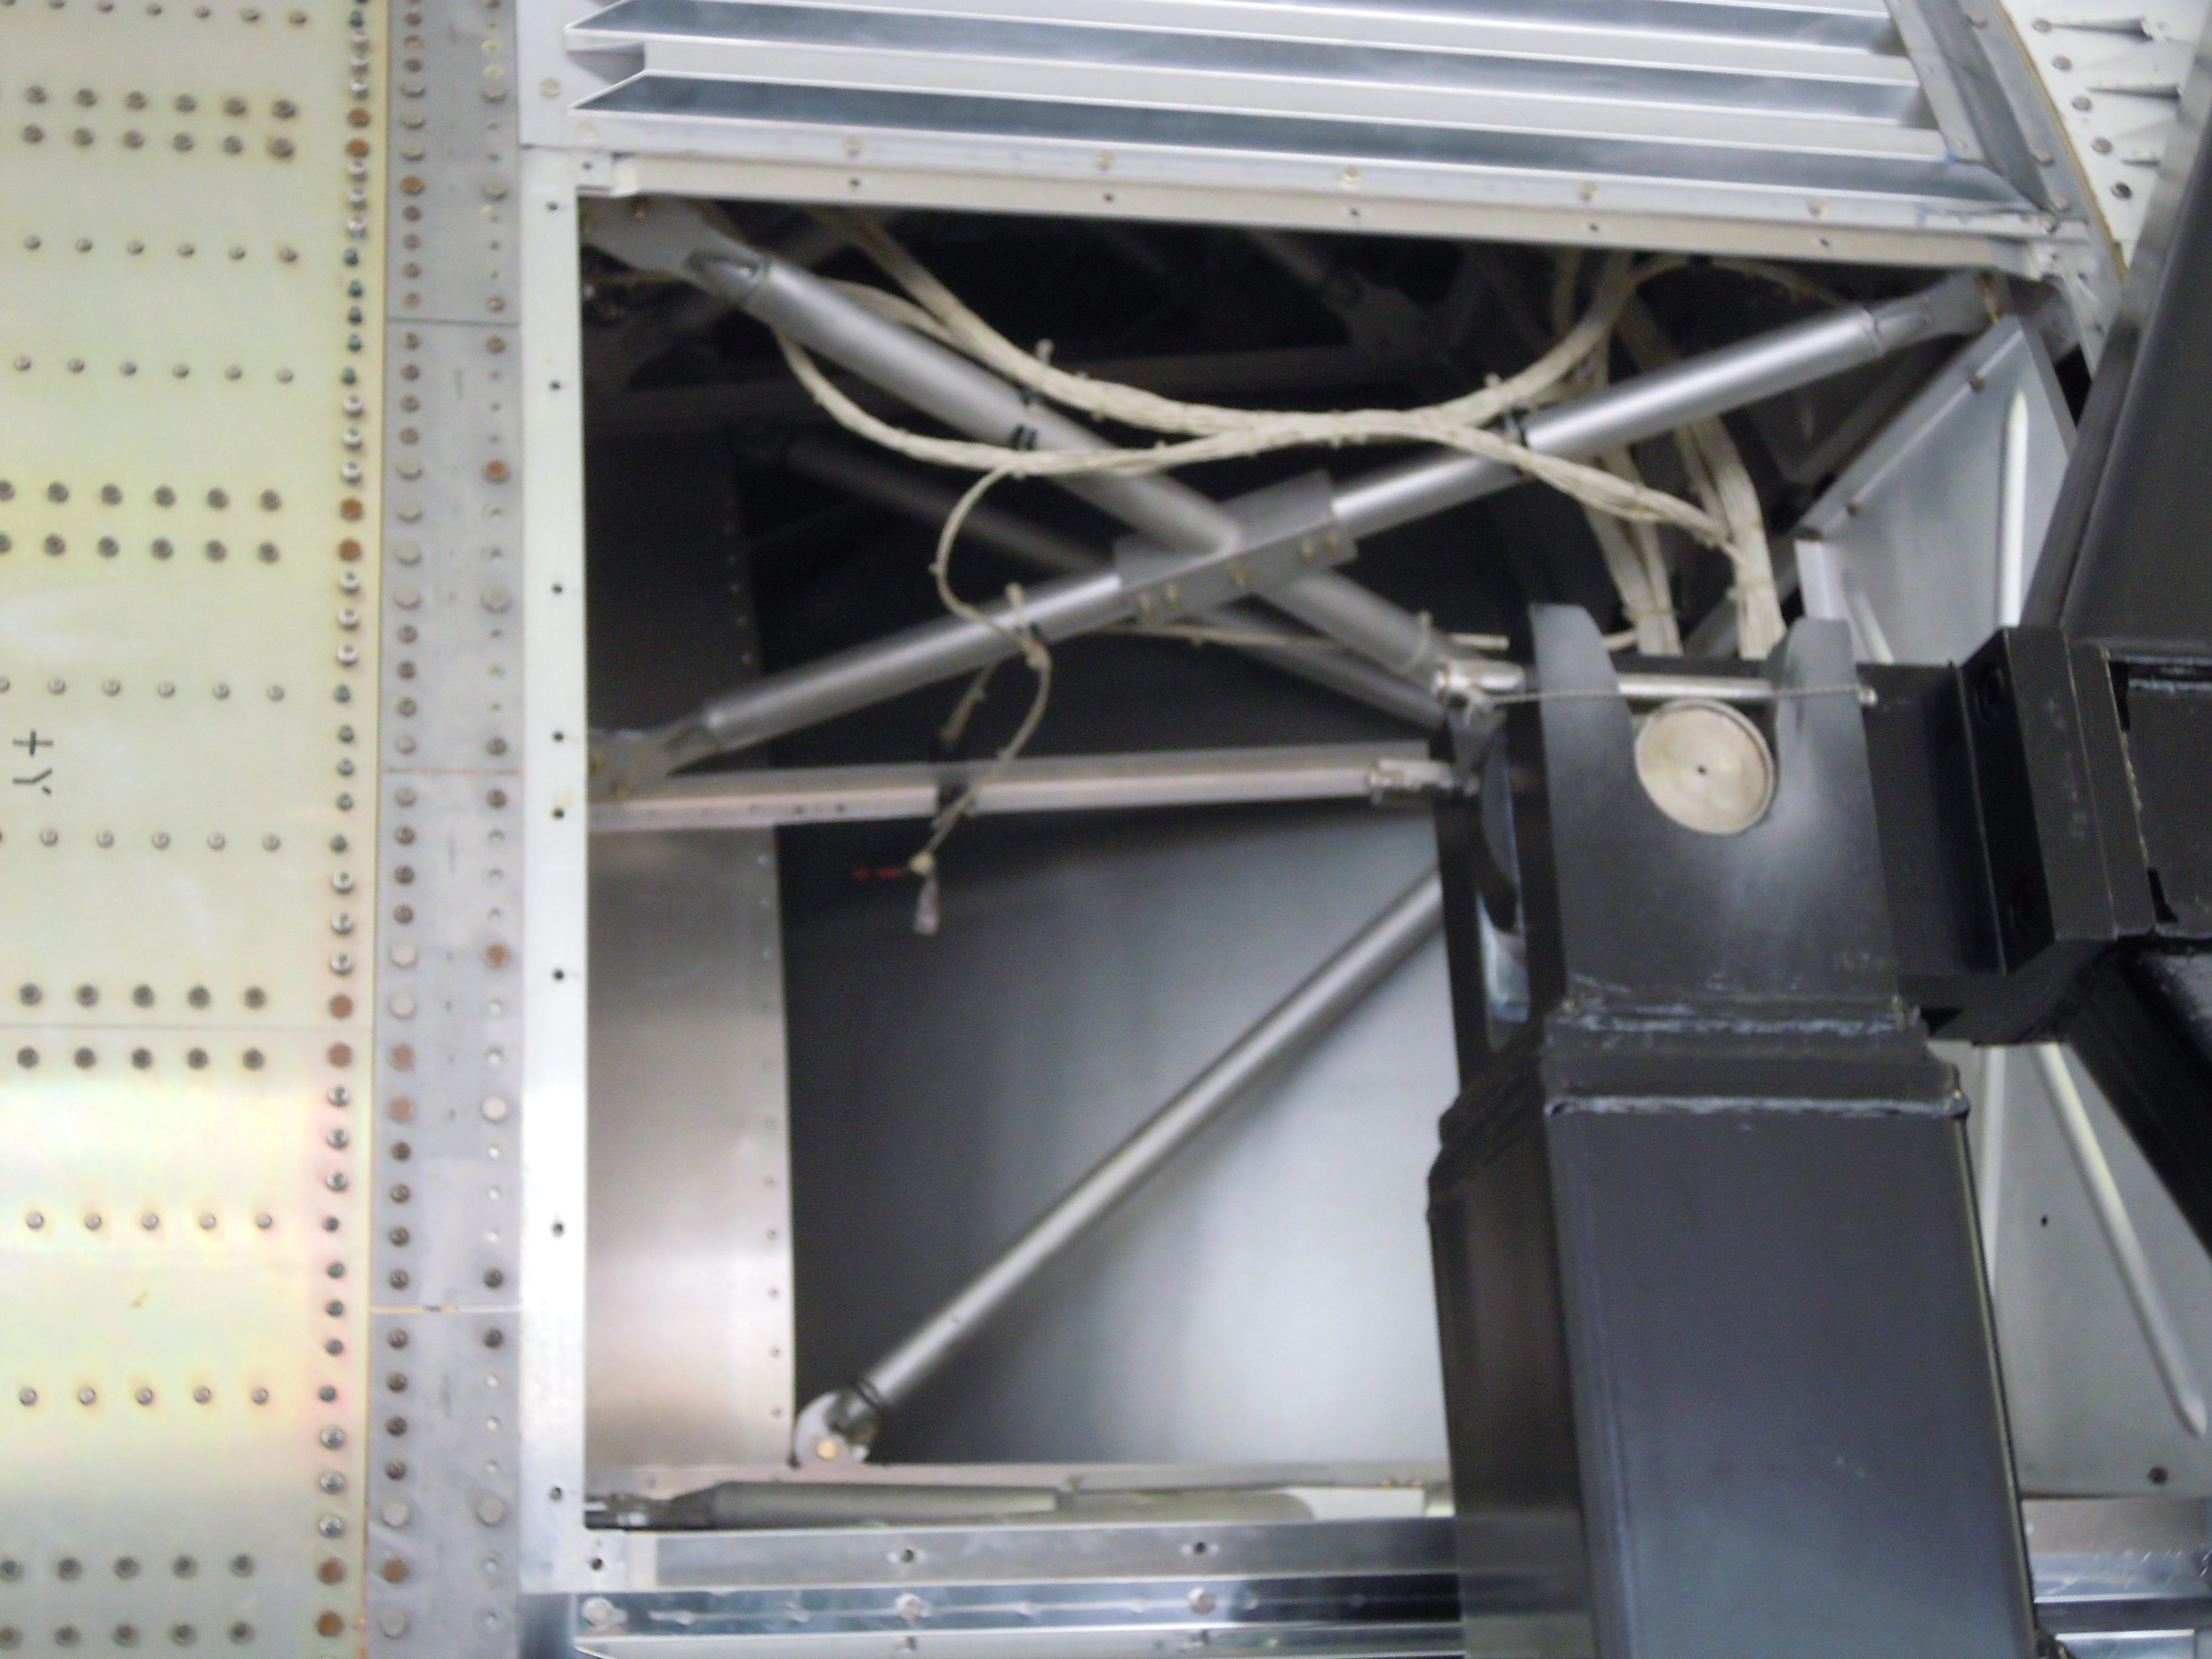
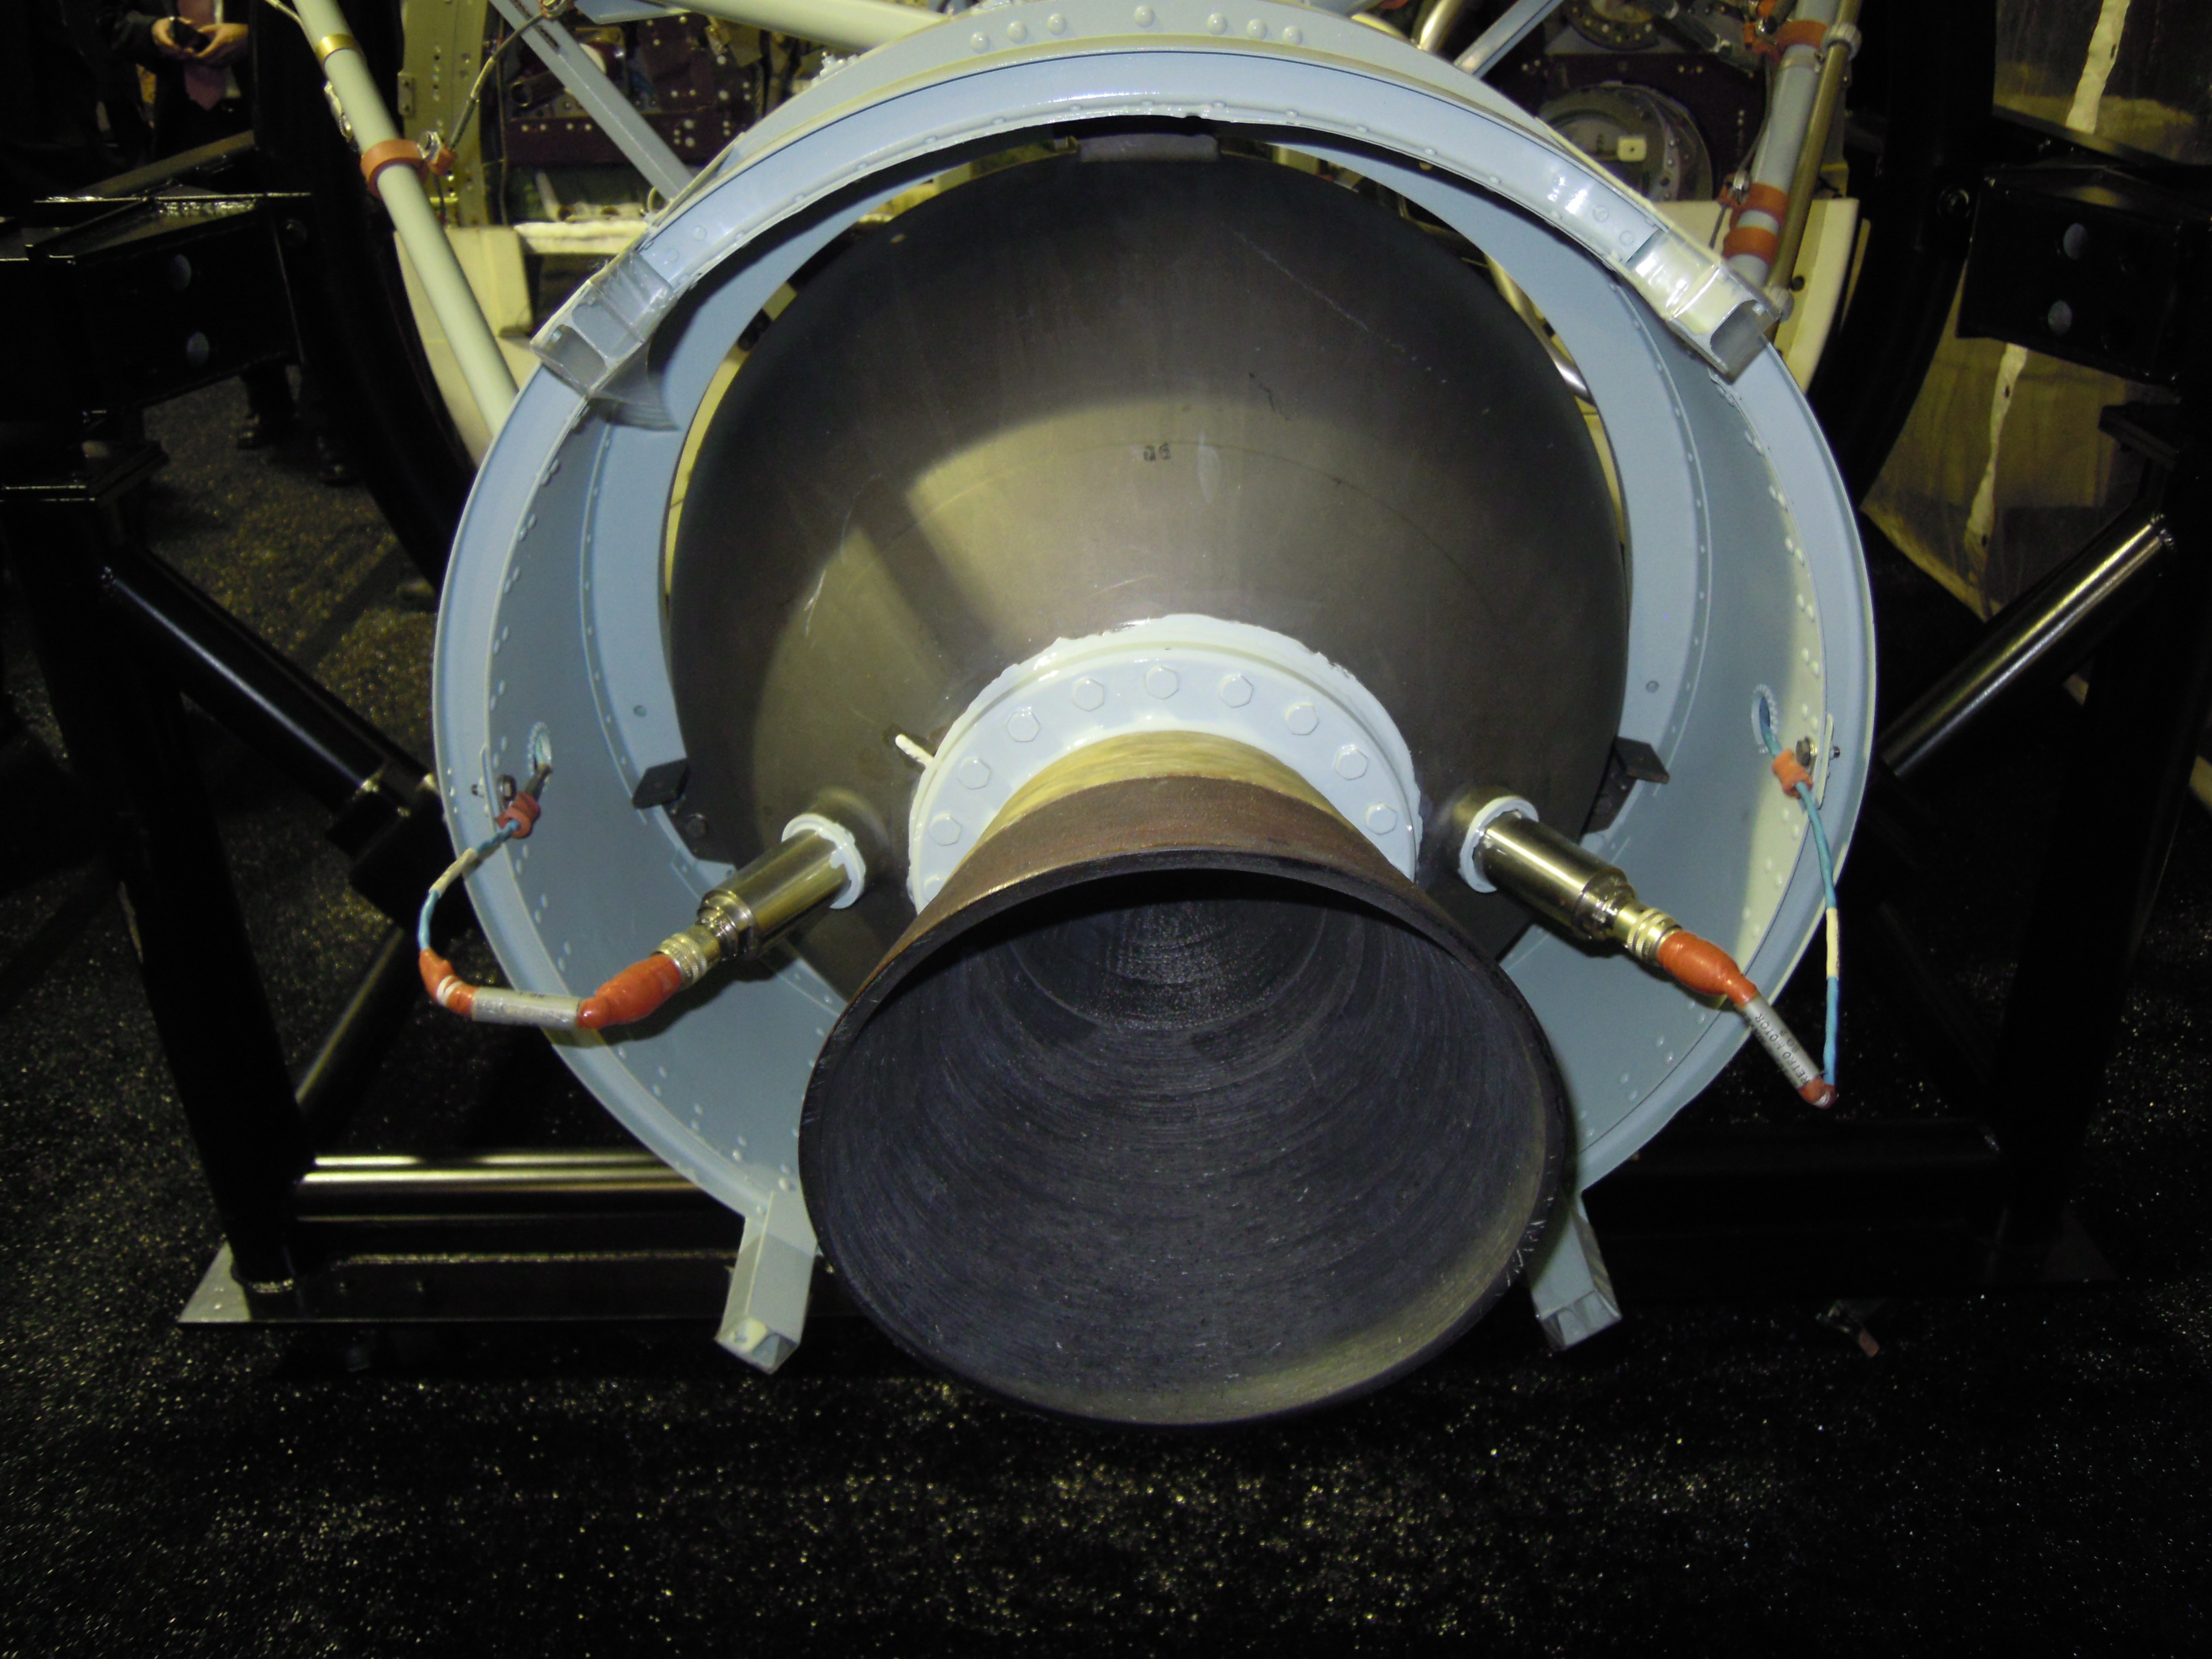
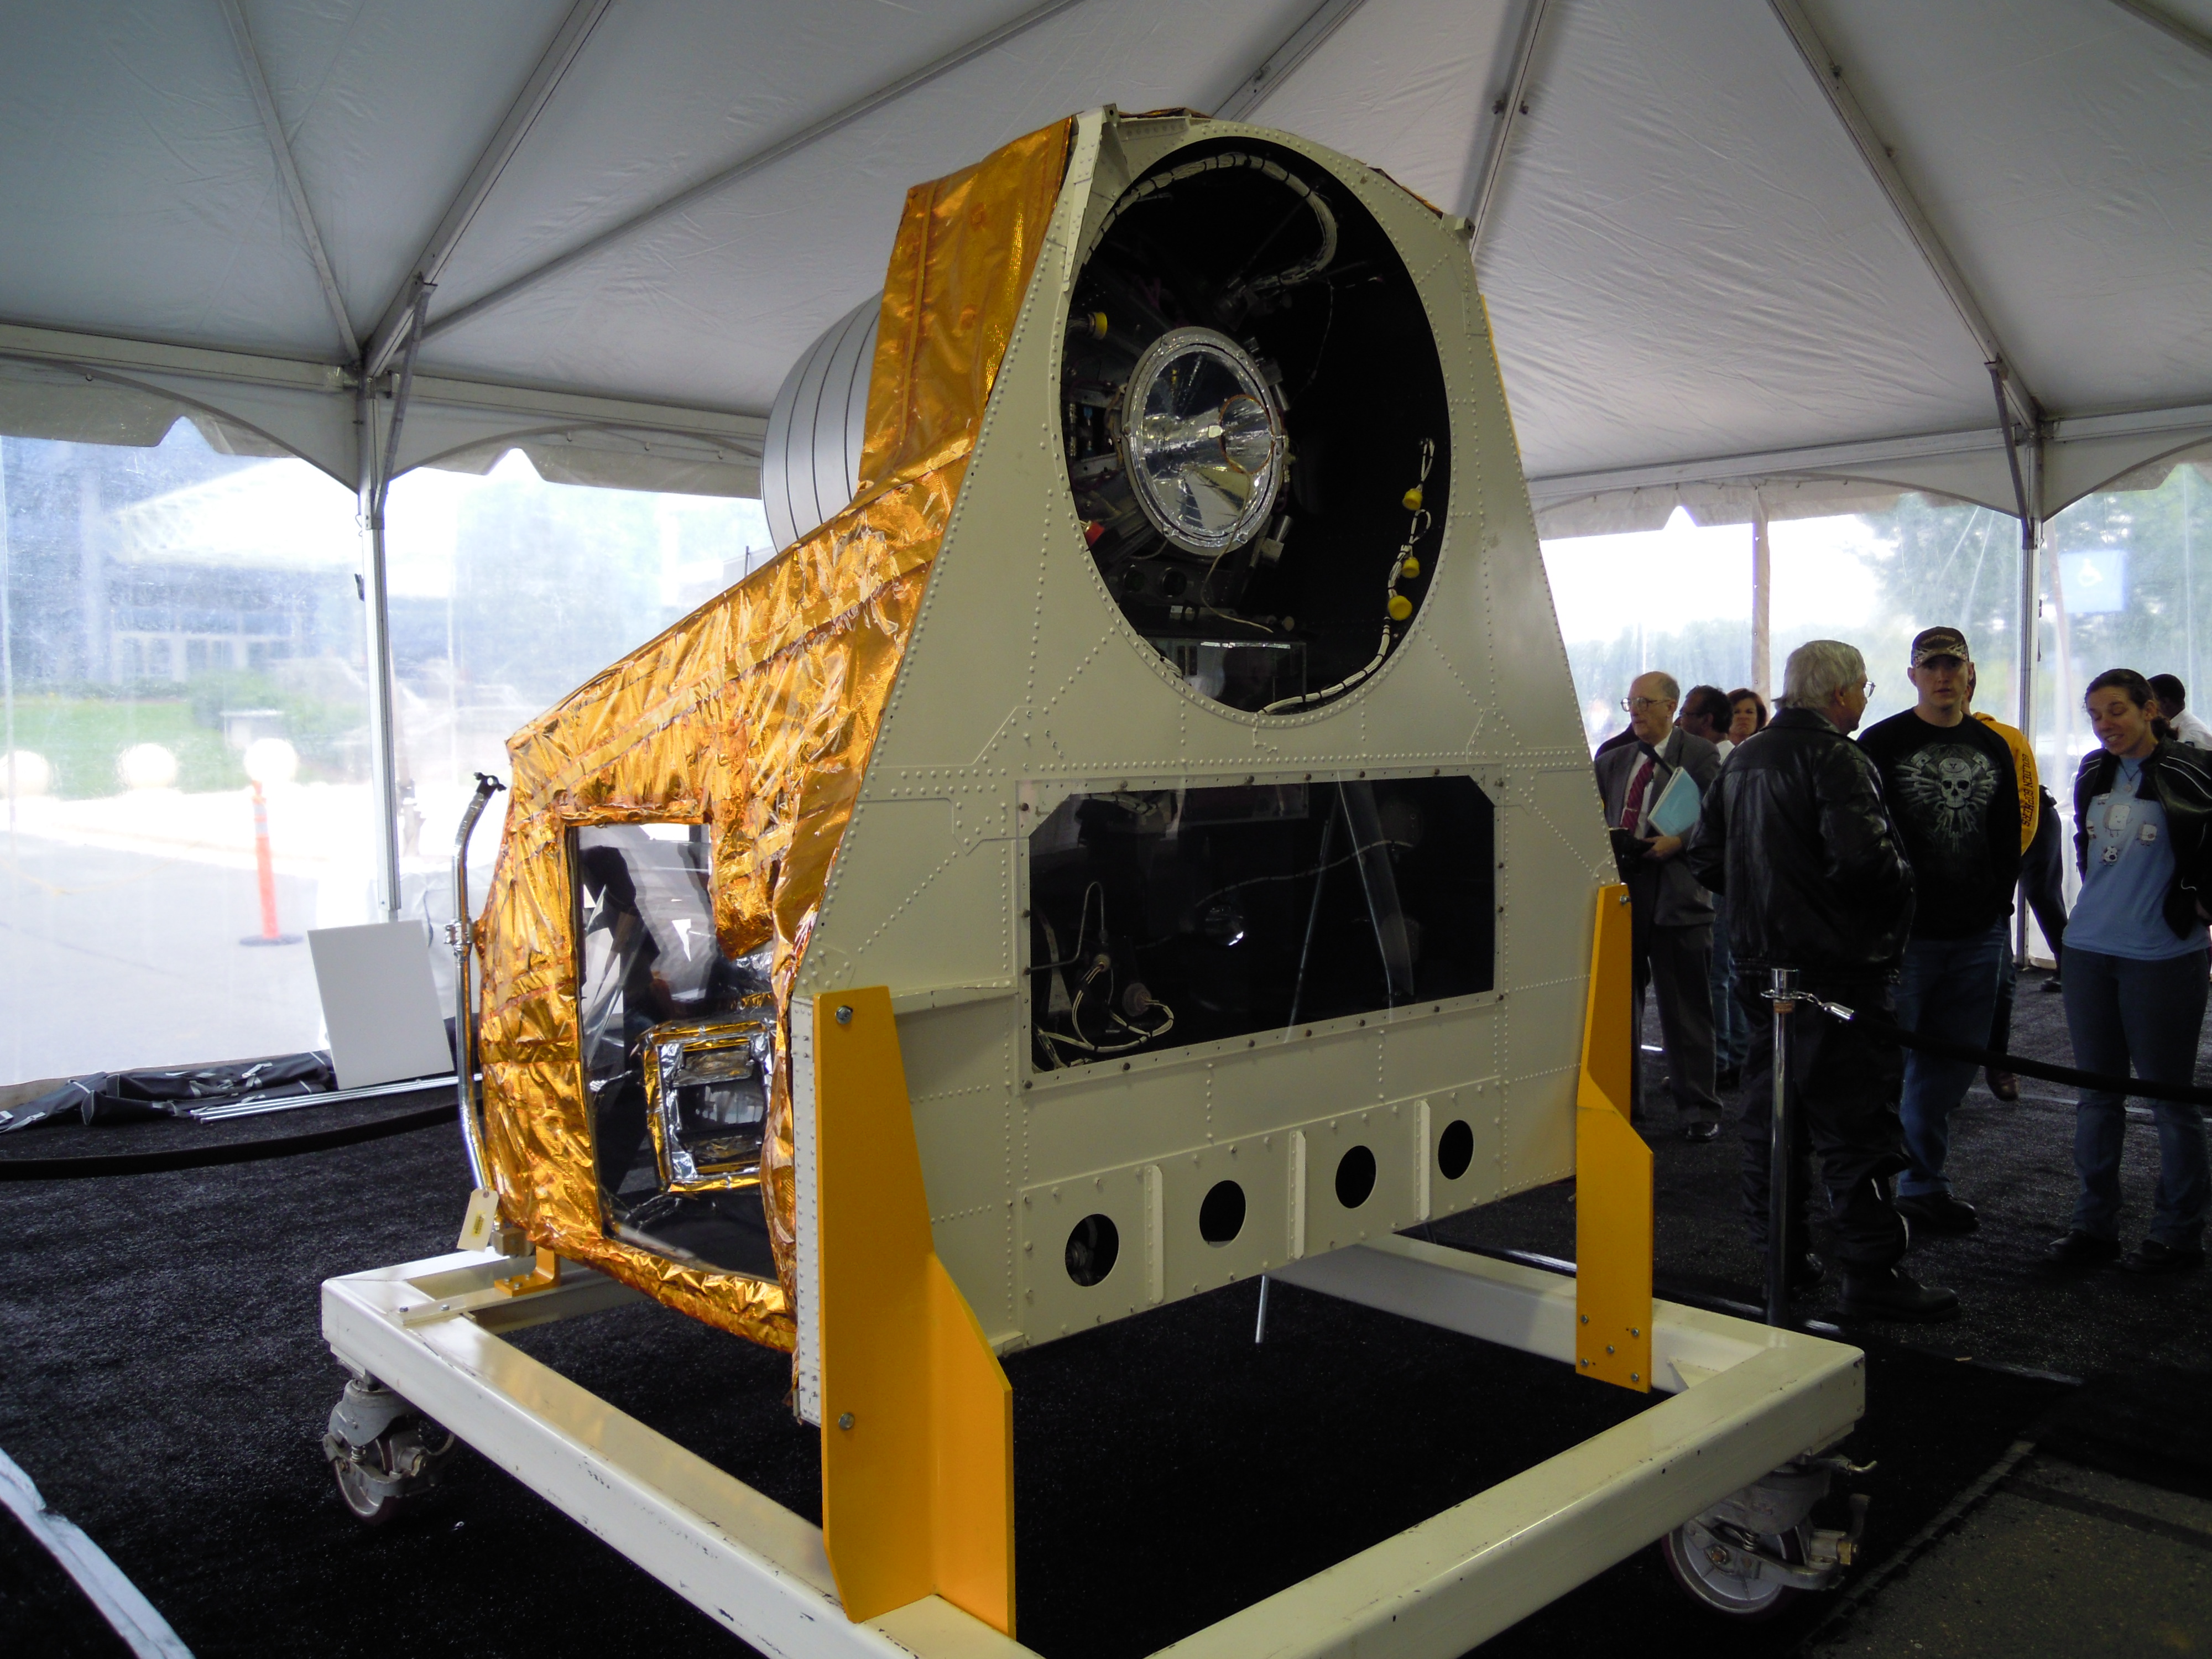
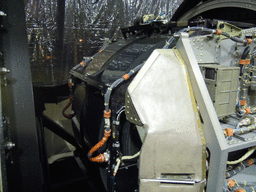
| DSC_2535.JPG HEX front end, SRV-1 and -2 positions |
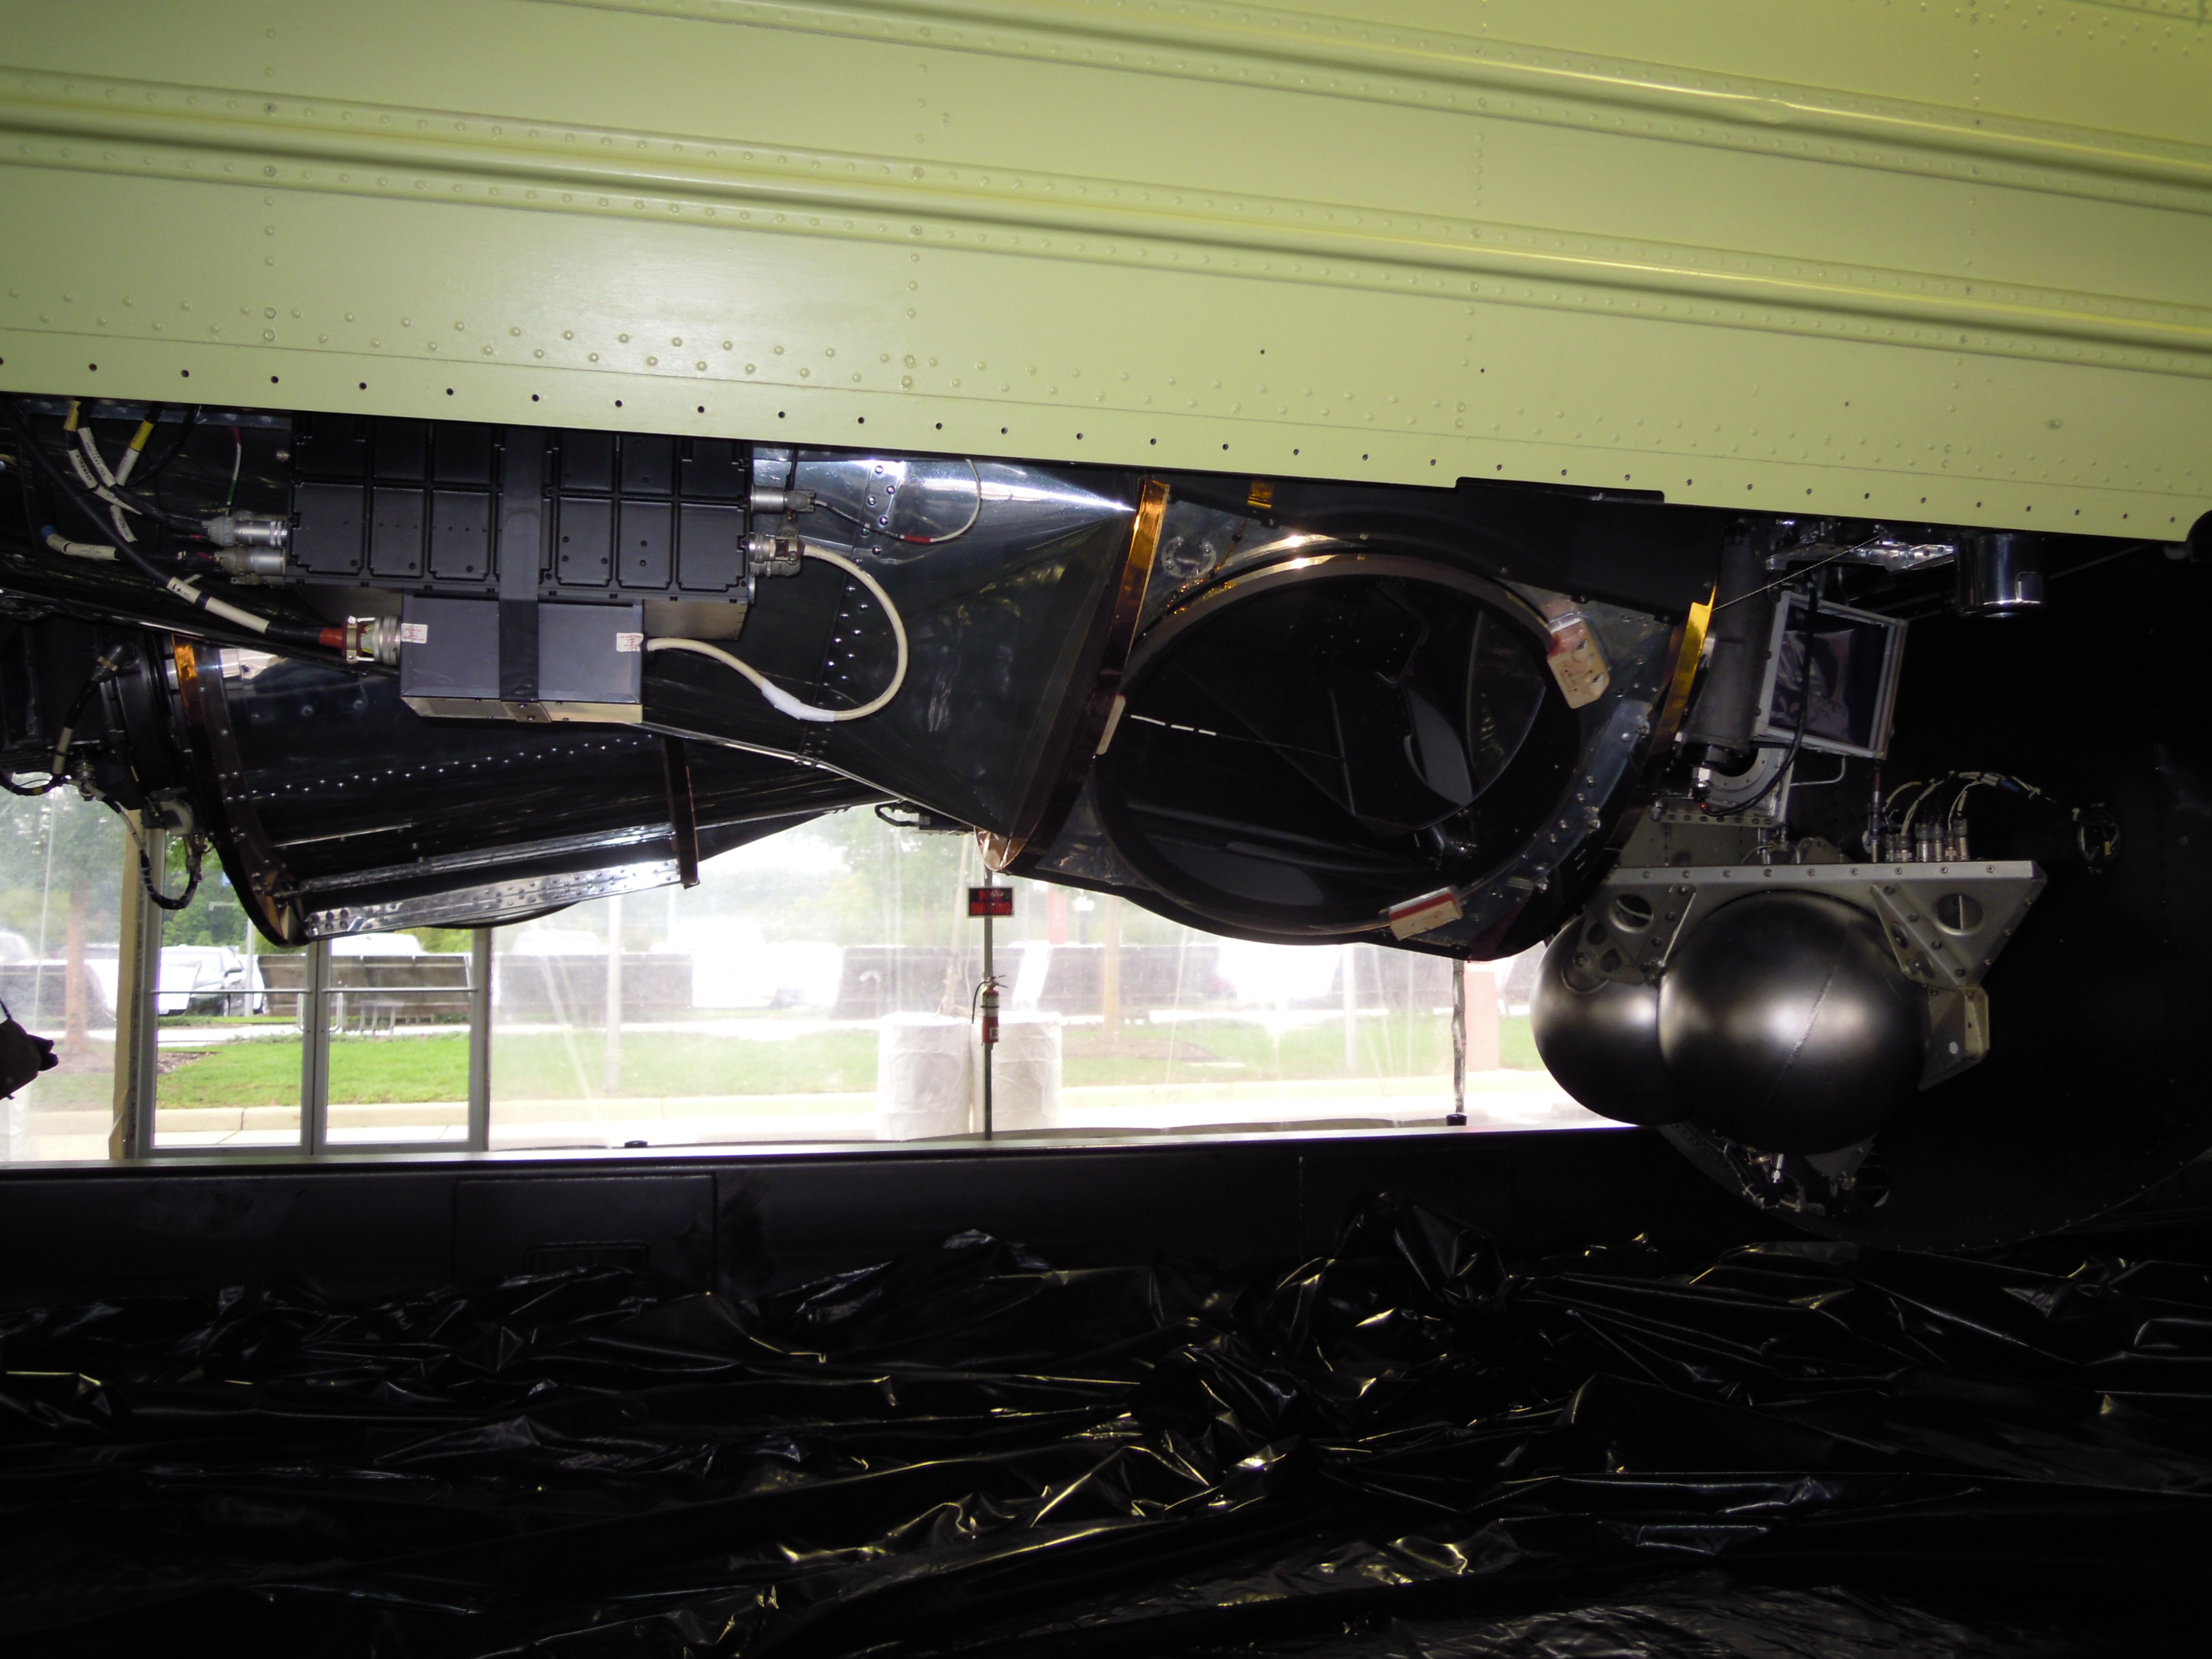
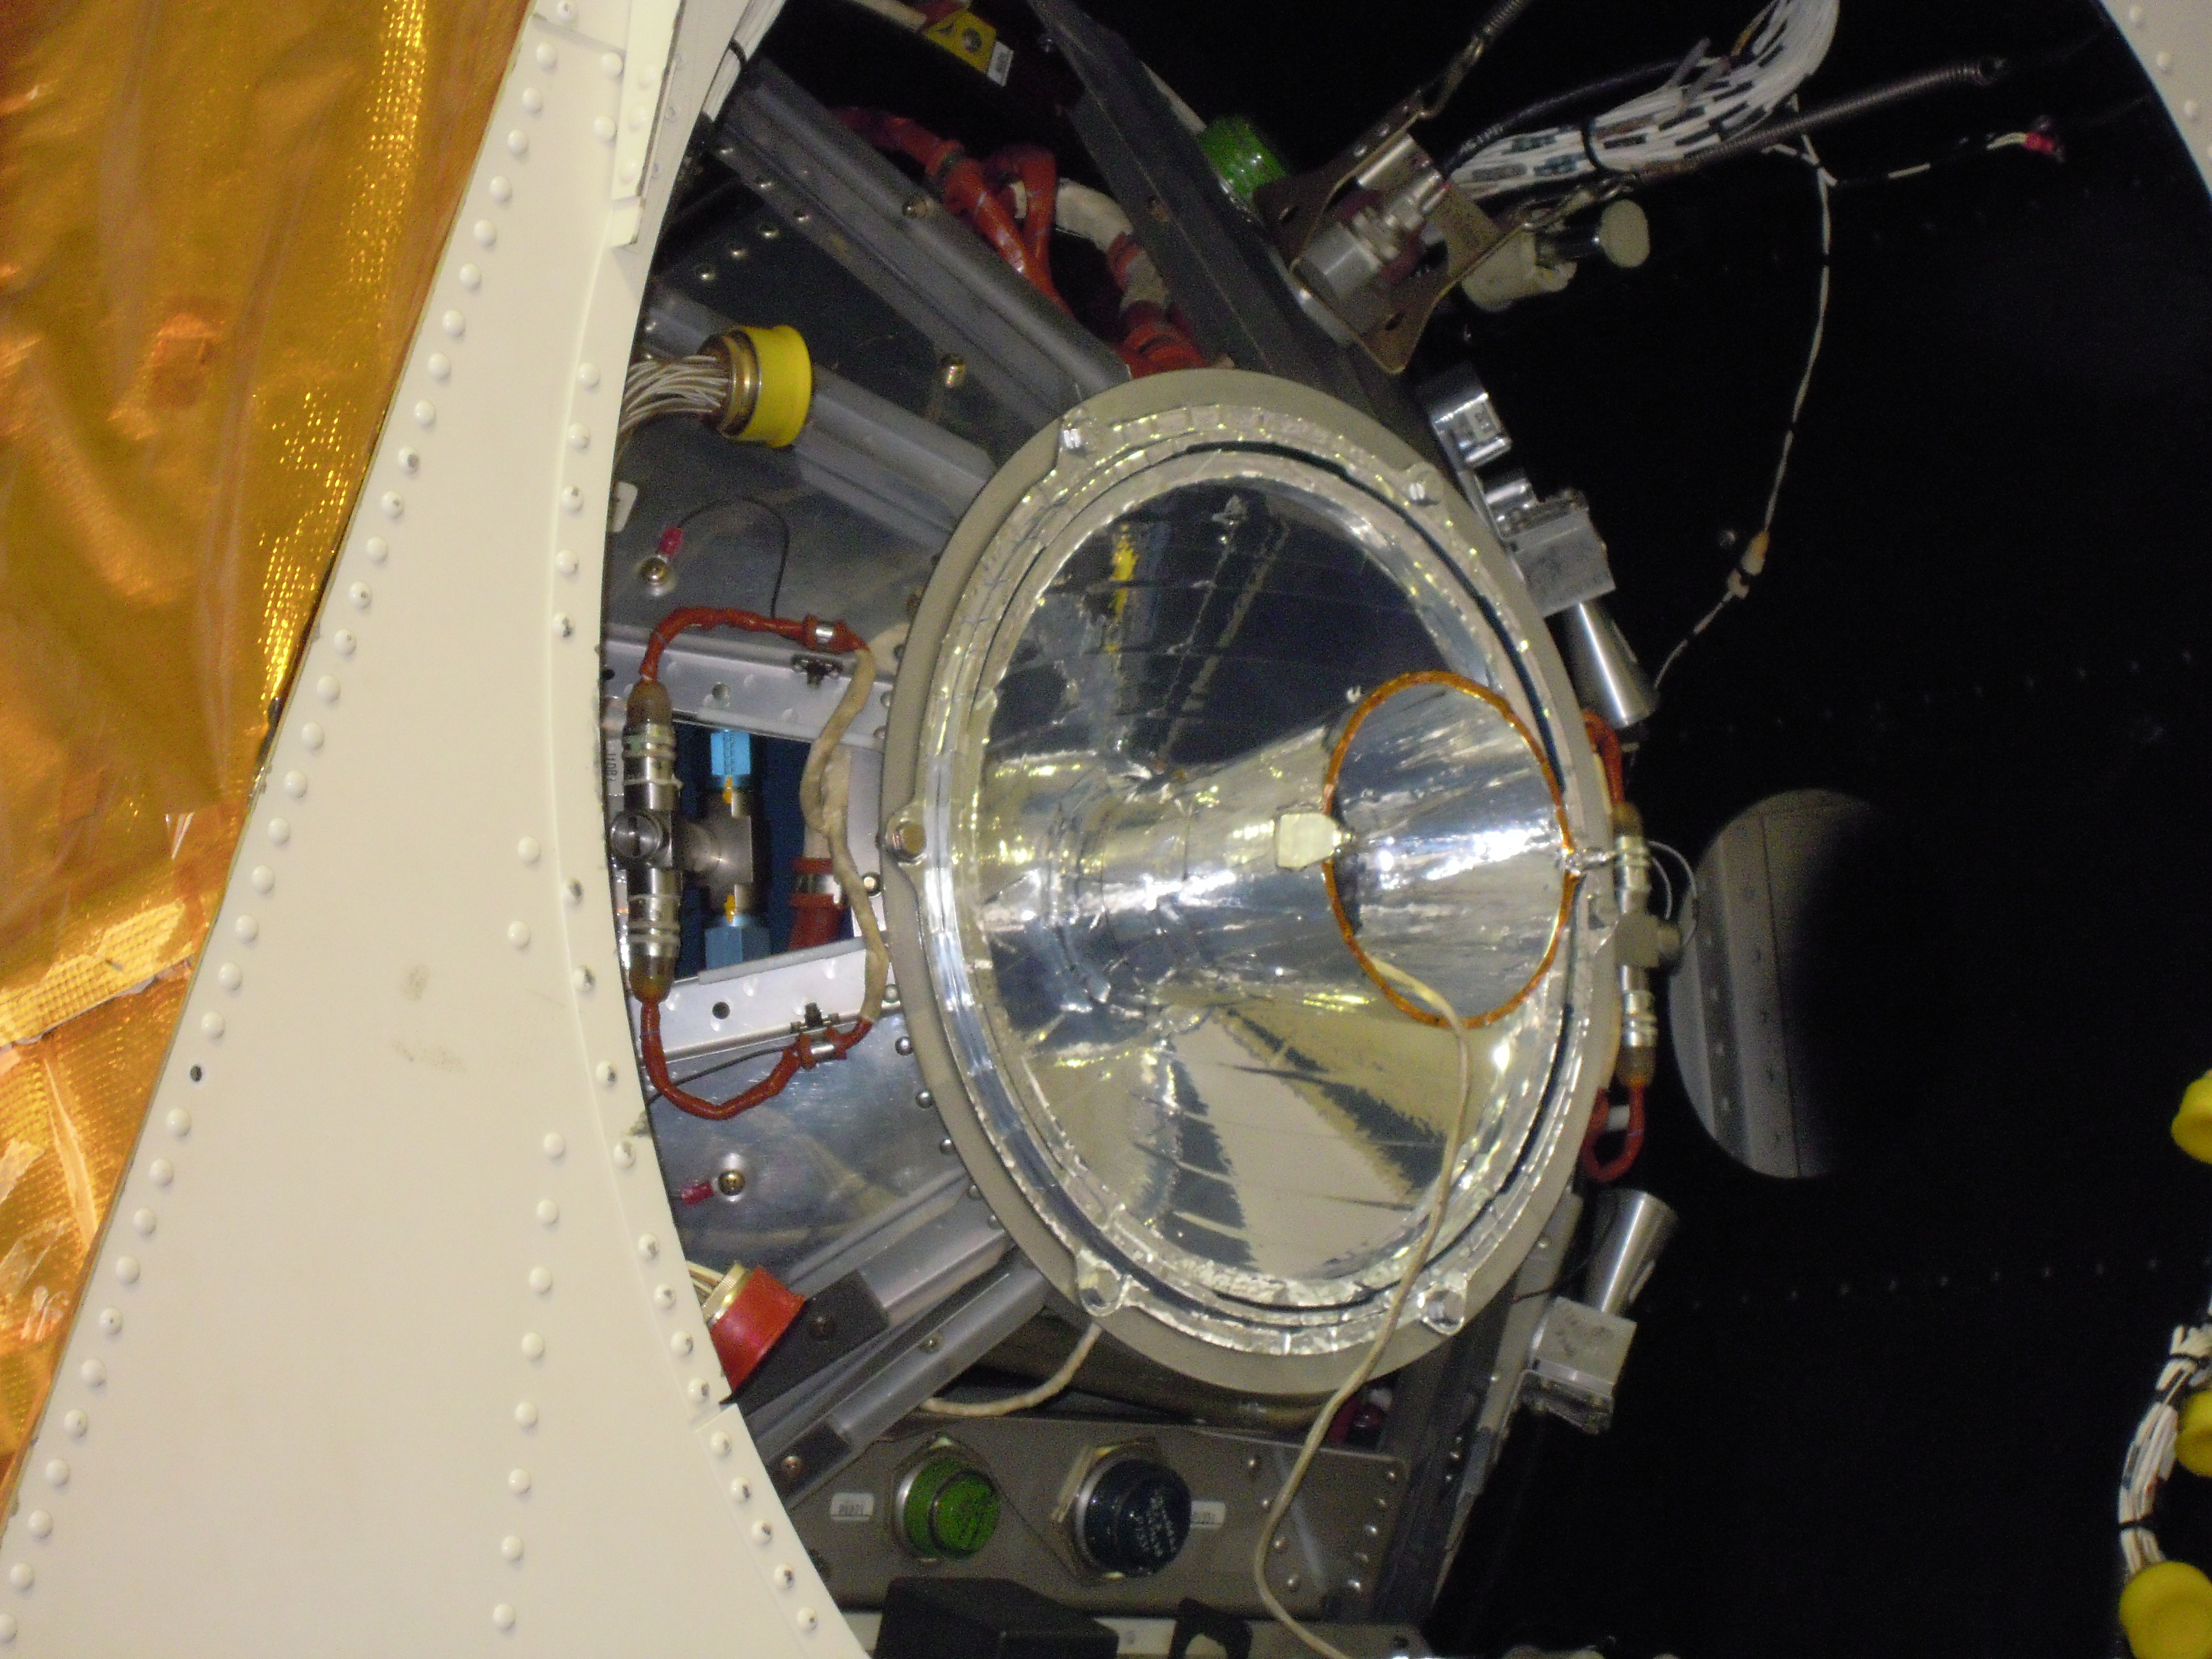
DSC_2536.JPG HEX front end |
DSC_2537.JPG HEX closeup with SRV-4 and SRV-3 positions |
 |
 |
 |
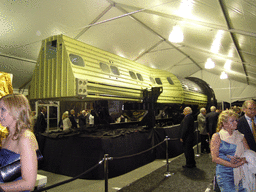
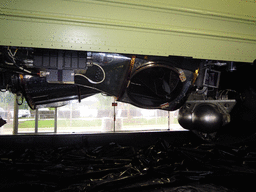
| DSC_2572.JPG Aft view of KH-9 showing SCS |
DSC_2573.JPG Forward end of KH-9 |
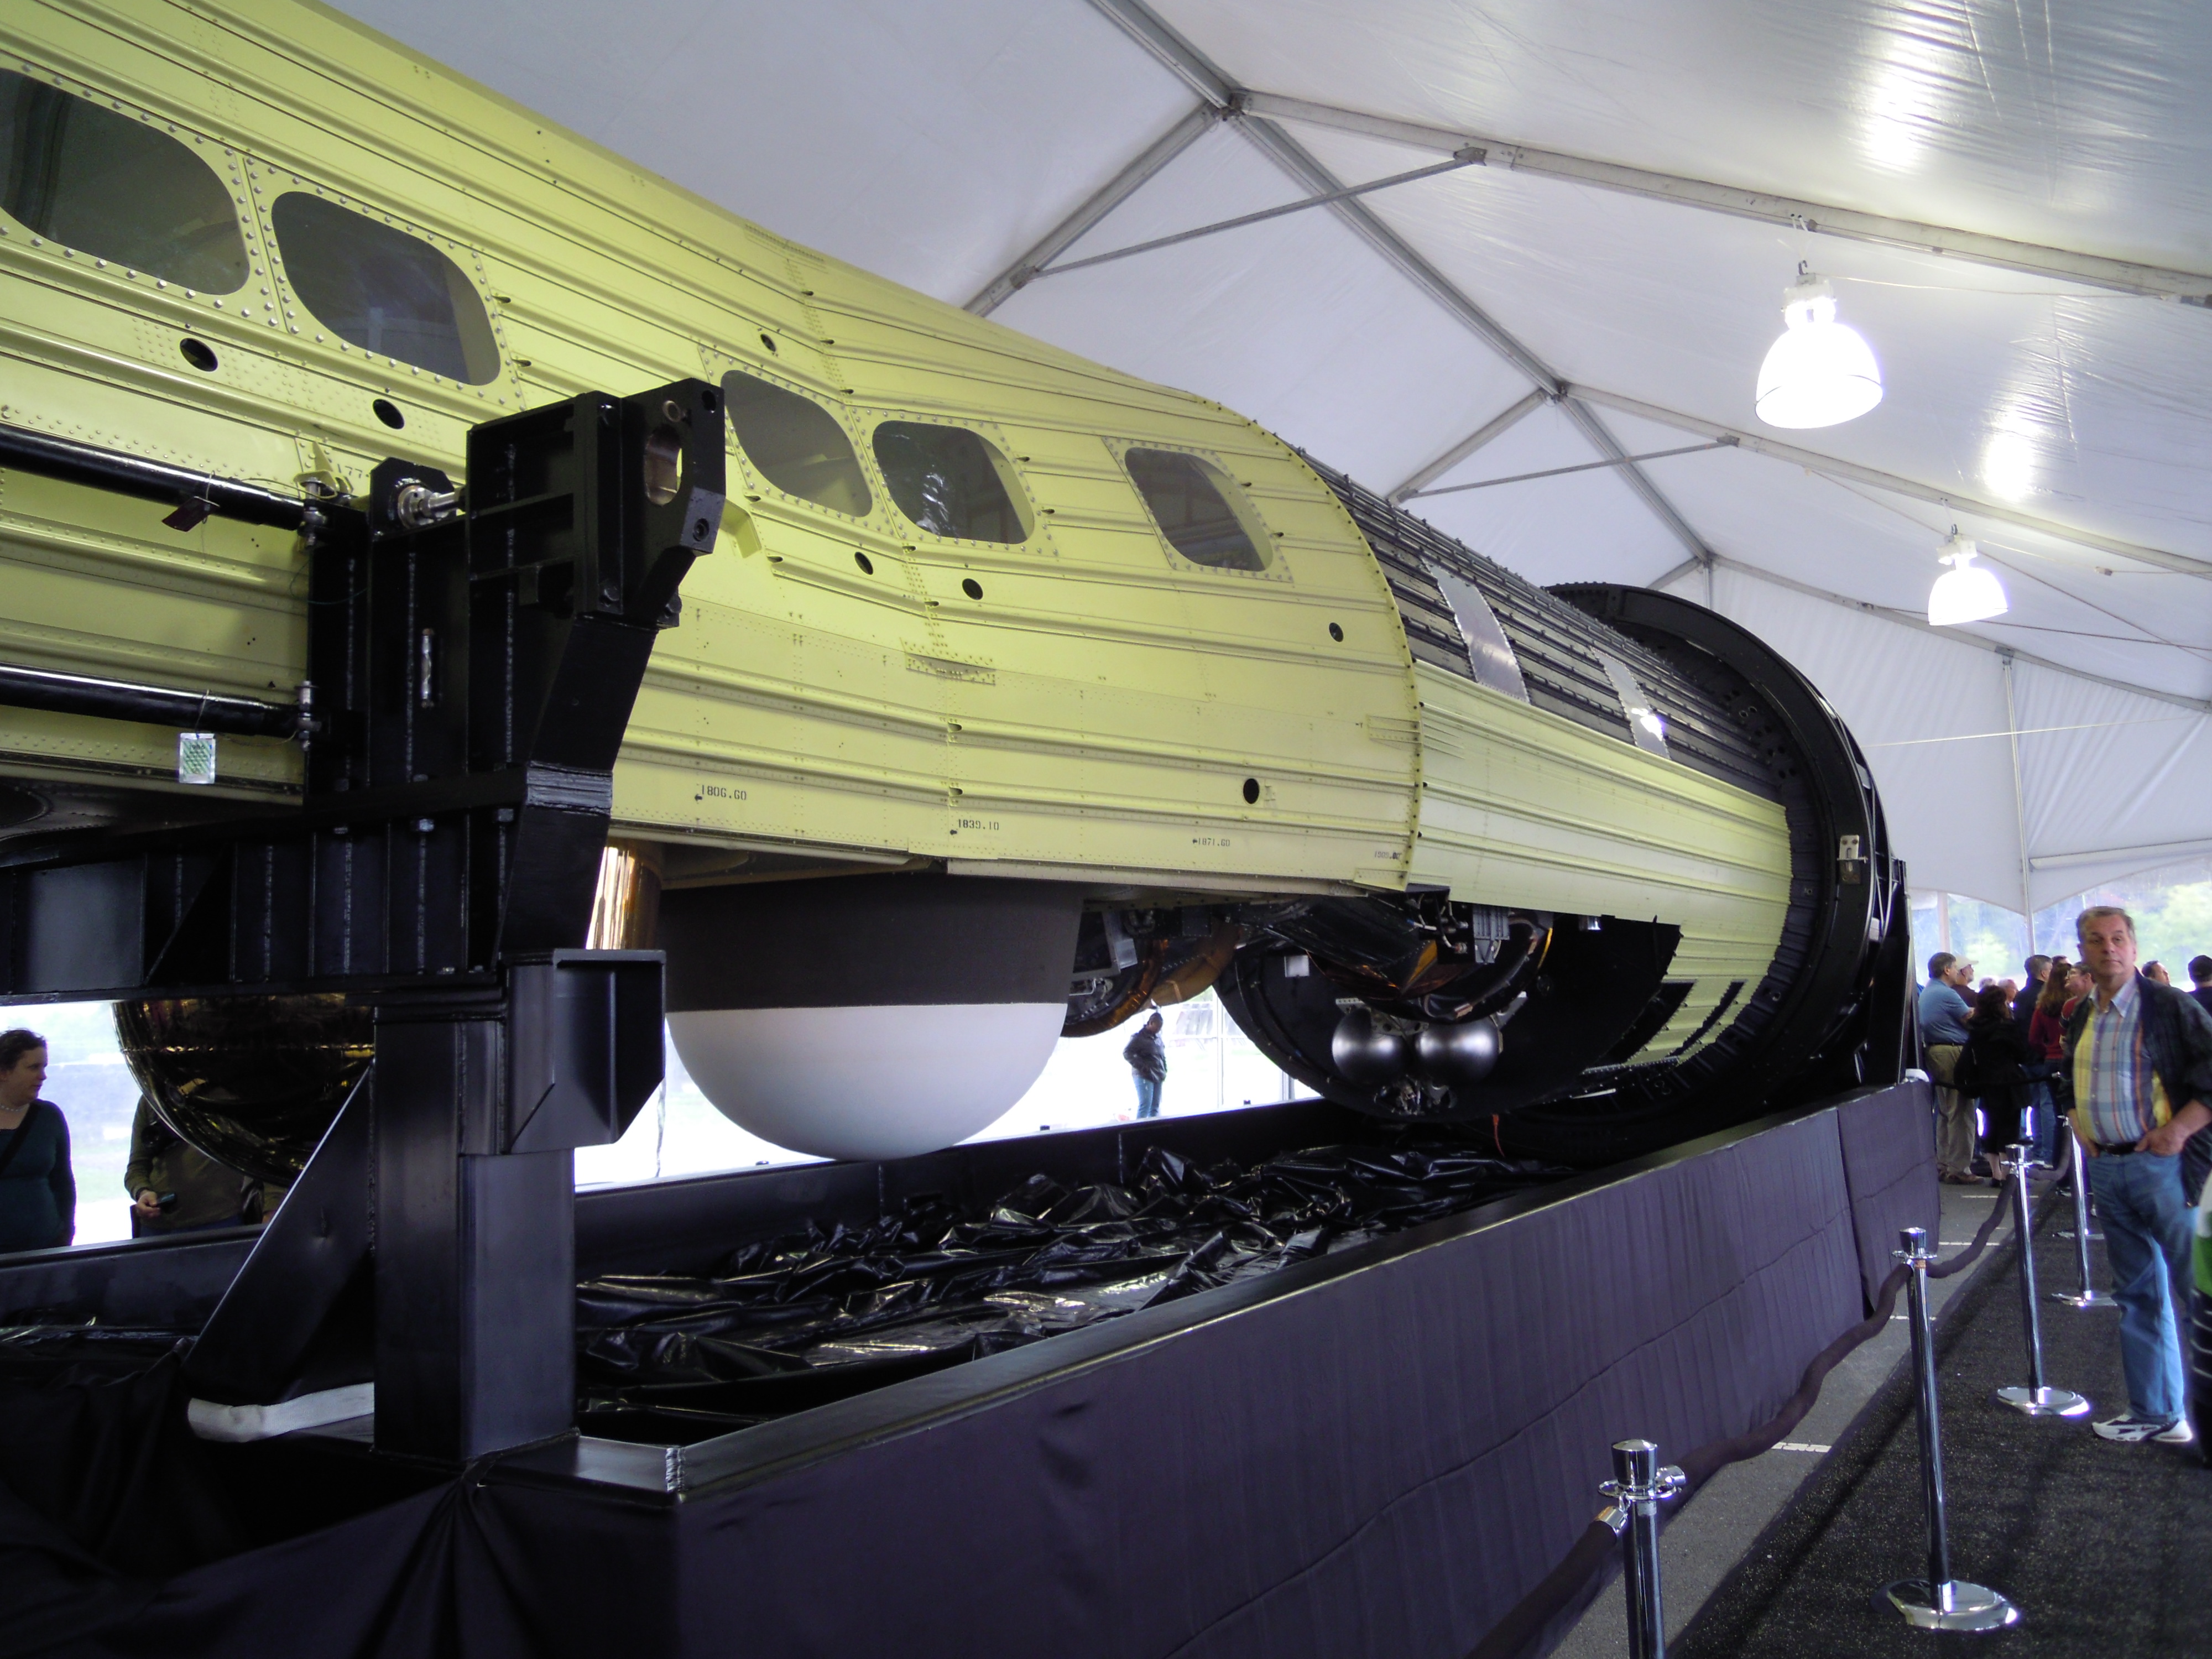
DSC_2581.JPG KH-9 |
 |
 |
| DSCN0296.JPG Top face of SRV with parachutes and TC truss |
DSCN0297.JPG Interior of SRV showing film spools at left |
 |
 |
 |
 |
| DSCN0298.JPG Closeup of film spools |
DSCN0299.JPG Overview of exploded Mk 8 SRV |
DSCN0300.JPG SVM-3 motor with thrust cone truss |
DSCN0301.JPG SVM-3 motor, aft view |
 |
 |
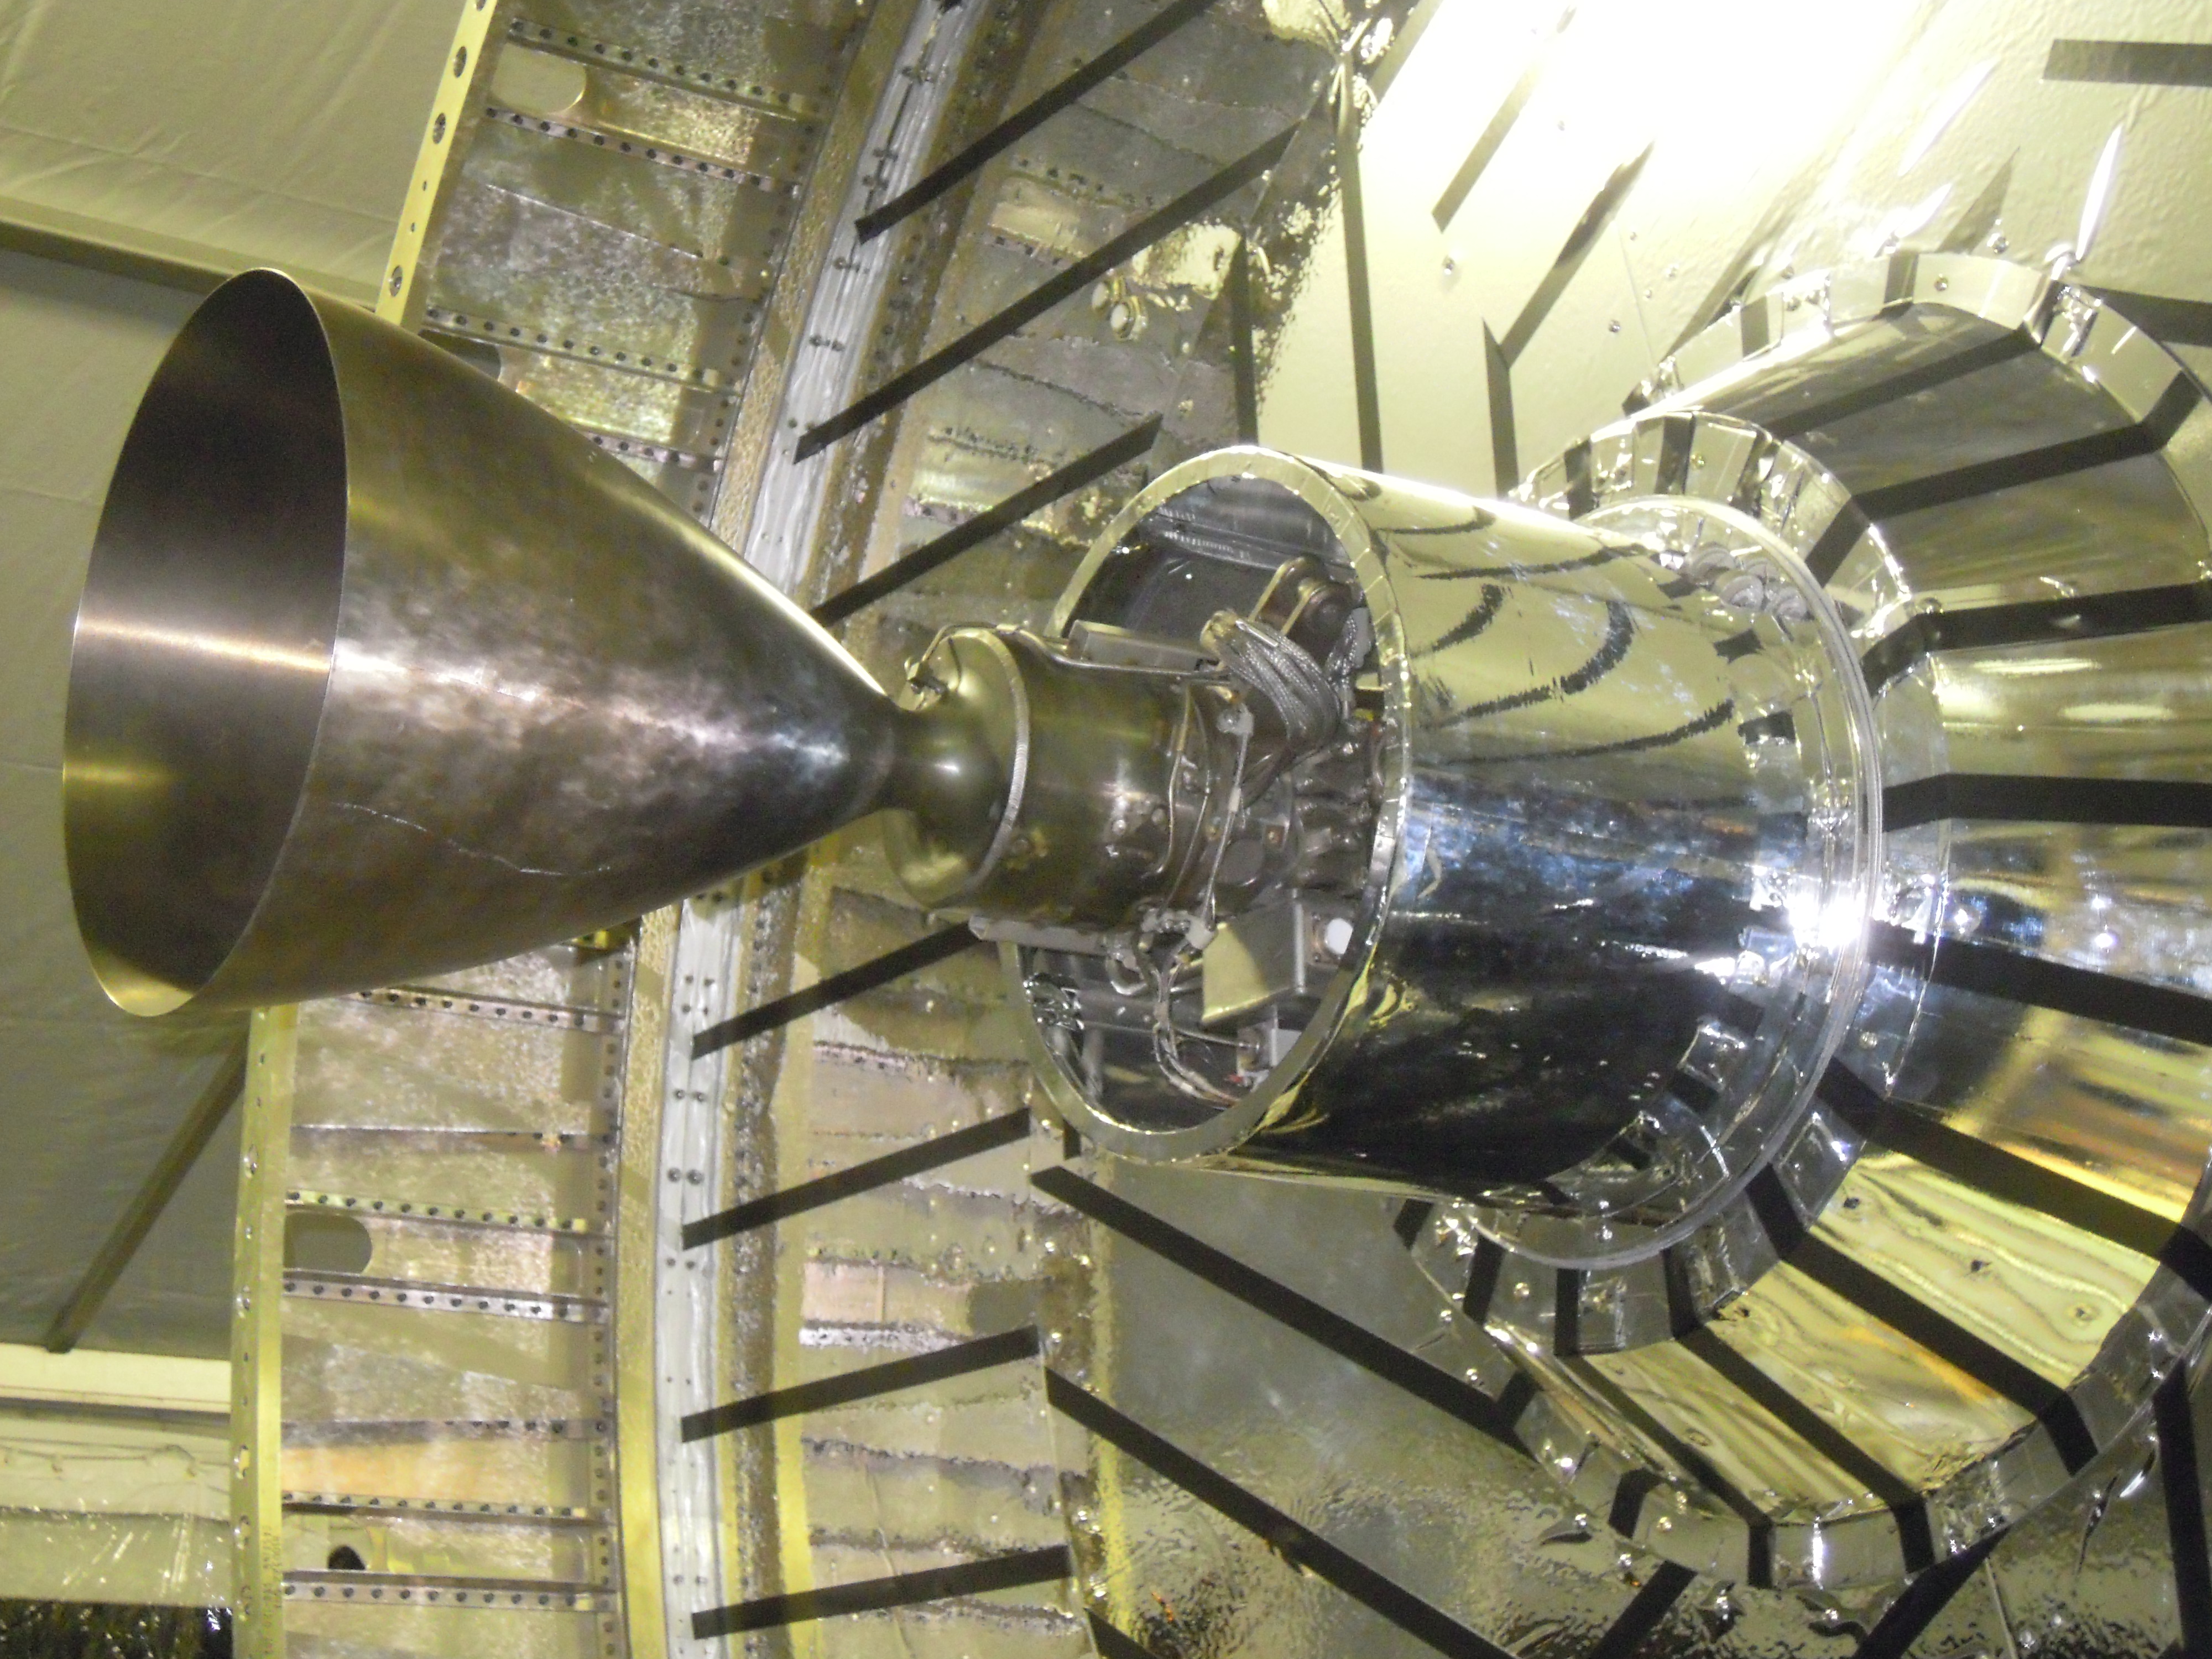
| DSCN0302.JPG SVM-3 motor |
DSCN0357.JPG SVM-3 thrust assembly |
 |
 |
 |
 |
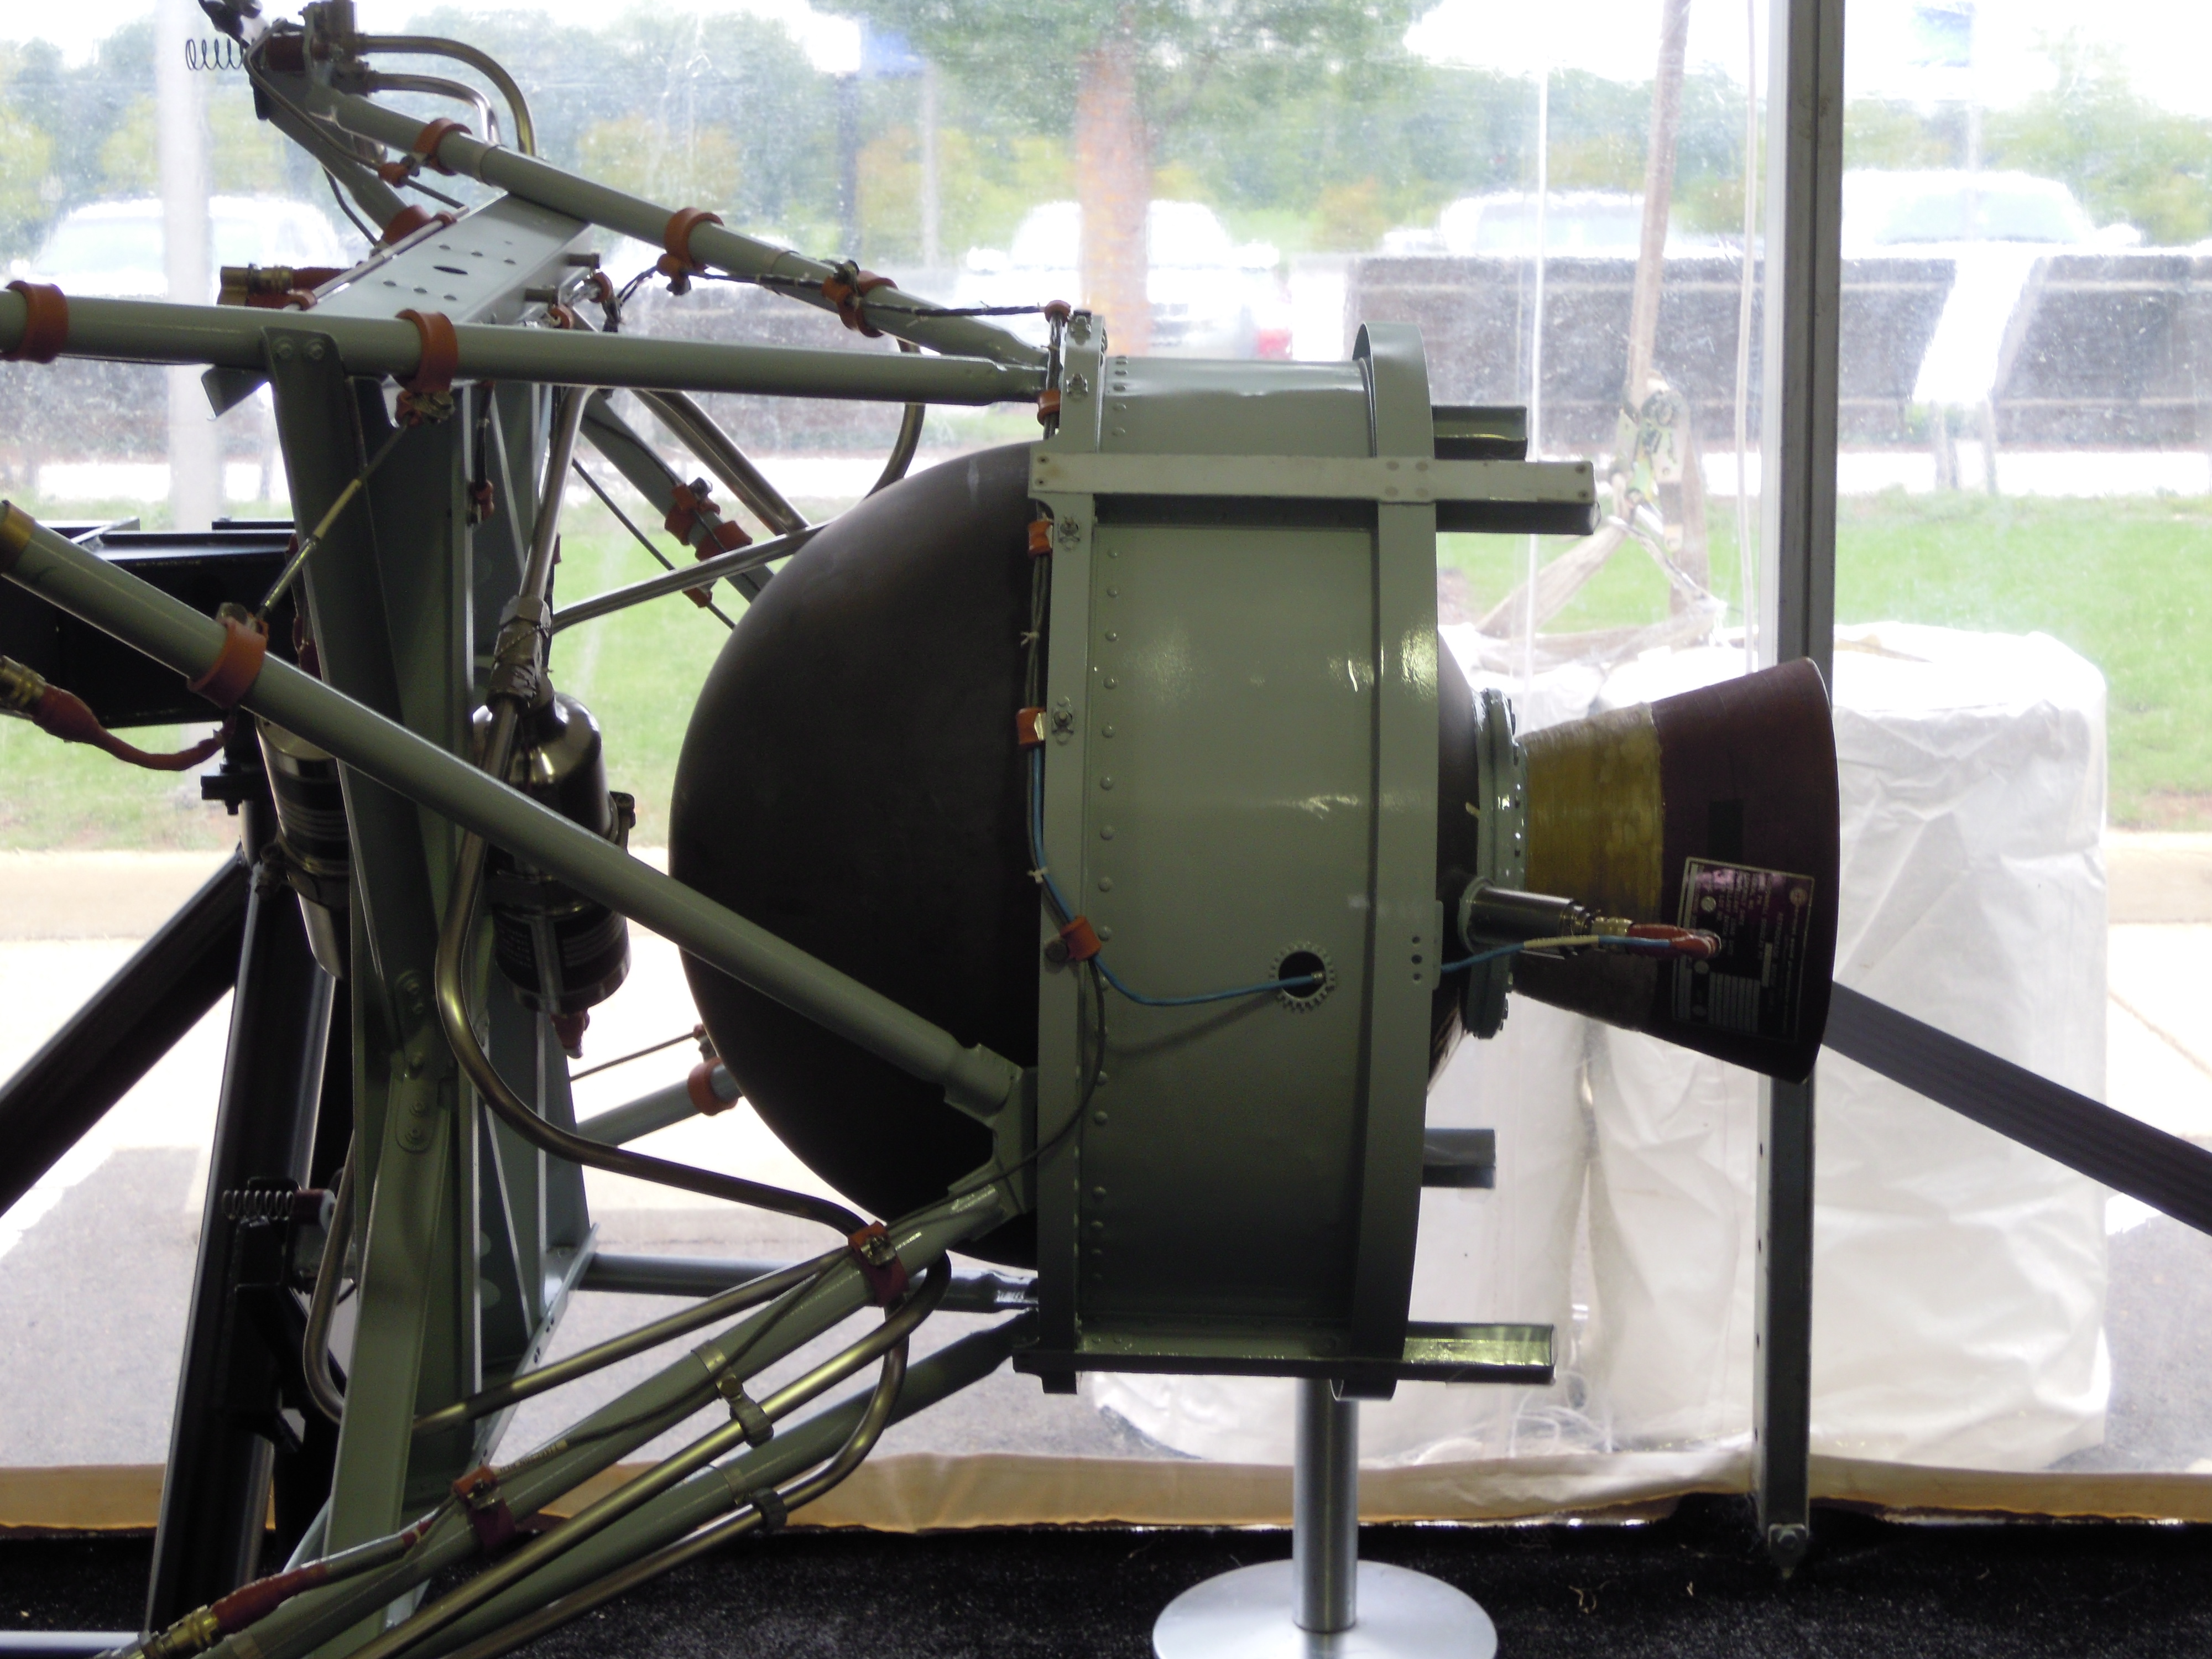
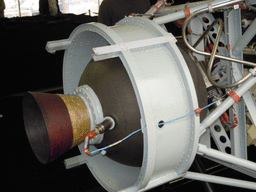
| DSC_2523.JPG Mk8 SRV and deorbit motor |
DSC_2524.JPG |
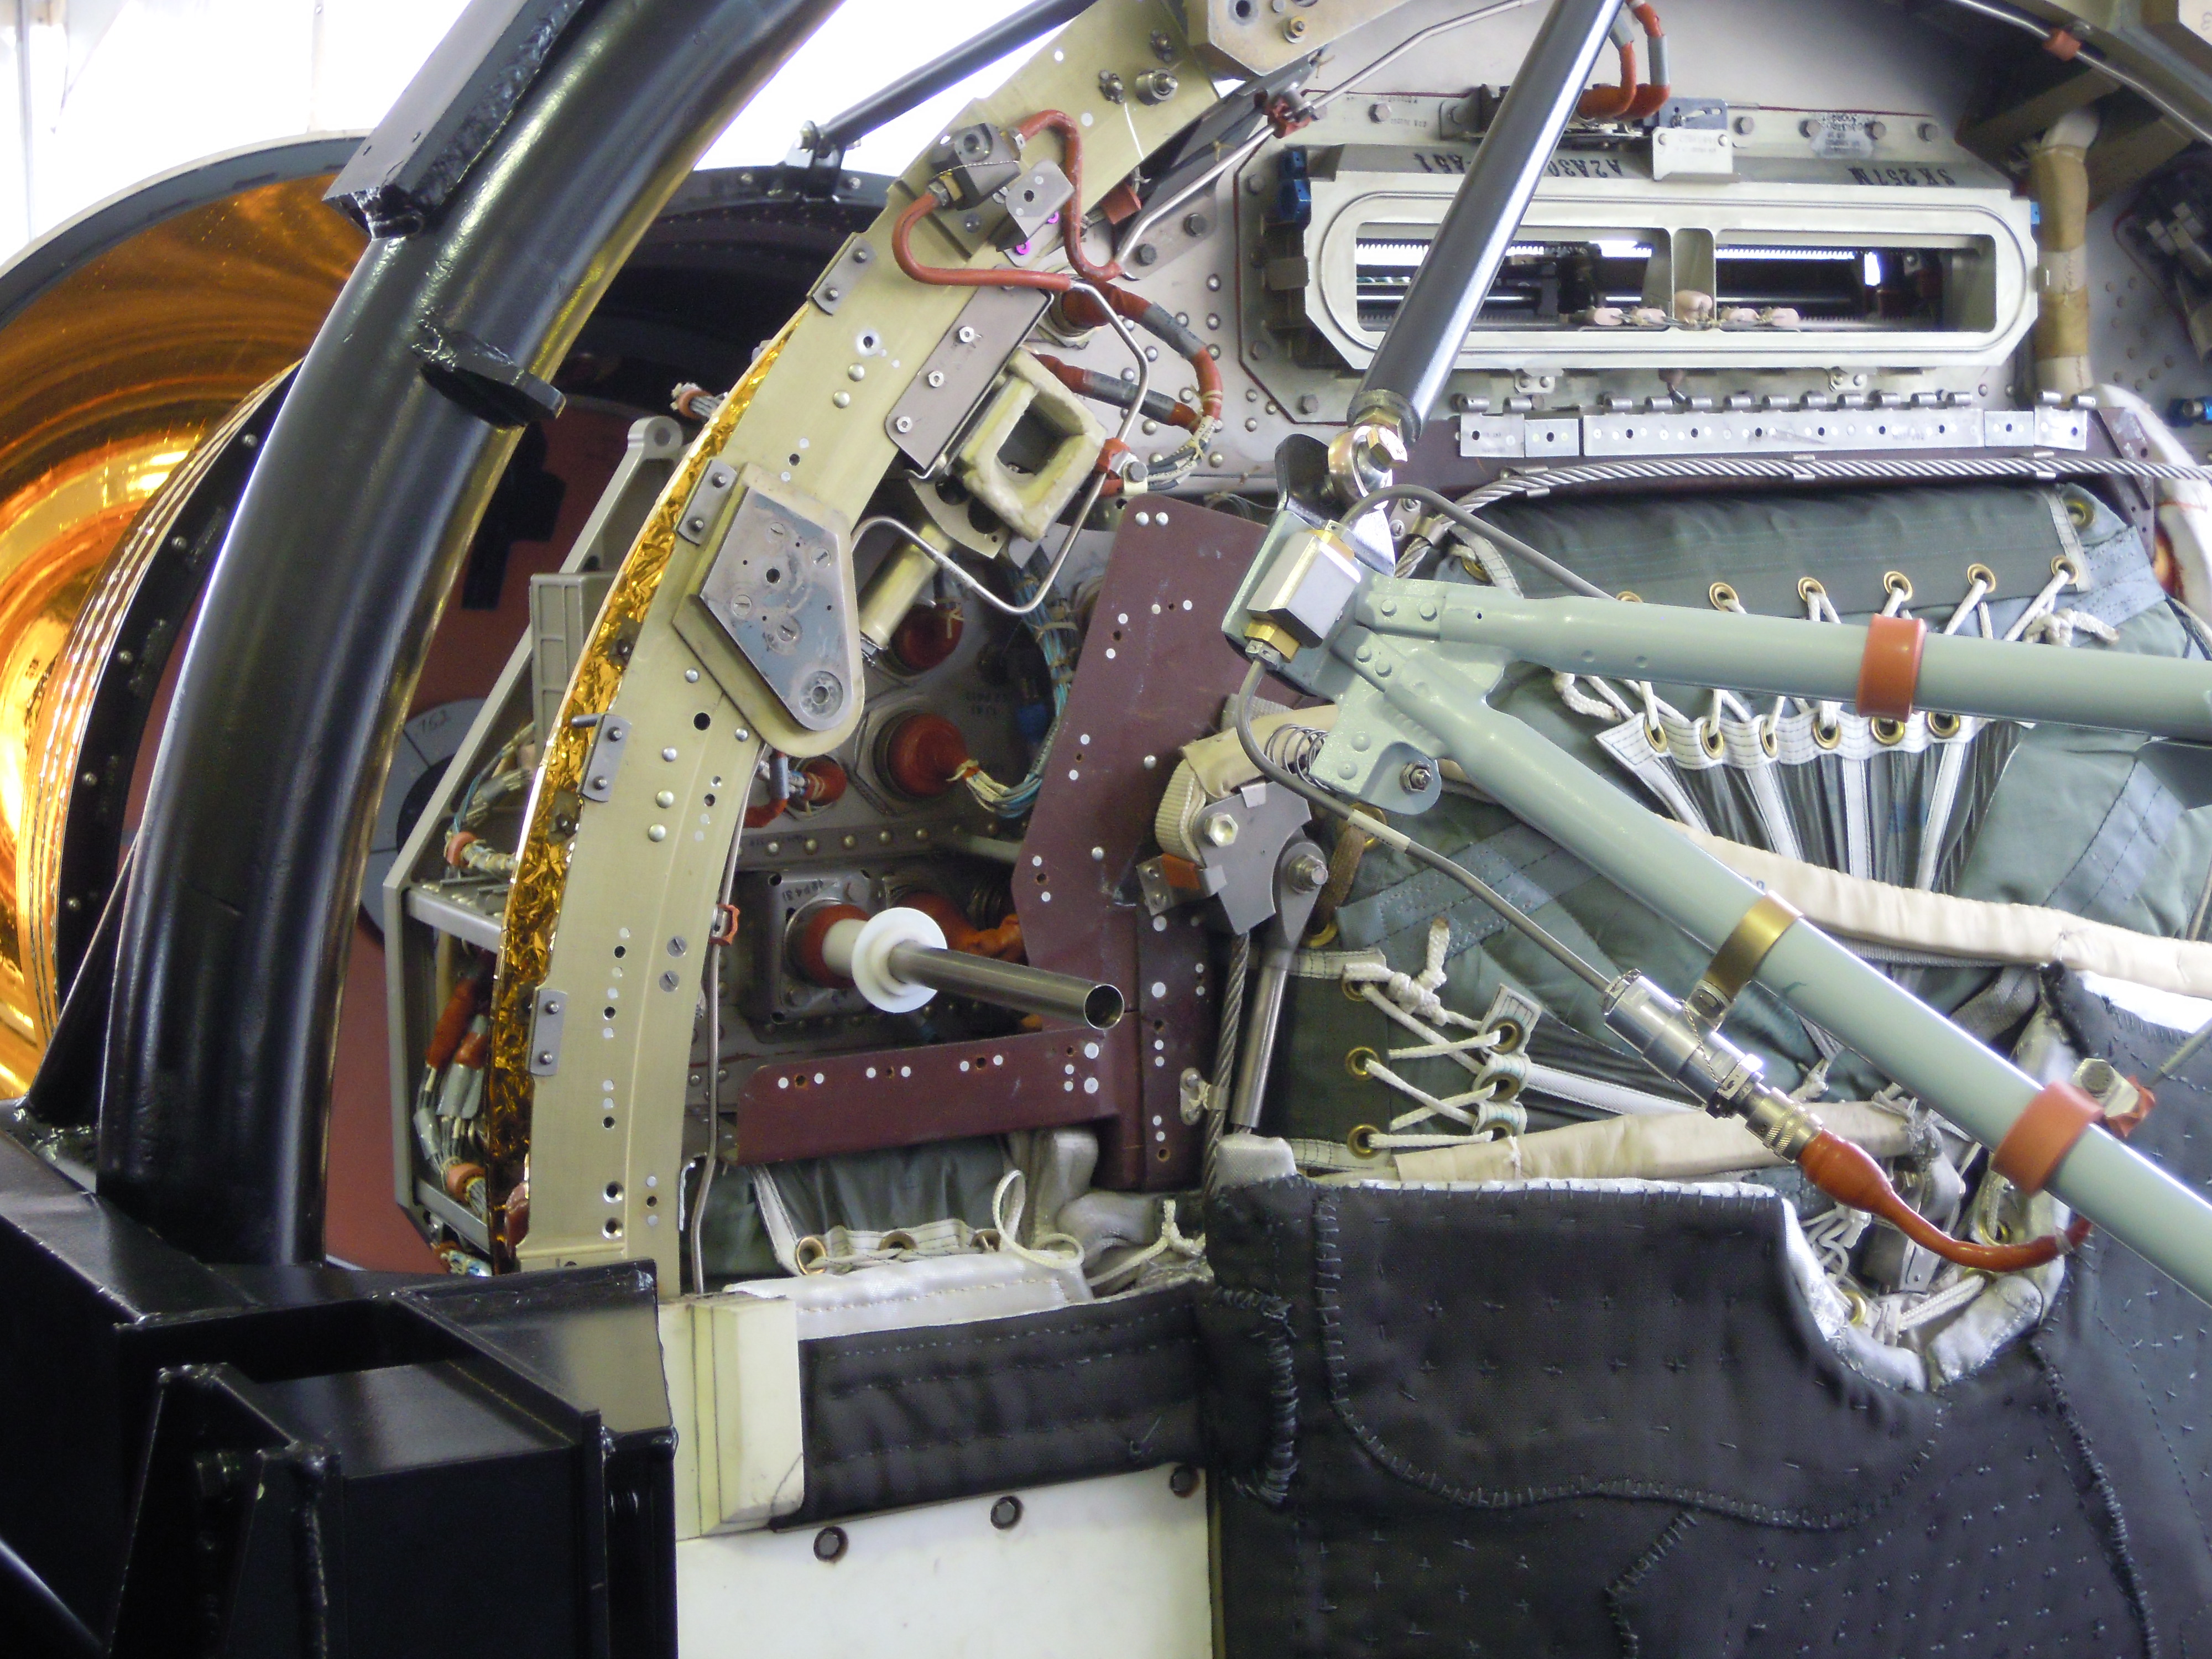
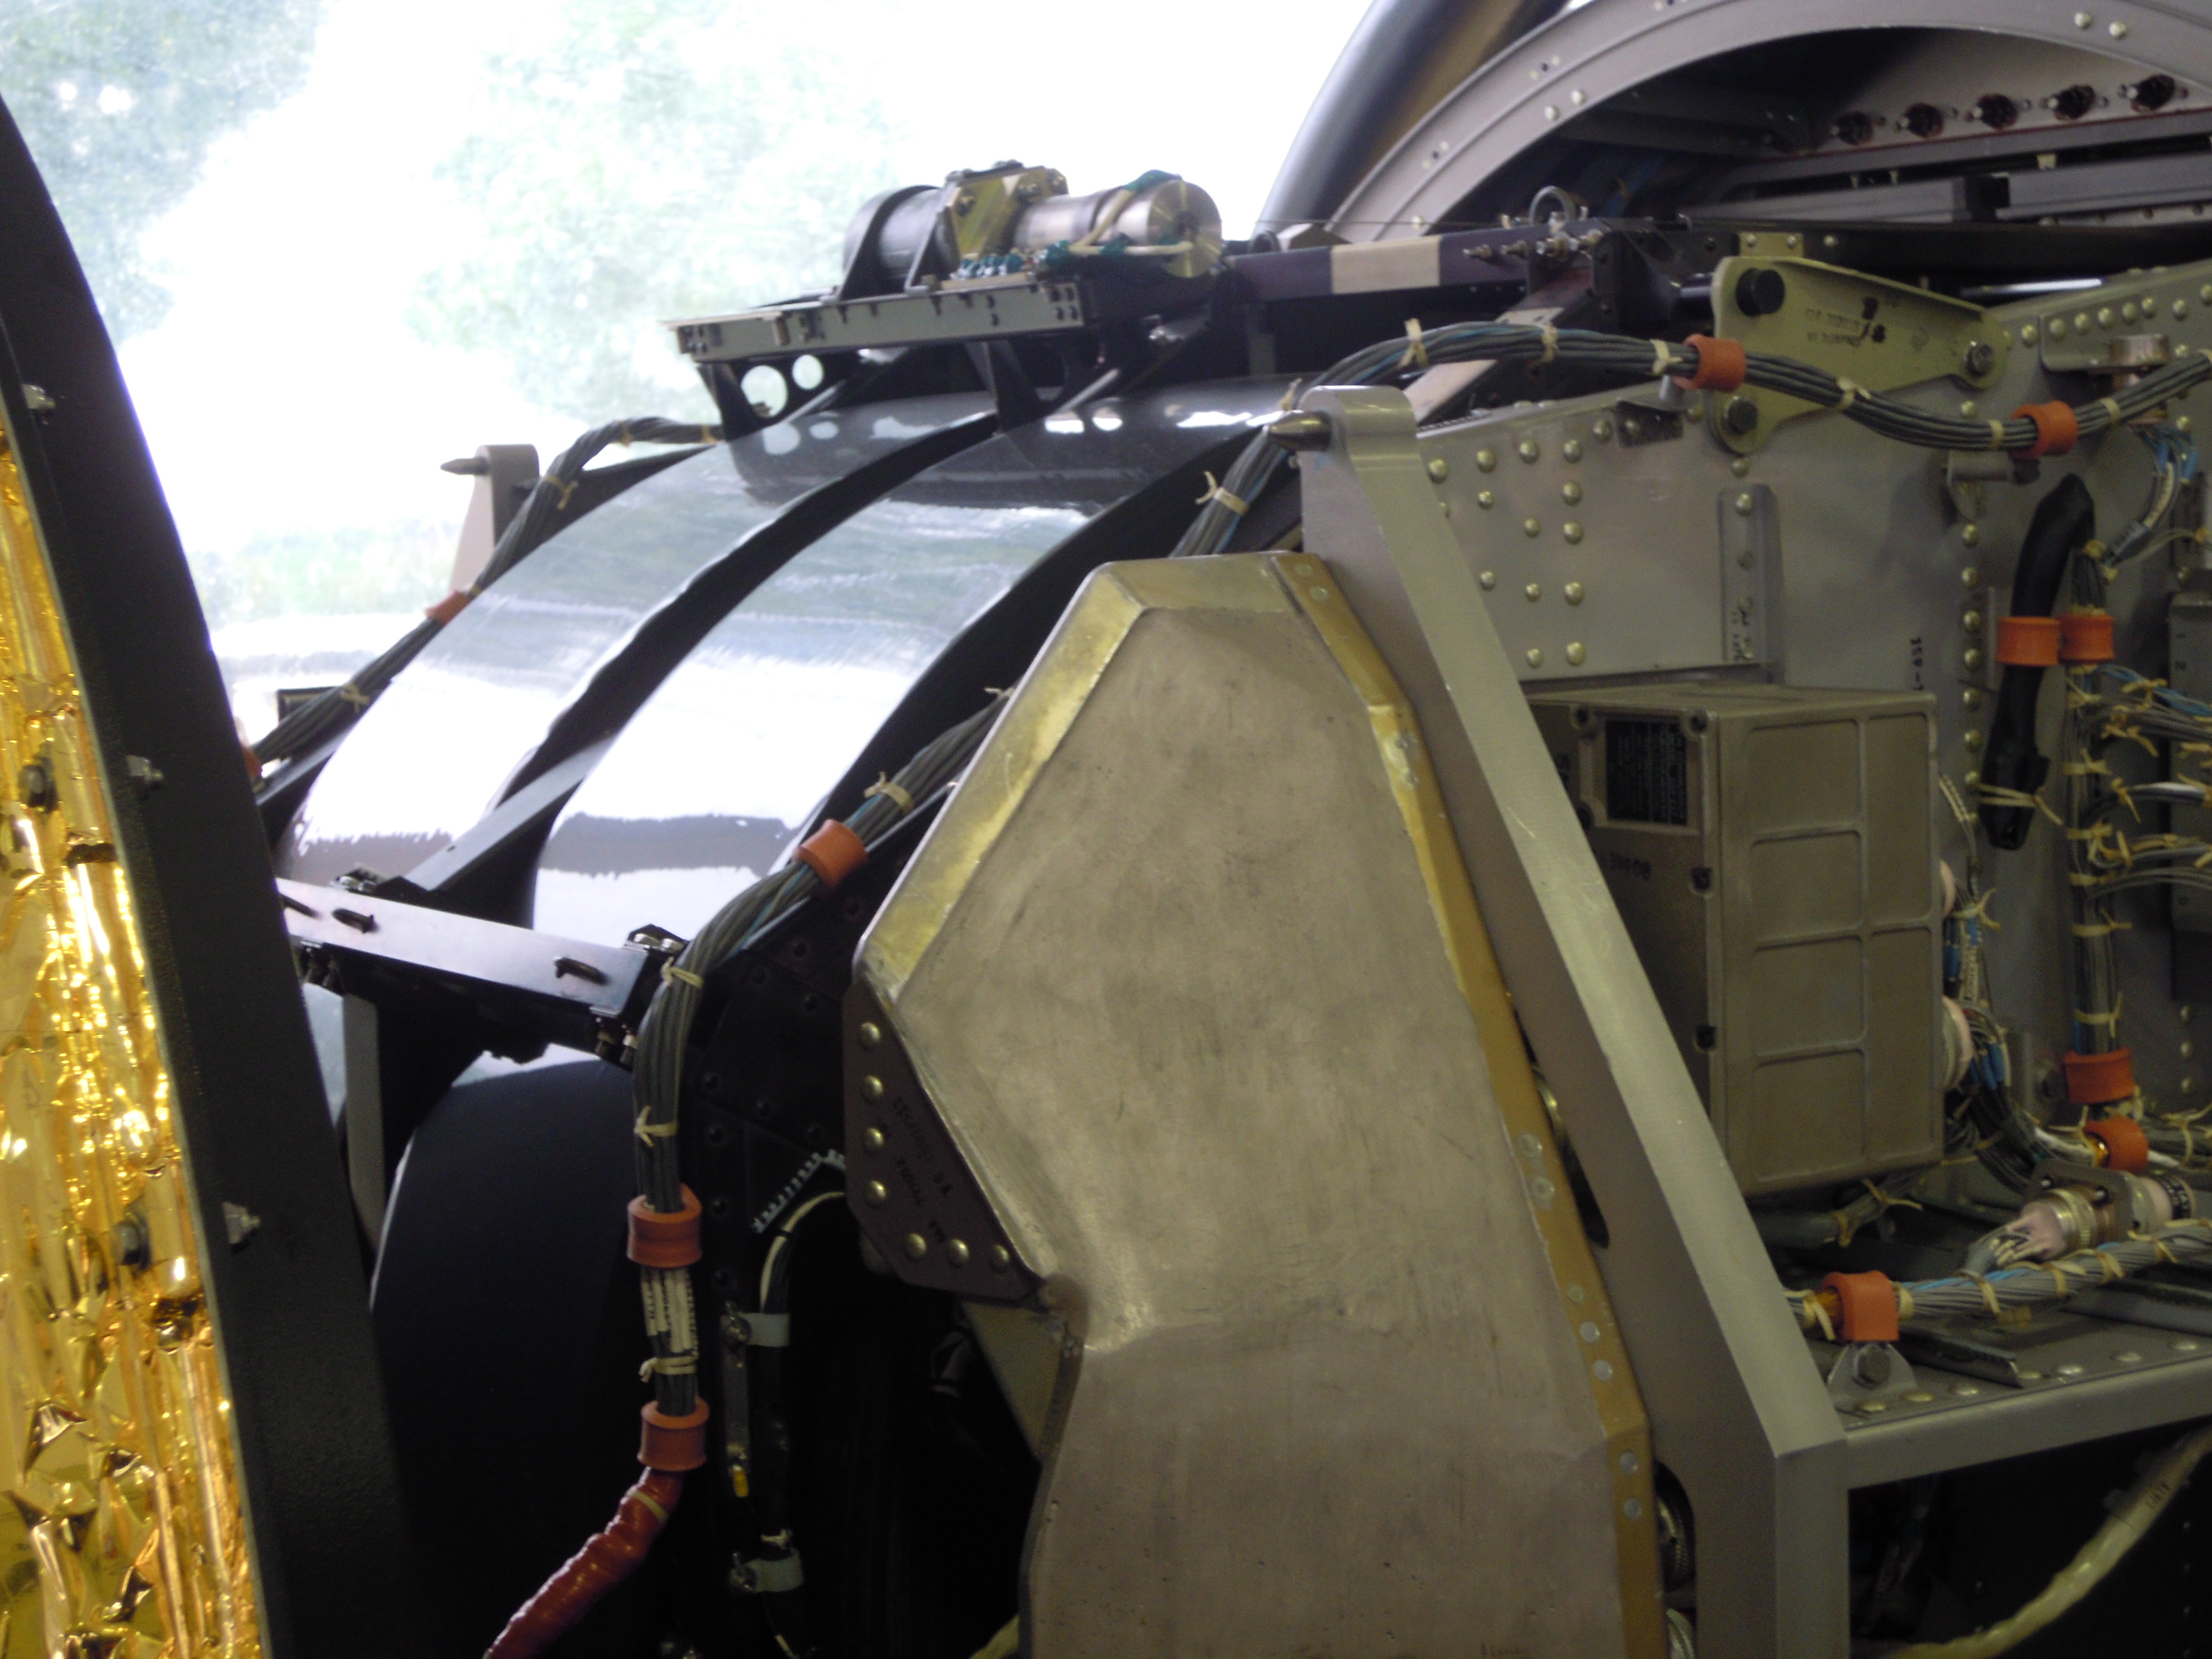
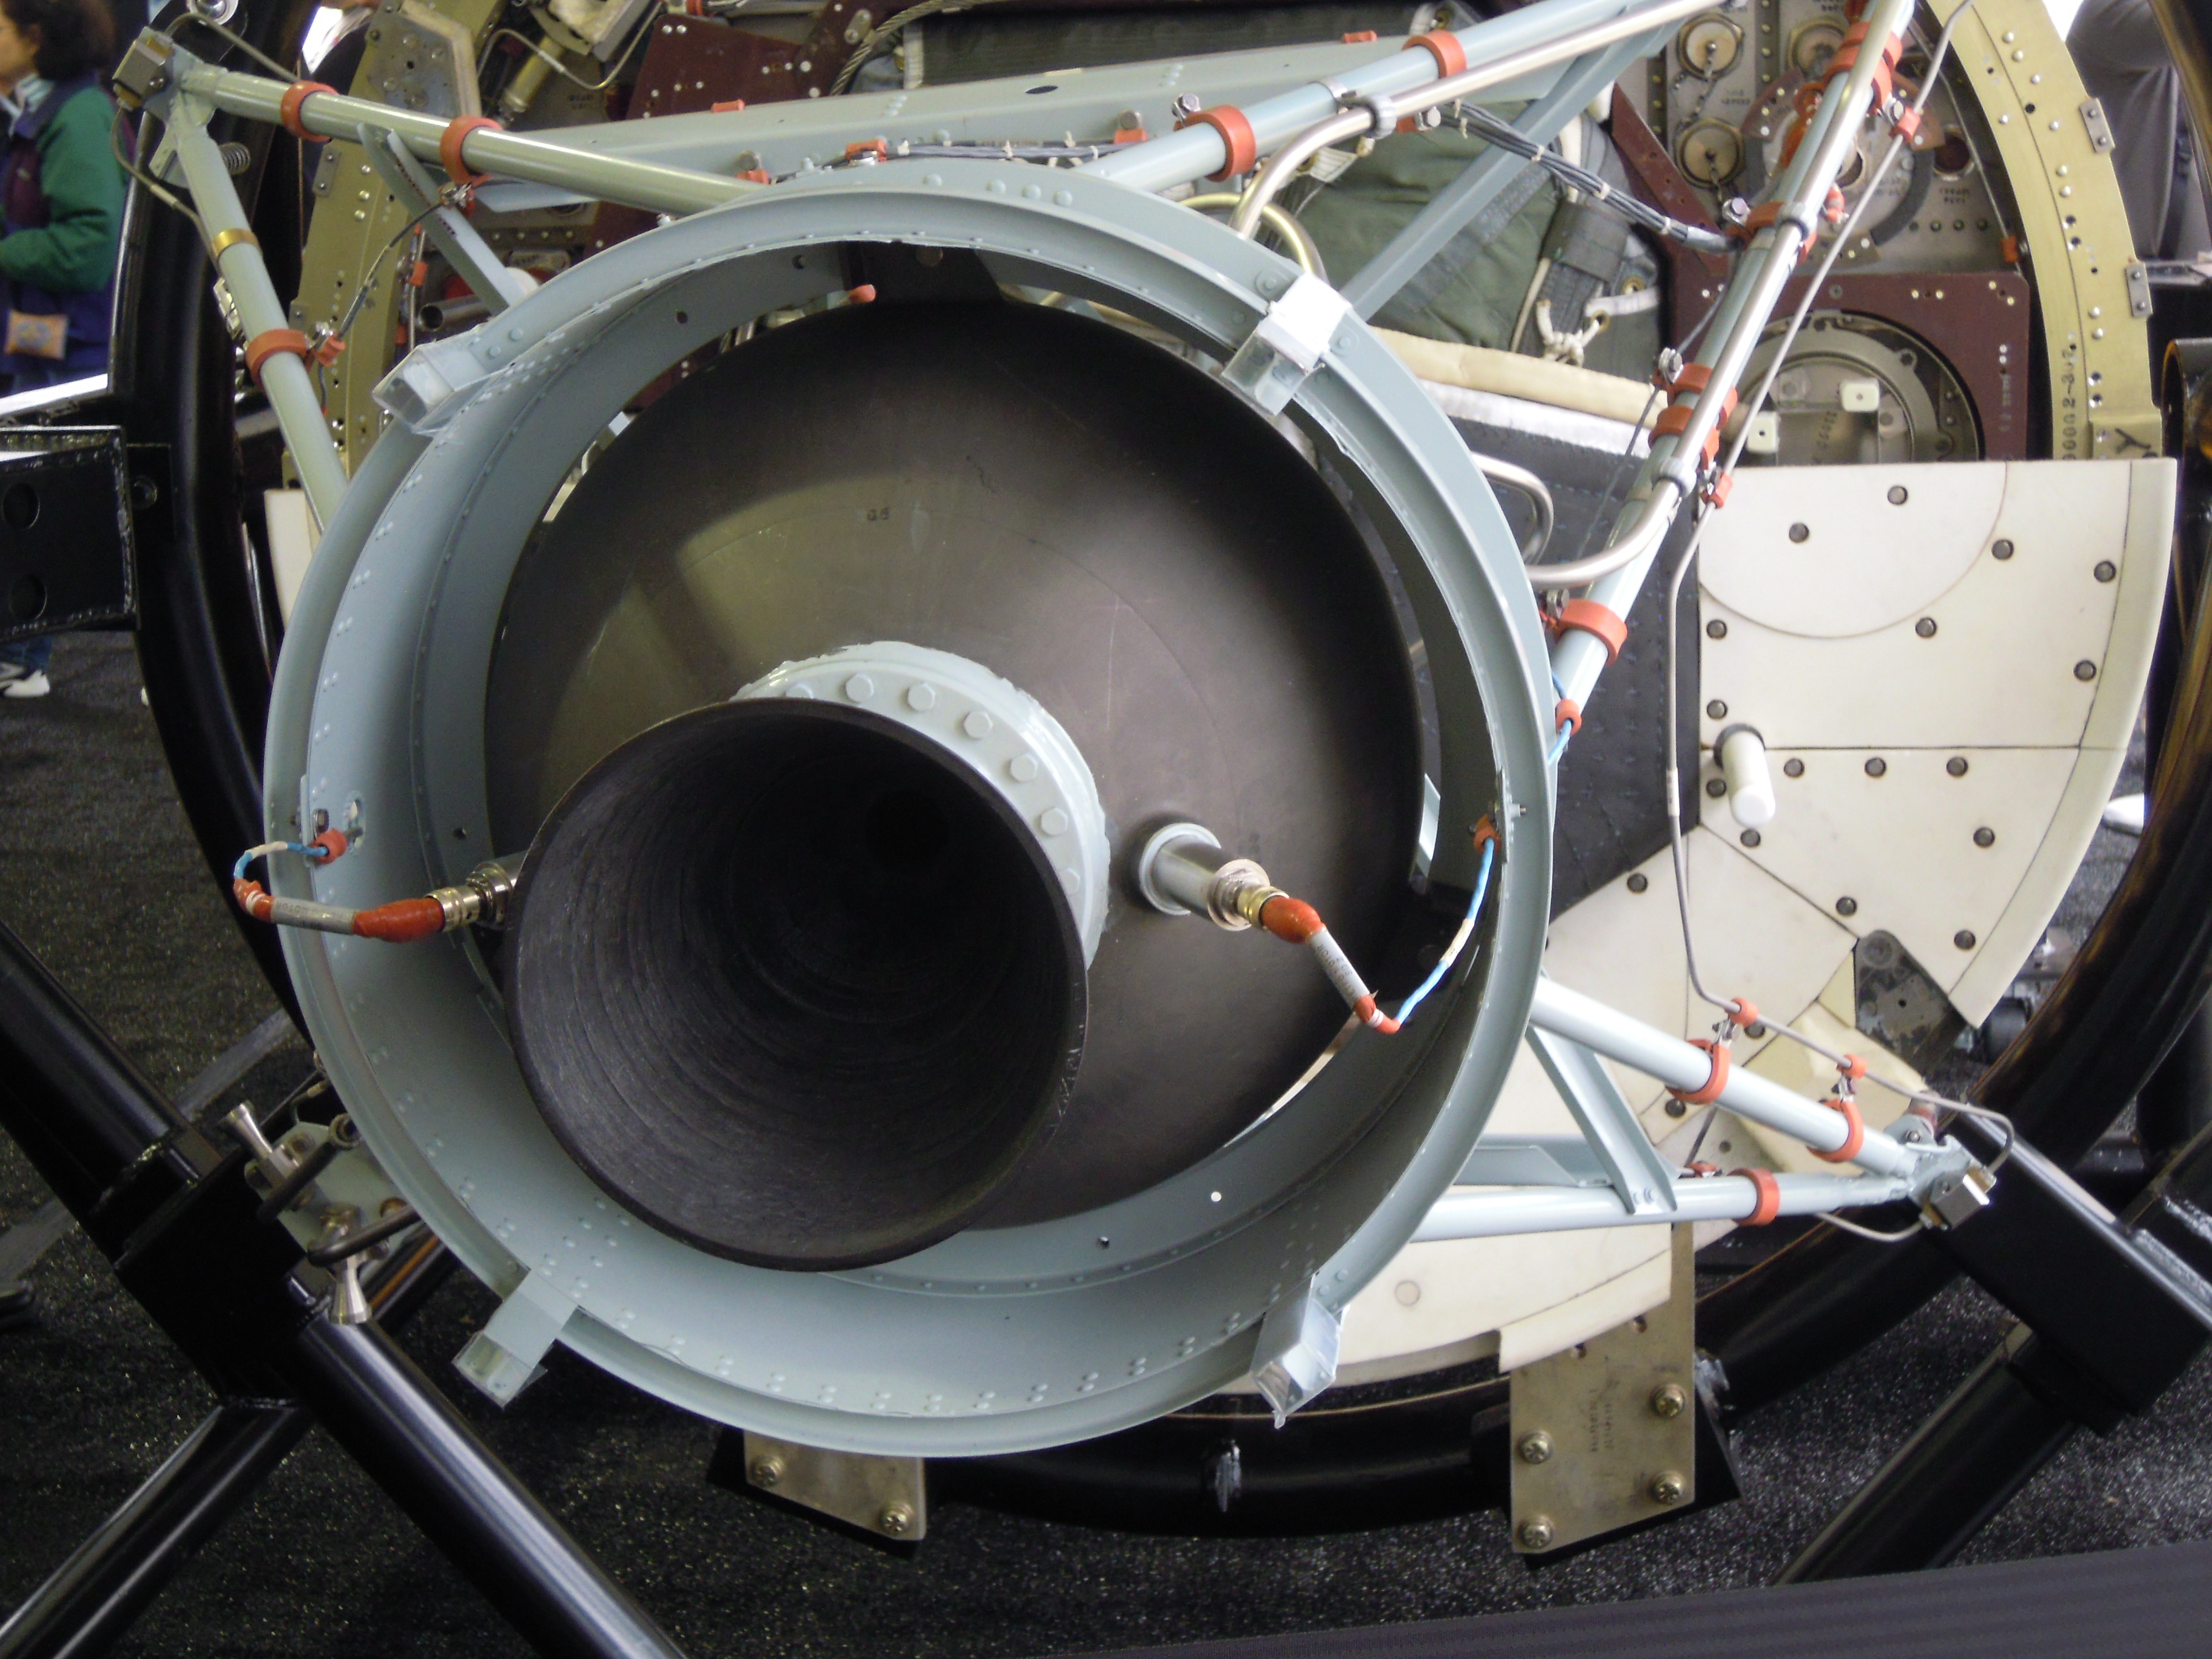
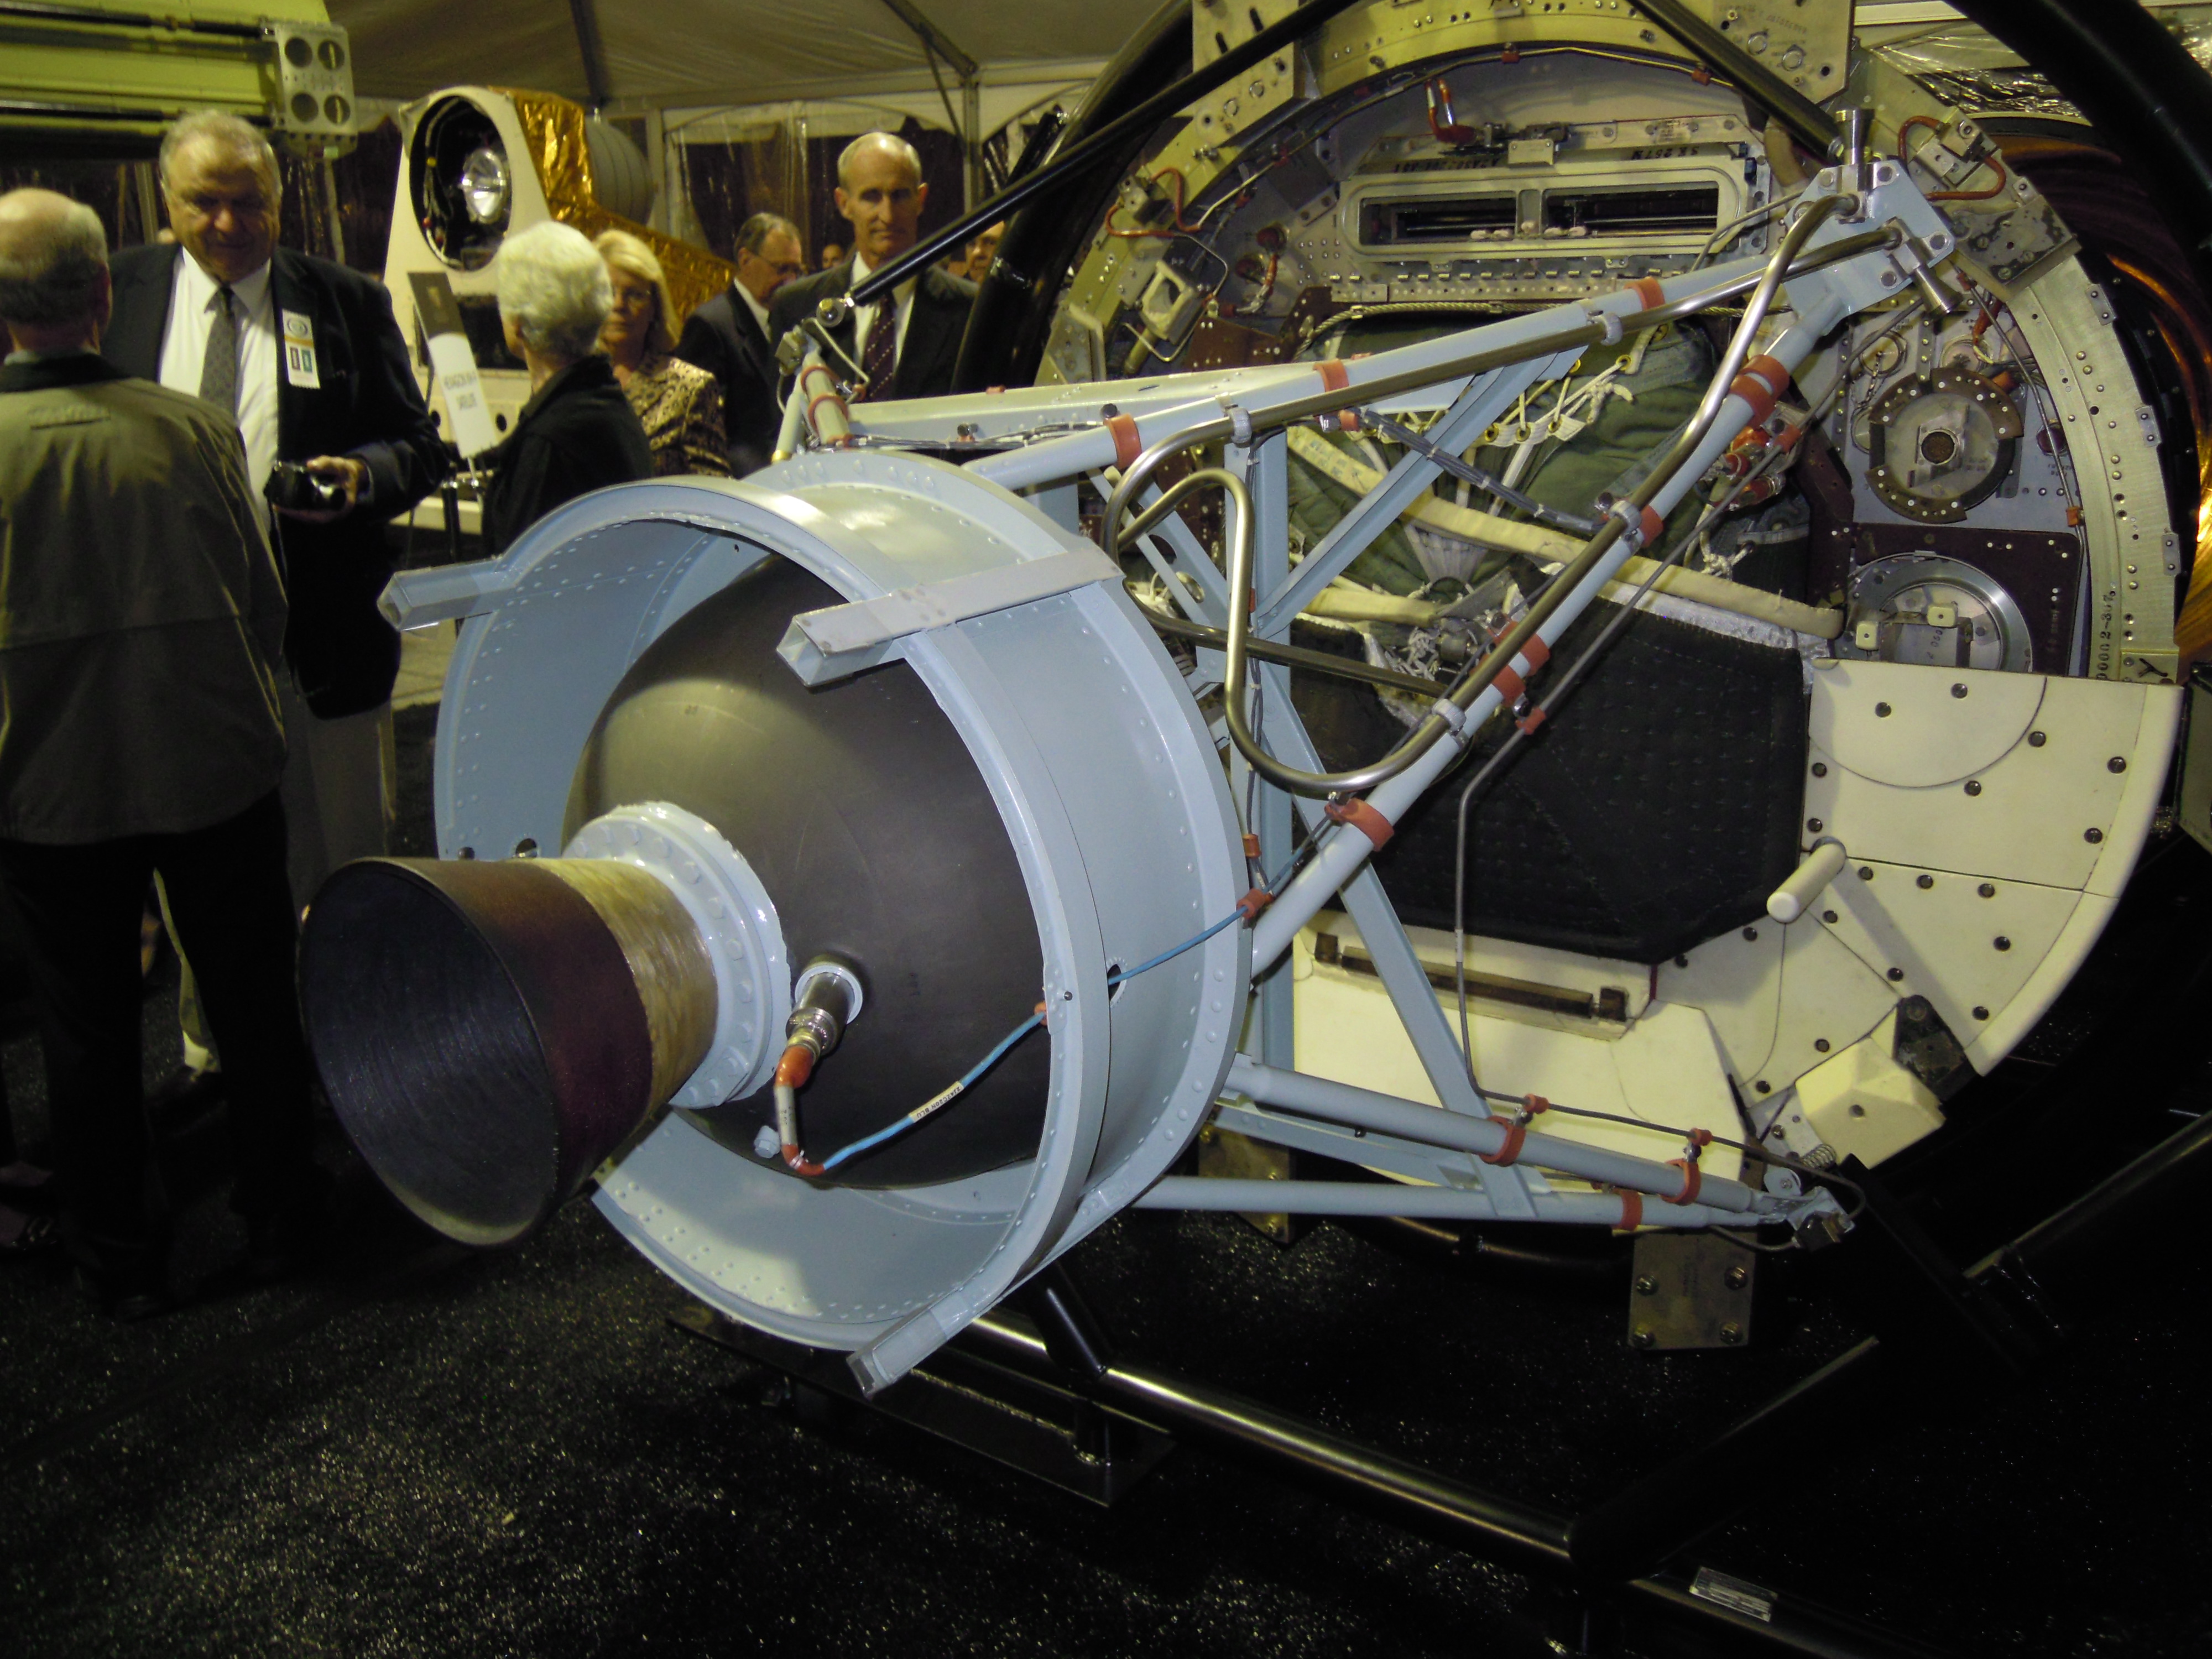
DSC_2525.JPG Mk 8 SRV thermal cover and interior |
DSC_2526.JPG Mk 8 SRV heat shield, cover and interior |
 |
 |
 |
| DSC_2529.JPG Mk 8 parachute system and deorbit motor |
DSC_2579.JPG SRV closeup |
DSC_2580.JPG SRV heat thermal cover and interior |
 |
 |
 |
 |
| DSCN0353.JPG Mk8 SRV detail, film spools |
DSCN0354.JPG Mk8 SRV detail, film spools |
DSCN0355.JPG SVM-3 detail |
DSCN0356.JPG SVM-3 |